manuals.online logo
Brands
  1. Home
  2. •
  3. Brands
  4. •
  5. Inovonics
  6. •
  7. Transmitter
  8. •
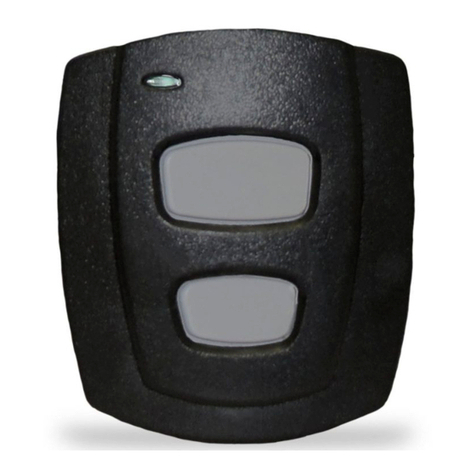
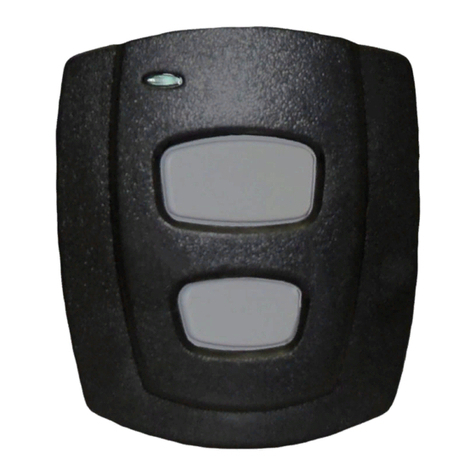
  9. Inovonics EN1238D User manual

Inovonics EN1238D User manual

Other Inovonics Transmitter manuals

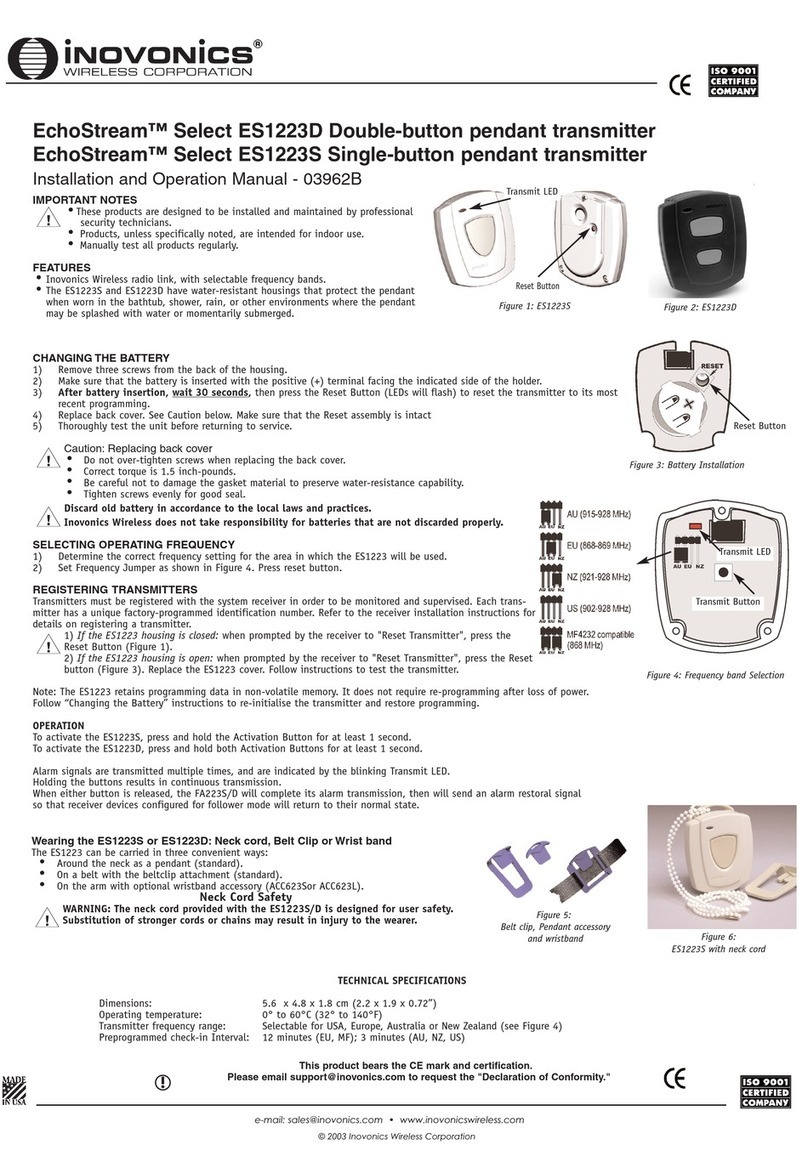
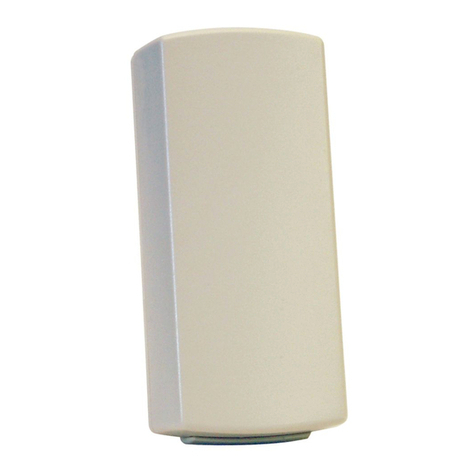
Inovonics EchoStream EN1212 User manual

Inovonics

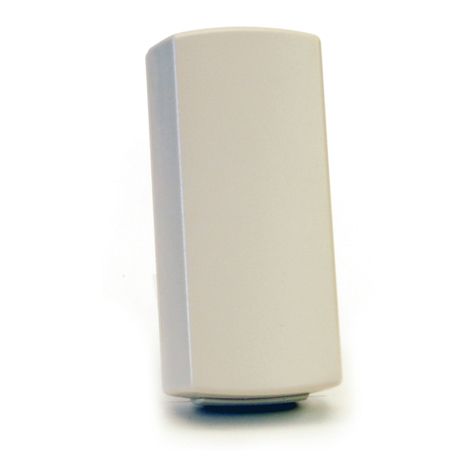
Inovonics EchoStream EN1212 User manual

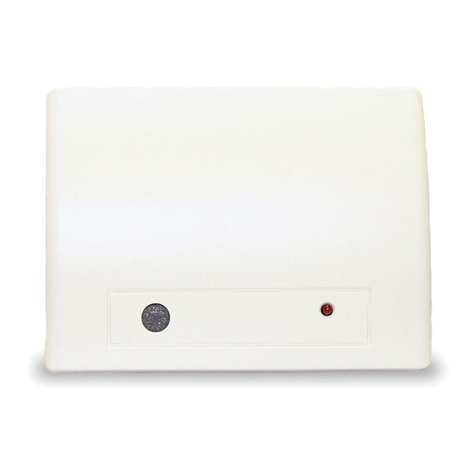
Inovonics ES1501 EchoStream TapWatch User manual

Inovonics

Inovonics ES1501 EchoStream TapWatch User manual

Inovonics EchoStream EN1235SF User manual

Inovonics

Inovonics EchoStream EN1235SF User manual

Inovonics EchoStream EN1233S/D User manual

Inovonics

Inovonics EchoStream EN1233S/D User manual

Inovonics EN1702 User manual

Inovonics

Inovonics EN1702 User manual

Inovonics Frequency Agile FA210 User manual

Inovonics

Inovonics Frequency Agile FA210 User manual

Inovonics EN1210 Series User manual

Inovonics

Inovonics EN1210 Series User manual

Inovonics EN1224 User manual

Inovonics

Inovonics EN1224 User manual

Inovonics EN1216 User manual

Inovonics

Inovonics EN1216 User manual

Inovonics EchoStream EN1223S User manual

Inovonics

Inovonics EchoStream EN1223S User manual

Inovonics EE1216 User manual

Inovonics

Inovonics EE1216 User manual

Inovonics Frequency Agile FA200W User manual

Inovonics

Inovonics Frequency Agile FA200W User manual

Inovonics EchoStream EN1215D-15 User manual

Inovonics

Inovonics EchoStream EN1215D-15 User manual

Inovonics EchoStream EE1223D User manual

Inovonics

Inovonics EchoStream EE1223D User manual

Inovonics EN1212 User manual

Inovonics

Inovonics EN1212 User manual

Inovonics EE1722 User manual

Inovonics

Inovonics EE1722 User manual

Inovonics EchoStream EN1210 User manual

Inovonics

Inovonics EchoStream EN1210 User manual

Inovonics EN1215EOL User manual

Inovonics

Inovonics EN1215EOL User manual

Inovonics EN1236D User manual

Inovonics

Inovonics EN1236D User manual

Inovonics EN1215WEOL User manual

Inovonics

Inovonics EN1215WEOL User manual

Inovonics FA200 User manual

Inovonics

Inovonics FA200 User manual

Inovonics EN1722 User manual

Inovonics

Inovonics EN1722 User manual

Inovonics EchoStream EN1242 User manual

Inovonics

Inovonics EchoStream EN1242 User manual

Inovonics 3B6OT9ESL User manual

Inovonics

Inovonics 3B6OT9ESL User manual

Popular Transmitter manuals by other brands

Seneca K120RTD installation manual

Seneca

Seneca K120RTD installation manual

Nautel GV40 installation manual

Nautel

Nautel GV40 installation manual

HumanTechnik cm-light operating instructions

HumanTechnik

HumanTechnik cm-light operating instructions

INOR APAQ C130 TC User instructions

INOR

INOR APAQ C130 TC User instructions

Linear DXS-64 operating instructions

Linear

Linear DXS-64 operating instructions

FeinTech ABT00102 instruction manual

FeinTech

FeinTech ABT00102 instruction manual

Geo Web Pack quick start guide

Geo

Geo Web Pack quick start guide

IKONNIK KA-6 quick start guide

IKONNIK

IKONNIK KA-6 quick start guide

Rohde & Schwarz SR8000 Series System manual

Rohde & Schwarz

Rohde & Schwarz SR8000 Series System manual

Audio Technica UniPak ATW-T93 Installation and operation

Audio Technica

Audio Technica UniPak ATW-T93 Installation and operation

NIVELCO EasyTREK SCA-300 Series Programming manual

NIVELCO

NIVELCO EasyTREK SCA-300 Series Programming manual

Honeywell 5816WMBR installation instructions

Honeywell

Honeywell 5816WMBR installation instructions

Kamstrup READy MTU Installation and operation guide

Kamstrup

Kamstrup READy MTU Installation and operation guide

Omega ZW Series user guide

Omega

Omega ZW Series user guide

ABB Field 264H Instructions for installation

ABB

ABB Field 264H Instructions for installation

Dejero EnGo 3x manual

Dejero

Dejero EnGo 3x manual

Rosemount 4600 Reference manual

Rosemount

Rosemount 4600 Reference manual

RKI Instruments M2A 65-2643RK-05-04 Operator's manual

RKI Instruments

RKI Instruments M2A 65-2643RK-05-04 Operator's manual

manuals.online logo
manuals.online logoBrands
  • About & Mission
  • Contact us
  • Privacy Policy
  • Terms and Conditions

Copyright 2025 Manuals.Online. All Rights Reserved.

8/28/18 05603E © Inovonics, 2018 - www.inovonics.com
EN1238D Double-Button Dual Condition
Pendant
Installation Instructions
1 Overview
The EN1238D double-button dual condition pendant is able to send
two conditions.
1.1 Inovonics Contact Information
If you have any problems with this procedure, contact Inovonics
technical services:
• E-mail: support@inovonics.com.
• Phone: (800) 782-2709; (303) 939-9336.
1.2 EN1238D Components
1.3 EN1238D components
1.4 What’s in the Carton
• One double-button dual condition pendant.
• One 3.0V lithium battery
2 Installation and Startup
2.1 Install/Replace the Battery
1. Pry the housing apart at either end and pull the two halves
apart.
2. If replacing a battery, remove the old battery.
3. Install the new battery.
4. Press the reset button to initialize the pendant.
2.2 Select the Frequency Band
EchoStream products are able to use a range of radio frequencies,
and must be configured for your geographic area. This product
ships with a default frequency range of 902-928 MHz for use in
North America. If you are using the product in North America, skip
to section 2.3, “Register the EN1238D”; if you are using the product
in Australia or New Zealand, you will need to configure the pendant.
1. Pry the housing apart at either end and pull the two halves
apart.
2. Place a selection jumper on the appropriate frequency band
selection pins.
• Leave the jumper off the pins to set the frequency range to
902-928 MHz for North America.
• Place the jumper on the bottom pins, marked NZ, to set the
frequency range to 921-928 MHz for New Zealand.
• Place the jumper on the top two pins, marked AU, to set the
frequency range to 915-928 MHz for Australia.
3. Press the reset button to complete configuration.
Caution: When pressing the reset button, make sure you don’t also
touch the frequency band selection pins. Touching the frequency
band selection pins while pressing the reset button can
inadvertently set the pendant to the wrong frequency band.
2.3 Register the EN1238D
The EN1238D must be registered with the system in order to be
monitored and supervised. When supervised, the EN1238D will
send a check-in message to the RF gateway. Each pendant has a
unique factory-programmed identification number. Refer to the
control panel’s installation instructions for details on registering a
pendant.
1. When prompted by the receiver to reset the pendant, press the
reset button.
2. Replace the cover.
3 Operation
Caution: The EchoStream system should be tested regularly to
ensure operation. To test the system, activate both EN1238D
conditions and ensure an appropriate response.
3.1 Activating EN1238D Conditions
The EN1238D can send two different conditions. To send the first
condition, press and hold either the left or the right pendant button
for one second; to send the second condition, press and hold both
buttons simultaneously for one second.
Condition signals are transmitted multiple times and are indicated
by the blinking transmission LED. When the buttons are released,
the pendant sends an condition restoral signal.To test a pendant,
activate the condition by pressing the button(s). Inovonics
recommends you test the pendant at least once per week.
For product and installation videos visit us at
www.inovonics.com/videos or use the QR
code below.
AReset button BFrequency band selection pins
CBattery
B
A
C
Printing Instructions
1. Print Duplex
2. Align and orient back page to match front
page.
3. Cut on dashed line
4. Fold cutsheet in half along the 8.5" axis.
8/28/18 05603E © Inovonics, 2018 - www.inovonics.com
3.2 Converting the EN1238D Belt Clip
If you’d like to convert the EN1238D belt clip to a belt loop, secure
the bottom of the belt clip to the housing with a coarse thread screw.
Figure 1 Use a coarse thread screw to secure the belt clip
4 Specifications
Typical battery life: 3-5 years.
Battery type: Panasonic CR2 or equivalent.
Operating environment: 0 to 60°C (32 to 140°F).
Operating humidity: 0 to 90%, non-condensing.
Operating frequencies: 902-928 MHz, frequency hopping spread
spectrum.
Check-in time frequency: 3 minutes.
System requirements: The application controller (e.g. control panel)
must be designed to accept the multiple conditions.
Regulatory listings: FCC, RoHS, RCM, ISED.
Note: Specifications and data are subject to change without notice.
5 Television and Radio Interference
This equipment has been tested and found to comply with the limits
for a Class B digital device, pursuant to Part 15 of the FCC Rules.
These limits are designed to provide reasonable protection against
harmful interference in a residential installation. This equipment
generates, uses and can radiate radio frequency energy and, if not
installed and used in accordance with the instructions, may cause
harmful interference to radio communications. However, there is no
guarantee that interference will not occur in a particular installation.
If this equipment does cause harmful interference to radio or
television reception, which can be determined by turning the
equipment off and on, the user is encouraged to try to correct the
interference by one or more of the following measures:
• Reorient or relocate the receiving antenna.
• Increase the separation between the equipment and receiver.
• Connect the equipment into an outlet on a circuit different from
that to which the receiver is connected.
• Consult the dealer or an experienced radio/TV technician for
help.
6 FCC Part 15 and Innovation, Science and
Economic Development Canada (ISED)
Compliance
This device complies with part 15 of the FCC Rules, and ISED
license-exempt RSS standard(s). Operation is subject to the
following two conditions: (1) this device may not cause interference,
and (2) this device must accept any interference that may cause
undesired operation of the device.
Le présent appareil est conforme aux CNR Innovation, Sciences et
Développement économique Canada applicables aux appareils
radio exempts de licence. L'exploitation est autorisée aux deux
conditions suivantes: (1) l'appareil ne doit pas produire de
brouillage, et (2) l'utilisateur de l'appareil doit accepter tout
brouillage radioélectrique subi, même si le brouillage est
susceptible d'en compromettre le fonctionnement.
Note: Changes or modifications not expressly approved by the
party responsible for compliance could void the user's authority to
operate the equipment.
7 Radiation Exposure Limits
7.1 FCC
This equipment complies with FCC radiation exposure limits set
forth for an uncontrolled environment. In order to avoid the
possibility of exceeding the FCC radio frequency exposure limits,
human proximity to the antenna shall not be less than 20 cm during
normal operation and must not be co-located or operating in
conjunction with any other antenna or transmitter.
7.2 ISED
This equipment complies with ISED RSS-102 radiation exposure
limits set forth for an uncontrolled environment. This transmitter
must be installed to provide a separation distance of at least 20 cm
from all persons and must not be co-located or operating in
conjunction with any other antenna or transmitter.
Cet équipement est conforme avec ISED RSS-102 des limites
d'exposition aux rayonnements définies pour un environnement non
contrôlé. Cet émetteur doit être installé à au moins 20 cm de toute
personne et ne doit pas être colocalisé ou fonctionner en
association avec une autre antenne ou émetteur.