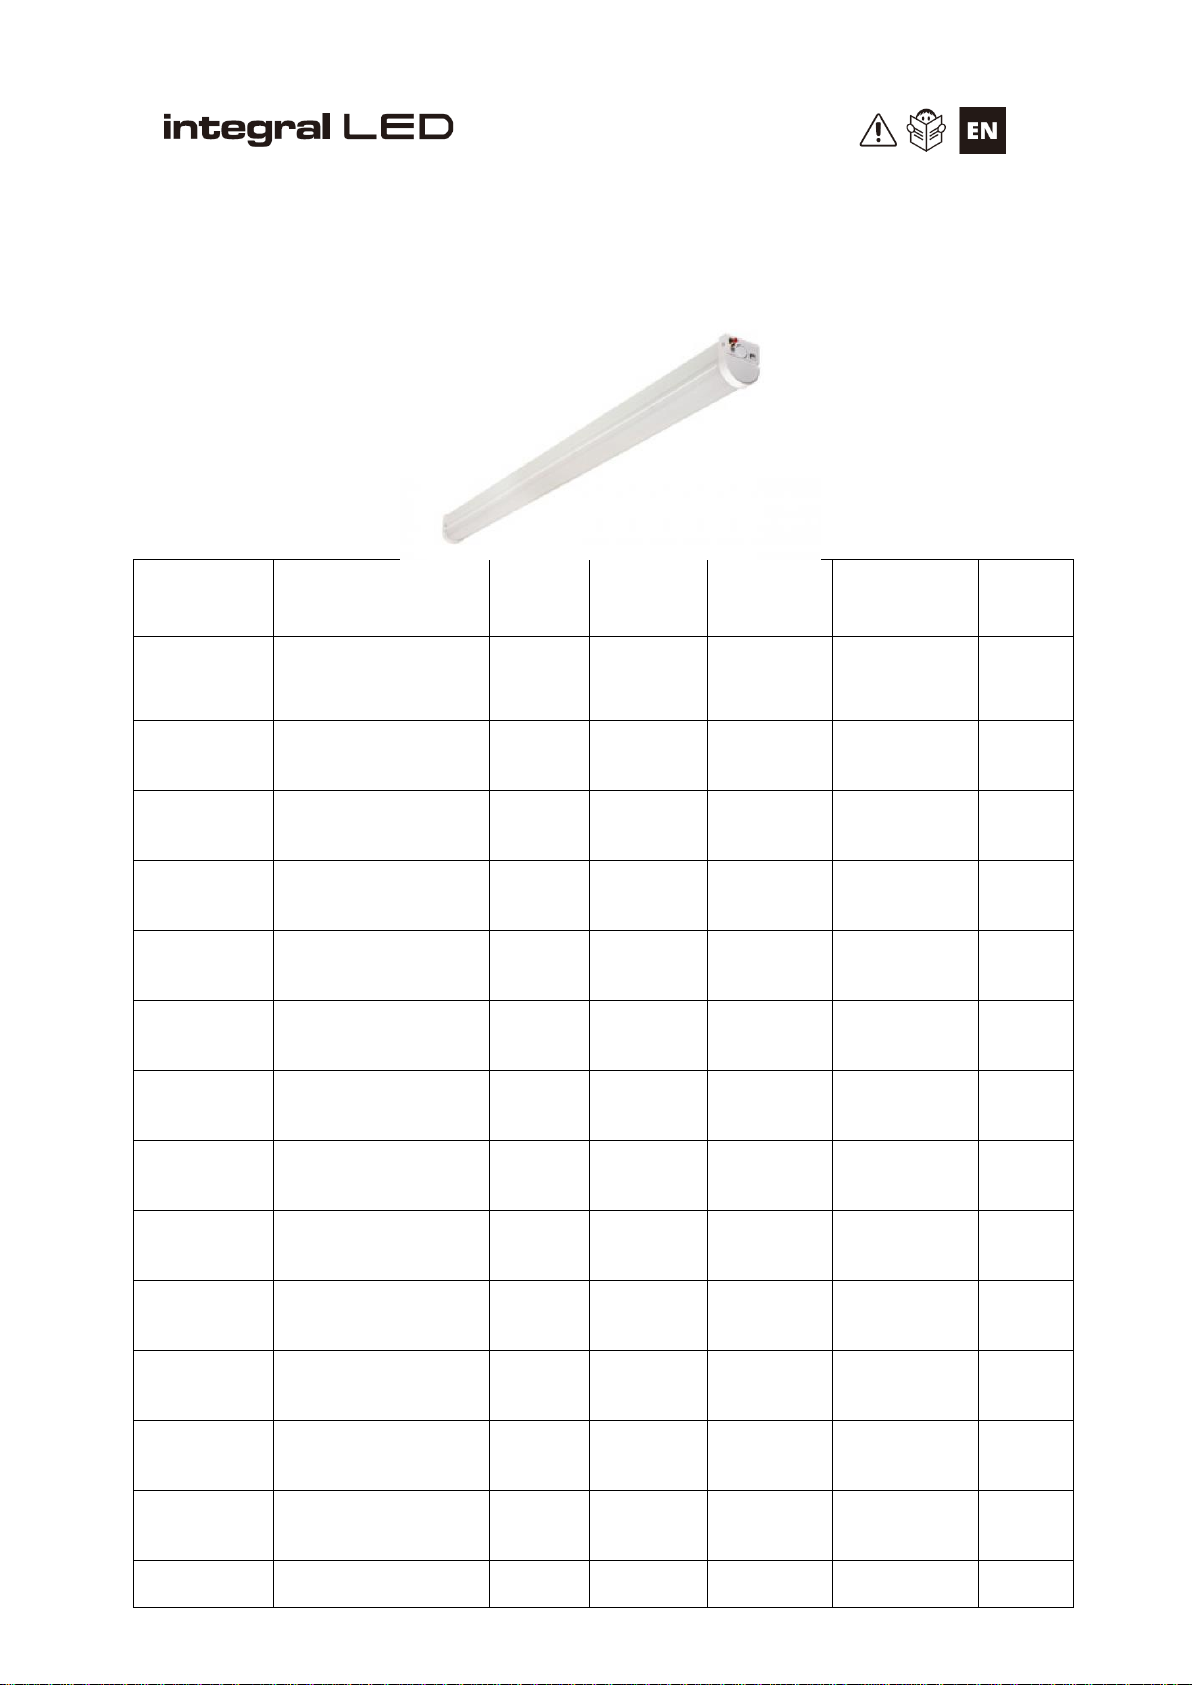
Integral LED ILBTC111 User manual

Installation Instruction Sheet
for Integral Lightspan LED Batten Range
(Standard, Sensor & Emergency Options)
3 Year Warranty
Code
Description
Type
Power
Lumens
Dimensions
Nett
Weight
(Kg)
ILBTC111
4FT BATTEN 4000K
130LM/W LINKABLE
NON-DIMM
Single
22W
2860
1170 x 60 x
71mm
1.7
ILBTC113
5FT BATTEN 4000K
130LM/W LINKABLE
NON-DIMM
Single
30W
3900
1470 x 60 x
71mm
2.1
ILBTC115
6FT BATTEN 4000K
130LM/W LINKABLE
NON-DIMM
Single
40W
5200
1734 x 60 x
71mm
2.4
ILBTC060
4FT BATTEN 4000K
130LM/W LINKABLE
NON-DIMM
Single
22W
2860
1170 x 60 x
71mm
1.8
ILBTC062
5FT BATTEN 4000K
130LM/W LINKABLE
NON-DIMM
Single
30W
3900
1470 x 60 x
71mm
2.2
ILBTC064
6FT BATTEN 4000K
130LM/W LINKABLE
NON-DIMM
Single
40W
5200
1734 x 60 x
71mm
2.5
ILBTC112
4FT BATTEN 4000K
130LM/W LINKABLE
NON-DIMM
Single
22W
2860
1170 x 60 x
71mm
1.9
ILBTC114
5FT BATTEN 4000K
130LM/W LINKABLE
NON-DIMM
Single
30W
3900
1470 x 60 x
71mm
2.3
ILBTC116
6FT BATTEN 4000K
130LM/W LINKABLE
NON-DIMM
Single
40W
5200
1734 x 60 x
71mm
2.6
ILBTC070
4FT BATTEN 4000K
130LM/W LINKABLE
NON-DIMM
Single
22W
2860
1170 x 60 x
71mm
2
ILBTC072
5FT BATTEN 4000K
130LM/W LINKABLE
NON-DIMM
Single
30W
3900
1470 x 60 x
71mm
2.4
ILBTC074
6FT BATTEN 4000K
130LM/W LINKABLE
NON-DIMM
Single
40W
5200
1734 x 60 x
71mm
2.7
ILBTC051
4FT BATTEN 4000K
130LM/W LINKABLE
NON-DIMM
Twin
43W
5600
1170 x 60 x
71mm
1.7
ILBTC053
5FT BATTEN 4000K
130LM/W LINKABLE
Twin
60W
7800
1470 x 60 x
71mm
2.1

NON-DIMM
ILBTC055
6FT BATTEN 4000K
130LM/W LINKABLE
NON-DIMM
Twin
65W
8400
1734 x 60 x
71mm
2.4
ILBTC061
4FT BATTEN 4000K
130LM/W LINKABLE
NON-DIMM
Twin
43W
5600
1170 x 60 x
71mm
1.8
ILBTC063
5FT BATTEN 4000K
130LM/W LINKABLE
NON-DIMM
Twin
60W
7800
1470 x 60 x
71mm
2.2
ILBTC065
6FT BATTEN 4000K
130LM/W LINKABLE
NON-DIMM
Twin
65W
8400
1734 x 60 x
71mm
2.5
ILBTC052
4FT BATTEN 4000K
130LM/W LINKABLE
NON-DIMM
Twin
43W
5600
1170 x 60 x
71mm
1.9
ILBTC054
5FT BATTEN 4000K
130LM/W LINKABLE
NON-DIMM
Twin
60W
7800
1470 x 60 x
71mm
2.3
ILBTC056
6FT BATTEN 4000K
130LM/W LINKABLE
NON-DIMM
Twin
65W
8400
1734 x 60 x
71mm
2.6
ILBTC071
4FT BATTEN 4000K
130LM/W LINKABLE
NON-DIMM
Twin
43W
5600
1170 x 60 x
71mm
2
ILBTC073
5FT BATTEN 4000K
130LM/W LINKABLE
NON-DIMM
Twin
60W
7800
1470 x 60 x
71mm
2.4
ILBTC075
6FT BATTEN 4000K
130LM/W LINKABLE
NON-DIMM
Twin
65W
8400
1734 x 60 x
71mm
2.7
ILBTCSK058
LIGHTSPAN T8
STYLE LED BATTEN
SUSPENSION KIT
ACCESSORY
1500MM 2 WIRES
N/A
N/A
N/A
N/A
N/A
ILBTASE057
BATTEN PIR
SENSOR IP65 5400L
DIMM 0-10V
DIMMING,REMOTE
CONTROL
N/A
N/A
N/A
N/A
N/A
Thank you for purchasing and Integral Led product. When installed correctly this unit will
provide years of service with no lamp changes required. For support or warranty information
please visit www.integral-led.com/warranty. Always turn off power at the distribution unit before
any maintenance or installation. Please ensure the power cannot be re-connected inadvertently.
General Safety Instructions
This luminaire must be installed by a qualified electrician in accordance with the
instructions provided and in compliance with recognised electrical and safety regulations
relevant to the country it is being installed.
This is a Class I luminaire. Earth connection is required.
The input voltage of this luminaire is 200-240V~ 50/60Hz
This luminaire is suitable for surface, pendant, conduit and BESA box mountings.
Adequate for installation on surfaces with normal flammability e.g. wood, masonry.
Before making the fixing hole(s), check that there are no obstructions hidden beneath

the mounting surface, such as pipes or cables. It is not suitable for use on highly
flammable surfaces or in flammable atmosphere.
This luminaire is not suitable for dimming.
No user serviceable parts.
Ensure mains supply is isolated before starting any work.
Operating Temperature -20°C to +45°C. Do not exceed.
Keep away from strong electromagnetic radiation sources.
Should the unit malfunction, return to distributor or reseller. No user serviceable parts
inside. Do not disassemble or attempt to repair the luminaire outside of the installation
guidelines
Do not install or use the luminaire if the housing/diffuser is found to be broken.
Installation Instructions
Ensure the mains power supply is isolated.
Determine the installation method: surface, BESA box, pendant or conduit mounting.
Make sure the fixing devices used are adequate for the substrate where the luminaire
will be fixed.
Press the lateral button of the luminaire to release the lens, which will swing and be
hanging by its hinge (See Fig 1).
For Surface Mounting (ceiling and walls):
Mark the fixing points on the substrate, aligning the cable adequately in one of the
existing entries.
Pass the cable through the entry.
Fix the luminaire to the substrate using adequate fixing devices, so the luminaire body is
securely attached to the substrate.
For BESA Box Mounting (ceiling and walls):
Using 1 of the 3 BESA box entries, aligning the cable adequately in one of the existing
entries.
Pass the cable through the entry.
Fix the luminaire to the BESA box using adequate fixing devices, so the luminaire body
is securely attached to the substrate.
If needed, use additional fixing points directly to the substrate using adequate fixing
devices, so the luminaire body is securely attached to the substrate.
For Pendant Mounting:
Using the Accessory ILBTCSK058, fix it adequately to the substrate.
Fix the other extreme to the luminaire body.
Adjust the luminaire height to the final position.
For Conduit Mounting - Lateral:
Knock the plastic entries to be used.
Fix the luminaire to the substrate as indicated in Surface Mounting, aligning the
conduit(s) to the entry to be used.
Fix the conduit to the luminaire.
For Conduit Mounting - Upper Entry:
Fix the luminaire to conduit using the upper central entry.
Use adequate means to fix the luminaire to the conduit so it can be securely fastened.
Is recommended to use an additional safety wire (not supplied) from an adequate
position on luminaire to another fixing point.
After the luminaire body is fixed, connect the mains supply cable to the terminals, paying
attention to the cable polarity: L –Live (Brown), N –Neutral (Blue), –Earth (Yellow/Green) –
See Fig 2. For Emergency versions, additionally to L, N and Earth, connect the L1 –Switch Live
cable –See Fig 3.

The terminal supplied allows Loop-in / Loop-out wiring. If using this feature, maximum Wattage
on a single circuit is 650W.
Swing the lens and gently press both ends against the luminaire body, until it clicks.
Emergency Operation
The emergency battens can be operated in maintained or non-maintained mode.
1. The luminaire delivers 230 lumens in Emergency mode.
2. Ensure the emergency battery is connected to the connector on the emergency driver.
3. Ensure the status LED and manual test button connector are connected to the
emergency driver.
For maintained operation:
Connect the Live cable (Brown) to terminal (L).
Connect the Switch Live cable to terminal (L1).
For non-maintained operation:
Connect the Live cable (Brown) to terminal (L).
Leave terminal (L1) disconnected.
4. When powered on, the green LED indicator will illuminate indicating that the battery is
being charged.
5. To check that the emergency function is working, press the red test button at any time
and the batten should illuminate in emergency mode.
6. On failure of the permanent mains supply the fitting will switch automatically from battery
charging to battery discharge powering the LED batten.
7. This luminaire is designed to provide 3hrs of emergency light following a power failure.
Please allow a full 24 hour charge before carrying a 3 hour test and mark the installation
date on the LED batten label.
8. This luminaire contains a 6.4V V 1500mAh Li-ion battery. For replacement please
contact Integral-LED.com
9. Please find Testing Schedule log at the end of this installation guide.

Sensor Operation
Lightspan battens are fitted with an optional sensor, this turns the batten on when the light level
reaches the specified level. Settings are made by setting dip switches on the sensor which is
located inside the body of the fitting, please open the fittings as per the instructions above and
set the dip switches in line with the table below, thank you.
Features:
On-Off function
Stand-by power ≤0.5W
Slim design, suitable for tri-proof light
Small sensor head can reduce the shadow of the light
Detection area, hold time and daylight threshold can be precisely set by DIP switch
Sensor Specification
Input
Input Voltage
198-264V AC 50Hz
Rated Input Voltage
220-240V AC 50Hz
Stand-by Power
≤ 0.5W
Output
Load Power
250W (Inductive) 500W
Resistive)
Hold Time
5s/30s/90s/3min/20min/30min
Sensor Parameters
Sensing Range
100%/75%/50%/25%
Daylight Sensor
Disable/50Lux/30Lux/10Lux/2Lux
Mounting Height
Ceiling Mounting:3-6m
Detection Area
Walking 0.5-1m/s keep
walking≥2m walk & stop≥5m
Wireless Parameters
Operating frequency
5.8 GHz ±75 MHz
Dimming control
0N/0FF
Operating temperature
-25℃- +60℃
Operating Environment
Safety & EMC
EN55015
Certificate requirement
EMC TUV
Wiring method
Push terminal (4)
Others
IP rating
IP20(Built-in)
Protection Class
Class II
Installation Size
168*21*28mm
Packaging requirement
Clapboard +Outer Carton (K=A
)
Life
50000h
Detection Area
Range
Dip Switch 1
Dip Switch 2
100%
ON
ON
75%
OFF
ON
50%
ON
OFF
25%
OFF
OFF
Hold Time

Time
Dip Switch 3
Dip Switch 4
Dip Switch 5
5 Seconds
ON
ON
ON
30 Seconds
OFF
ON
ON
90 Seconds
ON
OFF
ON
3 Minutes
OFF
OFF
ON
20 Mins
ON
ON
OFF
30 Mins
OFF
OFF
OFF
Daylight Sensor
Light Level
Dip Switch 3
Dip Switch 4
Dip Switch 5
2 LUX
ON
ON
ON
10 LUX
ON
ON
OFF
25 LUX
OFF
ON
OFF
50 LUX
ON
OFF
OFF
DISABLE
OFF
OFF
OFF
Warranty
This unit carries a three year warranty from date of purchase, providing it has been installed
correctly and not modified in any way. Should a fault occur please contact the original point of
purchase.
Important Notes
The luminaire must be operated within the temperature range defined and avoiding
extreme humidity.
Operation must be within rated voltage.
Keep away from strong electromagnetic radiation sources and protect from lightning
strike.
Should the unit malfunction, please return it to the distributor or reseller, never attempt
repair yourself.
Do not install the luminaire if any part is broken. Do not apply direct pressure to the
front lens.
The luminaire must be installed by a qualified electrician.
The luminaire should be positioned away from heat, liquid and vibration. Ensure no
contact with any corrosive chemicals.
The luminaire should be mounted in free air and operated at an ambient temperature of
30 degrees.
Never cover the luminaire with any covers or insulation materials.
The luminaire should be positioned at least 1m away from radios as this may affect the
signal reception. IP20 rated protection.
This manual suits for next models
25
Table of contents
Other Integral LED Lighting Equipment manuals

Integral LED
Integral LED ILSTRGBA166B User manual

Integral LED
Integral LED ILSTWHIB082E User manual

Integral LED
Integral LED ILSTRGBA163B User manual

Integral LED
Integral LED ILSTRGBA165B User manual

Integral LED
Integral LED ILEMPK010 User manual

Integral LED
Integral LED ILRC020 User manual

Integral LED
Integral LED ILSTRGBB174E User manual

Integral LED
Integral LED SensorLux ILWL001 User manual

Integral LED
Integral LED ILDEA030 User manual

Integral LED
Integral LED SensorLux ILWL004 User manual