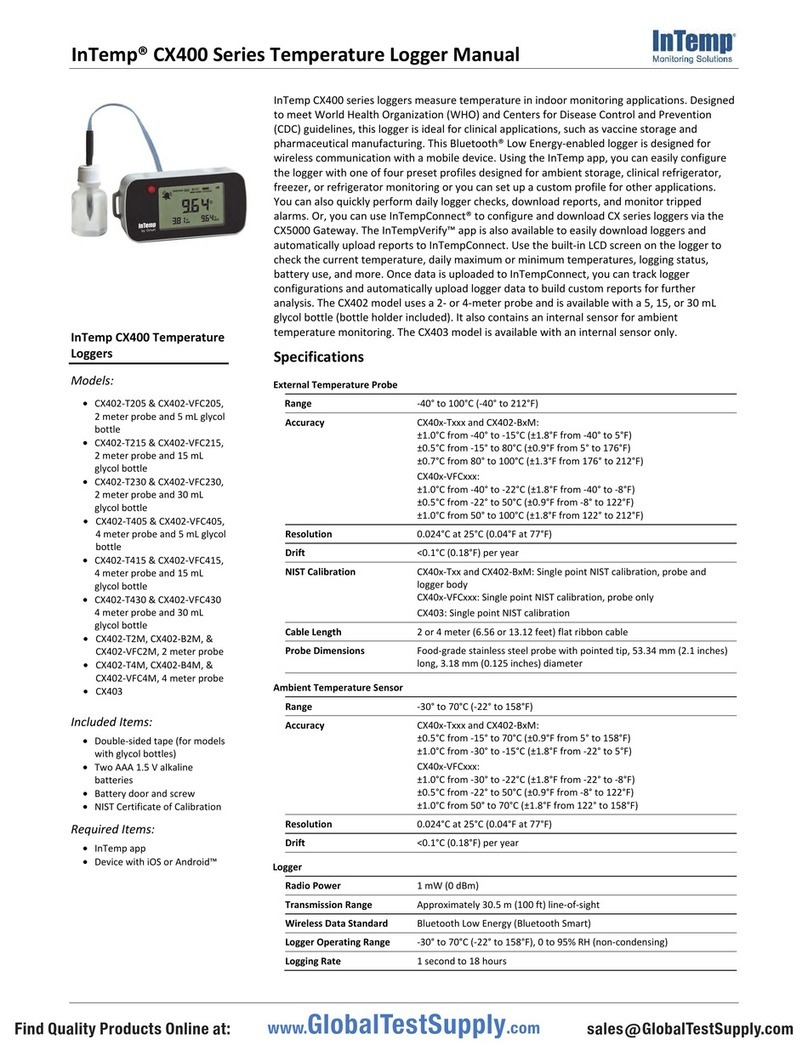
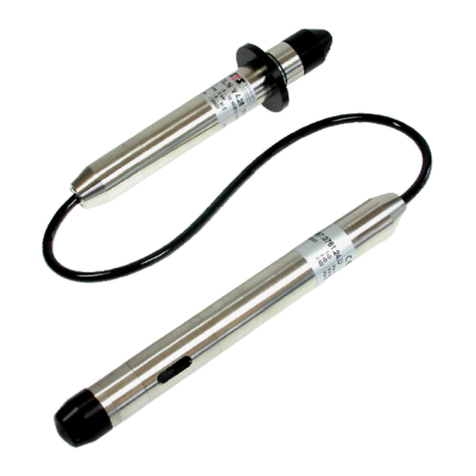
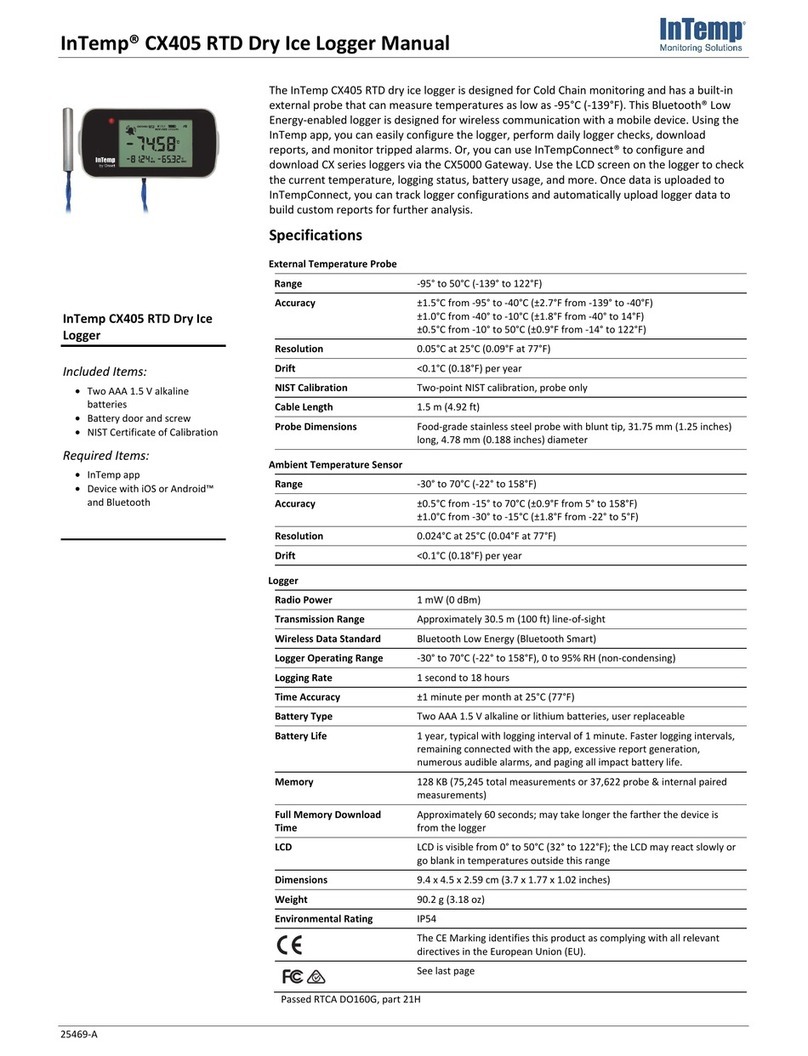
Intempco CX405 RTD User manual

Quick Start for the InTemp® CX405 RTD Dry Ice Logger
1 Administrators: Set up an InTempConnect®account.
Note: If you are using the logger with the InTemp app only, skip
to step 2.
New administrators: Follow all steps. Need to just add a new
user? Follow steps c and d.
a. Go to www.intempconnect.com and follow the prompts to set
up an administrator account. You’ll receive an email to activate
the account.
b. Log into www.intempconnect.com and add roles for the users
you will be adding to the account. Select System Setup and
then Roles. Click Add Role, enter a description, select the
privileges for the role and click Save.
c. Select System Setup and then Users to add users to your
InTempConnect account. Click Add User and enter the email
address and first and last name of the user. Select the roles for
the user and click Save.
d. New users will receive an email to activate their user accounts.
Install the batteries.
Install two AAA batteries in the logger, observing polarity. Insert
the battery door in the back of the logger making sure it is flush
with the rest of the logger case. Use the included screw and a
Phillips-head screwdriver to screw the battery door into place.
3Download the InTemp app and log in.
a. Download InTemp to a phone or tablet.
b. Open the app and enable Bluetooth® in
the device settings if prompted.
c. InTempConnect users: Log in with your InTempConnect
account email and password from the InTempConnect User
screen.
InTemp app only users: Swipe left to the Standalone User
screen and tap Create Account. Fill in the fields to create an
account and then log in from the Standalone User screen.
2
4 Configure the logger.
InTempConnect users: Configuring the logger requires privileges.
The logger includes preset profiles. Administrators or those with
the required privileges can also set up custom profiles (including
setting up daily logger checks) and trip information fields. This
should be done before configuring the logger. If you plan to use
the logger with the InTempVerify™ app, then you must create a
profile with InTempVerify enabled. For details, see
www.intempconnect/help.
InTemp app only users: The logger includes preset profiles. To
set up a custom profile, tap the Settings icon and tap CX400
Logger. Also, if you need to perform daily logger checks, tap
(continued)
25468-F MAN-QSG-CX405

4 (continued)
Record CX400 Logger Checks under Settings and select Once Daily
or Twice Daily. Do this before configuring the logger.
a. Tap the Devices icon in the app. Find the logger in the list and
tap it to connect to it. If the logger does not appear, make sure
it is within range of your device.
b. Once connected, tap Configure. Swipe left and right to select a
logger profile. Type a name for the logger. Tap Start to load the
selected profile to the logger. InTempConnect users: If trip
information fields were set up, you will be prompted to enter
additional information. Tap Start in the upper right corner
when done. Note: You can also configure the logger from
InTempConnect via the CX Gateway. See
www.intempconnect.com/help for details.
6 Download the logger.
Using the InTemp app, connect to the logger and tap Download. A
report is saved in the app. Tap the Reports icon to view and share
downloaded reports. To download multiple loggers at once, tap Bulk
Download on the devices tab.
InTempConnect users: Privileges are required to download, preview,
and share reports in the app. Report data is automatically uploaded to
InTempConnect when you download the logger. Log into
InTempConnect to build custom reports (requires privileges).
Note: You can also download the logger using the CX Gateway or the
InTempVerify app. See www.intempconnect.com/help for details.
5 Deploy and start the logger.
Deploy the logger to the location where you will be monitoring
the temperature. Logging begins based on the settings in the
profile selected. If the logger is configured to perform daily
checks, connect to the logger and tap Perform Check (Morning,
Afternoon, or Daily) every day.
For more information on using the logger and the
InTemp system, go to www.intempconnect.com/help
or scan the code at left.
1-508-743-3309 (U.S. and International)
www.onsetcomp.com/intemp/contact/support
© 2020–2023 Onset Computer Corporation. All rights reserved. Onset, InTemp, InTempConnect, and InTempVerify are trademarks or
registered trademarks of Onset Computer Corporation. App Store is a service mark of Apple Inc. Google Play is a trademark of Google
Inc. Bluetooth is a registered trademark of Bluetooth SIG, Inc. Bluetooth is a registered trademark of Bluetooth SIG, Inc. All other
trademarks are the property of their respective companies.
Patent #: 8,860,569 25468-F MAN-QSG-CX405
4 (continued)
Record CX400 Logger Checks under Settings and select Once Daily
or Twice Daily. This should be done before configuring the logger.
a. Tap the Devices icon in the app. Find the logger in the list and
tap it to connect to it. If the logger does not appear, make sure
it is within range of your device.
b. Once connected, tap Configure. Swipe left and right to select a
logger profile. Type a name for the logger. Tap Start to load the
selected profile to the logger. InTempConnect users: If trip
information fields were set up, you will be prompted to enter
additional information. Tap Start in the upper right corner
when done. Note: You can also configure the logger from
InTempConnect via the CX Gateway. See
www.intempconnect.com/help for details.
6 Download the logger.
Using the InTemp app, connect to the logger and tap Download. A
report is saved in the app. Tap the Reports icon to view and share
downloaded reports. To download multiple loggers at once, tap Bulk
Download on the devices tab.
InTempConnect users: Privileges are required to download, preview,
and share reports in the app. Report data is automatically uploaded to
InTempConnect when you download the logger. Log into
InTempConnect to build custom reports (requires privileges).
Note: You can also download the logger using the CX Gateway or the
InTempVerify app. See www.intempconnect.com/help for details.
5 Deploy and start the logger.
Deploy the logger to the location where you will be monitoring
the temperature. Logging will begin based on the settings in the
profile selected. If the logger was configured to perform daily
checks, connect to the logger and tap Perform Check (Morning,
Afternoon, or Daily) every day.
For more information on using the logger and the
InTemp system, go to www.intempconnect.com/help
or scan the code at left.
1-508-743-3309 (U.S. and International)
www.onsetcomp.com/intemp/contact/support
© 2020–2023 Onset Computer Corporation. All rights reserved. Onset, InTemp, InTempConnect, and InTempVerify are trademarks or
registered trademarks of Onset Computer Corporation. App Store is a service mark of Apple Inc. Google Play is a trademark of Google
Inc. Bluetooth is a registered trademark of Bluetooth SIG, Inc. Bluetooth is a registered trademark of Bluetooth SIG, Inc. All other
trademarks are the property of their respective companies.
Patent #: 8,860,569 25468-F MAN-QSG-CX405
Other Intempco Data Logger manuals

Intempco
Intempco CX501 User manual
Intempco
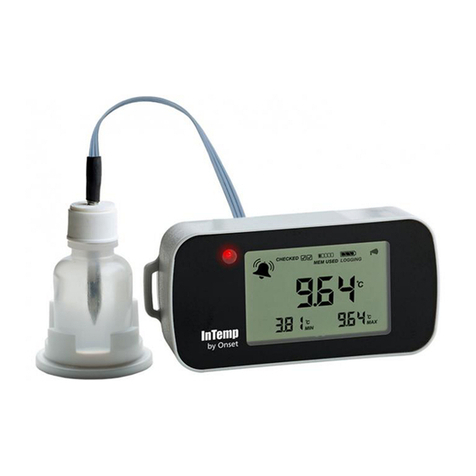
Intempco CX405 RTD User manual
Intempco
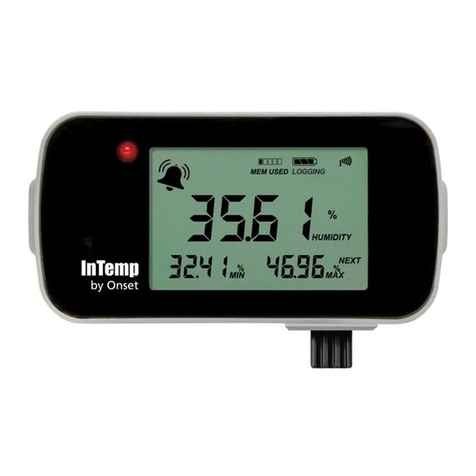
Intempco CX402-T205 User manual
Intempco
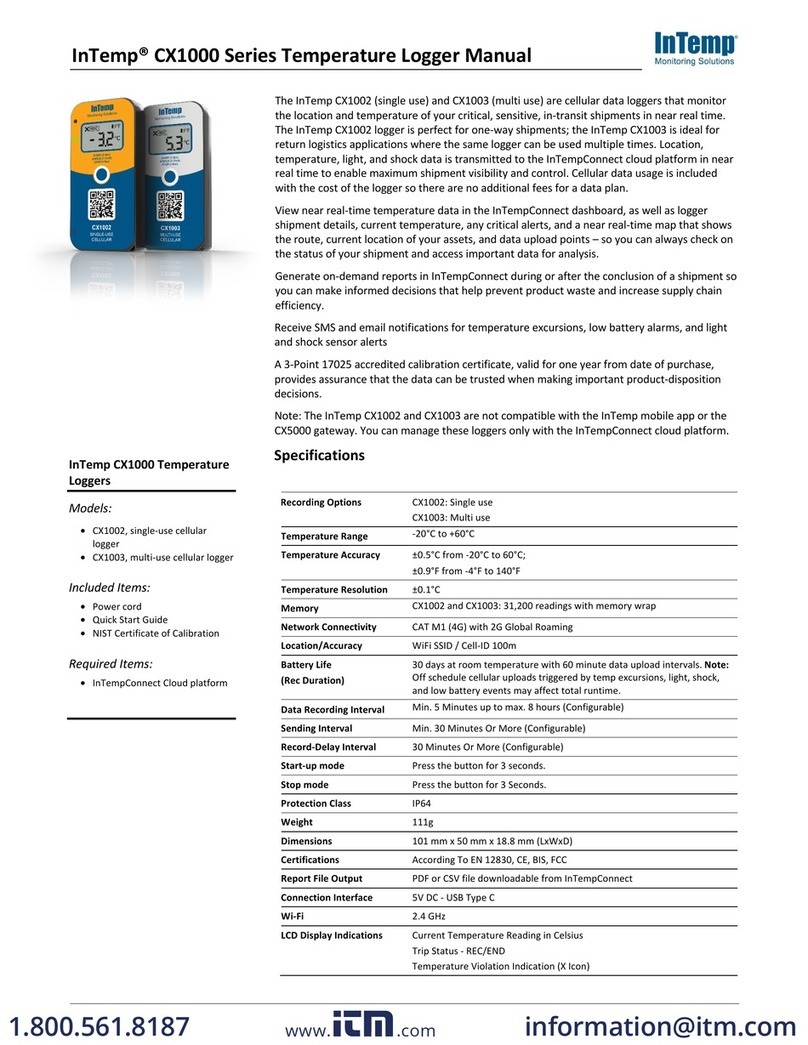
Intempco CX450 User manual
Intempco
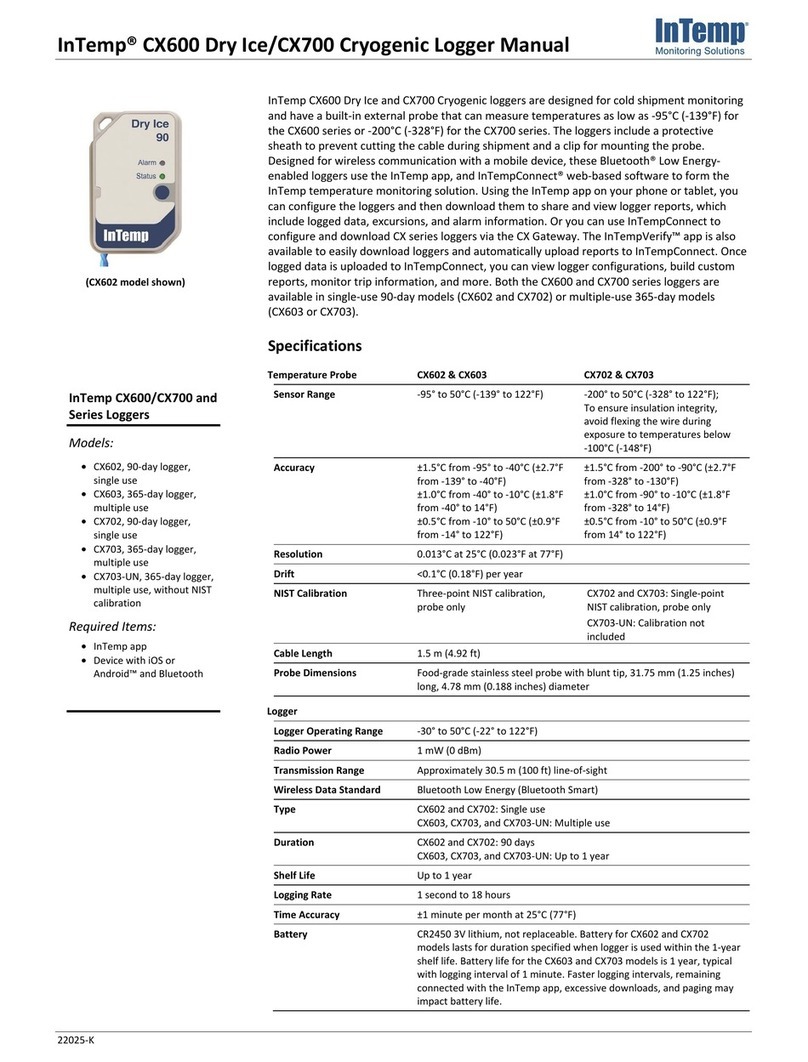
Intempco CX1000 Series User manual
Intempco
Intempco CX600 User manual
Intempco
Intempco CX600 Series User manual
Intempco
Intempco CX600 Series User manual
Intempco
Intempco CX500 Series User manual
Intempco
Intempco CX600 Dry Ice User manual

