Product Notes
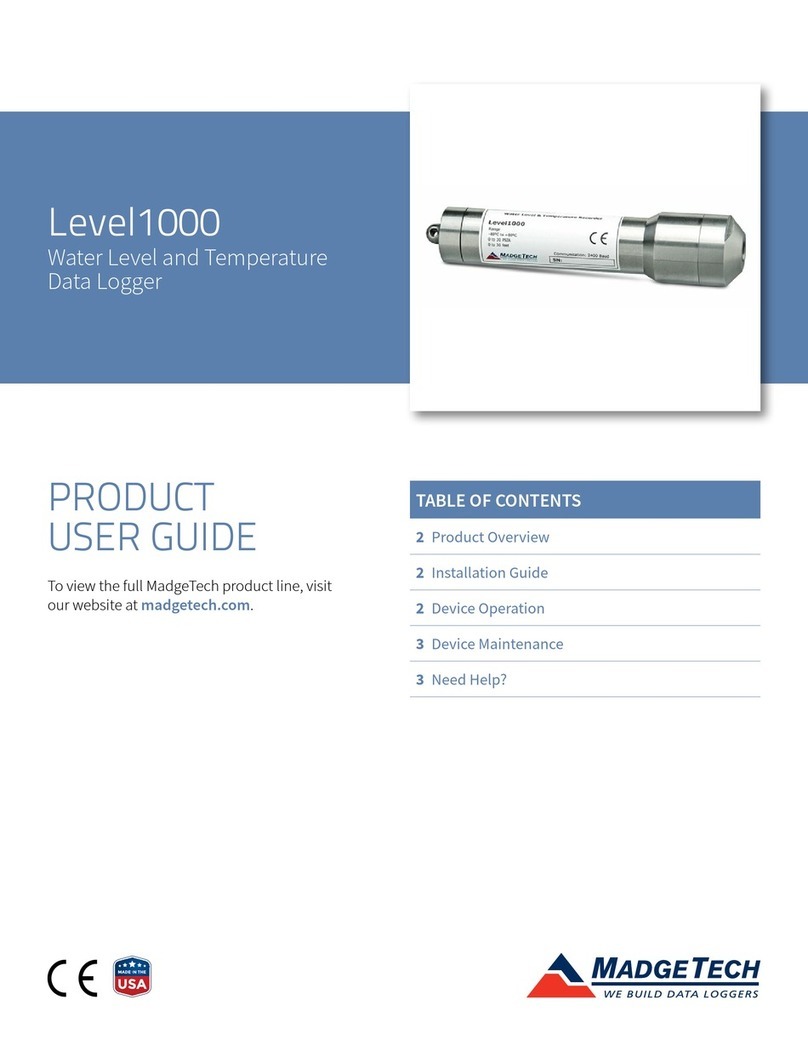
The Level2000 is a vented water level and temperature data logger. The stainless steel
housing allows the device to be used in fresh water applications. The device is equipped
with a 15 PSIG sensor, allowing the device to measure down to 30’ of water.
The Level2000 is atmospheric pressure compensated; therefore, the end of the tubing
must remain above water. The tubing also contains a serial cable for connecting the data
logger to a PC; do not allow water or other liquids to come into contact with the end of the
serial cable.
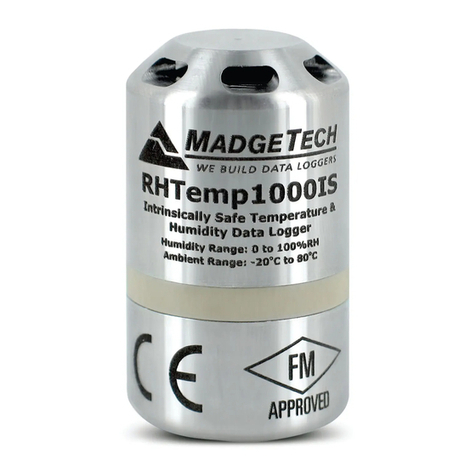
The Level2000 communication end (vented end) contains a desiccant cartidge to absorb
moisture that may build up in the cable. Unsaturated, the desiccant is blue in color and will
turn pink once it has become saturated. The whole cartidge, which contains the desiccant
and vent cap, can be removed and baked for ~2 hours at 250 °F-300 °F to regenerate
it. There is no need to remove the o-rings before baking as they are rated up to 400 °F.
The desiccant cartridge can also be replaced, please contact MadgeTech for ordering
information.
Getting Started
To access the COM Port for the interface cable, unscrew the key-ring end cap. Screw the
end cap onto the data logger until the o-ring cannot be seen, before deploying it.
Submergibility
The Level2000 is fully submergible and rated IP68. The standard model can be placed in
environments with up to 30 feet (9 m) of water. Custom ranged are available and can be
placed in environments up to 100 feet (30 m) of water.
O-Rings
O-ring maintenance is a key factor when properly caring for the Level2000. The o-rings
ensure a tight seal and prevent liquid from entering the inside of the device.
Please refer to the application note “O-Rings 101: Protecting Your Data”, found on the
MadgeTech website, for information on how to prevent O-ring failure.
Installation Guide
Installing the Interface cable
- IFC200: Insert the device into a USB port. The drivers will install automatically.
- IFC110: Plug the serial cable into the port and verify it is secure.
Installing the software
Insert the Software USB Stick in an open USB port. If the autorun does not appear, locate
the drive on the computer and double click on Autorun.exe. Follow the instructions pro-
vided in the Wizard.
Device Operation
Connecting and Starting the data logger
- Once the software is installed and running, plug the interface cable into the data logger.
- Connect the USB end of the interface cable into an open USB port on the computer.
- The device will appear in the Connected Devices list, highlight the desired data logger.
Product Information Card
Level2000
- For most applications, select “Custom Start” from the menu bar and choose the desired
start method, reading rate and other parameters appropriate for the data logging
application and click “Start”. (“Quick Start” applies the most recent custom start options,
“Batch Start” is used for managing multiple loggers at once, “Real Time Start” stores the
dataset as it records while connected to the logger.)
- The status of the device will change to “Running”, “Waiting to Start” or “Waiting to
Manual Start”, depending upon your start method.
- Disconnect the data logger from the interface cable and place it in the environment to
measure.
Note: The device will stop recording data when the end of memory is reached or the device is stopped. At this point the device
cannot be restarted until it has been re-armed by the computer.
Downloading data from a data logger
- Highlight the data logger in the Connected Devices list. Click “Stop” on the menu bar.
- Once the data logger is stopped, with the logger highlighted, click “Download”. You will
be prompted to name your report.
- Downloading will offload and save all the recorded data to the PC.
Device Maintenance
Battery Replacement
Materials: Small Needle Nose Pliers and a Replacement Battery (TL-2150)
- Remove the communication port cap.
- Remove the retaining ring using the pliers and white washer.
- Carefully unscrew the tube from the pressure sensor fitting and pull the electronics out.
- The battery is the purple cylinder on the circuit board, gently pull out the battery
- Insert the new battery one lead at a time, pressing down firmly with your index finger
to make sure the lead is secure in its terminal. Note: the battery should be flat against the
circuit board, and the positive lead should be closest to the communications jack.
- Ensure the circuit board is inserted into the white plastic bushing. The sensor cable
should not be twisted, or kinked. From the connection on the circuit board, it should run
up towards the battery, then down to the sensor.
- Insert the Teflon washer and retaining clip to secure the electronics.
- Insert the electronics back into the tube and carefully screw the cap on.
Recalibration
The Level2000 standard calibration is performed at 25 °C for the temperature channel and
0 inH20 and between 375-415 inH20 for the level channel.
.
5
10
15
20
25
30
