2 / EN P/N 1072586C-EN • REV 1.0 • ISS 31OCT12
Note: The TruVision Device Finder can only detect
devices that are on the same LAN. The tool cannot detect
devices placed on a VLAN.
2. Change the device settings as required. Click Exit when
completed.
Note: You must reboot to activate the new IP address or
subnet mask.
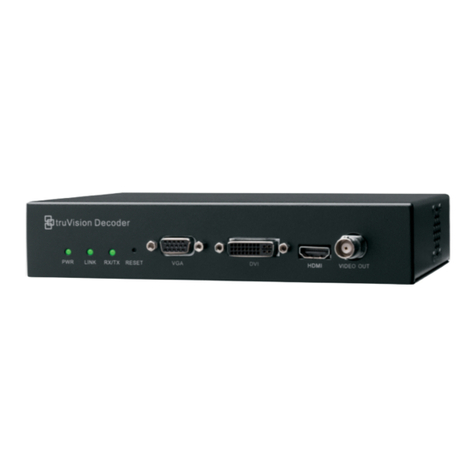
Before you start
Before accessing the browser, you need to configure the
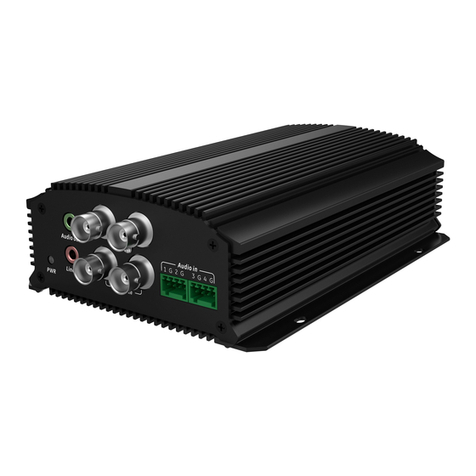
network settings of the encoder. Connect the encoder to the
LAN, and connect a computer to the same LAN as the
encoder.
The encoder’s factory default user name is admin and the
password is 1234. The encoder’s factory default IP address is
192.168.1.70.
Accessing the web browser
The on-screen display menus are in English only.
To access the web browser:
1. Open the web browser and enter the IP address of the
encoder (for example, http://192.168.1.70). Press the
Enter key on the computer. The system displays the login
window.
2. Enter the user name (default: admin) and password
(default: 1234) to log into the system. The main page of
the encoder appears, which is Live View by default (see
Figure 3.
Live view
Figure 3: Live view
Table 1: Description of the live view functions
Item Name Description
1. Menu toolbar Lets you do the following:
• View live video
• Play back video
• Search for event logs
• Configure settings
• Exit the interface
2. Viewer View live video.
Item Name Description
3. Device list Display the encoder and its channels.
4. Display format
Define how you want video to be displayed
in the viewer; single window, 2X2, 3X3 or
4X4 (2X2 shown above).
When in multiview mode, double-click on a
video tile to get full-screen mode. Double-
click again to return to multiview mode.
5. Video function toolbar
/ Click to start/stop live view.
Click to capture a snapshot of a video
image. The image is saved on the
computer.
/Click to manually start/stop recording video.
Click to display the previous camera view.
Click to display the next camera view.
/Click to turn audio on/off.
6. Video image Adjust the brightness, hue and saturation of
live video.
7. Preset
setup/selection Set up and select presets.
8. PTZ control
panel Control PTZ of the currently selected
camera, adjust the speed of PTZ movement
and turn on/off the camera light and wiper.
To see live view:
1. Open the encoder’s web browser screen.
2. Click Live View in the menu toolbar. See Figure 3.
3. Double-click a camera from the device list to select a
camera to view.
4. Click the Display Format button to view multiple video
tiles.
Menu tree
Use the menu toolbar to access the live view, playback and log
search functions and to configuration the encoder. See
Figure 4. Please refer to the user manual for detailed
information on these menu functions.
Table 2: Description of the menu toolbar functions
Function Description
Live View Normal operating mode of the device. View
live images from the cameras. See Figure 3
and Table 1 for more information.
Playback Search and play back recorded videos by
camera, date and time
Log View and export system logs.
