manuals.online logo
Brands
  1. Home
  2. •
  3. Brands
  4. •
  5. Intermatic
  6. •
  7. Protection Device
  8. •
  9. Intermatic IG1240RC User manual

Intermatic IG1240RC User manual

MODEL IG1240RC
INSTALLATION INSTRUCTIONS
(FIG.1)
CAUTION
Electricity is dangerous; follow safety rules. Never work on equipment with the
electricity turned “ON”. Be absolutely certain the power is turned “OFF” to the
circuit or device you are installing. Be sure you read and understand all of these
installation steps before you begin to install this Surge Protection Device. For
your protection, check and follow your local electrical codes. Do not touch
electric circuits or devices when you are wet or standing on a wet surface. Use
a circuit tester or AC voltmeter to be sure the electricity is “OFF” before you
touch wires or devices. This device is suitable for use on a circuit capable of
delivering not more than 25,000 rms symmetrical ampers, 240 volts maximum.
NOTE:
ELECTRICAL GROUND IS REQUIRED FOR THIS UNIT TO
FUNCTION PROPERLYAND SAFELY!
STEP 1
Select a mounting location for the Surge Protection Device (SPD) which will
allow convenient connection to the panel while keeping the lead wires as
short as possible. Use an AC voltmeter or circuit tester across two breaker
outputs to confirm that there is 240 volts between them. If the voltage is 0,
select a different breaker of equal amperage.
OPERATION
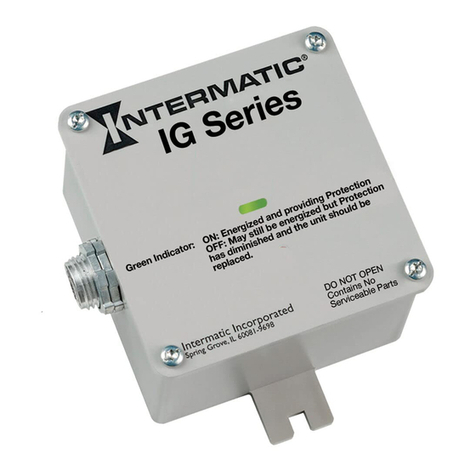
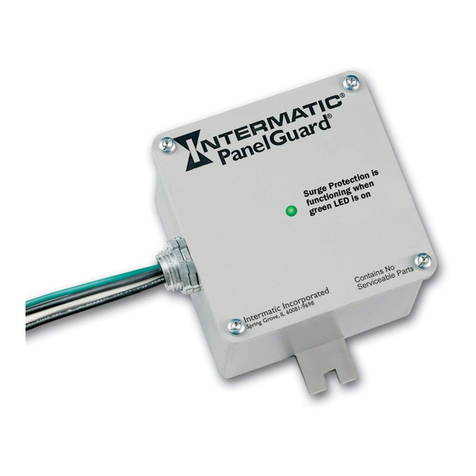
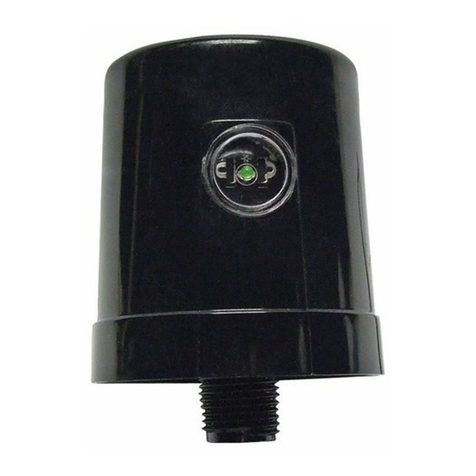
Both green indicator lights will be ON when power is present and the IG1240RC
is operating properly. If one of the indicator lights is OFF, check the breakers to
make sure that both are on and not tripped. If one or both of the green indicators
are OFF, and the red indicator is on, the IG1240RC is no longer protecting.
Replace the unit.
FIVE YEAR PRODUCT WARRANTY
SURGE PROTECTION DEVICES
If within five (5) years from the date of purchase, this surge protection device fails
due to defect in material or workmanship, Intermatic Incorporated will repair or
replace it free of charge. The warranty does not apply to: (a) damage caused by
accident, abuse, mishandling, dropping; (b) units which have been subject to
unauthorized repair, opened, taken apart; (c) units not used in accordance with
directions; (d) damages exceeding the cost of the product. Some states do not
allow a limitation of damages, so the foregoing limitations may not apply to you.
This warranty gives you specific legal rights and you may also have other rights
which vary from state to state. This warranty service is available by either (a)
returning the product to the dealer from whom the unit was purchased, or
(b) by contacting Intermatic at 1-800-270-7227.
For complete information regarding the Warranty on this product, refer to the
enclosed form, “FIVE YEAR LIMITED PRODUCT and CONNECTED
EQUIPMENT WARRANTY for INTERMATIC Panel Guard Residential SURGE
PROTECTION DEVICE”.
INTERMATIC INCORPORATED
SPRING GROVE, ILLINOIS 60081-9698
HTTP: WWW.INTERMATIC.COM
158IG11162
STEP 2
Check all parts to be sure none are missing. You should have:
QUANTITY DESCRIPTION
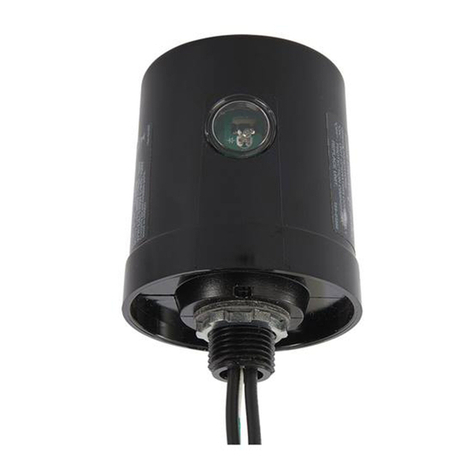
1IG1240RC Panel Protector with a
threaded connector and locking nut.
1Conduit Nut
STEP 3
Select the mounting for the protector at the panel. If you have a panel that is not
like the diagram (Fig. 3) call (815) 675-7000 for assistance between 8:00 am and
4:00 pm, weekdays, central time.
STEP 4
If you do not have a main power shut “OFF” (master switch) do not attempt the
work. Call a licensed electrician. Turn the main breaker or shut off switch to the
“OFF position). Use the circuit tester or AC voltmeter to be sure the circuits are
off.
STEP 5
Carefully remove the front trim panel. Choose and remove the desired knockout
through which the Protector wiring will enter into the breaker panel. Try to select
a knockout that will allow you to use the shortest
possible length of wire between the protector
and the circuit breakers.
STEP 6
Install the Protector by inserting the wire and the
threaded connector into the hole you knocked-
out in the breaker panel and secure it with the
locknut provided. If the breaker panel is recess
mounted into the wall use the IG12FMP-3
Flush Mounting Kit to recess the Protector. Follow the
instructions packaged with the flush mounting kit.
STEP 7
Check to assure that the electricity is “OFF”. Aneon circuit tester or AC Voltmeter
(Fig. 2) can be used, if you have one.
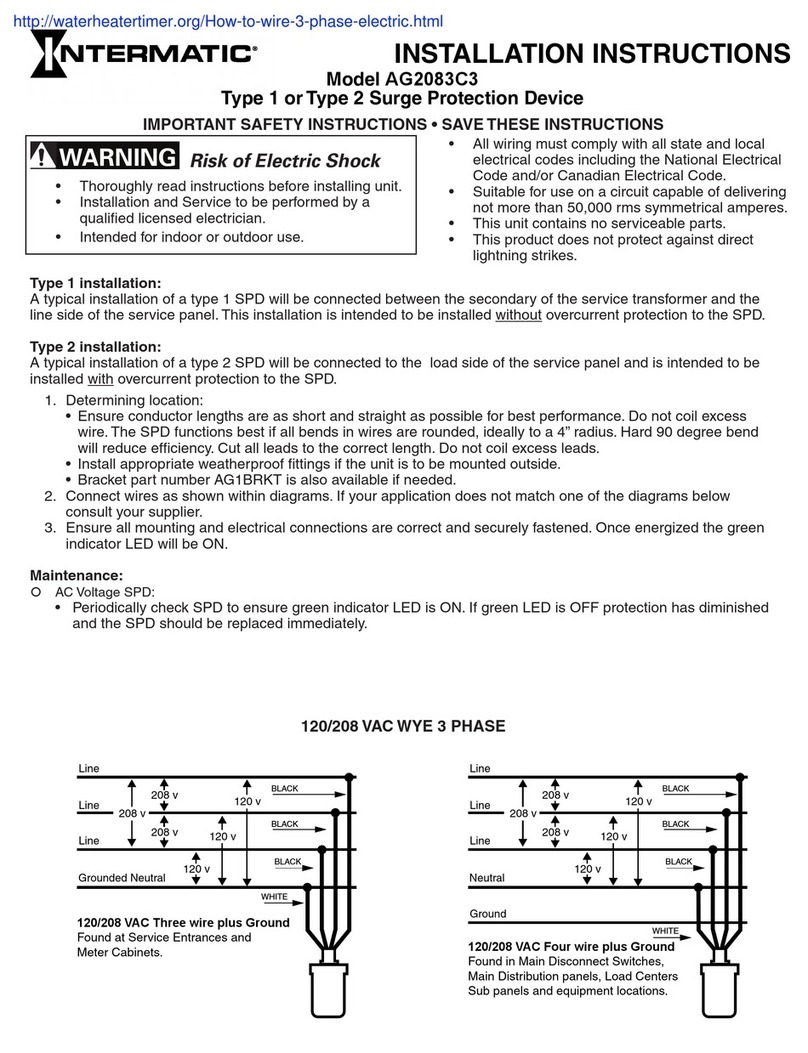
When connecting the wires, the green (ground) wire is connected first, then the
white (neutral) wire and the black wires as shown in Figure 3. The black wires
should be connected next to each other to two 15 or 20 ampere circuit breakers.
NOTE: The protector functions best if all bends in the wires are rounded, ideal-
ly to a 4” radius. Hard 90˚ bends reduce efficiency. Cut all leads to correct length.
DO NOT COIL EXCESS LEAD.
STEP 8
Route the green wire to the ground bus bar provided in the breaker panel.
Some panels do not have a separate ground bus bar so the green wire must then
be connected to the neutral bus bar mentioned in Step 9. This wire must be con-
nected for safety purposes.
STEP 9
Next, route and connect the white wire to the neutral bus bar provided in the
breaker panel.
STEP 10
The two black wires remaining must be connected to two separate 15 or 20 amp
circuit breakers, not to each other, to insure connection across the full 240 volt
AC incoming power circuit. Use the AC voltmeter or circuit tester across the
black wire connection to be sure the protector is providing full protection to your
panel. Not more than one wire should be connected to circuit breaker. It may be
necessary to add new breakers.
STEP 11
Check to be sure all wires are securely fastened and all screws are tight. You
can confirm that the protector is wired to the correct breakers if you can read
220 to 240 volts AC between the two breakers that the protector is connected
to. If there is no voltage between the two breakers, check to be sure that both
of the breakers and the master breaker are “ON”. If there is still no voltage
between the two breakers, then they are probable on the same leg, and you will
have to select another breaker for one of the black wires. BE SURE TO TURN
OFF THE MAIN BREAKER BEFORE YOU ATTEMPT TO MOVE ANY WIRES.
Replace the front trim panel on the circuit breaker panel. (continued on back...)
(FIG. 3)
(FIG. 2)
Other manuals for IG1240RC

1

Other Intermatic Protection Device manuals

Intermatic UG28 Parts list manual

Intermatic

Intermatic UG28 Parts list manual

Intermatic IG2T3R Manual

Intermatic

Intermatic IG2T3R Manual

Intermatic AG48013 User manual

Intermatic

Intermatic AG48013 User manual

Intermatic PG2000 User manual

Intermatic

Intermatic PG2000 User manual

Intermatic AG65033 User manual

Intermatic

Intermatic AG65033 User manual

Intermatic AG2403C3 User manual

Intermatic

Intermatic AG2403C3 User manual

Intermatic PG4000 Parts list manual

Intermatic

Intermatic PG4000 Parts list manual

Intermatic PG2500 User manual

Intermatic

Intermatic PG2500 User manual

Intermatic PG1000 Series Troubleshooting guide

Intermatic

Intermatic PG1000 Series Troubleshooting guide

Intermatic IG1200RC3 User manual

Intermatic

Intermatic IG1200RC3 User manual

Intermatic IG1CM User manual

Intermatic

Intermatic IG1CM User manual

Intermatic AG48013 User manual

Intermatic

Intermatic AG48013 User manual

Intermatic SG160 User manual

Intermatic

Intermatic SG160 User manual

Intermatic UG40 Parts list manual

Intermatic

Intermatic UG40 Parts list manual

Intermatic IG1200RC3 User manual

Intermatic

Intermatic IG1200RC3 User manual

Intermatic PG3000 Parts list manual

Intermatic

Intermatic PG3000 Parts list manual

Intermatic IG2TM User manual

Intermatic

Intermatic IG2TM User manual

Intermatic IG1201EH User manual

Intermatic

Intermatic IG1201EH User manual

Intermatic IG1CM User manual

Intermatic

Intermatic IG1CM User manual

Intermatic AG2401C3 User manual

Intermatic

Intermatic AG2401C3 User manual

Intermatic IG1C3R Manual

Intermatic

Intermatic IG1C3R Manual

Intermatic IG1300 User manual

Intermatic

Intermatic IG1300 User manual

Intermatic IG1240RC3 User manual

Intermatic

Intermatic IG1240RC3 User manual

Intermatic IG3240RC User manual

Intermatic

Intermatic IG3240RC User manual

Popular Protection Device manuals by other brands

Texas Instruments TPD4E101DPW Series user guide

Texas Instruments

Texas Instruments TPD4E101DPW Series user guide

Allen-Bradley Bulletin 1694 user manual

Allen-Bradley

Allen-Bradley Bulletin 1694 user manual

ABB REB650 2.1 IEC Product guide

ABB

ABB REB650 2.1 IEC Product guide

Ansell HYD-TUF 52-547/10 Instructions for use

Ansell

Ansell HYD-TUF 52-547/10 Instructions for use

BECKWITH ELECTRIC M-3425A Instruction book

BECKWITH ELECTRIC

BECKWITH ELECTRIC M-3425A Instruction book

Arcteq AQ 100 instruction manual

Arcteq

Arcteq AQ 100 instruction manual

Endress+Hauser HAW569 quick start guide

Endress+Hauser

Endress+Hauser HAW569 quick start guide

Transtector ACP Hardwire Series installation instructions

Transtector

Transtector ACP Hardwire Series installation instructions

Siemens SCALANCE S612 Commissioning and hardware installation manual

Siemens

Siemens SCALANCE S612 Commissioning and hardware installation manual

ABB RELION REX640 Product guide

ABB

ABB RELION REX640 Product guide

Cardin Elettronica CDR Series manual

Cardin Elettronica

Cardin Elettronica CDR Series manual

OBO Bettermann PDP-2-24-D Mounting instructions

OBO Bettermann

OBO Bettermann PDP-2-24-D Mounting instructions

Kemper 620 00 Installation and operating instructions

Kemper

Kemper 620 00 Installation and operating instructions

Cedes cegard/Lift LX/LY Installation and operation manual

Cedes

Cedes cegard/Lift LX/LY Installation and operation manual

ABB Relion REB500 Communication protocol manual

ABB

ABB Relion REB500 Communication protocol manual

Sygonix SY-3779070 operating instructions

Sygonix

Sygonix SY-3779070 operating instructions

Avon LFP LiFePO4 user guide

Avon

Avon LFP LiFePO4 user guide

UrbMob MK9S manual

UrbMob

UrbMob MK9S manual

manuals.online logo
manuals.online logoBrands
  • About & Mission
  • Contact us
  • Privacy Policy
  • Terms and Conditions

Copyright 2025 Manuals.Online. All Rights Reserved.