manuals.online logo
Brands
  1. Home
  2. •
  3. Brands
  4. •
  5. jablotron
  6. •
  7. Smoke Alarm
  8. •
  9. jablotron JA-150ST User manual

jablotron JA-150ST User manual

JABLOTRON ALARMS a.s.
Pod Skalkou 4567/33 46601 Jablonec n. Nisou
Czech Republic www.jablotron.com
||
|
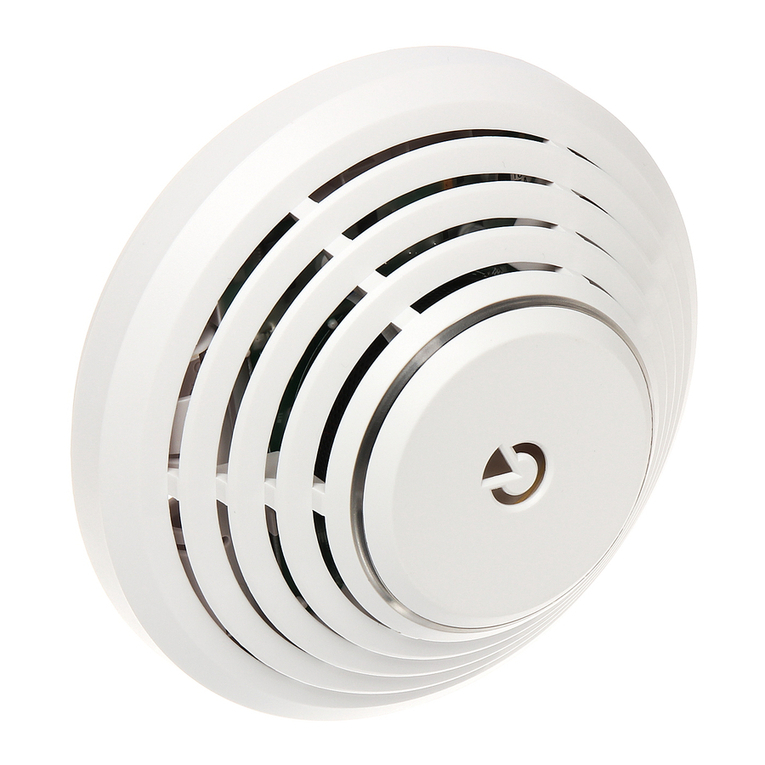
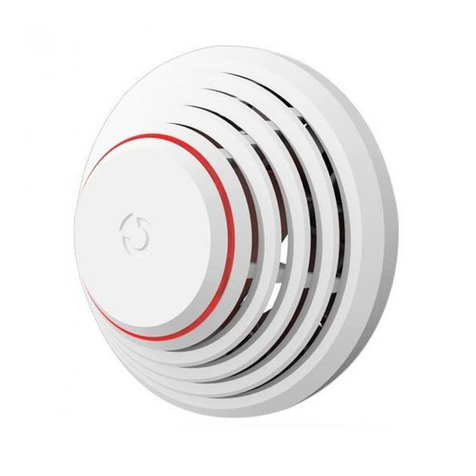
JA-150ST Wireless combined smoke and heat detector
JA-150ST Wireless combined smoke and heat fire detector 1 / 2 MLW51707
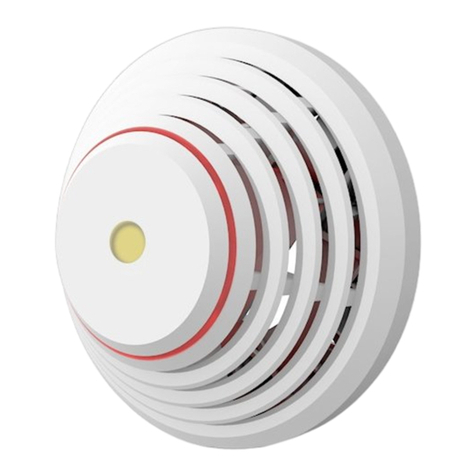
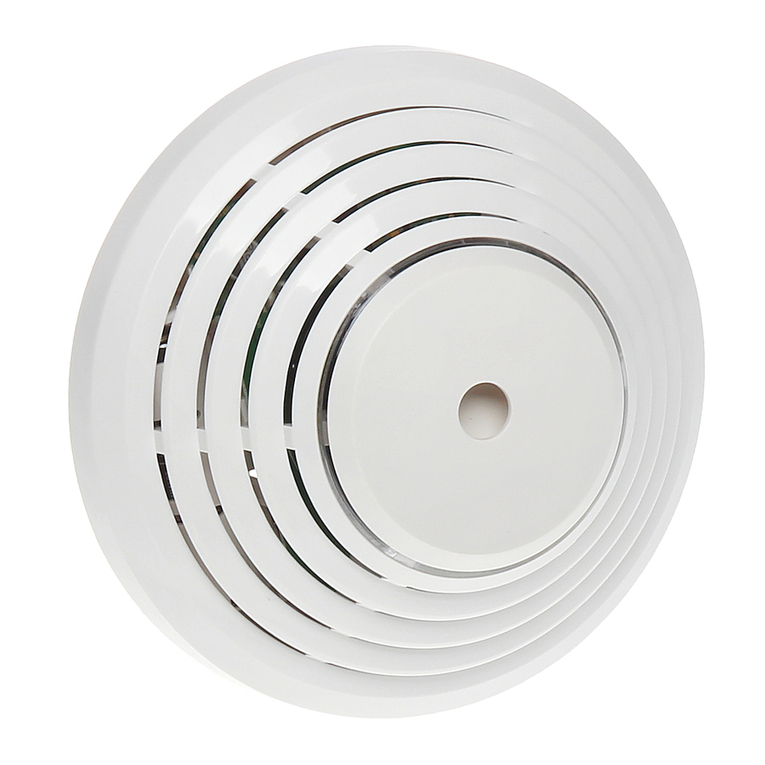
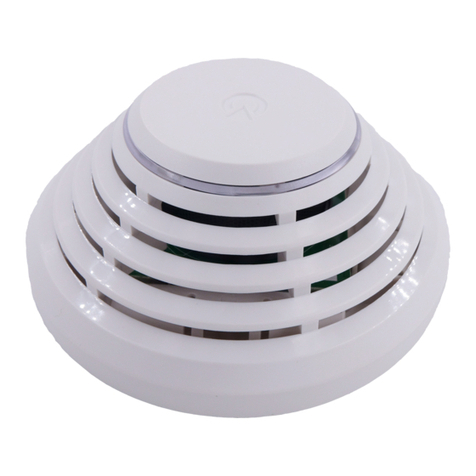
The JA-150ST is a component of the JABLOTRON JA-100 system.
It is used to detect fire hazards in a building interior. The product is not
designed to be installed in industrial premises. The detector is powered
by three LR6 (AA) type alkaline batteries, which are not included.
We recommend you buy them together with the detector.
The JA-150ST consists of an optical smoke detector and a heat
detector. The optical smoke detector is very sensitive to large dust
particles which are present in dense smoke. It is less sensitive to
smaller particles generated by the combustion of liquids such as
alcohol. That is why the fire detector also contains a built-in heat
detector which has a slower reaction but is much better at detecting fire
which generates only a small amount of smoke. The detector has
a status reaction (reports its activation and deactivation). The detector
should be installed by a trained technician with a valid certificate issued
by an authorized distributor.
Detector location
The smoke detector must be installed so that any smoke easily drifts
into the detector owing to natural thermal circulation (usually on the
ceiling). The detector can be used only in closed interiors. It is not
suitable for interiors where smoke can disperse over a large area and
cool down (e.g. interiors with extremely high ceilings – above 5 m) – the
smoke would not reach the detector position.
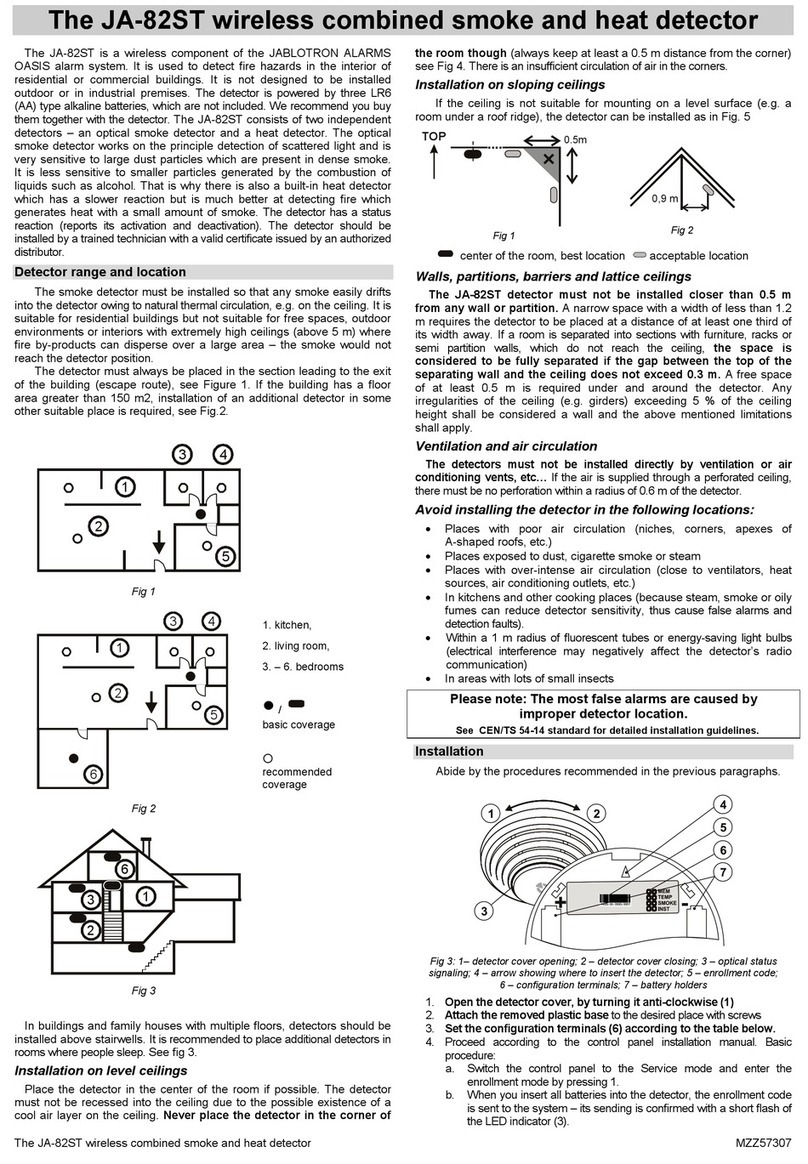
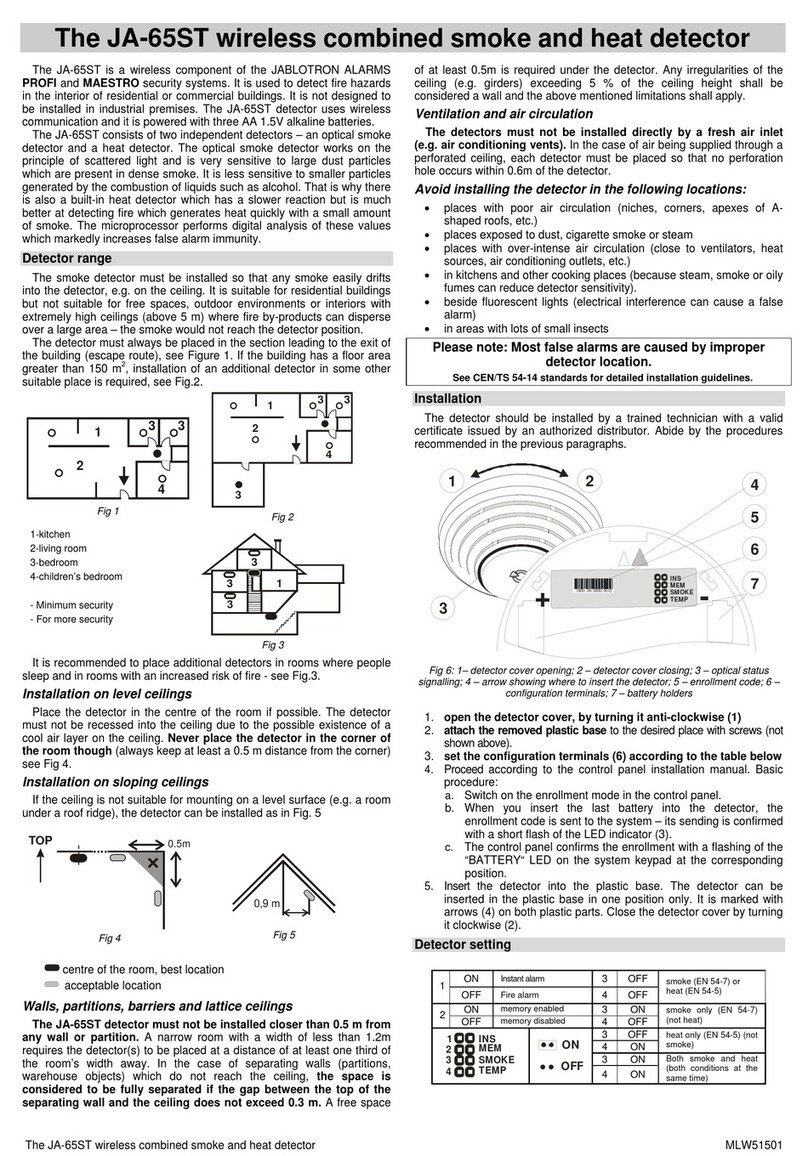
The detector must be always placed in the section leading to the exit
of the building (escape route), see Figure 1. If the building has a floor
area greater than 150 m2, installation of an additional detector in some
other suitable place is required, see Fig.2.
1
2
3 4
5
1. kitchen,
2. living room,
3. – 6. bedrooms
y/basic
coverage
{
recommended
coverage
Fig 1
1
2
3 4
5
6
Fig 2
1
2
3
6
Fig 3
In buildings and family houses with multiple floors, detectors
should be installed above stairwells. It is recommended to place
additional detectors in rooms where people sleep. See fig 3.
Installation on level ceilings
Place the detector in the centre of the room if possible. The detector
must not be recessed into the ceiling due to the possible existence
of a warm air layer on the ceiling. Never place the detector in the
corner of the room (always keep at least 0.5 m distance from the
corner) see Fig 4. There is an insufficient circulation of air in the
corners.
Installation on sloping ceilings
If the ceiling is not suitable for mounting on a level surface (e.g. a
room under a roof ridge), then the detector can be installed as in Fig 5.
0.5m
TOP
Fig 4
0,9 m
Fig 5
centre of the room, best location
acceptable location
Walls, partitions, barriers and lattice ceilings
The JA-150ST detector must not be installed closer than 0.5 m
from any wall or partition. A narrow space with a width of less than
1.2 m requires the detectors to be placed at a distance of at least one
third of its width away. If a room is separated into sections with
furniture, racks or semi partition walls, which do not reach the ceiling,
the space is considered to be fully separated if the gap between the top
of these and the ceiling does not exceed 0.3 m. A free space of at least
0.5m is required under and around the detector. Any irregularities of the
ceiling (e.g. girders) exceeding 5% of the ceiling height should be
considered a wall and the above-mentioned limitations should apply.
Ventilation and air circulation
The detectors must not be installed directly by ventilation or air
conditioning vents, etc… If the air is supplied through a perforated
ceiling, there must be no perforation within a radius of 0.6 m of the
detector.
Avoid installing the detector in the following locations:
Places with poor air circulation (niches, corners, apexes of
A-shaped roofs, etc.)
places exposed to dust, cigarette smoke or steam
Places with over-intense air circulation (close to ventilators, heat
sources, air conditioning outlets, etc.)
In kitchens and other cooking places (because steam, smoke or
oily fumes can reduce detector sensitivity, thus cause false alarms
and detection faults).
Within a 1m radius of fluorescent tubes or energy-saving light bulbs
(electrical interference may negatively affect the detector’s radio
communication)
In areas with lots of small insects
Warning: The most false alarms are caused by an
improper location of the detector.
See CEN/TS 54-14 standards for detailed installation
guidelines.
Installation
Abide by the procedures recommended in the previous paragraphs.
Fig 6: 1 – detector cover opening; 2 – detector cover closing;
3 – optical status signalling; 4 – arrow showing where to insert the detector
onto the bottom part; 5 – production code; 6 – configuration jumpers;
7 – battery holders
JA-150ST Wireless combined smoke and heat detector
JA-150ST Wireless combined smoke and heat fire detector 2 / 2 MLW51707
Instructions:
1. Open the detector cover, by turning it anti-clockwise (1).
2. Attach the removed plastic base to the desired place with screws.
3. Set the configuration jumpers (6) according to the table below.
4. Proceed according to the control panel installation manual. Basic
procedure:
a. Go to the F-Link program, select the required position in
the Devices window and launch Enrollment mode by
clicking on the Enroll option.
b. Insert all batteries into the detector, an enrollment code is
sent to the system – sending is confirmed with a short flash
of the LED indicator (3).
5. Insert the detector into the plastic base. The detector can be
inserted into the plastic base only in one position, which is marked
with arrows (4) on both plastic parts, provided that all three
batteries are inserted. Close the detector cover by turning
it clockwise (2). When the detector is fully secured to the base,
a control LED lights up (3), which indicates an automatic detector
test. During this period of time, the detector doesn’t detect anything.
The test ends when the LED shuts down (3), the detector becomes
fully operational. A possible detector fault may be indicated, see the
Fault indication chapter.
Note:
The detector can also be enrolled into the system by entering its serial number
(5) in the F-Link program or on a keypad (or using a bar code scanner).
All numbers stated under the bar code shall be entered (1400-00-0000-0001).
Detector settings
The detector properties can be set with configuration jumpers.
1
ON Memory disabled 2OFFSmoke(EN 54-
7) or heat (EN
54-5)
OFF Memory enabled 3 OFF
ON
OFF
2OFF Smoke only
(EN 54-7), (not
heat)
3ON
2ON Heat only (EN
54-5) (not
smoke)
3OFF
2ON Smoke and
heat (both
conditions at
the same time)
3ON
Jumper 1 MEM - Signalling the alarm memory. The signalling LED
remains active for 24 hours after the reason for the alarm ceases to
exist.
Jumper 2 and 3 TEMP and SMOKE - The combination of these
configuration jumpers defines how the detector will react to smoke and
heat.
It’s possible to change the system’s reaction to something other than
Fire using the F-Link program. This setting is in the Reaction options
in the Devices window.
Warning: This device cannot be considered a fire detector when
it’s configured to a different reaction. Upon detector activation, the
system signals accordingly to the settings of the control panel. The
detector will always signal activation by smoke or heat with
a quickly flashing red LED regardless of the configured reaction
and the control panel status (set/unset/service).
Fire alarm
Optical detector: When smoke enters the detector, an alarm is
triggered, and it is signalled with a rapidly flashing red LED light
(approx. 8 times per second). The indication lasts until the room is
ventilated (thus also ventilating the detector’s detection chamber).
Heat detector: When the temperature rises above a set limit, an
alarm is triggered, and it is signalled with a rapidly flashing red LED
(approx. 8 times per second). The indication lasts until the temperature
drops (e.g. when the room is ventilated).
Alarm memory: If enabled, LED alarm indication continues
flashing slowly (approx. 4 times per second) for a further 24 hours after
the alarm stops. The indication can be terminated by opening the
detector cover by turning it anti-clockwise and activating the tamper
sensor. WARNING! The control panel must be switched to Service
mode otherwise a Tamper alarm will be triggered.
Tamper alarm: When the detector cover is opened, the tamper
alarm is activated unless the control panel is in Service mode.
Detector testing and maintenance
Functionality of the optical part of the detector can be tested with a
test spray for smoke detectors. The functionality of the heat part can be
tested with a hairdryer. If the detector is configured to both conditions,
it’s necessary to conduct both spray and hairdryer tests at the same
time. The test should be carried out once in 30 days. The detector’s
cover should be cleaned regularly from cobwebs and dust. No
additional maintenance is necessary.
Warning: never test the detector with fire inside the building.
Battery replacement
The system sends a report automatically when the battery is low.
Optical indication then flashes briefly once every 30 seconds.
Remember to switch the system to Service mode before changing the
batteries otherwise a tamper alarm will be triggered. It is always
essential to replace all three batteries. Use the same type and the
same brand for all of them. Wait for 90 seconds in order to let the
detector’s circuitry discharge before inserting new batteries.
Fault indication
The detector checks its functionality. When a fault is detected, LED
indication immediately flashed 3 times and then briefly 3 times every 30
seconds (a failure of the automatic functionality test is signaled the
same way, see the Installation chapter). The error found may be
caused by a fault of the detection chamber, the temperature of the
environment being out of the operating temperature range or other
faults of the detector.
An operating temperature range fault will disappear the
moment the temperature of the environment turns back to normal.
Other faults found are indicated as a fault even after their cause
has gone. The fault indication can be stopped by the functionality
test. The functionality test is triggered by opening the detector
cover (fig 6-1), removing the lower plastic part and putting it back
(fig 6-2). If this test results in a fault, send the detector to the repair
service.
WARNING! The control panel must be switched to Service mode
otherwise a Tamper alarm will be triggered.
The detector will alert you in case of low batteries by an LED flashing
once every 30 seconds.
Technical specifications
Power 3x LR6 (AA) type alkaline batteries, 1.5 V
Warning: batteries are not included
Typical battery lifetime approx. 3 years
Communication band 868.1 MHz, Jablotron protocol
Communication range approx. 300 m (unrestricted area)
Dimensions diameter 126 mm, height 50 mm
Weight 142 g (without batteries)
Smoke detection optical light scattering
Smoke detector sensitivity m = 0.11 - 0.13 dB/m pursuant to EN 54-7
Heat detection class A2 according to EN 54-5
Alarm temperature +60 °C to +70 °C
Operating temperature range -10 °C to +80 °C
Complies with EN 54-5, EN 54-7, EN 54-25
Also complies with ETSI EN 300220, EN 50130-4
EN 55022, EN 60950-1
Can be operated according to ERC REC 70-03
15 1293-CPR-0508
JABLOTRON ALARMS a.s. hereby declares that the JA-150ST is in a compliance
with the relevant Union harmonisation legislation: Directives No: 2014/53/EU,
2014/35/EU, 2014/30/EU, 2011/65/EU. The original of the conformity assessment
can be found at www.jablotron.com - Section Downloads.
Note: Although this product does not contain any harmful materials
we suggest you return the product to the dealer or directly to the
producer after use.
Other jablotron Smoke Alarm manuals

jablotron JA-60SP User manual

jablotron

jablotron JA-60SP User manual

jablotron SD-283ST User manual

jablotron

jablotron SD-283ST User manual

jablotron JA-111ST-A User manual

jablotron

jablotron JA-111ST-A User manual

jablotron JA-60SR User manual

jablotron

jablotron JA-60SR User manual

jablotron JA-110ST User manual

jablotron

jablotron JA-110ST User manual

jablotron JA-82ST User manual

jablotron

jablotron JA-82ST User manual

jablotron JA-82ST User manual

jablotron

jablotron JA-82ST User manual

jablotron SD-209 User manual

jablotron

jablotron SD-209 User manual

jablotron SD-212 User manual

jablotron

jablotron SD-212 User manual

jablotron JA-85ST User manual

jablotron

jablotron JA-85ST User manual

jablotron JA-185ST User manual

jablotron

jablotron JA-185ST User manual

jablotron JA-65ST User manual

jablotron

jablotron JA-65ST User manual

jablotron JA-110ST User manual

jablotron

jablotron JA-110ST User manual

jablotron SD-212SP User manual

jablotron

jablotron SD-212SP User manual

jablotron JA-85ST User manual

jablotron

jablotron JA-85ST User manual

jablotron SD-728 User manual

jablotron

jablotron SD-728 User manual

jablotron JA-151ST User manual

jablotron

jablotron JA-151ST User manual

jablotron SD-503ST User manual

jablotron

jablotron SD-503ST User manual

jablotron JA-63ST User manual

jablotron

jablotron JA-63ST User manual

jablotron SD-280 User manual

jablotron

jablotron SD-280 User manual

Popular Smoke Alarm manuals by other brands

Universal Security Instruments MIB3050S manual

Universal Security Instruments

Universal Security Instruments MIB3050S manual

Mustang KYMI manual

Mustang

Mustang KYMI manual

Distech Controls GS-SDD Series Hardware installation guide

Distech Controls

Distech Controls GS-SDD Series Hardware installation guide

detectomat HDv 300 OS Series Operation and installation manual

detectomat

detectomat HDv 300 OS Series Operation and installation manual

First Alert SA520 user manual

First Alert

First Alert SA520 user manual

Edwards SIGA-270 manual

Edwards

Edwards SIGA-270 manual

EDS RK 100 R Technical manual

EDS

EDS RK 100 R Technical manual

Bosch FAS-420-TM Quick installation guide

Bosch

Bosch FAS-420-TM Quick installation guide

Xtralis VESDA VLC-400 Product guide

Xtralis

Xtralis VESDA VLC-400 Product guide

GE Security FASD700 installation manual

GE Security

GE Security FASD700 installation manual

A-Collection KD-122LA installation instructions

A-Collection

A-Collection KD-122LA installation instructions

nest PROTECT user guide

nest

nest PROTECT user guide

S&S Northern Merlin FAB-1 user guide

S&S Northern

S&S Northern Merlin FAB-1 user guide

LST HT-11001 Specification sheet

LST

LST HT-11001 Specification sheet

SANJIANG JTY-GD-H605 instruction manual

SANJIANG

SANJIANG JTY-GD-H605 instruction manual

Kidde 21027311 user guide

Kidde

Kidde 21027311 user guide

Ei Electronics Ei141 Ionisation installation instructions

Ei Electronics

Ei Electronics Ei141 Ionisation installation instructions

AAP AJ-765 manual

AAP

AAP AJ-765 manual

manuals.online logo
manuals.online logoBrands
  • About & Mission
  • Contact us
  • Privacy Policy
  • Terms and Conditions

Copyright 2025 Manuals.Online. All Rights Reserved.