Jack A4 User manual
A4 COMPUTERIZED LOCKSTITCH MACHINE

Product introduction-A
A3
A4
A4S
Followed by A2, A2S, A5, A6, etc.
Product introduction-A
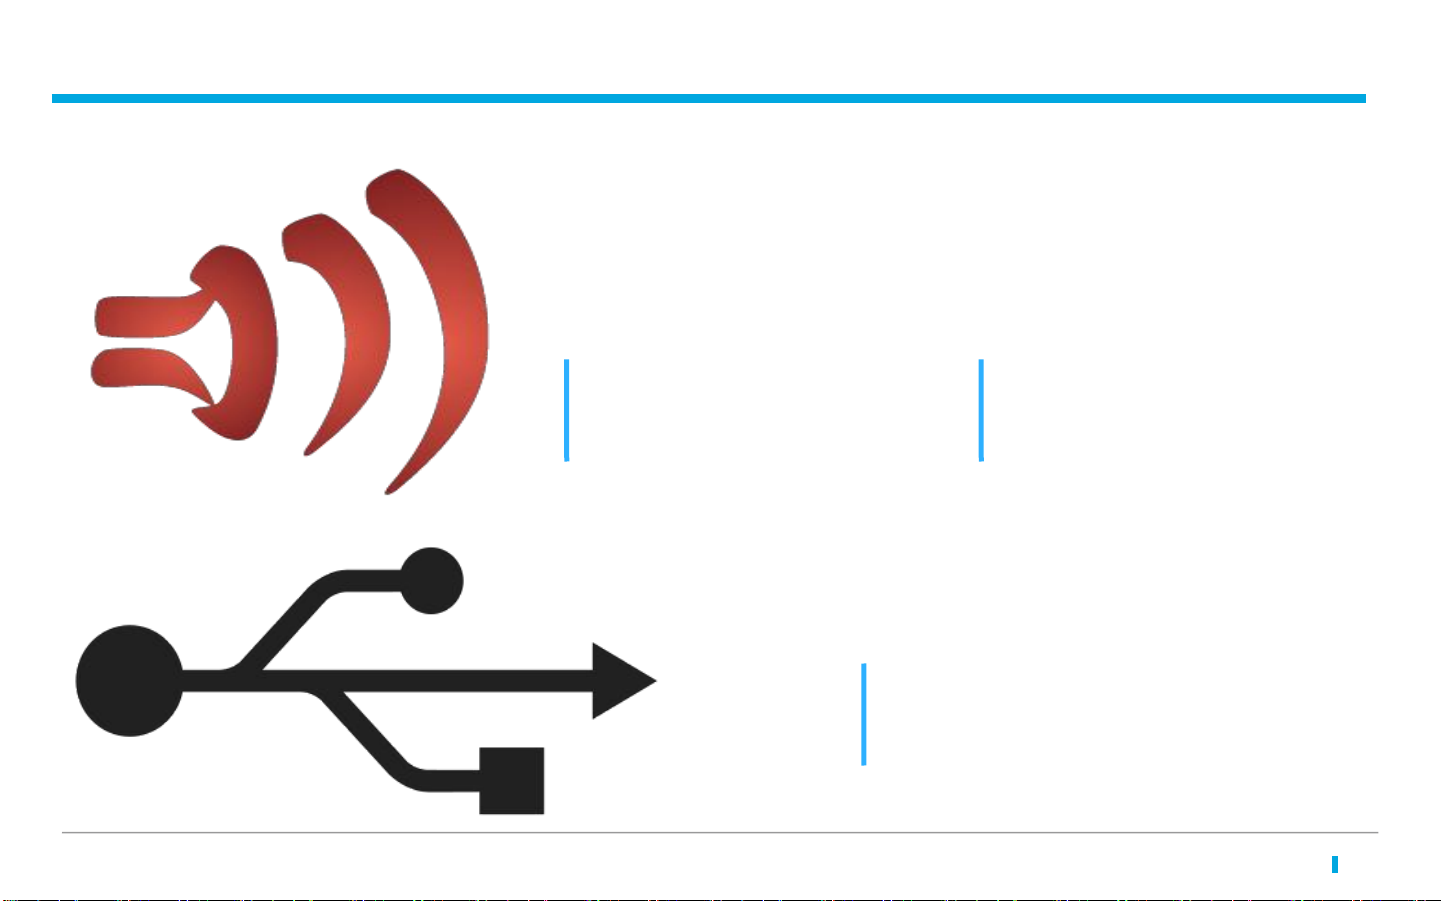
Each operation
has voice guide
Each botton has
voice reminder
USB Port
For charging
cell phone
PROJECT NAME | date 项目名称 | 日
期
CONFIDENTIA
L3
Voice Reminder
Little reminder,big sweetness
operating instructions-Factory Reset
PROJECT NAME | date 项目名称 | 日
期
CONFIDENTIA
L4
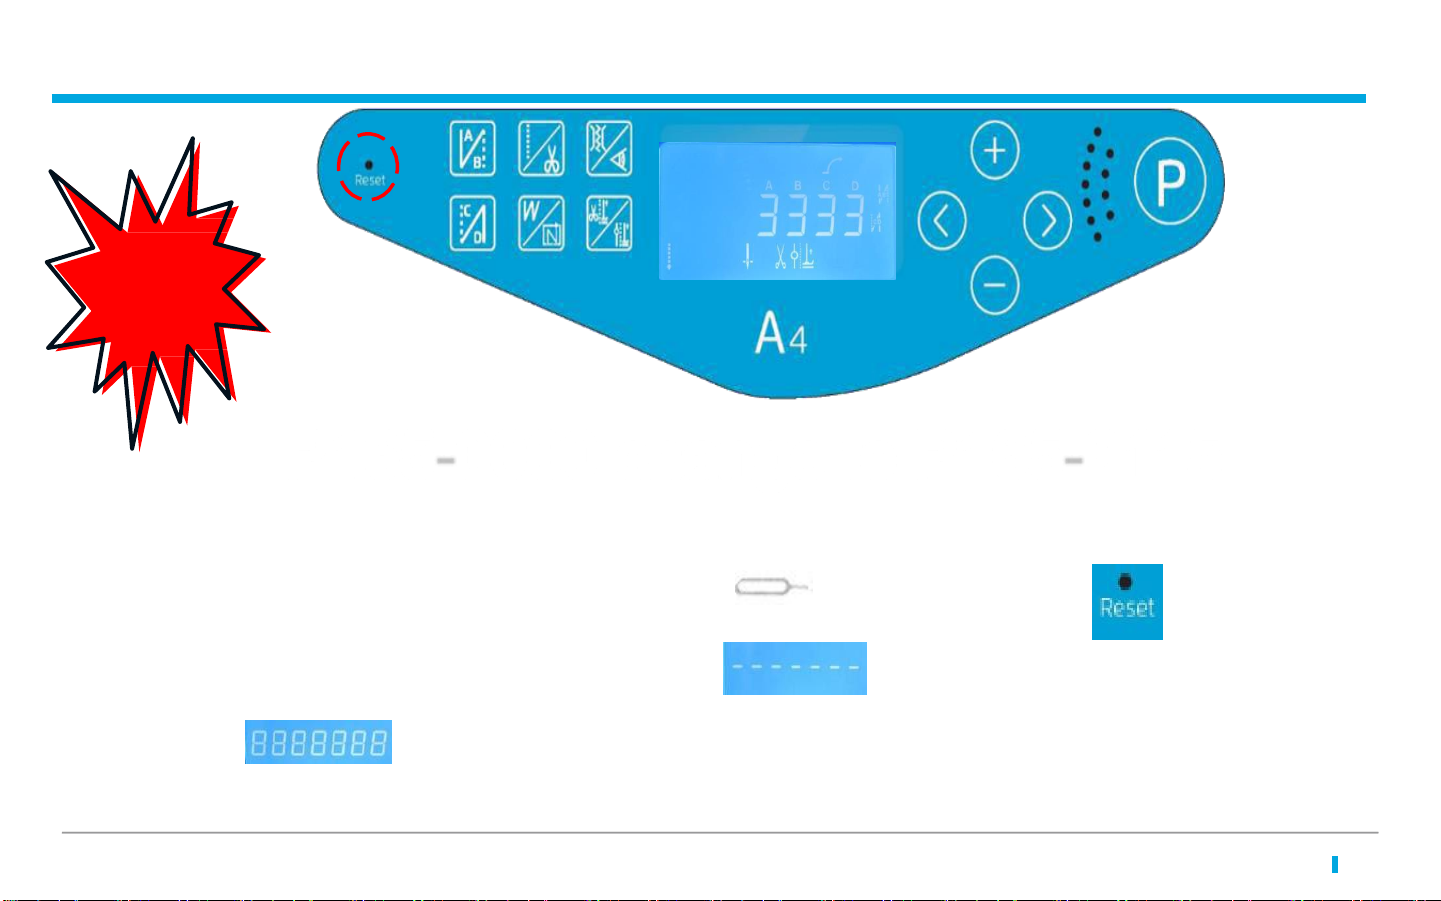
P165-0000 change to P165-2115 Reset
Reset with
one button
Operation steps:
On the condition of power on, using a sharp objective
PROJECT NAME | date 项目名称 | 日
期
CONFIDENTIA
L4
insert into the hole for 3 seconds to
restore the factory default. When the screen shows take out the sharp and the
screen shows then panel will display boot screen automatically, which means resets
successfully.

02operating instructions-before and after backstitch
operating steps:
In standby mode, press 、key,Set the number of before and
after backstitch
number of after backstitch
number of before
backstitch
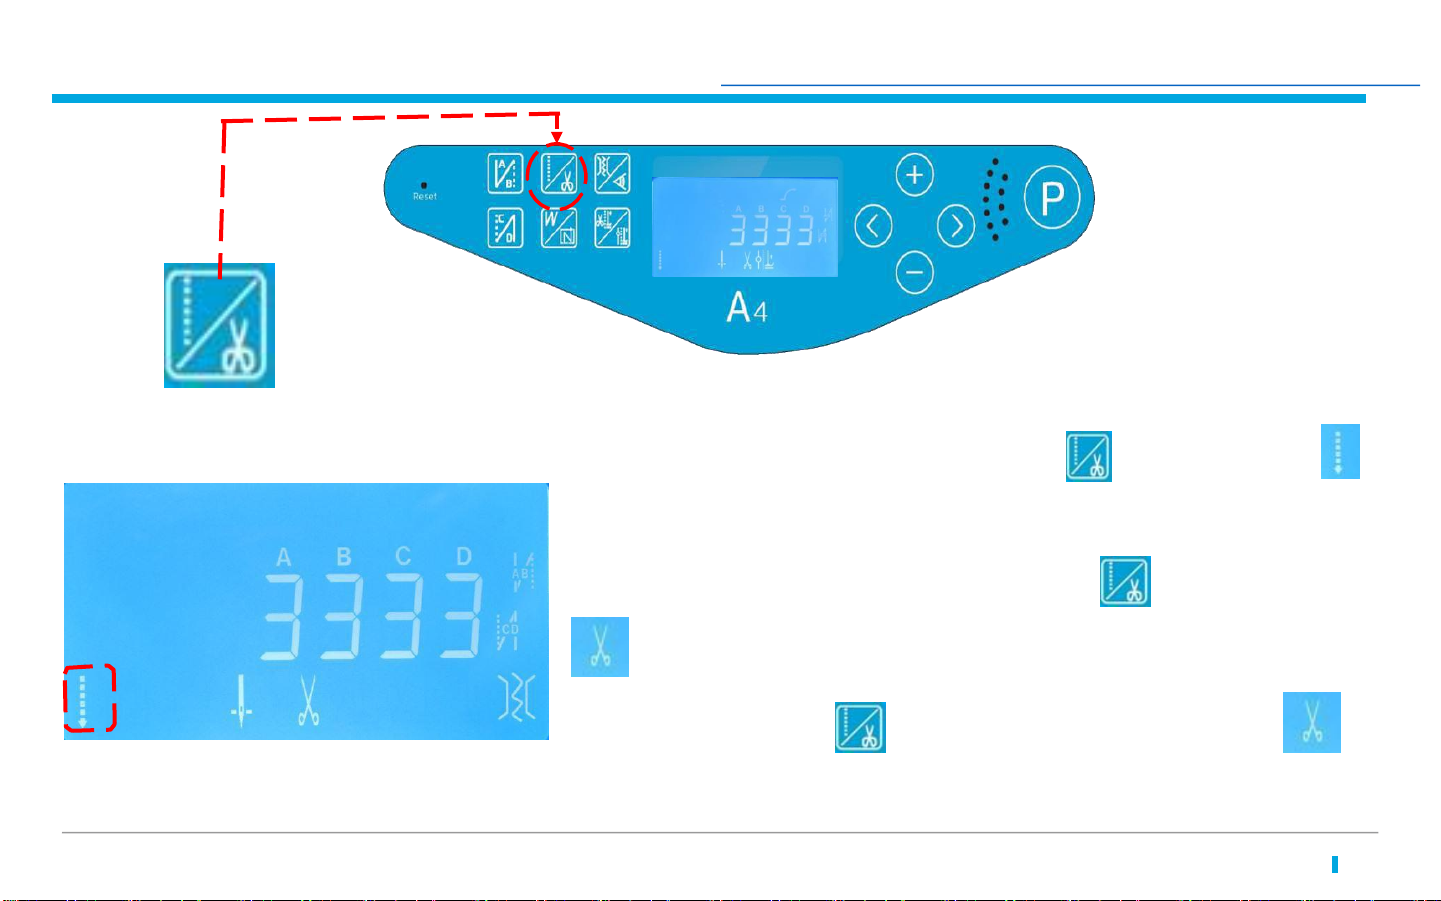
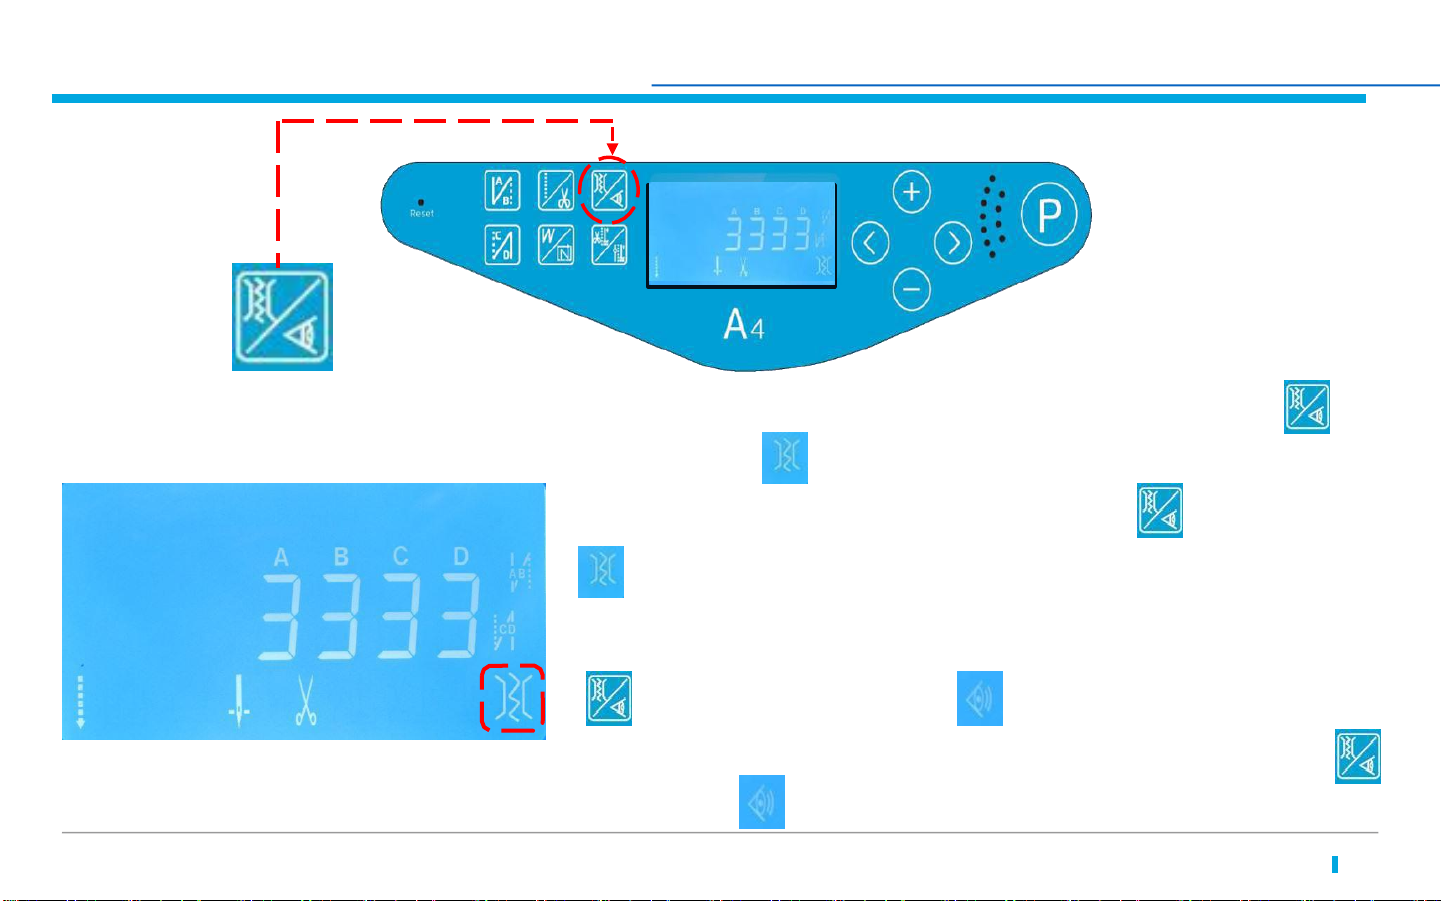
02operating instructions-Free sewing and thread trimming setting.mp4
Free sewing and
thread trimming
switch
LED screen area
PROJECT NAME | date 项目名称 日期 6
Free sewing: Press the button and the icon
display, means it’s free sewing mode at present.
Trimming switch: Press the button longer, the icon
display up, means the thread trimming is on.
Press the button longer again, the icon
not display, means the thread trimming is off.

operating instructions-W sewing settings.mp4
PROJECT NAME | date 项目名称 | 日
期
CONFIDENTIA
L7
W sewing /several
segment sewing
button
PROJECT NAME | date 项目名称 | 日
期
CONFIDENTIA
L7
A/B refers to the stitch numbers
of initial and final sewing
D refers to sewing
times
W sewing:Press the button ,and the icon
Press the button to the corresponding number flicking, then we can
use
to adjust. The maximum adjustable stitches of initial and final sewing is 15. The
maximum adjustable sewing times is 15.

operating instructions-Multi-segment sewing setting.mp4
PROJECT NAME | date 项目名称 | 日
期
The total segment number. And the maximum
adjustable segment is 24.
Segment number setting, the first segment, the second ...
Display the total number of segments of the set, change
the section number when you adjust.
The stitch number setting the first segment of the stitch
number is 16, and the range of the stitch is from 1 to 99.
LED screen
area
PROJECT NAME | date 项目名称 | 日
期CONFIDENTIAL 8
Several segment sewing button Multi-segment sewing setting: Press the button longer
longer, and icon display on the LED screen,
means that it's multi-segment sewing mode. And press
to move, the number is flicking, then you can use to set.
(Press longer)
operating instructions- Electronic tension device setting2.mp4
PROJECT NAME | date 项目名称 | 日
期
CONFIDENTIA
L9
Button for thread tension /
presser foot lifter sensor
LED screen area
Thread tension device setting : Press the button
and the icon display on the LED screen, means the
tension device is on . Press the button again, the icon
not display, means the tension device is off.
Setting of presser foot lifter sensor: Press the button
longer and the icon
means the presser foot lifter is on. Press the button
longer again, the icon not display, means the presser foot lifter is off.
display on the LED screen,
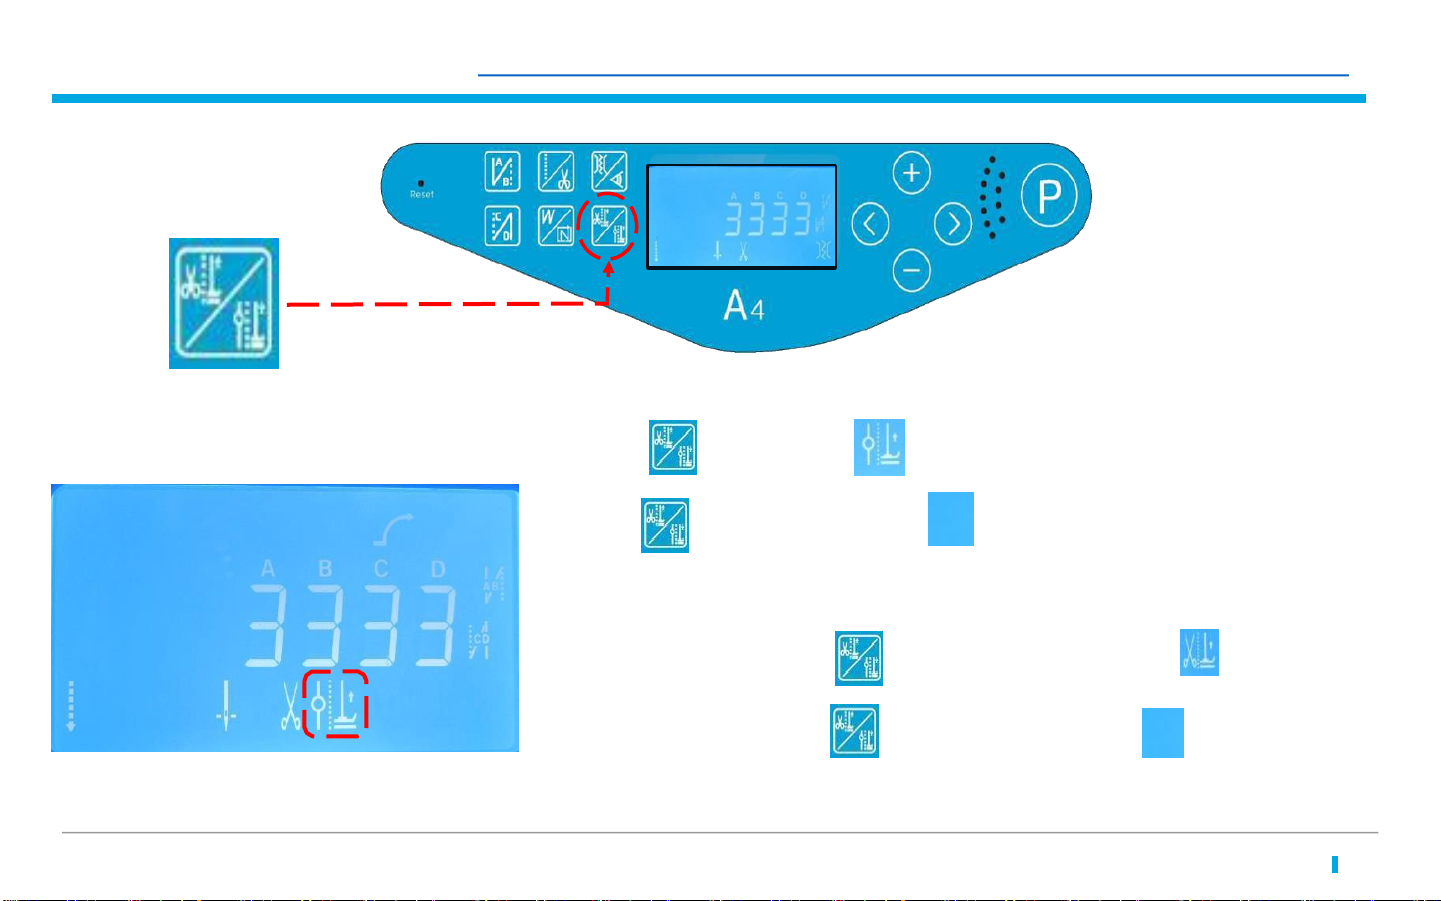
operating instructions-Automatic presser foot lifter settings .mp4
PROJECT NAME | date 项目名称 | 日
期
CONFIDENTIA
L10
Switch of press foot
lifter
The switch of press foot lifter after trimming:
Press , the icon display, means that the
press foot lifter after trimming is on.
Press again, the icon not display, means
that the press foot lifter after trimming is off.
The midway press foot lifter settings:
Press the button , the icon display ,
means that the midway press foot lifter is on.
Press the button again, the icon not
display, means the midway press foot lifter is
off.
Other manuals for A4
2
This manual suits for next models
2
Table of contents
Other Jack Sewing Machine manuals


