Japan Radio Co. JFE-380 User manual

01ETM ISO 9001, ISO 14001 Certified
Printed in Japan
Marine Service Department
+81-3-3492-1305
+81-3-3779-1420
Telephone :
Facsimile :
e-mail :
AMSTERDAM Branch
Telephone :
Facsimile :
e-mail :
+31-20-658-0750
+31-20-658-0755
SEATTLE Branch
Telephone :
Facsimile :
e-mail :
+1-206-654-5644
+1-206-654-7030
CODE No.7ZPNA2002CODE No.7ZPNA2002
APR. 2007 Edition 1 JRCAPR. 2007 Edition 1 JRC
Not use the asbestos
For further information,contact:
URL http://www.jrc.co.jp
INSTRUCTIONINSTRUCTION
MANUALMANUAL
Echo SounderEcho Sounder
JFE-380JFE-380

4th edition

General Information
Thank you for purchasing the Japan Radio Co., Ltd. JFE-380 Echo-Sounder. The JFE-380
conforms to the IMO (International Maritime Organization) performance standards, enabling
seabed displays and digital depth displays.
Before attempting to operate this equipment, read this instruction manual thoroughly to
ensure correct and safe operation in accordance with the warning instructions and operation
procedures.
You are strongly recommended to store this instruction manual carefully for future reference.
In the event that you have an operational problem or malfunction, this manual will provide
useful instructions
General Information i

General Information ii
4th edition

Before You Begin
Symbols Used In This Manual
To ensure that the equipment is used safely and correctly, and that the operator and third
parties are not exposed to danger or damage, pictograms are used in this manual and on the
equipment itself. These pictograms are described below.
Please familiarize yourself with these pictograms and the meanings they convey before
reading the rest of the manual.
Failure to observe a warning indication, leading to incorrect handling, may result in death or
serious injury to the operator.
Failure to observe a caution indication, leading to incorrect handling, may result in injury to
the operator, or physical damage to the equipment.
Example Pictograms
This mark is intended to alert the user to the presence of precautions including
danger and warning items. The picture in each mark alerts you to operations that
should be carefully performed.
This mark is intended to alert the user to the presence of prohibited activity. The
picture/word in/beside each mark alerts you to operations that are prohibited.
This mark is intended to alert the user to the presence of necessary instructions.
The picture in each mark alerts you to operations that must be performed.
Warning Labels
Warning labels are affixed to the cover of this equipment.
Do not attempt to remove, damage, or modify, the warning labels.
Before You Begin iii

Usage Hints
Do not remove the cover of this set. Otherwise, you
may touch a high-voltage part and suffer from an
electrical shock.
Do not dismantle or modify this equipment. Failure to
observe this warning may result in fire, electric shock, or
damage.
Do not place any vessels containing water or other
liquids, or metal objects, on top of this equipment. If
water is spilled on or metal objects fall into the equipment
there is a risk of fire, electric shock, or damage.
Do not insert or remove the power cord or operate
switches with a wet hand.
Otherwise, you may suffer from an electrical shock.
Usage Hints iv

Do not damage, break or modify the power cord.
When a heavy object is placed on the cord or the cord is
heated, pulled, or forcibly bent, the cord will be broken
resulting in a fire or an electrical shock.
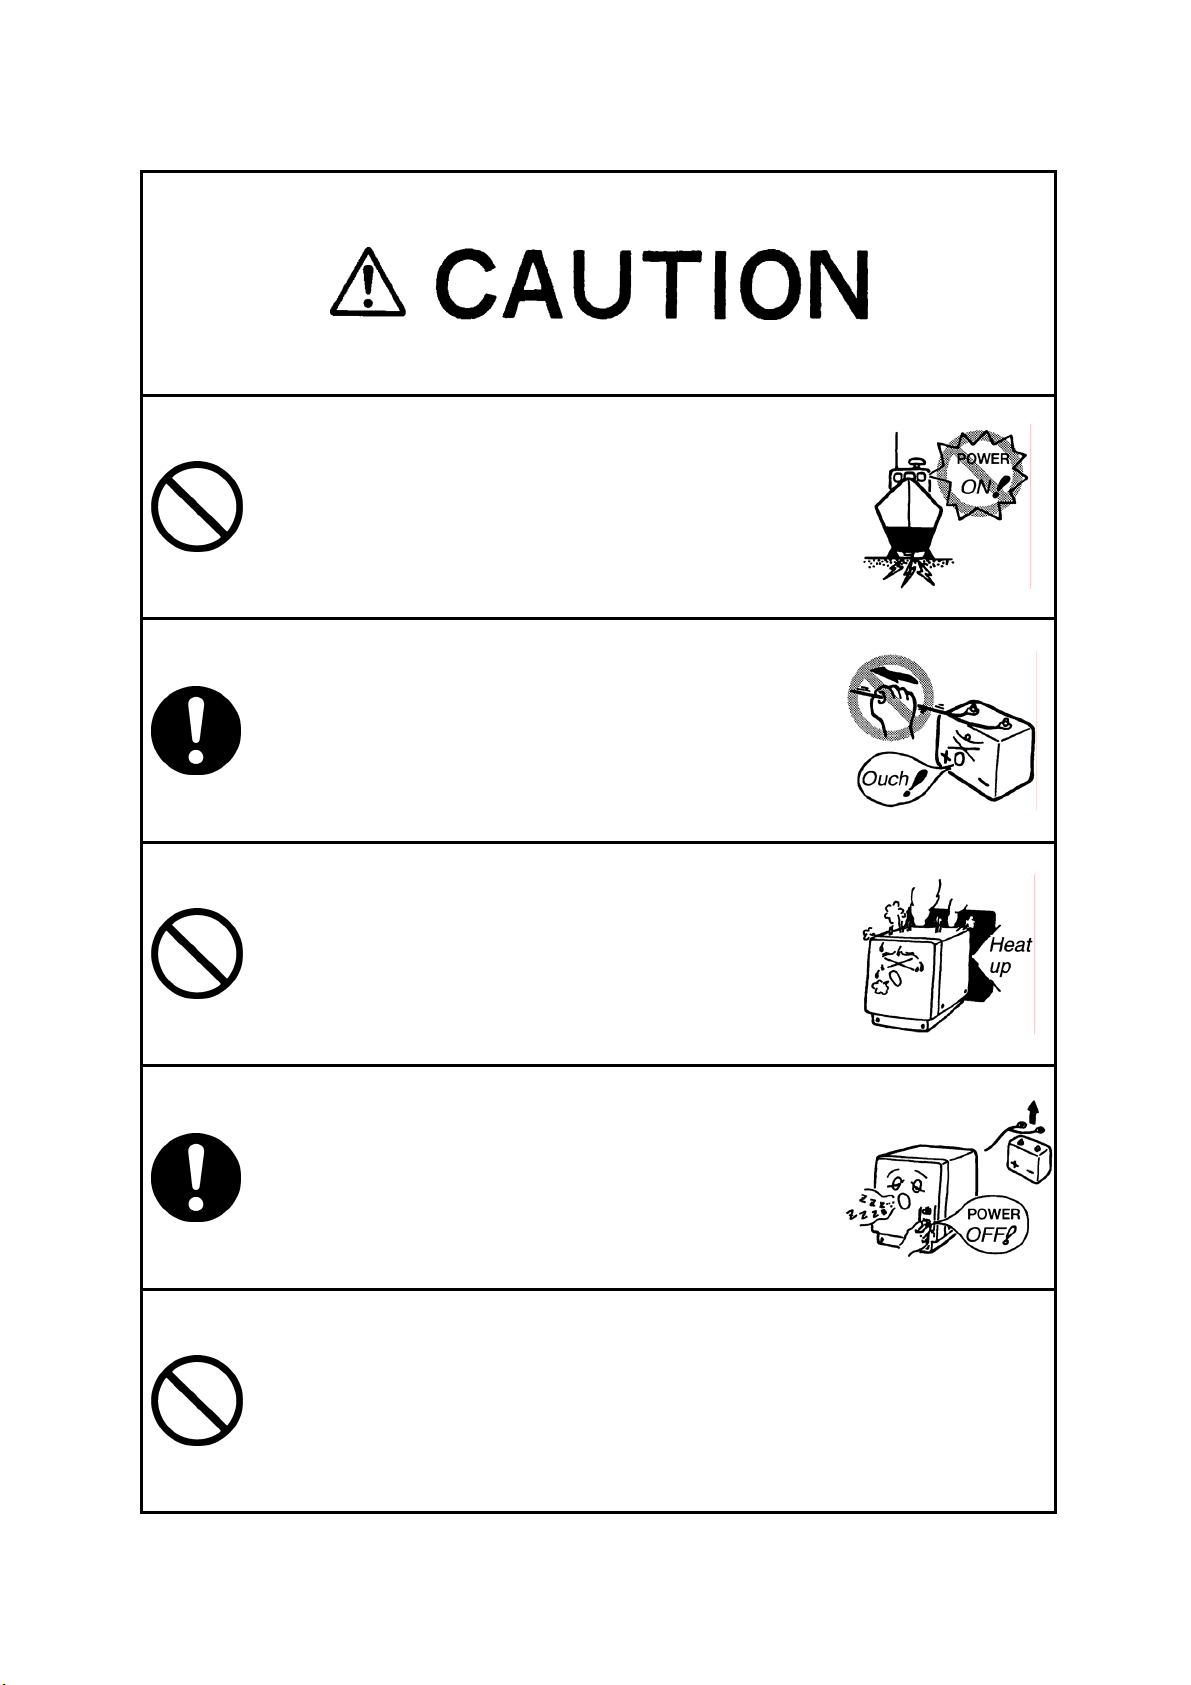
Do not use this set at a voltage other than the supply
voltage stated on the set.
Otherwise, a fire, an electrical shock, or a failure may
occur.
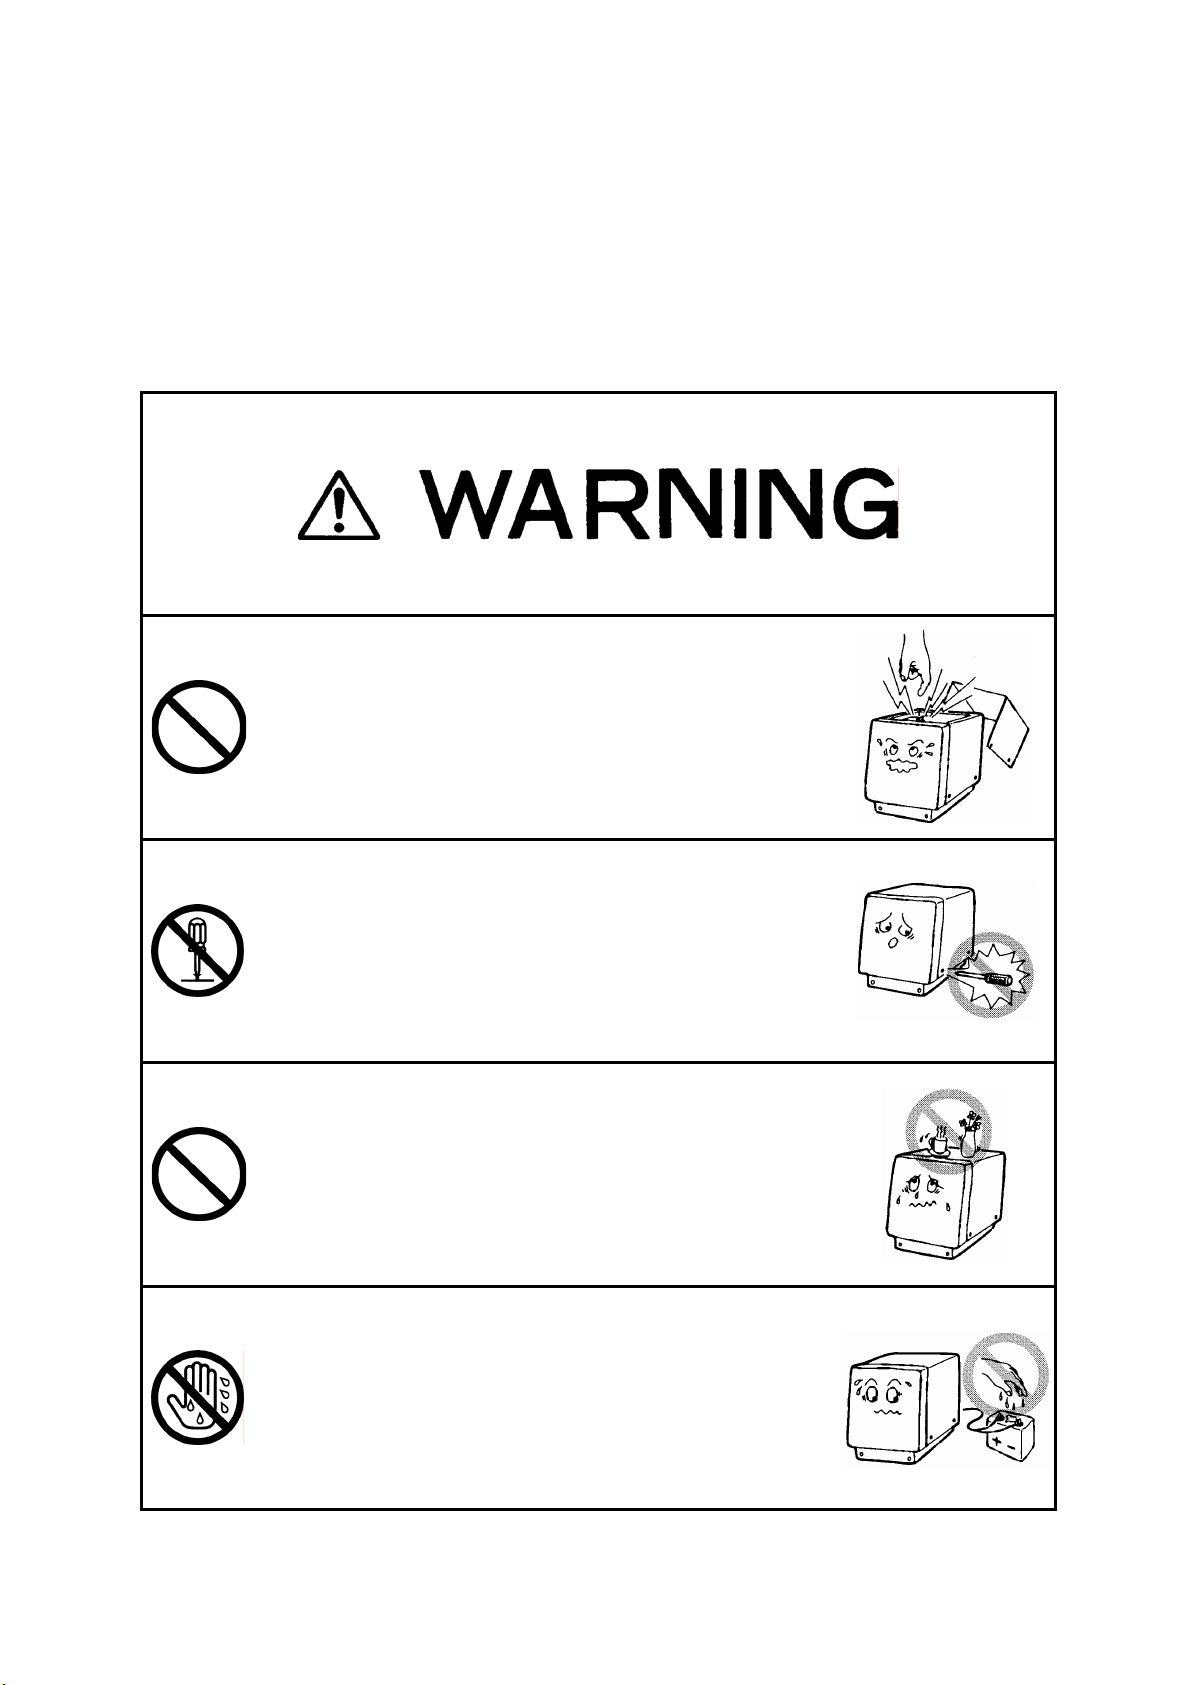
In the event of water of metal objects falling inside the
equipment, immediately turn off the power switch, then
contact JRC or its agent.
There is a risk of file or electric shock if you continue to
use the equipment.
If you notice smoke, unusual smells, or abnormal heat
coming from the equipment, immediately turn off the
power switch, then contact JRC or its agent.
There is a risk of fire, electric shock, or damage if you
continue to use the equipment.
There are no customer-serviceable parts inside. Unauthorized inspections and
repairs could cause fires and electrical shock hazards.
Please call our field representative or your nearest JRC office for inspection and
repair services.
Usage Hints v

Please contact JRC or its agent for the electrical
installation of this equipment. Electrical installations
carried out by other than the qualified staff may result in
faulty operation.
Do not store or operate the equipment where subject to
temperatures in excess of 55℃. High temperature may
cause failures.
Do not install the equipment on unstable or unleveled
surfaces. Failure to observe this condition may result in
the equipment falling or toppling over, resulting in injury.
If it is cold, do not move the equipment suddenly into a
warm environment and switch it on. High-voltage leaks
due to condensation may result in damage to the
equipment. In such situations, leave the equipment in
the warm environment for about 30 minutes before
switching it on.
When installing the equipment, securely connect the
earth lead to the earth terminal. Failure to connect the
earth may result in electric shock in the event of a fault or
power leak developing.
GND
Usage Hints vi

Do not turn on the equipment's power when the ship is in
dry docks.
Failure to observe this caution may result in damage to
the transducer, etc.
When removing the power cord, be sure to remove the
power cord terminal correctly.
If the power cord is pulled, the cord may be damaged
resulting in a fire or an electrical shock.
Do not install the units on the place being poor
ventilation.
Otherwise, the set that is heated may cause a fire or
failure.
For safety when the equipment is to be left unused for an
extended period, turn off the power switch.
When turning on the power, be sure not to press any operator panel key at the
same time. Alternates to the hardware configuration of the until could cause
the unit to malfunction.
Usage Hints vii

External View
External View viii

Contents
General Information ....................................................................................................
Before You
Usage Hints ..................................................................................................................
External View ...............................................................................................................
Explanation of Terms ..................................................................................................
1. Introduction .............................................................................................................
1.1 Function ...........................................................................................................…
1.2 Feature ............................................................................................................….
1.3 Components ........................................................................................................
1.4 Construction ........................................................................................................
1.5 System onfiguration ...........................................................................................
2. Installation ...............................................................................................................
2.1 Installing the Recorder Unit ...........................................................................…
2.2 Installing the Transducer ......................................................................................
2.3 Connecting Components .....................................................................................
3. Control Panel .........................................................................………………………..
4. Display ................................................................................................................…..
4.1 Standard mode ....................................................................................................
4.2 History mode ..................................................................................................…..
4.3 Docking mode ..................................................................................................…
5. Operation .................................................................................................................
5.1 Basic Operations .................................................................................................
5.2 Menu Operations .................................................................................................
5.3 Master Reset .......................................................................................................
6. Replacing the Fuses .......................................................................................…….
7. Consider Installation ...............................................................................................
8. Troubleshooting ......................................................................................................
9. After-sales Service ..................................................................................................
9.1 When Requesting Servicing ................................................................................
9.2 Recommendations for Inspection and Maintenance.............................................
10. Disposal ..............................................................................................................…
10.1 Disposal of this equipment .............................................................................…
11. Specifications ....................................................................................................….
Appendix ....................................................................................................……………
i
iii
iv
viii
x
1
1
1
1
2
3
6
7
9
12
13
14
14
15
16
17
17
23
34
35
37
38
39
39
39
40
40
41
42
Information ...................................... Please refer to ‘Place of Contact’ on back cover.
Contents ix

Explanation of Terms
Beam angle: The angle that sound waves spread out from the transducer. Sound waves
spread out in a conical manner taking the center of the bottom surface of the transducer at
the apex of the cone.
Bubbling: The phenomenon where the image of the seabed is interrupted due to air bubbles
caused by the ship's hull or the propeller during a voyage.
IMO: stands for International Maritime Organization.
MED: stands for Marine Equipment Directive. This is the directive for marine equipment in
Europe. This directive unifies format approval standards implemented separately by each
European.
NMEA0183: NMEA stands for the National Marine Electronics Association. NMEA0183 is
the format used when sending or receiving depth, position, water temperature, ship speed
and other information between marine equipment.
STC: Sensitivity Time Control is used for reduce shallow water clutter. Shallow seabed
echo is strong and deep seabed echo is weak. So, the STC controls the sensitivity to
normalize seabed echo for precision seabed tracking.
Transducer: Device that emits ultrasonic waves in water and receives the signals reflected
off the seabed. This is equivalent to an antenna on a radio.
UTC: stands for Universal Time Coordinated.
Explanation of Terms x

1.Introduction
1.1 Function
The JFE-380 Echo-Sounder consists of a transducer mounted on the bottom of the ship's
hull and a main unit that displays information on the depth and formation of the seabed.
This information is gained by using ultrasonic waves sent from the transducer that are then
reflected off the sea bottom and picked up again by the transducer. The JFE-380 also has
the following functions:
(1) depth alarm, (2) power fail alarm, (3) output of depth data, (4) output of depth and power
fail alarms.
1.2 Feature
The JFE-380 features the following:
• Tree display modes; standard, history, and docking.
• Depth data for last 24 hours in memory to play back the past sounding information.
• Dual frequency mode and two transducers are available in option. (*requires an optional
equipment)
ConformstotheIMOStandard
• When the depth becomes shallower than a previously set value, a depth alarm is issued by
buzzer and LCD display.
• When power is cut to the main unit, a power fail alarm is issued by buzzer and LCD display.
• Contact signals can be output for both depth and power fail alarms.
• Data on depths can be output.
DigitalDepthDisplay
• No need for time-consuming reading of depths using a scale against the profile of the
seabed on the paper! The current depth can be seen at a glance.
Self-Diagnostic Functions
• Self-diagnostic functions can be selected from a menu, improving ease of maintenance.
1. Introduction 1

1.3 Components
This section lists the components.
StandardEquipment
Name Type No. Qty. Remarks
Display unit NJA-98 1
Interface box NQD-2120 1
TX/RX cable CFQ-9129 1 10m
Power supply cable CFQ-9130 1 10m
Communication cable CFQ-9133 1 10m
Matching box (primary) AW-154F 1 200kHz
transducer mounting (primary) NKF-341 1 200kHz (with cable 20,30,40m)
AW-154F 1 200kHzMatching box
(secondary) AW-154F-50 1 50kHz
NKF-341 1 200kHz (with cable 20,30,40m)Transducer mounting
(secondary) NKF-345 1 50kHz (with cable 20,30,40m)
Printer NKG-91 1
External Buzzer CGC-300B 1
Flush mounting kit BRBX05339 1 Color : MUNSELL N4
Option
Table mounting kit BRBX05353 1
1. Introduction 2

1.4 Construction
EquipmentOutline
The following shows the external dimensions of the JFE-380.
1. External Dimension of JFE-380
2. Dimensions of AW-154F-50/AW-154F-50 Matching box
1. Introduction 3

External Dimensions of Transducer mounting
The external dimensions illustrated below are for the standard equipment. Please refer to
the separately supplied drawings if your specifications are not standard.
1. NKF-341/NKF-345 (Installed on ship’s bottom)
2. NKF-392C (Installed on ship’s bottom)
1. Introduction 4

1.5 System Configuration
1. Introduction 5

2.Installation
When installing the equipment, securely connect the earth lead to the earth
terminal.
Failure to connect the earth may result in electric shock in the event of a fault or
power leak developing.
Do not install or operate the equipment where subject to temperatures 55°C or
higher or –15°C or lower.
Failure to observe this caution may result in fire or damage.
Do not install the equipment on unstable or unlevel surfaces. Failure to
observe this condition may result in the equipment falling or toppling over,
resulting in injury.
Take care when laying the transducer cable, power cable, and earth lead as
positioning has an affect on electromagnetic interference. There is a risk of
interfering with other equipment or the echo-sounder being interfered with by
the other equipment.
After installing the echo-sounder, turn on the power to all other equipment to
check for interference with or from all the equipment. Interference may cause
malfunctions.
2. Installation 6

2.1 Installing the Recorder Unit
Flush-Mounted Equipment
Figure 3-1
2. Installation 7

Wall-MountedEquipment
Figure 3-2
2. Installation 8
Table of contents
Other Japan Radio Co. Marine Equipment manuals
Popular Marine Equipment manuals by other brands

DS18
DS18 MRX100 owner's manual

Lewmar
Lewmar Pro Series Owners installation, operation & basic servicing manual

Shoremaster
Shoremaster Infinity RS4 Product assembly instructions

Marine Instruments
Marine Instruments MIR5000-M3P Quick guide for installation and use

Sealite
Sealite NAUTILUS-2200 Installation & service manual

JRC
JRC JAN-7202 instruction manual

Bodet
Bodet BP30001 Instructions for installing and use

System Sensor
System Sensor L Series Installation and maintenance instruction

FHF
FHF AVISA AX08 installation instructions

Jebao
Jebao WP-40 manual

Bennett Marine
Bennett Marine AutoTrimPro Installation & user guide

Skipper
Skipper DL850 Operation and installation manual