manuals.online logo
Brands
  1. Home
  2. •
  3. Brands
  4. •
  5. Johnson Controls
  6. •
  7. Control System
  8. •
  9. Johnson Controls MS2 Manual

Johnson Controls MS2 Manual

FANs 125, 121
Pressure Controls Section P
Installation Bulletin
Issue Date 1199
© 1999 Johnson Controls, Inc. 1
Part No. 24-7664-1814, Rev. A www.johnsoncontrols.com
Code No. LIT-125504
IMPORTANT: All MS2 controls are designed for
use only as operating controls.
Where an operating control
failure would result in personal
injury or loss of property, it is the
responsibility of the installer to
add devices (safety, limit
controls) or systems (alarm,
supervisory systems) that protect
against, or warn of, control
failure.
Refer to the MS Series Multi-Stage Electronic Controls
Product Bulletin, LIT-125502, for necessary
information on operation and performance
specifications for this product.
Mounting
The MS2 control is not position-sensitive but should be
mounted for convenient wiring and adjustment.
To mount the DIN Rail Mount version, install the DIN
rail where appropriate. Snap the control onto the rail in
position.
To mount the Panel Mount version, ensure that there
is sufficient space behind the panel. At least
2-3/4 inches (70 mm) are needed. Make a cutout
1-3/16 by 2-13/16 inches (29 by 71 mm). Remove
retaining clip from control. Insert the control into the
hole. Install retaining clip and adjust for tightness.
Wiring
!
WARNING: Risk of Electrical Shock.
Disconnect power supply before
making electrical connections to
avoid possible electrical shock or
equipment damage.
Follow these wiring guidelines:
•All wiring must conform to the National Electric
Code and local regulations.
•Make all wiring connections using adequate gauge
copper conductors only. Connectors are rated for
14-22 AWG wiring.
Terminal
Not Used
SC
DV1 V2
Internal to Control
Sensor
Binary Input
Binary /
Sensor
Common
Power
Supply
C1 C2
Stage
➀
➀➁
Stage
➁
VO
+
Refer to Rating Table for more information.
Figure 1: MS2 Panel Mount Wiring
Internal
to Control
Binary Input
➀
Stage
➁
Stage
Power Supply
V1 V2
CD
➀
C1
SC
➁
C2
S1 D
Terminal
Not Used
VO
Binary
Common
Sensor Common
Sensor
+
Refer to Rating Table for more information.
Figure 2: MS2 DIN Rail Mount Wiring
INSTALLATION BULLETIN
MS2 Two Stage Electronic Control
2 P—MS2 Two Stage Electronic Control Installation Bulletin
Table 1: Wiring
MS Series
Terminal
P99-1V
Wire Color
HE-6300 or
HE-6310
Terminal
VO Brown (+) PWR
SC Green (common) COM
S1 White (signal) OUT
Table 2: Rating Table
Rating Category 120
VAC
240
VAC
24
VDC
Horsepower 1/4 1/2 -
Full Load Amperes 5.8 4.9 -
Locked Rotor Amperes 34.8 29.4 -
Inductive (non-motor)
Amperes
888
Pilot Duty VA 275 450 -
Power supply is 24 VAC.
Terminal VO output is 12-17 VDC.
FCC Compliance
This equipment has been tested and found to comply
with the limits for a Class A digital device pursuant to
Part 15 of the FCC Rules. These limits are designed to
provide reasonable protection against harmful
interference when the equipment is operated in a
commercial environment. This equipment generates,
uses, and can radiate radio frequency energy and, if
not installed and used in accordance with the
instruction manual, may cause harmful interference to
radio communications. Operation of this equipment in
a residential area is likely to cause harmful
interference, in which case the user will be required to
correct the interference at his/her own expense.
Canadian DOC Compliance
This digital apparatus does not exceed the Class A
limits for radio noise emissions from digital apparatus
set out in the Radio Interference Regulations of the
Canadian Department of Communications.
Display
Press Up and Down buttons to scroll through process
temperature and binary input status (On or OF). After
15 seconds of inactivity, the display shows the process
temperature.
Setting Up the Stage Control
To lock/unlock the unit for programming
Press the Enter, Up, and Down buttons
simultaneously and hold until “- - -” is displayed.
Hold for about 10 seconds until the current
condition value is displayed. This toggles the
keypad between locked and unlocked.
To run the self test procedure
IMPORTANT: Disconnect loads before beginning self-test
procedure. Cycle power to resume normal
operation.
Press the Up and Down buttons in sequence,
and hold for 5 seconds.
To select the mode of operation
1. Press and hold the Enter and Down buttons
simultaneously for approximately 7 seconds.
2. Press the Up or Down button until the desired
setting is shown.
2d =Direct
2r = Reverse
2b = Deadband
2i = Independent Setpoint
3. Press the Enter button to save the new mode
of operation.
To change the setpoint (modes b, d, and r only)
1. Hold the Enter button down for 3 seconds.
The display will change to show the setpoint.
2. Press the Up or Down button until you reach
the new setpoint.
3. Press the Enter button to save the new
setpoint.
Note: If you do not press the Enter button after selecting the new
setpoint, it is not saved. The control reverts to old setpoint.
To program other settings (modes b, d, r only) or to
program setpoints and settings (mode i only)
1. Hold the Enter button down for about
10 seconds. The display will change to HY.
(The display shows S1 if in Mode i.)
2. Press the Up or Down button until the
desired setting is shown.
3. Press the Enter button. The setting’s current
value is displayed.
4. Press the Up or Down button until the
desired value is shown.
5. Press the Enter button to save the new
value. After 10 seconds of inactivity, the
display will return to its normal function.
Note: If you do not press the Enter button after selecting the new
value, it is not saved. The control reverts to the old value.
P—MS2 Two Stage Electronic Control Installation Bulletin 3
Table 3: Functions and Settings
Mode 2d = Direct 2r = Reverse 2b = Deadband 2= Independent Setpoint d
Setting Description Setting Range Default
SI Setpoint Modes d, r, b: relay cut-off point
Mode I: primary setpoint
0 to 99 —
HY Differential (Hysteresis) Difference relative to setpoint or offset at which the
load is switched On or Off
1 to 9 5
S2 Setpoint 2 (Offset) Modes d, r: difference between setpoint and Stage 2
Mode b: deadband (centered on setpoint)
Mode I: secondary setpoint
d, r: 1 to 40
b: 2 to 40
I: LL to HL
5
H2 Differential (Hysteresis) 2 See Differential (Hysteresis). 1 to 9 0
LL Low Setpoint Stop Lower limit of end-user setpoint adjustment 0 to HL 99
HL High Setpoint Stop Upper limit of end-user setpoint adjustment LL to 99 90
Cc Anti-short Cycle Timer,
Direct
Time delay between equipment On cycles for direct
stages
0 to 9 minutes 2
CH Anti-short Cycle Timer,
Reverse
Time delay between equipment On cycles for reverse
stages
0 to 9 minutes 0
rt Soft Start Rate at which condition approaches setpoint 0 to 99 minutes/
(1% or 1 psi)
10
AH High Condition Alarm High condition alarm On, value relative to setpoint 0 to 50 above setpoint 15
AL Low Condition Alarm Low condition alarm On, value relative to setpoint -50 to 0 below setpoint -15
Ad Alarm Differential Condition difference relative to high and low alarms at
which alarm output is switched Off
1 to 9 5
At Alarm Time Delay Delay between alarm detection and activation 0 to 99 minutes 15
So Sensor offset Compensates for long sensor leads or sensor location -20 to +20 0
Lr Low range Analog Input Adjusted condition value when sensor input is 0.0 VDC -40 to Hr 0
Hr High range Analog Input Adjusted condition value when sensor input is 10.0 VDC Lr to 99 99
PU Display Refresh Rate Time delay between display refreshes 1 to 99 seconds 1
IF Binary Input Function Configuration for normally closed binary input 0 = No binary input
1 = Shutoff/alarm
signaling
2 = Setback
3 = Remote shutoff
0
Sb Setback Value of setpoint shift when binary input is open and
IF=2
0 to 20 10
Id Binary Input Time Delay Time between binary input detection and enabling of IF 0 to 99 minutes 0
iS Interstage Time Delay Minimum amount of time between two successive
stages
3 to 99 seconds 3
Repair and Replacement
Field repair must not be made. In case of defective or
improperly functioning control, contact your nearest
authorized Johnson Controls/PENN distributor.
When requesting a replacement, refer to the model
number found on the data plate of the control.
4 P—MS2 Two Stage Electronic Control Installation Bulletin
Fault/Alarm and Status Codes
Table 4: Status Codes (steady on display)
Status Code Indicates
On Binary Input is closed
OF Binary Input is open.
Table 5: Fault/Alarm and Status Codes
Error Code (Flashing on Display) System Status
EE Program failure; control must be replaced. Alarm message displays, other outputs off.
FI Indicates an open or shorted sensor. Alarm message displays. Correct problem and cycle power to
reset.
AI Binary input (IF) Option 1 selected and binary input
open for longer than time delay (id).
Control output is switched off; alarm message displays.
Correct condition to reset. Restarts without using soft start.
DF Binary input (IF) Option 3 is selected and binary input
open.
Control output is switched off. Close binary input to reset.
Restarts using soft start.
HI Condition has reached or exceeded (setpoint + AH). Alarm message displays. Correct condition to reset.
LO Condition has reached or fallen below (setpoint - AL). Alarm message displays. Correct condition to reset.
Ordering Information
Table 6: Specifications
Power Requirements 3.7 VA @ 24 VAC, 50/60 Hz, Class 2 (20-30 VAC)
Ambient Conditions Operating: +14 to +140oF (-10 to +60oC); 0 to 95% RH (non-condensing)
Storage: -22 to +176oF (-30 to +80oC); 0 to 95% RH (non-condensing)
Agency Listings UL Recognized: File E194024, CCN XAPX2
Canadian UL Recognized: File E194024, CCN XAPX8
FCC Compliant per Class A Digital Device, Part 15
Canadian DOC Compliant per Class A, Radio Interference Regulations
Table 7: Ordering Information
Item Code Description
MS2DR24V-11C MS2 DIN Rail Mount Control; 0-10 VDC input; sensor sold separately
MS2PM24V-11C MS2 Panel Mount Control; 0-10 VDC input; sensor sold separately
HE-6300 Series Humidity Sensor, Wall Mount, 0-100% RH
HE-6310 Series Humidity Sensor, Duct Mount, 0-100% RH
P99V-1C P99 Pressure Transducer, 0-100 psig
The performance specifications are nominal and conform to acceptable industry standards. For application at conditions beyond these
specifications, consult Johnson Controls/Penn Refrigeration Application Engineering at (414) 274-5535. Johnson Controls, Inc. shall not be
liable for damages resulting from misapplication or misuse of its products.
Controls Group
507 E. Michigan Street
P.O. Box 423 Printed in U.S.A
Milwaukee, WI 53201 www.johnsoncontrols.com

Other Johnson Controls Control System manuals

Johnson Controls VMA1200 Series Service manual

Johnson Controls

Johnson Controls VMA1200 Series Service manual

Johnson Controls FC-2000 Reference manual

Johnson Controls

Johnson Controls FC-2000 Reference manual

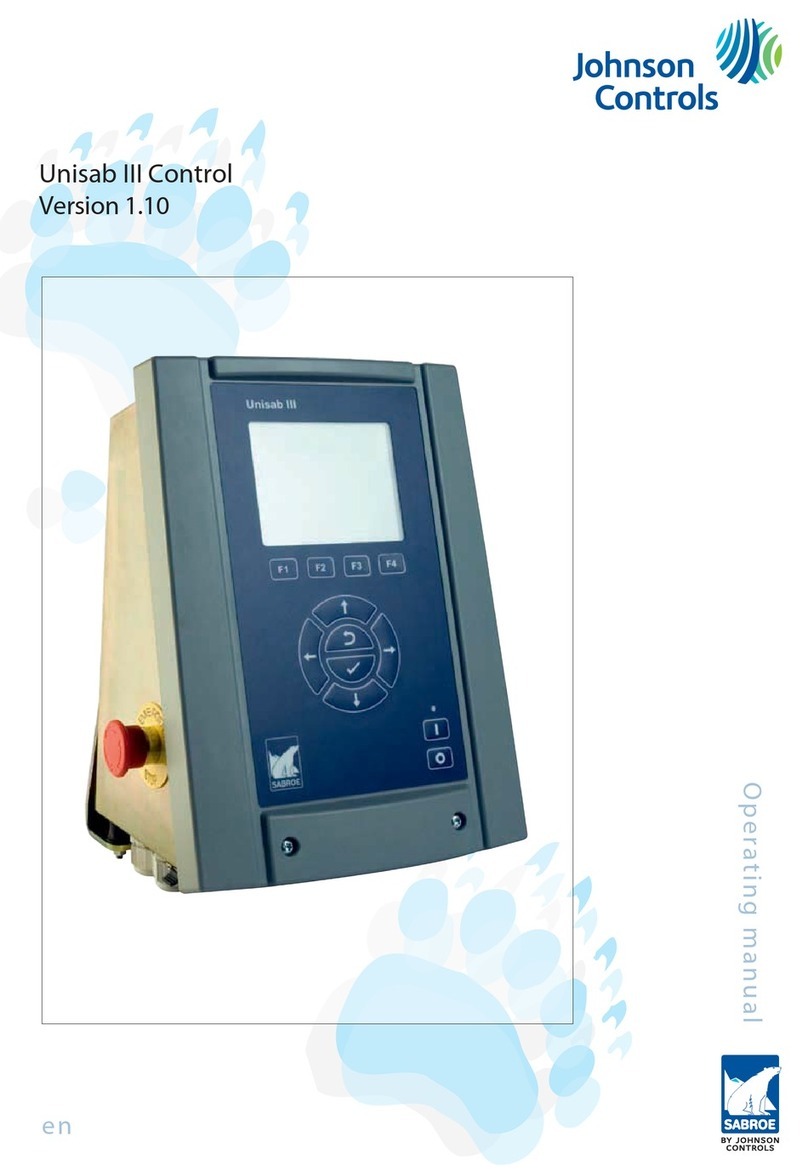
Johnson Controls SABROE Unisab III Control Installation and operation manual

Johnson Controls

Johnson Controls SABROE Unisab III Control Installation and operation manual

Johnson Controls Unisab III User manual

Johnson Controls

Johnson Controls Unisab III User manual

Johnson Controls HomeLink User manual

Johnson Controls

Johnson Controls HomeLink User manual

Johnson Controls Penn System 450 Series Service manual

Johnson Controls

Johnson Controls Penn System 450 Series Service manual

Johnson Controls ZZ Series User manual

Johnson Controls

Johnson Controls ZZ Series User manual

Johnson Controls System 450 Series Service manual

Johnson Controls

Johnson Controls System 450 Series Service manual

Johnson Controls SABROE Unisab III Control Installation and operation manual

Johnson Controls

Johnson Controls SABROE Unisab III Control Installation and operation manual

Johnson Controls Unisab III User manual

Johnson Controls

Johnson Controls Unisab III User manual

Johnson Controls Penn MR4 Manual

Johnson Controls

Johnson Controls Penn MR4 Manual

Johnson Controls CCXL01 Installation and operation manual

Johnson Controls

Johnson Controls CCXL01 Installation and operation manual

Johnson Controls AIM-200 User manual

Johnson Controls

Johnson Controls AIM-200 User manual

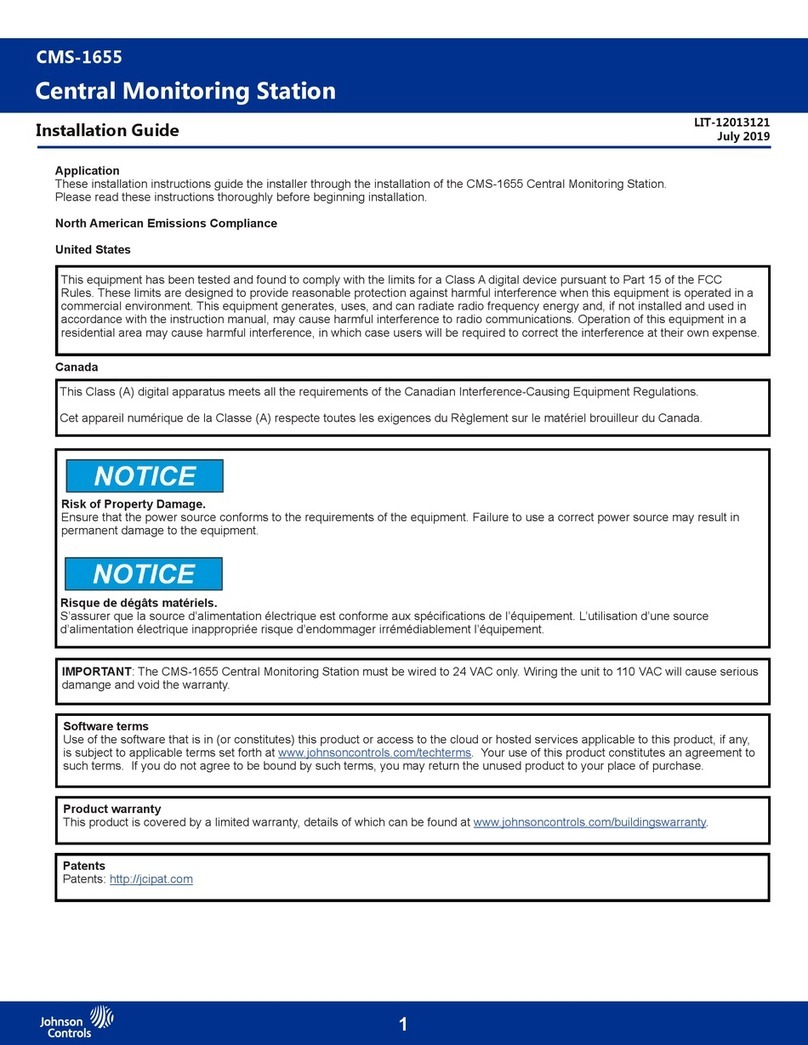
Johnson Controls CMS-1655 User manual

Johnson Controls

Johnson Controls CMS-1655 User manual

Johnson Controls YORK YLAA0189SE User manual

Johnson Controls

Johnson Controls YORK YLAA0189SE User manual

Popular Control System manuals by other brands

3M SST manual

3M

3M SST manual

Fancom IMS manual

Fancom

Fancom IMS manual

TigerStop TigerRack installation guide

TigerStop

TigerStop TigerRack installation guide

Woodward 2301E-HT product manual

Woodward

Woodward 2301E-HT product manual

Crestron FlipTop FT2 Series manual

Crestron

Crestron FlipTop FT2 Series manual

Scientific Games CPU-4.2.2.X Service manual

Scientific Games

Scientific Games CPU-4.2.2.X Service manual

Leviton Lumina LU20S-DNW installation instructions

Leviton

Leviton Lumina LU20S-DNW installation instructions

Stryker SwitchPoint III Operation and maintenance manual

Stryker

Stryker SwitchPoint III Operation and maintenance manual

GRASS VALLEY Creative Grading user guide

GRASS VALLEY

GRASS VALLEY Creative Grading user guide

HESCH HE 5731 Compact operating instructions

HESCH

HESCH HE 5731 Compact operating instructions

Woodward MicroNet TMR 5009FT product manual

Woodward

Woodward MicroNet TMR 5009FT product manual

WAGNER 2K COMFORT Original operating manual

WAGNER

WAGNER 2K COMFORT Original operating manual

Civco GUS G25-OER Operator's manual

Civco

Civco GUS G25-OER Operator's manual

Extron electronics TouchLink TLP Pro 1220 Series user guide

Extron electronics

Extron electronics TouchLink TLP Pro 1220 Series user guide

Neets QueBec II installation manual

Neets

Neets QueBec II installation manual

Case IH AFS Pro 700 Quick reference card

Case IH

Case IH AFS Pro 700 Quick reference card

VAT Series 651 Installation, operating,  & maintenance instructions

VAT

VAT Series 651 Installation, operating, & maintenance instructions

Kugelmann K-TRONIC 2 Brief instructions

Kugelmann

Kugelmann K-TRONIC 2 Brief instructions

manuals.online logo
manuals.online logoBrands
  • About & Mission
  • Contact us
  • Privacy Policy
  • Terms and Conditions

Copyright 2025 Manuals.Online. All Rights Reserved.