9
OPERATION IN TRUCTION
A. FEATURE
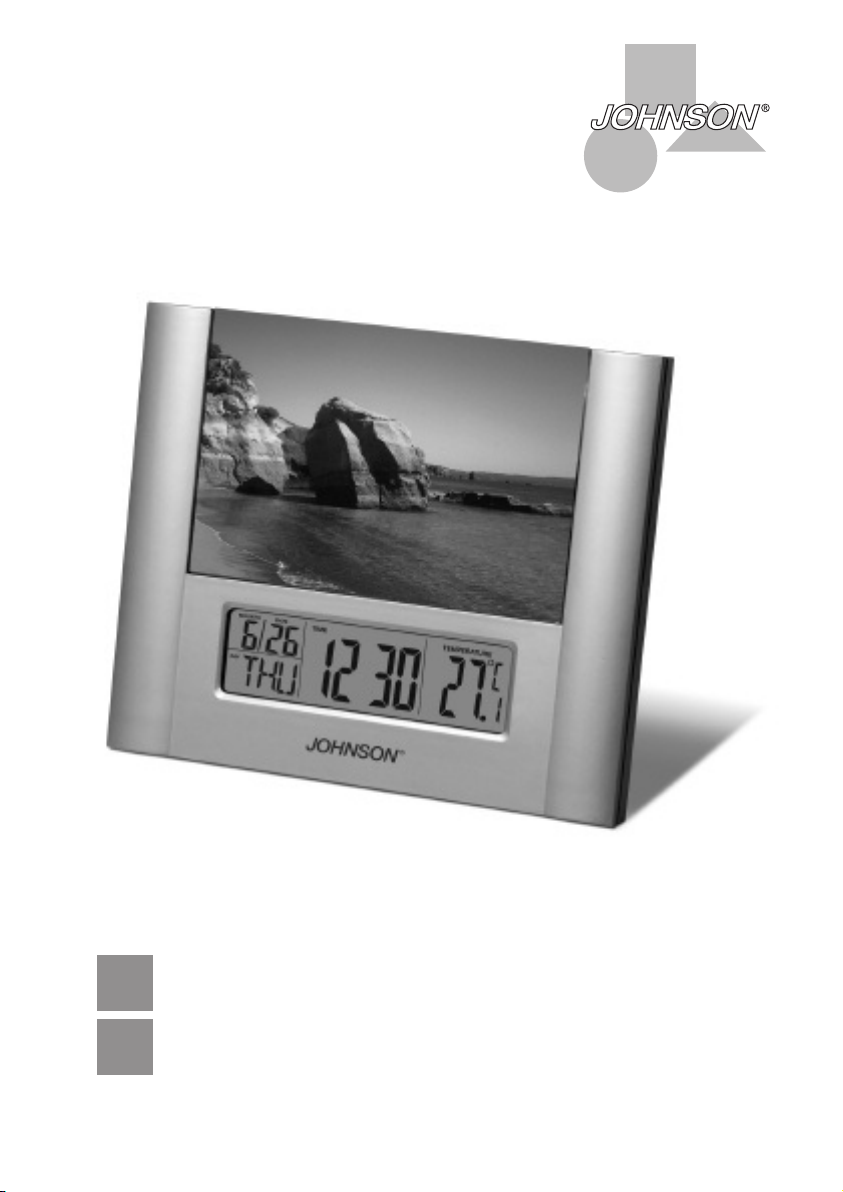
1. At normal time status, display time,
date, day, temperature and 12/24 hours
selectable.
2. At alarm status, set alarm time, alarm
music and switch snooze function.
3. Set concrete date and time of birthday-
remind, birthday song will be played to ce-
lebrate birthday at the time.
4. At timer status, the countdown range:
23:59~00:00 hour. When time up, the
alarm will on.
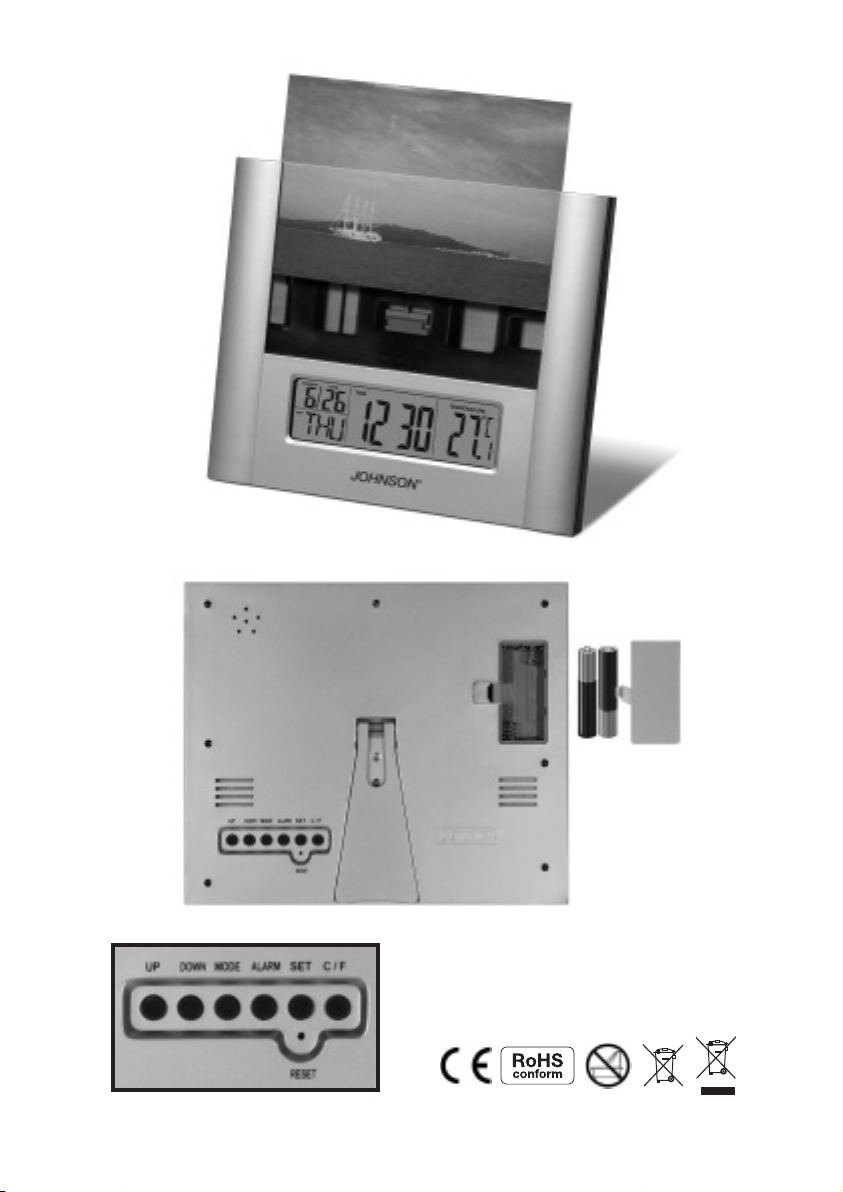
B. OPERATION
1. After insert battery, it will enter in to
normal display status, and play one song.
2. At normal display status, press “MODE”
key to switch modes: normal display sta-
tus, 12Hr/24Hr status, alarm status, bir-
thday-remind status, timer status.
3. At normal display status, when alarm
function is on, press “UP” to turn on/off
“snooze” function.
4. At normal display status, press “C/F”
key to switch ℃/℉.
5. At 12Hr/24Hr status, press “UP” “DOWN”
key to switch between 12Hr/24Hr.
6. At alarm status, the alarm mark is on.
Press “SET” key to set Hour, Minute, and
Music by adjusting the keys “UP” & “DOWN”.
7 pop songs and 2 versions of “beep” for
selection; then press “SET” key to turn off
the alarm.
When the time is up, alarm will ring for 1
minute.
f the snooze function is on, it will ring
again every 3 minute, 4 times.
7. At birthday-remind status, no mark.
Press “SET” key to set date and time by ad-
justing the keys “UP” & “DOWN”.
Then press “SET” key to switch birthday-
remind function.
When the time is up, the birthday song will
play for 5 minute to celebrate “HAPPY B R-
THDAY”.
8. At timer status, the “T MER” mark is on.
Press “SET” key to set countdown time by
adjusting the keys “UP” & “DOWN”, coun-
tdown range: 23:59~00:00 hour.
When the time is up to 0:00:00, alarm will
ring for 1 minute, and 0:00:00 will flash at
the same time.
9. At any mode of above, if no key is ope-
rated within one minute, it will return to
normal display status automatically.
C. TIME ETTING
1. At normal display status, press “MODE”
key to enter into the status of “12Hr/24Hr”,
then press “SET” key to set date and time.
The setting sequence: Hour, Minute, Year,
Month, Date by adjusting the keys “UP” &
“DOWN”.
2. At the setting status, if no key is ope-
rated within one minute, the previous set-
ting will be confirmed automatically, and
then enter into time display status.
D. 12Hr/24Hr TATU
1. At normal display status, press “MODE”
key to enter into the status of “12Hr/24Hr
switch, setting by adjusting the keys “UP”
& “DOWN”.
E. ALARM, NOOZE FUNCTION
1. At normal display status, press “MODE”
key twice or press “ALARM” key directly to
enter into the mode of alarm. At alarm set
status, press “SET” key to set Hour, Mi-
nute, and Music by adjusting the keys “UP”
& “DOWN”. f the alarm is ON and the
snooze function is OFF, it will ring one mi-
nute when time is up.
Press any key to stop. f both are ON, it will
ring for one minute every three minutes
interval, lasting four times totally.
2. At the status of snooze, press any key
to stop the alarm, but the snooze icon is
still flashing, until four times rings being
over or off.
3. At The status of snooze, press “MODE”
key twice to cancel the snooze function
(the snooze icon will stop to flash), pres
“UP” to of the snooze function.
4. f the alarm and snooze icons are off,
the alarm and snooze function are off.