JUKI AC-172NN-1790 User manual

AC-172N-1790
INSTRUCTION MANUAL
ENGLISH

i
CONTENTS
!.MACHINE OPERATION ............................................................................. 1
1. GENERAL ................................................................................................................... 1
1-1. Features .....................................................................................................................................1
1-2. Conguration of the main parts............................................................................................... 2
1-3. Operating precautions.............................................................................................................. 3
2. SPECIFICATIONS ...................................................................................................... 3
3.INSTALLATION ........................................................................................................... 4
3-1. Removing the machine head xing plate ...............................................................................4
3-2. Connecting the power supply.................................................................................................. 5
3-3. Installing the air hose ............................................................................................................... 5
3-4. Lubrication ................................................................................................................................6
3-5. Installing the panel ................................................................................................................... 7
3-6. Installing the thread stand ....................................................................................................... 8
3-7. Installing the marking light ...................................................................................................... 9
3-8. Adjusting the marking light ................................................................................................... 10
3-9. Installation and adjustment of the material edge detecting sensor (asm.) ....................... 11
(1) Assembling the material edge detecting sensor .................................................................. 11
(2) Installing the material edge detecting sensor on the machine head.................................... 11
(3) Adjusting the material edge detecting sensor......................................................................13
3-10. Assembly and adjustment of the auxiliary clamp................................................................15
(1) Assembling the auxiliary clamp ...........................................................................................15
(2) Adjusting the auxiliary clamp ...............................................................................................21
4.OPERATION AND ADJUSTMENT............................................................................ 23
4-1. Operating switches and adjusting pneumatic components ...............................................23
(1) Power switch .......................................................................................................................23
(2) Pause switch, Machine head pause switch .........................................................................23
(3) Knee switch .........................................................................................................................24
(4) Hand switch ......................................................................................................................... 24
(5) Workpiece detector switch................................................................................................... 24
(6) Preset adjusting knob .......................................................................................................... 24
(7) Adjusting the air blower .......................................................................................................25
(8) Vacuum adjusting metal ttings ...........................................................................................28
(9) Sensor to detect the number of garment bodies stacked ....................................................28
(10) Measure to be taken in the case of power interruption during operation...........................29
4-2. Operation of the sewing machine .........................................................................................30
(1) Inserting the needle .............................................................................................................30
(2) Threading the needle-thread ...............................................................................................30
(3) Threading the bobbin case .................................................................................................. 31
(4) Adjusting the bobbin thread tension ....................................................................................31
(5) Installation of bobbin case ................................................................................................... 32
(6) Installing the knife................................................................................................................32
(7) Removing and installing the bobbin case ............................................................................33
4-3. Adjusting the seam allowance............................................................................................... 34
4-4. Adjusting the carriage clamp................................................................................................. 35
(1) Adjusting the position of the clamps ....................................................................................35
(2) Adjusting the clamping force................................................................................................ 35

ii
4-5. Adjusting the sub clamp ........................................................................................................ 36
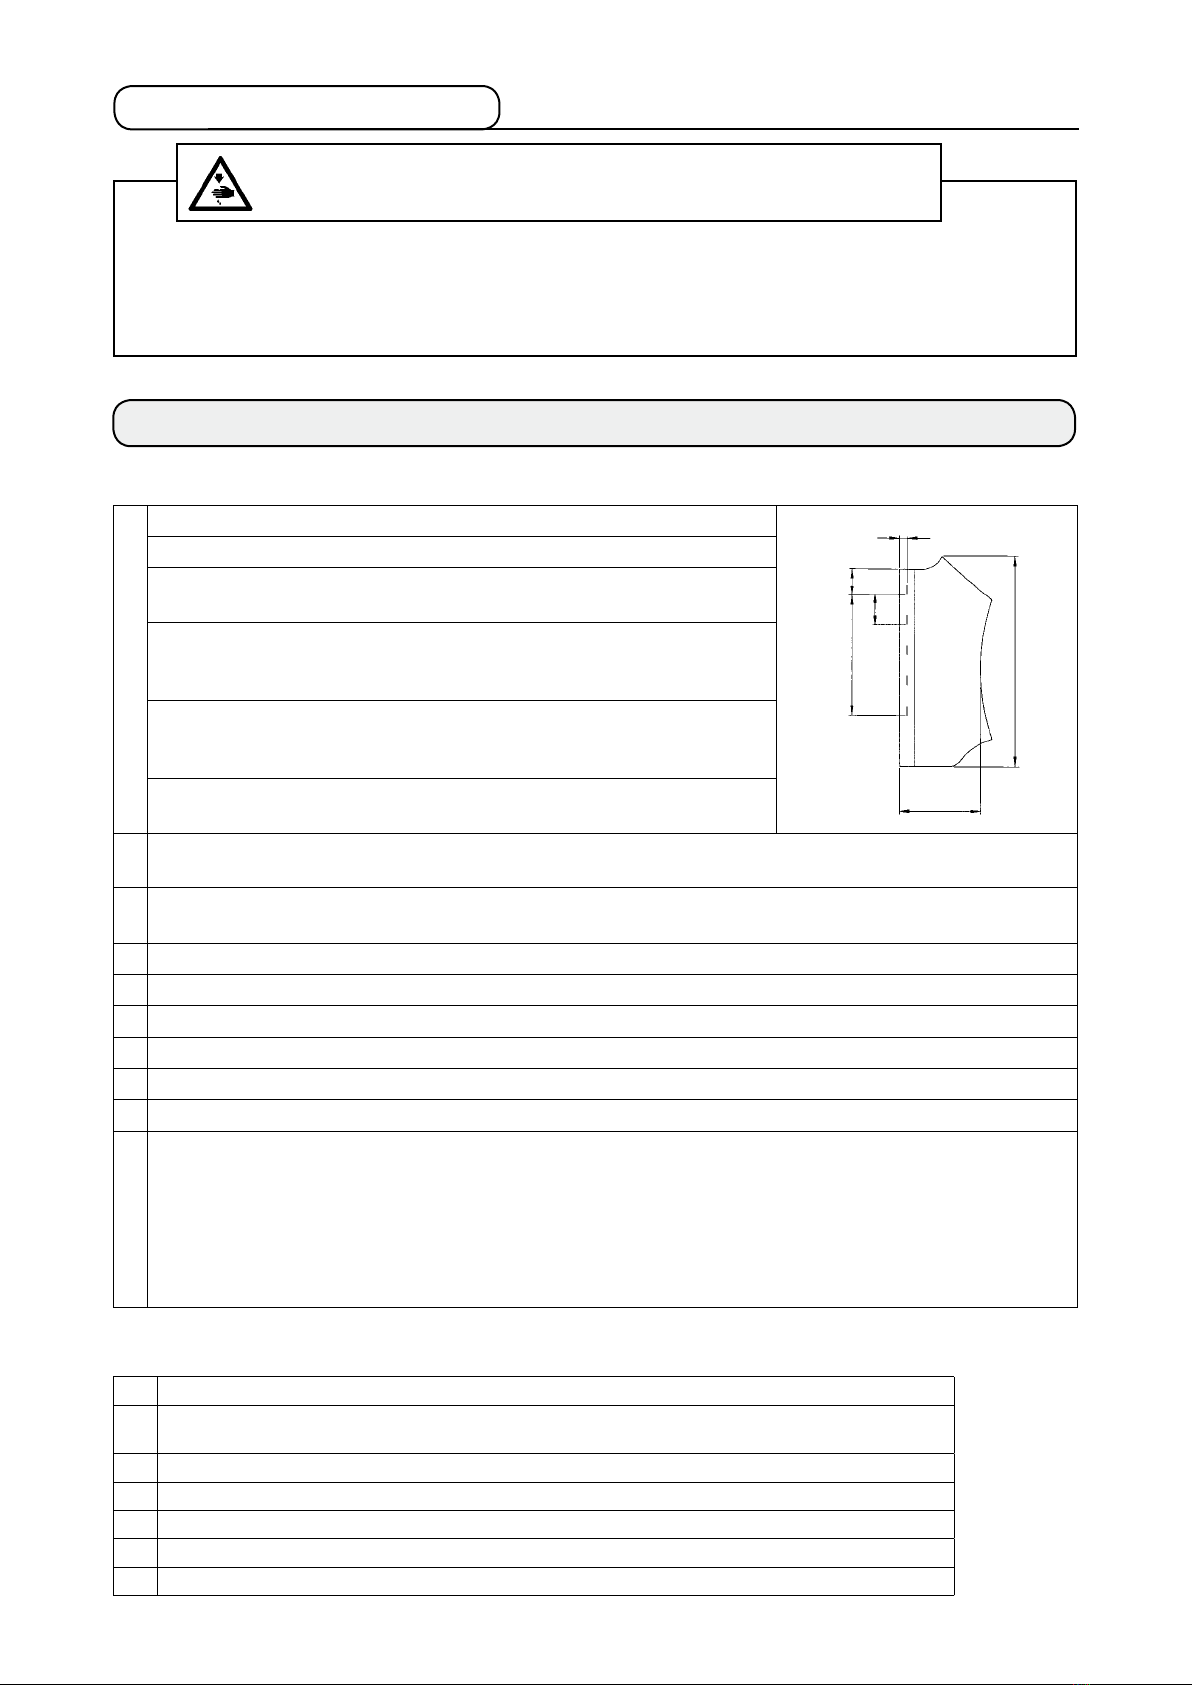
(1) Adjusting the cloth plate.......................................................................................................36
(2) Adjusting the presser plate ..................................................................................................36
(3) Adjusting the sub-clamp pressure .......................................................................................37
4-6. Adjusting the stacking board of the stacker ........................................................................38
4-7. Preventive measure against the material dropping during stacking................................. 38
5. OPERATION.............................................................................................................. 39
@. OPERATION............................................................................................ 41
1. HOW TO USE THE OPERATION PANEL................................................................. 41
1-1. Conguration of the operation panel....................................................................................41
1-2. Basic operation of the sewing machine ...............................................................................43
1-3. LCD under the AC mode......................................................................................................... 44
(1) AC data input screen ...........................................................................................................44
(2) Automatic sewing screen.....................................................................................................45
(3) Manual sewing screen.........................................................................................................46
1-4. Selecting the AC pattern ........................................................................................................ 47
1-5. Carrying out re-sewing........................................................................................................... 48
1-6. Winding bobbin thread........................................................................................................... 50
(1) Winding the bobbin..............................................................................................................50
(2) Adjusting the amount to be wound on a bobbin...................................................................50
1-7. Using the counter ................................................................................................................... 51
1-8. Registering a new AC pattern ................................................................................................ 52
(1) Carrying out the equal-interval input.................................................................................... 52
(2) Carrying out the individual input ..........................................................................................53
1-9. Copying the AC pattern .......................................................................................................... 54
1-10. Changing over the garment type between men's and ladies' garments............................ 55
1-11. Changing over the pair-stack ................................................................................................ 56
2. OPERATING AND OPERATION SETTING METHODS FOR DISCRETE SEWING MACHINE .....................57
2-1. Input of the presser type ........................................................................................................ 57
(1) Setting procedure of the presser type .................................................................................57
(2) Table of presser type ...........................................................................................................58
2-2. Performing pattern selection ................................................................................................. 58
(1) Selection from the pattern selection screen ........................................................................58
(2) Selection by means of the register key................................................................................ 58
2-3. Changing needle thread tension ...........................................................................................59
2-4. Performing re-sewing ............................................................................................................. 60
2-5. Using the initial value pattern................................................................................................ 61
2-6. Standard sewing shape list.................................................................................................... 62
2-7. Changing sewing data............................................................................................................ 63
(1) Initial sewing data at the time of your purchase ..................................................................63
(2) Changing procedure of sewing data....................................................................................63
2-8. Method of setting sewing data with/without edit .................................................................64
2-9. Sewing data list....................................................................................................................... 65
2-10. Copying sewing pattern ......................................................................................................... 71
2-11. Using pattern register key...................................................................................................... 72
(1) Method of register................................................................................................................72
(2) Register status at the time of your purchase ....................................................................... 72
2-12. Using parameter register key ................................................................................................ 73
(1) Method of register................................................................................................................73

iii
(2) Register status at the time of your purchase ....................................................................... 73
2-13. Performing continuous stitching...........................................................................................74
(1) Selection of continuous stitching data .................................................................................74
(2) Method of editing continuous stitching data ........................................................................75
2-14. Setting procedure of plural motions of knife .......................................................................76
2-15. Method of changing memory switch data ............................................................................77
2-16. Memory switch data list ......................................................................................................... 78
(1) Level 1 ................................................................................................................................78
(2) Level 2 .................................................................................................................................80
3. ERROR CODE LIST ................................................................................................. 83
#. MAINTENANCE OF SEWING MACHINE............................................... 88
1. MAINTENANCE........................................................................................................ 88
1-1. Adjusting the needle-to-hook relation ..................................................................................88
1-2. Adjusting the needle thread trimmer ....................................................................................89
1-3. Adjusting the presser bar pressure ......................................................................................89
1-4.
Adjustment of the bobbin presser unit ................................................................................................. 90
1-5. Thread tension ........................................................................................................................ 90
1-6. Replacing the clamp cushion ................................................................................................ 91
1-7. Adjusting the machine head .................................................................................................. 91
1-8. Replacing the fuse .................................................................................................................. 92
2. GAUGE COMPONENTS .......................................................................................... 93
3. DAILY MAINTENANCE ............................................................................................ 94
3-1. Removing dust near the bobbin case ................................................................................... 94
3-2. Cleaning the cooling lter...................................................................................................... 94
3-3. Cleaning the vacuum lter ..................................................................................................... 94
3-4. Draining of the air regulator................................................................................................... 95
3-5. Cleaning the carriage and lubricating to the drive section................................................. 95
3-6. Clean-up of the carrier and the preset table ........................................................................95
4. TROUBLES AND CORRECTIVE MEASURES........................................................ 96
$. INITIAL VALUE DATA FOR EACH SHAPE TABLE ............................... 98

– 1 –
1) The material feed mechanism allows the material to be fed quickly at accuratintervals.
2) The number of buttonholes or the feed to the sewing amount can be easily set or changed with the
keys on the control panel. Twenty different patterns can be stored in memory, which enables the opera-
tor to quickly respond to the frequent setup changes.
3) The material is automatically fed to sewing position after it has been placed on the setting position. The
machine automatically performs a series of operations, including sewing, thread trimming and stacking.
4) The operator can set the next material to be sewn while the machine is still sewing, allowing the opera-
tor to have enough time to attend on several machines.
5) Thanks to the presetting mechanism, it is possible for the operator to attend on four machines without
causing one of them to stand idle or for the operator himself/herself to become idle when two pieces of
garment are set on.
6) The clamping mechanism clamps the material securely without allowing any slippage during the sewing
operation from inserting to stacking.
7) Buttonholes can be sewn also to the front to-center strips of ladies wear.
8) The sewing speed can be specied as desired using the variable resistor on the control panel.
9) The machine has various modes while enable self-diagnosis when an error occurs.
10) It is also equipped with a workpiece detector mechanism which eliminates a sewing start error.
!.MACHINE OPERATION
1. GENERAL
Mainly consisting of a sewing machine, preset board, carriage, stacker, the AC-172N-1790 indexer is
designed to automatically carry out a series of operations starting with sewing buttonholes on the front top-
center strips of men’s shirts, etc. and ending with stacking of workpieces.
1-1. Features

– 2 –
1 Sewing machine head
2
Preset board
3
Carriage
4
Stacker
5
Control panel
6
Power switch
7
Knee switch
1-2. Conguration of the main parts
8
Pause switch
9
Hand switch
!0
Workpiece detector switch
!1
Air gun
!2
Preset adjusting knob
(supplied with the machine
in the tool box
)
!3 Tool box
!4 Thread stand
!5 Filter box
!6
Machine head pause
switch
9
2
451
!0
!2
!3 !1 6
7
!5
3
8
!4 !6

– 3 –
1. Before you put the machine into operation for the rst time after the set-up, clean it thoroughly.
2. This machine corresponds to the power supply voltage 200 to 240V.
3. Never use the machine in the state where the voltage type is different from the designated one.
4. Operate the machine with the air pressure set to 0.5Mpa.
CAUTION:
To avoid malfunction and damage of the machine, conrm the following.
2. SPECIFICATIONS
1-3. Operating precautions
■Main unit
11
Feed interval : 0 to 610 (0. to 24”)
2
Overall feed amount : 610 mm (24”)
3
Number of buttonholes which
can be sewn
:
1 to 20
4
Distance from the top end of
the garment body to the 1st
buttonhole
: 0 to 140 mm (0 to 5.5”)
5
Distance from the side end of
the garment body to the but-
tonhole
: 7 to 21 mm (0.3 to 0.8 inch)
6
Applicable garment size that
can be sewn
:
Width 220 to 420 mm (8.7 to 16.5”)
Length 400 to 880 mm (15.7 to 34.6”)
2Number of patterns that can be
stored in memory
: 20
3Power supply : 200 to 240V (3-phase/single phase) (Rated voltage ± 10% or less)
(Without voltage changeover)
4Power source frequency : 50/60 Hz
5Power consumption : 1000 VA (supply voltage ± 10% or less)
6
Operating air pressure
: 0.5 MPa
7Air consumption : 240 Nl/ min . or less
8Machine dimensions : Width 1,910mm Depth 850mm Table Height 920 mm
9Weight : 300 kg
10 Noise :
-
Equivalent
continuous emission sound pressure level (L
pA
) at the work-
station:
A-weighted value of 78.5dB; (Includes K
pA
=2.5dB); according to ISO
10821 - C.6.3-ISO 11204 GR2 at 4200 sti/min.
- Sound power level(L
WA
);
A-weighted value of 88.0dB; (Includes K
WA
= 2.5dB); according to ISO
10821 - C.6.3-ISO 11204 GR2 at 4200 sti/min.
■Sewing machine components
1 Machine head : LBH-1790S/AC2H
2 Sewing speed : Max. 4,200 sti/min
(Number of revolutions at the time of delivery : 3,600 sti/min)
3 Stitch length : Max. 25 mm X sewing width 4 mm
4 Size (knife size) : 6.4 to 19.1 mm (1/4 to 3/4”)
5 Needle : DPx5 #11J to #14J
6 Lubricating oil : JUKI New Defrix Oil No.1
7 Number of stitches : 0.2 to 2.5 mm
1
4
2
6
6
5

– 4 –
3. INSTALLATION
1
2
!0
3-1. Removing the machine head xing plate
1Front guard
2Front auxiliary connecting
plate for machine head
!0 Rear guard
The machine head xing plate, which has been factory-installed on the sewing machine head at the time
of delivery, should be removed.
3
5
6
79
8
8
9
6
5
[Removing the front guard]
1) Loosen screws 3and 4. (It is not nec-
essary to remove them.)
The clamping plate which clamps the
sewing machine head is installed under
the front guard. Be sure not to forget to
remove the clamping plate.
2) Remove screws 5which are used to secure the front
guard and the table.
Fit spanners 8and 9respectively on nuts 7which
are used to x screw 5. Securing spanner 9, turn
spanner 8clockwise. When one nut 7is removed,
x the remaining one with spanner 9. Fit hexagonal
wrench key 6on screw 5and turn the screw clock-
wise.
The removal procedure for the
rear guard is same as that for
the aforementioned front guard.
[Removing the rear guard]
4Clamping plate

– 5 –
1) Insert air hose 1into one-touch joint 2supplied
with this unit, and x it using metal ttings or the
like.
2) Insert one-touch joint 2into joint 3until it clicks.
3) Set the air pressure gauge to 0.5 MPa. To adjust,
raise knob 5of regulator 4in direction A, and
turn knob 5clockwise (direction C) to increase
the air pressure, or turn the knob counter-clock-
wise (direction D) to decrease the air pressure.
4) When the air pressure gauge has been set to 0.5
MPa press knob 5in direction Buntil it clicks.
The sound indicates that the gauge has locked.
When bottle 6 is lled with water, be sure
to drain off the water by removing one-
touch joint 2 from regulator 4, and by
pressing drain button 7.
Drain off the water every time the ma-
chine is used , either before or after op-
eration.
1) Check to be sure that the power supply in use is
200 to 240 VAC.
2) First conrm that power switch in “OFF”, then
connect the power cord to the power supply.
3) Turn the power ON. Check that the blower motor
is rotating.
The sewing machine is not provided with
a terminal block or the like for changing
over the voltage. As long as the power
supply in use is in the range of 200 to 240
VAC, the sewing machine can be directly
connected to the power supply.
3-2. Connecting the power supply
3-3. Installing the air hose
5
C
D
B
A
3
2
1
4
6
7

– 6 –
WARNING :
To protect against possible personal injury due to abrupt start of the machine, be sure to start the
following work after turning the power off and ascertaining that the motor is at rest.
3-4. Lubrication
1) Lubricating oil to oiling tank
™ Fill the oiling tank with New Defrix Oil No.1 up to the level indicated by “MAX” 1.
2) Adjusting the lubrication for the sewing hook
™ Adjust the amount of oil supplied to the sewing hook by loosening lock nut 2and turning oil amount
adjusting screw 3.
™ Amount of supplied oil is reduced when turning the screws 3clockwise.
™ Fix the screw with lock nut 2after adjusting the lubrication for the sewing hook.
™ When you rst operate your sewing machine after set-up or after an extended period of disuse, remove
the bobbin case and apply a few drops of oil to the hook race. In addition, apply a few drops oil from
oiling hole 5in hook driving shaft front metal 4to soak the inside felt in oil.
Detailed diagram of oil amount adjusting section
23
Decrease
Oil amount
Increase
Oil pipe
3
2
1
5
4

– 7 –
3-5. Installing the panel
1) Fix operation panel mounting plate 1on base
plate 2. Use setscrews 3(M5 x 25) supplied
with the unit.
2) Install operation panel 4.
2
13
4
3) Tie cord 6on the operation panel strut with
cable clip band 5.
5
6

– 8 –
1) Assemble the thread stand unit, and x the as-
sembly in the hole in the table as shown in the
gure.
2) Tighten locknuts 1so that they securely hold
the thread stand assembly.
3) In the case of ceiling wiring, pass the power
cable through spool rest rod 2.
3-6. Installing the thread stand
2
1
1
4) Connect cord 6to connector 7(CN34) coming
from the control box.
5) Fix cord 6at two points with clamps 8located
under the housing.
67
68
8

– 9 –
2) Secure marking-light cord 5and operation-
panel cord 6on strut 7by means of cable clip
band 4.
3) Fix marking-light cord 5together
with operation-panel cord 6and
grounding cord 8at two locations
underside the cabinet with clamps
9.
4) Open the control box. Connect connector !0 of
the marking light to CN113.
!0
99
8 5 6
7
6
45
3-7. Installing the marking light
1) When installing the device, temporarily x mark-
ing-light mounting base 1on base plate 2with
setscrews 3(2 x M4) supplied with the unit.
1
3
2

– 10 –
5) Adhere seal !2 on preset table
!1 by afxing the right and left
edges of the seal at right and
left marking-off lines !3 on the
table. The location of the seal
to be adhered on the preset
table can be found by align-
ing the scale "21" on the seal
with marking-off line !3 on the
table.
CAUTION:
The marking light is a product categorized under Class 2. Do not look into the beam irradiation
orices.
6) Turn on the power to the marking light. Then, move the entire device to align the light beams irradiated
from the marking light with right and left marking-off lights !3 on preset table !1. When the device is cor-
rectly positioned, securely tighten setscrews 3(2 x M4).
!2
!1 !1
!2
!3 !3
3-8. Adjusting the marking light
* Setting procedure in the case the distance from
the edge of placket material to the buttonhole is
15 mm
1) Loosen setscrews 1.
2) Turn marking light 2in the direction of the arrow
to adjust the pointer to "15" of the seal adhered
on the preset table so that the laser light from
marking light 2irradiates the scale "15."
3) Tighten setscrews 1taking care not to allow the
laser light to move out of adjustment.
4) Align the pointer of the preset table at the scale
"15" on the seal by means of the preset adjust-
ment handle 3. (See "!-4-3. Adjusting the
seam allowance" p.34 for the adjusting proce-
dure.)
1
2
3

– 11 –
23
1
5
6
9
7
8
3-9. Installation and adjustment of the material edge detecting sensor (asm.)
Fig. A
3) Install sensor 4on the
mounting plate with
screws 5.
4) Route the sensor
cord along the holes
in mounting plate 1.
Secure the cord with
cable clips 6at the
holes to complete the
assembly of material
edge detecting sensor
(asm.) 7.
(2) Installing the material edge detecting sensor on the machine head
1) Loosen setscrew 8of the mounting bracket for
the air blower to remove mounting bracket 9.
2) Put setscrew 23of material edge detecting
sensor (asm.) 7on section A of hand switch
mounting plate !0. Mount both material edge
detecting sensor asm. 7and mounting bracket
9with air blower mounting bracket setscrew 8.
Be sure to check that the setscrew does
not come in contact with hand spinner set-
screw !1.
3) Turn around bracket 9
so that the air hose faces
the needle bar.
This setting is only available under the men's garment mode. Be aware that the sewing machine
carries out its normal operation even if the material edge detecting sensor is installed.
(1) Assembling the material edge detecting sensor
1) Put screw 2into the tapped hole in sensor
mounting plate 1.
2) Fit nut 3on screw 2. Tighten the screw unit
it is almost ush with the mounting plate, as
shown in Fig. A, and secure with nut 3.
4
!0 !1
A
8
23
9
7
1
1

– 12 –
!2 !2
!4
19.5mm
!3Black
!3Brown !3Blue
!5
!6
4) Secure material edge detecting
sensor cord by means of cable clip
!2 together with the hand-switch
cord and the air hose.
5) Open the cover of the control box.
6) Connect brown cord (contact) of
the material edge detecting sensor
junction cord !3 to sensor junction
cord B asm. !4 (CN105-30), black
cord (contact) to sensor junction
cord B asm. !4 (CN105-26) and
blue cord (contact) to sensor junc-
tion cord B asm. !4 (CN105-27),
respectively.
7) Insert material edge detecting sensor asm. cord
7into material edge detecting sensor junction
cord !3.
8) Degrease the top surface (at the location where
reective sheet !6 is to be afxed) of feed plate
!5.
9) Afx reective sheet !6 on feed plate !5 aligning
with the end face of the slot of the feed plate.
If the relevant part of the surface of feed
plate !5 is not adequately degreased,
reective sheet !6 is likely to come un-
stuck.
Degrease
!3 7

– 13 –
A
B
C
D
(3) Adjusting the material edge detecting sensor
Refer to "@-2-15. Method to change the memory switch data" p. 77 for the operation procedure
of the memory switch.
1) Turn the power ON. Set K23 (material edge
detecting sensor setting) in "enable" A.
2) Set U53 (jump functions setting) in "enable
jump" B.
3) Set the amount of feed from the material edge
Cat 65 mm under the AC mode.
4) Press the ready key to bring the sewing ma-
chine into the sewing state. Then, place a piece
of cloth of approximately A4-size on the preset
section.
5) Actuate the preset device to start sewing.
6) Measure the distance Dfrom the material edge
to the edge of a buttonhole. Enter the measured
value in the eld above the K26 pictograph.
(Initial value is 65 mm.)
7) Now, the positioning of the sensor is completed. Enter the desired amount of feed in Cand measure the
aforementioned distance for the purpose of conrmation.

– 14 –
55 to 65 mm
52 mm
[Precautions to be taken in setting]
It is recommended to place the material at the location that is 65 ± 5 mm from the center of needle as far as
possible.
In the case you want to set the amount of feed from the material edge to the rst buttonhole to 60 mm or
less, in particular, place the material in the range of 60 and 65 mm from the center of needle.
Sewing cannot be carried out unless the material is placed near the notch in the preset table (52 mm away
from the center of needle).
Example) In the case the amount of feed from the material edge to the rst buttonhole is set at 50 mm and
the material is placed at the location 75 mm away from the center of needle
After the material is delivered from the preset table to the carriage, the material edge is detected by the
carriage: The carriage moves to the left by 10 mm (75 - 65).
To sew the rst buttonhole: The carriage moves to the left by 15 mm (65 - 50).
In all, the carriage has to move to the left by 25 mm. However, the amount of travel of the carriage is
limited to 20 mm at the maximum. As a result, an error occurs in the aforementioned case.
60 mm or less
In the case the edge width (normally approximately
7 mm) is smaller, the sensor may not detect the ma-
terial edge. In this case, adjust the position of the
sensor to such a position (toward the operator) that
it is able to detect the edge.

– 15 –
(1) Assembling the auxiliary clamp
WARNING :
So as to prevent accident resulting from abrupt start of the sewing machine, be sure to turn the
power OFF and discharge air before starting assembly and adjustment.
3-10. Assembly and adjustment of the auxiliary clamp
2
1
1
3
45
6
78
1) Remove ve screws
1to remove right
cover 2.
2) Remove three screws 4and three nuts 5(from
the underside) to remove base plate 3.
3) Write mark-off lines, with a pencil or the like, on the joining surfaces of parts to easily understand the
installing position at the time of re-assembly, then remove screws 6and 7.
* There is a washer on the underside of rod end 8. Take care not to allow the washer to drop when re-
moving screw 7.

– 16 –
9
!0 7
6
!2
!4
!3
!5
!6
!7
!0
!1
!6
!5
4) Fix auxiliary clamp
asm. 9with three
screws !0. Tem-
porarily x screws
6and 7and the
washer, removed in
step 3), with aligned
with the mark-off
lines.
5) Supply air. Securely
tighten screws 6
and 7with set-
ting plate support
!2 pressed against
preset table !1.
6) Bundle two air hoses !3 and switch cable !4
with clamp !5. Tighten screw !6. Then, slide the
cover of duct !7 in the direction of the arrow.
Place two air hoses !3 and switch cable !4 in
the duct and close the cover of duct !7.
This manual suits for next models
1
Table of contents
Other JUKI Sewing Machine manuals

JUKI
JUKI UnionSpecial 35800DLU Setup guide

JUKI
JUKI LU-1520NCS-7 User manual

JUKI
JUKI APW-895NE User manual

JUKI
JUKI MO-2000QVP User manual

JUKI
JUKI MO-104 User manual

JUKI
JUKI AK85B User manual

JUKI
JUKI LK-1850 Series User manual

JUKI
JUKI LZ-2290 Series Assembly instructions

JUKI
JUKI PS-800SB-2850 Series User manual

JUKI
JUKI ACF-172-1790 Quick start guide

JUKI
JUKI HZL - 355Z Series User manual

JUKI
JUKI HZL-F series User manual

JUKI
JUKI MO-804 User manual

JUKI
JUKI LU-1510N Quick start guide

JUKI
JUKI HZL-DX3 User manual

JUKI
JUKI MF-7500D Series User manual

JUKI
JUKI LZ-2290A-SR-7 User manual

JUKI
JUKI MO-80CB User manual

JUKI
JUKI MO-735 User manual

JUKI
JUKI dsu-142 User manual