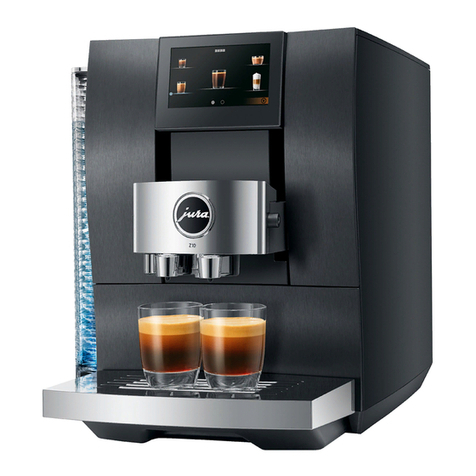
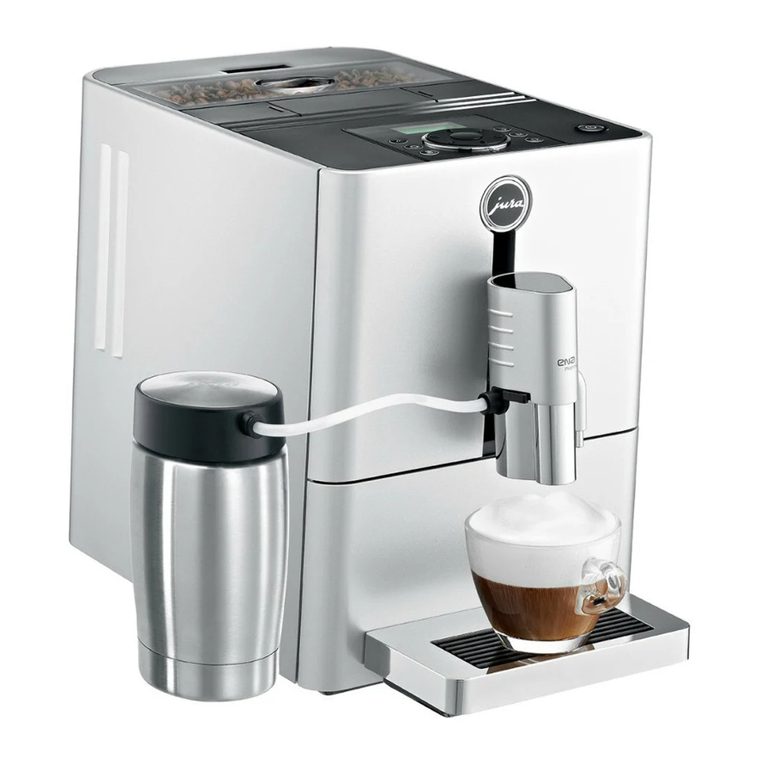
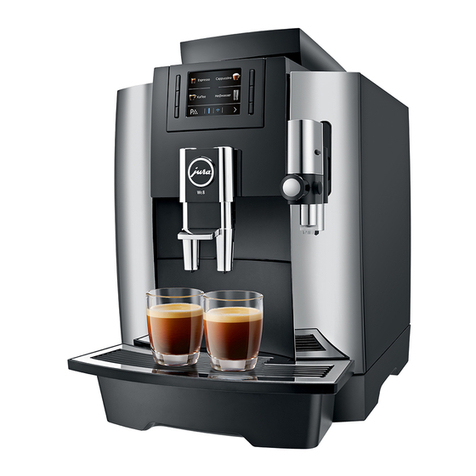
Jura Impressa C9 One Touch User manual

Impressa C9 One Touch Quick Reference Guide
This uide does not replace the Operating Instructions.
For details and cautions you must read all instructions.
Traces of Coffee rounds in New Machine?
This is normal! rinder was tested during assembly with beans.
Despite cleaning, traces of ground coffee may be found.
RED TEXT represents display text.
A) First Time Ever reparation
1. Fill water in tank and beans in bean container.
2. DO NOT install the Clearyl Blue Filter now!
3. Push the main power switch in the back of the machine.
4. Push the On/Off button in the display. When the display
reads RESS RINSE place a cup under the frothXpress
and push the Rinse button. SYSTEM FILLING, then
HEATING, then RESS RINSE.
5. Place a cup under the coffee spouts and press the Rinse
button. RINSING, then READY.
6. Place a large cup underneath the coffee spouts and press
the Coffee button. 1 COFFEE: The machine starts grinding
and brewing. Repeat once. Discard the first two cups of
coffee.
B) Daily reparation
1. Fill fresh water in tank and check bean container.
2. Push On/Off button. HEATING.RESS RINSE. Place
a cup under the coffee spouts and press the Rinse button.
RINSING.READY.
Important: You can only brew coffee when display shows
READY.
C) Grinding and Brewing Coffee
Two pre-set coffee buttons: ES RESSO, COFFEE. These
buttons are pre-set for strength (three settings), cup size
(1 to 8 oz. per cup) and temperature (HI H, NORMAL).
In programming you can change all three functions.
To brew coffee:
Pre-warm cup, see "E) Using Hot Water" 68205R1
READY
1
2
7
6
5
4
3
8
1. On / Off Button
2. Rinse Button
3. round Coffee Button
4. On/Off Illumination
5. Coffee Button
6. Espresso Button
7. Display
8. Rotary Dial with Push Button

READY. Place a cup under the Dual Coffee Spouts and push
one of the two coffee buttons. Display shows e.g.
1 ES RESSO and coffee flows into your cup and stops
automatically. READY.
During brewing you can override the strength and the cup
size by turning the Rotary Dial (behind the door on the left
side). NOTE: To brew two cups, push either Coffee button
twice. The C9 OT brews twice the volume.
Important: You can always stop the flow of coffee by pushing
any of the coffee buttons.
D) Changing the Grinder Fineness
Important: You can only adjust the fineness during the
actual grinding process.
1. Open the bean container lid and turn the dial while grinding:
larger dots: coarser; smaller dots: finer.
2. For darker, oily beans, grind somewhat coarser. For lighter
beans, grind somewhat finer.
E) Using Hot Water. Place a cup underneath the Hot Water
nozzle and push the Hot Water button WATER. Water begins
flowing. Push button again to stop the water flow.
F) One Touch Cappuccino.
The C9 OT features the Auto Cappuccino System with two
spouts located behind each other. The front spout produces
steam (hot water and steam /milk nozzle). The rear spout
produces high pressure brewed coffee. Attached to the
steam nozzle is the removable frothXpress system. It
siphons, steams and froths milk.
1. Fill the thermal milk container with milk and attach to the
frothXpress system. Important: Make sure all parts are
connected tightly, otherwise siphoning does not work.
2. Set the frothXpress dial to the 12 o’clock position for
frothing for cappuccino or to the 6 o’clock position for
steaming for latte.
Frothing range
Steaming
range
Steam only
no siphoning
DIAL
+
+
_
_
frothXpress System
hot water
and
steam/milk
nozzle
coffee
nozzle
One Touch
Cappuccino
Button
Milk Button
Hot Water
Button

3. Place a cup underneath the Cappuccino System.
4. Push the Cappuccino button. The C9 OT starts grinding,
the display shows CA UCCINO, then coffee strength.
It siphons, heats and froths milk for 14 seconds, adds 2 oz.
of high-pressure brewed coffee and stops automatically.
READY.
5. For hotter milk in either position move the frothXpress dial
towards the (+) plus symbols.
NOTE: For preparing Café Mocha, Latte Macchiato, Hot
Milk and Hot Chocolate see Instruction Book (page 17).
G) Cappuccino Rinsing:
Ten minutes after preparing a beverage with milk, the C9 OT
shows READY / RINSE CA UCCINO and the Rinse button
illuminates. It takes only a few seconds and makes sure that
your frothXpress is free of any milk.
• Turn frothXpress dial to the 3 o’clock position and place a
cup underneath the cappuccino system.
• Push Rinse button CA UCCINO RINSING. Hot water
flows through the frothXpress and stops. READY.
• Turn the frothXpress dial back to your preferred position.
H) Factory Settings, Beverage Buttons:
• All coffee and water buttons are set to temperature HIGH.
• Espresso button – 1.5 oz./ STRONG.
• Coffee button – 5 oz. per cup / NORMAL.
• Cappuccino; one-touch button – 14 seconds milk,
2 oz. coffee / NORMAL.
• Milk portion button; 30 seconds milk,
• Water portion button; 6 oz.
All other settings see chapter 5, Operating Instructions.
I) Re- rogramming, Beverage Buttons:
a. Visual rogramming of cup size.
• Push and hold the beverage button you want to re-program,
display shows ENOUGH COFFEE? or ENOUGH MILK?
Example:
Visually re-programming the Cappuccino button. READY.
• Prepare the Cappuccino Systems (milk container etc.) to
make a cappuccino and place your cappuccino cup under
the Cappuccino System.
• Push and hold the Cappuccino button until display shows
ENOUGH MILK?
• When the desired amount of milk and milk froth is in your
cup, push the Cappuccino button again. The display now
shows ENOUGH COFFEE?
• When enough coffee has been added to your frothed milk
push the Cappuccino button again. The display briefly
shows OK then READY.
The next time you push the Cappuccino button, the C9 OT
will produce that amount of milk and coffee.

b. rogramming Cup Size, Temperature and
Strength.
Example: Re-program the Cappuccino button to:
3.5 oz. of coffee, strong, milk production for 20 sec-
onds, temperature stays as is (HI H). READY.
1. Push the Rotary Dial until the display shows RINSE.
2. Turn the Rotary Dial to BUTTONS and push the
Rotary Dial. The display shows SELECT BUTTON.
3. Push CA UCCINO button. Display shows MILK.
4. Push the Rotary Dial, 14 SEC, and turn the dial
until display shows 20 SEC.
5. Push the Rotary Dial to confirm: OK then MILK.
6. Turn the Rotary Dial until display shows WATER
(here it stands for coffee volume) and push the
Dial, 2.0 OZ.
7. Turn the Rotary Dial until the display shows 3.5 OZ
and push to confirm, OK then WATER.
8. Turn the Rotary Dial until the display shows
STRENGTH and push the Dial, NORMAL.
9. Turn the Dial until the display shows STRONG and
push the Dial, OK, then STRENGTH.
10. Turn the Rotary Dial until the display shows EXIT
and push the dial. BUTTONS. If you do not want
to change another button, turn dial until display
shows again EXIT and push the Dial: READY.
For more programming options see Instruction
Book, pages 22 through 24.
J) Installing the Clearyl Blue Filter
• Rinse filter under running water. Insert into
Water Tank reception, make sure tapered end fits
snugly inside the fins. Close filter holder.
• Fill tank with cold water and replace.
Activating the Clearyl Blue Filter:
You must activate the filter for the machine to monitor
it properly. Otherwise the C9 OT assumes decalcifying
mode. READY.
1. Push the Rotary Dial until display shows RINSE.
2. Turn the Rotary Dial until the display shows FILTER –
and push the Rotary Dial to enter the program NO –.
3. Turn the Rotary Dial until YES is displayed and
push the Rotary Dial. OK is displayed briefly and
then INSERT and the Rinse button illuminates.
4. Place a 20 oz. container under the steam nozzle.
5. Push the Rinse button FILTER RINSING. For the
next 60 seconds the machine will push water
through the filter and out through the frothXpress
system. Initially, the water may have a slight
discoloration. The program will stop automatically.
Display shows HEATING, then READY.
Please note: You can stop the water flow at any time by
pushing Rinse button. Empty the container, replace and
push the Rinse button to complete the activation process.
K. Replacing the Clearyl Blue Filter
When display shows READY /FILTER and the Rinse
button lights up:
• Push Rinse button. CHANGE.
• Remove water tank, remove old filter. Rinse new filter
under running water and install in water tank. Fill
tank with fresh water and replace.
• Now proceed as explained in steps 4 and 5 above.
L) Cleaning with Special Tablet (Machine is on)
The message READY / CLEAN appears after 200 cups of
coffee. This program removes coffee oils inside the machine
and takes 20 minutes.
Important: Do not interrupt program once started.
Important: Only use special round cleaning tablet.
• Make sure the water container is at least half full.
1. Push the Rinse Button EM TY TRAY.
2. Remove and empty tray and the used coffee container
and replace. RESS RINSE. Rinse button illuminates.
Attention: If the tray and the used coffee container are
already empty, you still need to remove the tray for
approx. 20 seconds and then replace it.
3. Place containers (10 oz.) under the coffee spout and the
frothXpress and push the Rinse button.
The display shows CLEANING. After a short while the
display shows ADD TABLET.
4. Open the ground coffee funnel lid and drop one white
tablet into the opening. Close lid.
5. Push the Rinse button. The display shows CLEANING.
The machine will start the automatic cleaning program
by dispensing water in intervals into the containers
underneath the spouts. When finished, the display
shows EM TY TRAY.
6. Remove the tray. There will be water in the tray and in
the used coffee container. Empty, clean and replace,
READY.
M) Decalcifying DE-SCALE
For different water hardness levels see Operating Instruc-
tions (page 19/20). If water hardness level is selected, the
decalcifying monitor is active. The machine needs to be
decalcified when above message appears.
CAUTION: Immediately remove any splashes of the decal-
cifying solution from sensitive surfaces, such as
natural stone or wood.
CAUTION: If the decalcifying solution comes in contact
with the skin, rinse it off with water. If the solution comes in
contact with your eyes, see a doctor.

Important: If you use the Clearyl Blue filter and DE-SCALE
appears, then the filter activation procedure was not
performed properly, see "J) Installing Clearyl...".
Important: Decalcifying program must not be interrupted.
Use only the special decalcifying tablets (not the cleaning
tablets!). For supplies see "N) Supplies".
DE-SCALE / READY.
1. Push the Rinse button, display shows EM TY TRAY.
2. Remove and empty the tray and the used coffee container
and replace, display shows AGENT IN TANK.
Attention: If the tray and the used coffee container are
empty, you must remove the tray for approx. 20 seconds
and then replace it.
3. Remove the frothXpress system from the Auto Cappuccino
system.
4. Remove the water container and empty.
5. Completely dissolve 3 of the large square decalcifying
tablets in a container with 18 oz. of water (0.5 liters) and
pour the solution into the water tank.
6. Replace water tank. AGENT IN TANK. The Rinse button
illuminates.
7. Place a large container under Auto Cappuccino system.
8. Push the Rinse button. The display shows DE-SCALING
and the light in the Rinse button flashes during the
operation. The machine pumps the decalcifying solution
in intervals through the Cappuccino system.
9. When display shows EM TY TRAY, remove and empty
the container. Then carefully remove and empty the tray
and the used coffee container and replace.
10. Display shows FILL WATER TANK. Remove the water
tank, rinse thoroughly, fill it halfway with fresh water and
replace. The display shows RESS RINSE.
11. Place the container under the Auto Cappuccino system
and push the Rinse button DE-SCALING.
12. The machine pumps fresh water through the system and
stops automatically. The display shows EM TY TRAY.
13. Remove and empty the container. Then carefully remove
and empty the tray and the used coffee container and
replace. READY.
14. Attach the frothXpress system to the steam nozzle.
The machine will automatically remind you when it’s time
to decalcify again.
N) Supplies can be ordered through:
Customer Service, Mail Order Form or www.capresso.com
• Clearyl Blue Water Filter: #67879
• Cleaning Tablets: #62205
• Decalcifying Tablets: #61848
JURA-CA RESSO CUSTOMER SERVICE:
1-800-220-5701 M-F 9AM - 9PM; Sat. 9AM - 5PM EST
FAX: 201-767-9684 [email protected]
Table of contents
Other Jura Coffee Maker manuals

Jura
Jura IMPRESSA X9 Configuration guide

Jura
Jura IMPRESSA F90 User manual

Jura
Jura WE8 User manual

Jura
Jura Impressa TB-96 Instruction Manual

Jura
Jura Z10 759 User manual

Jura
Jura IMPRESSA E30 User manual

Jura
Jura IMPRESSA XJ9 Professional Guide

Jura
Jura ENA 5 User manual

Jura
Jura X7 User manual

Jura
Jura IMPRESSA XF50 Classic User manual