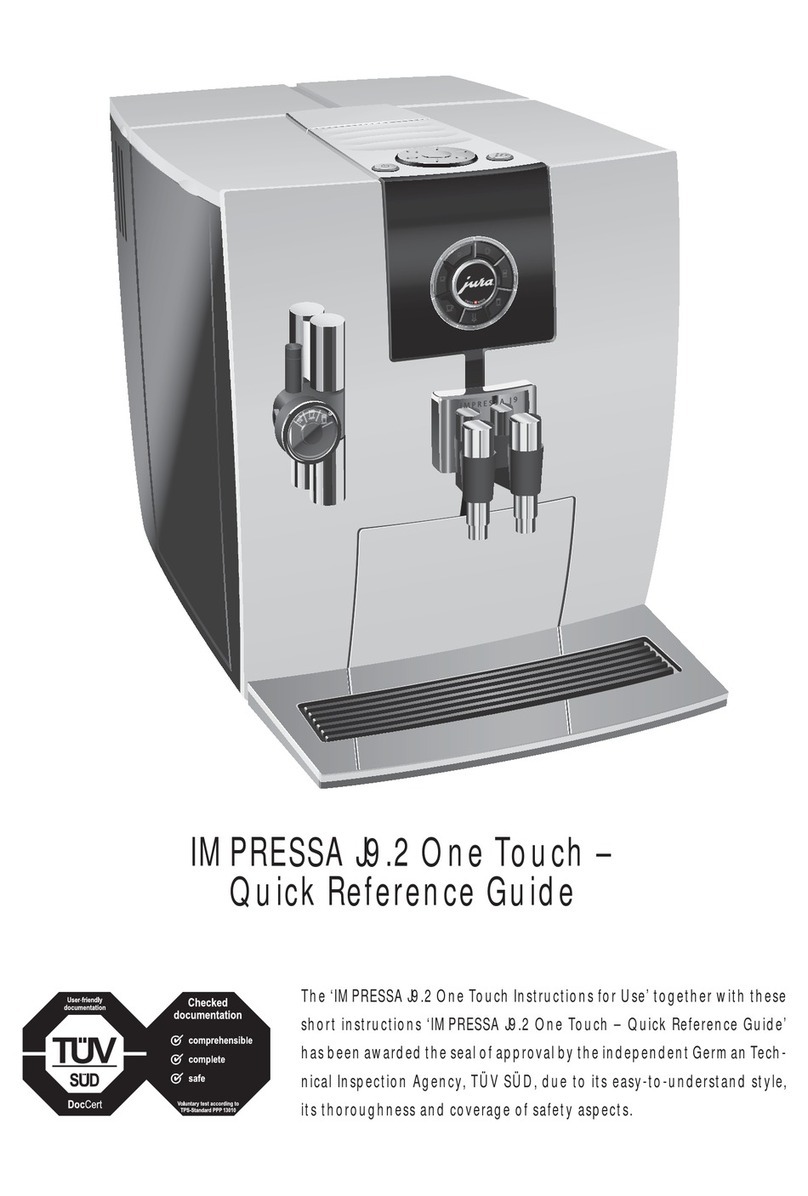
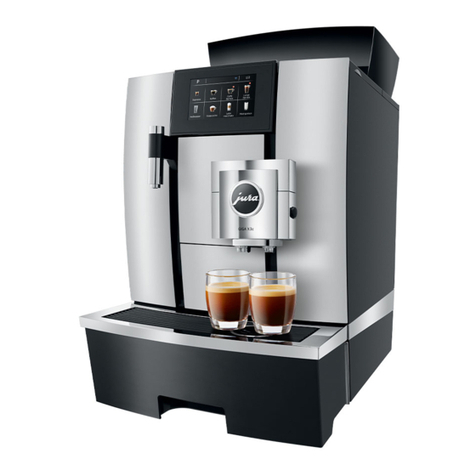
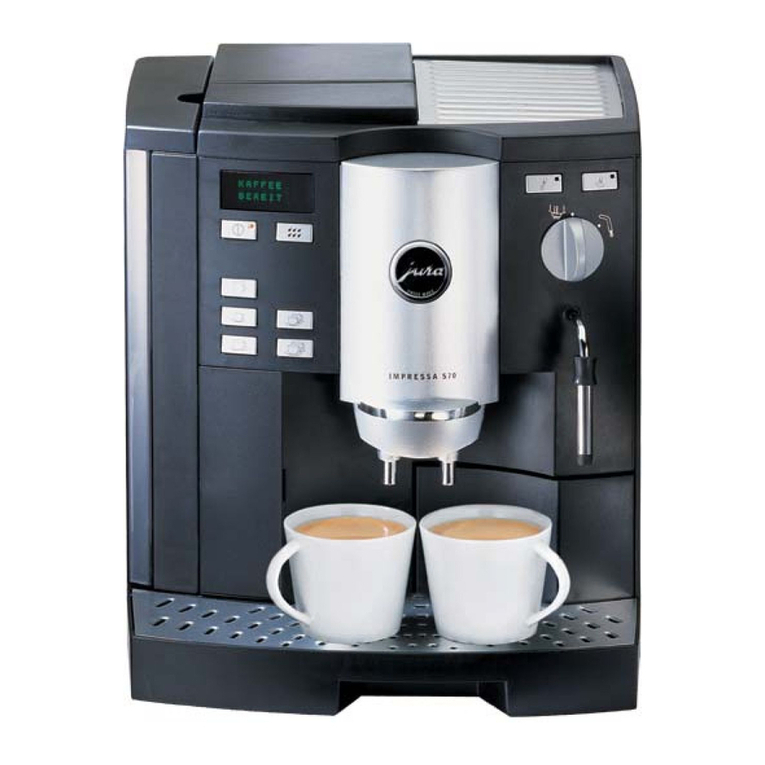
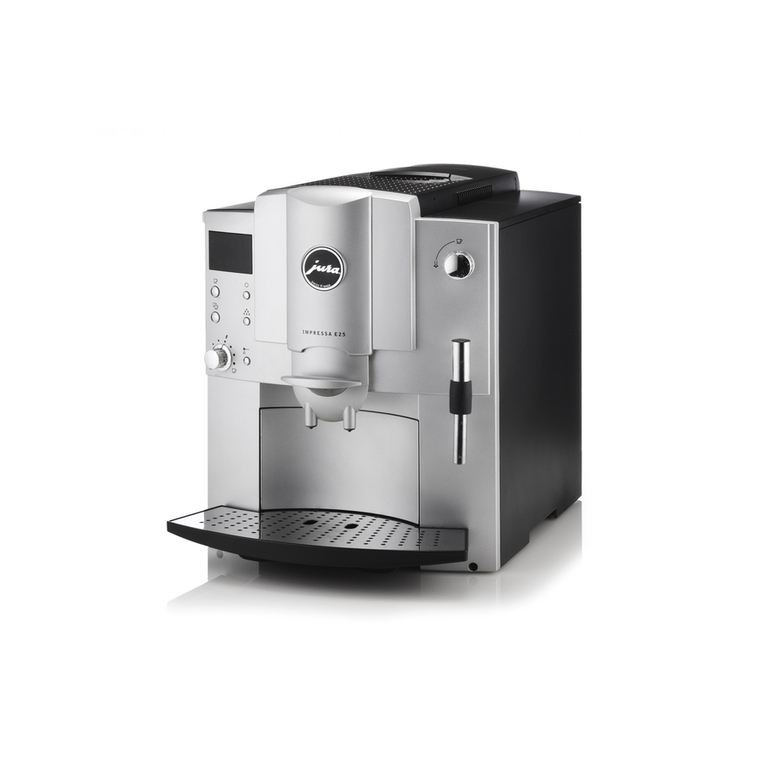
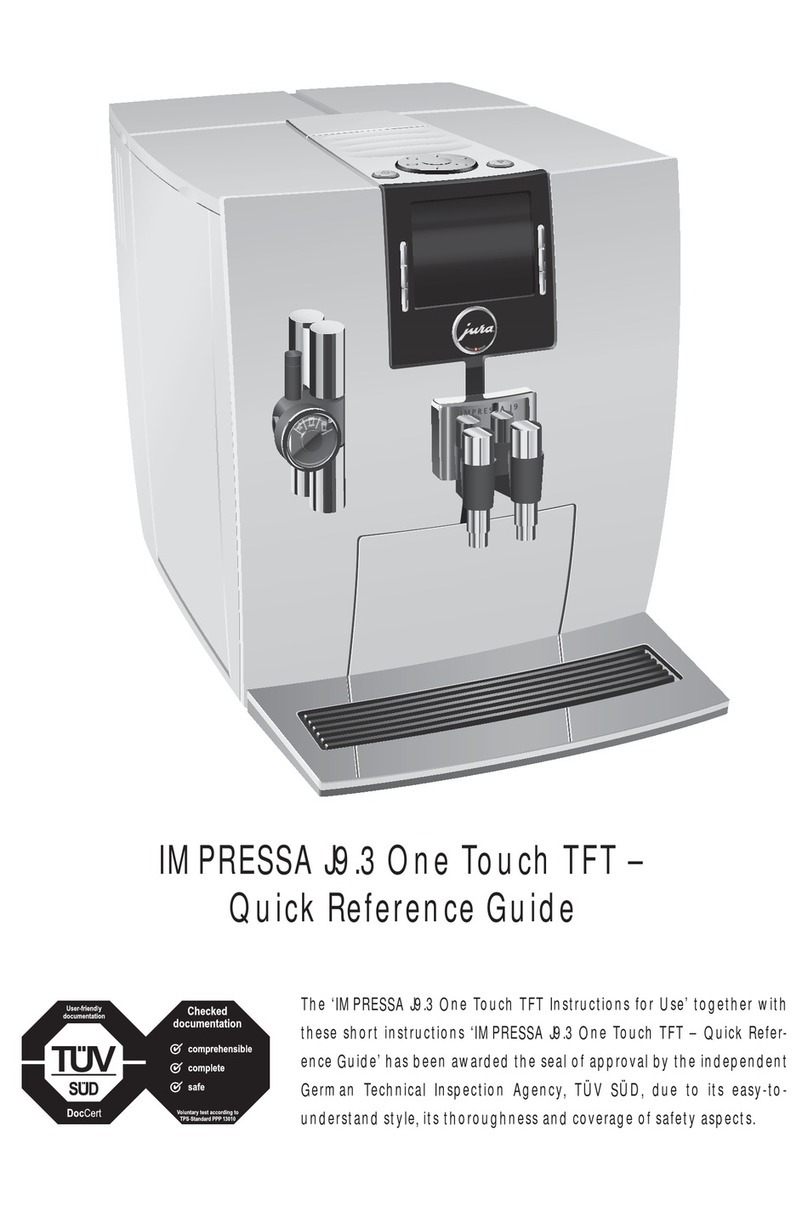
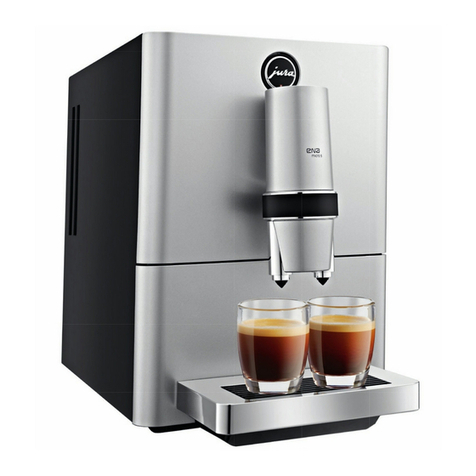
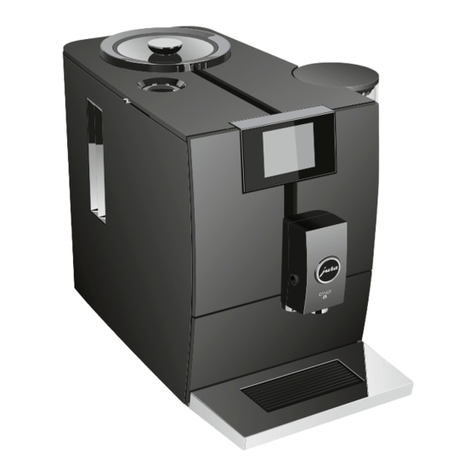
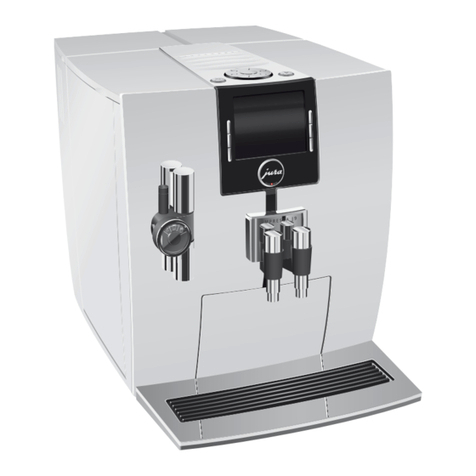
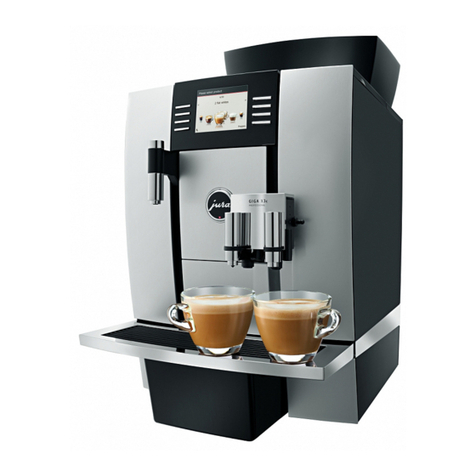
Jura IMPRESSA J Series User manual

Elektroapparate AG
Disassembling manual
Technical Support
Language
EN
IMPRESSA J/XJ line
Author: Patrik Studer
Checked:
Approved:
Docu.-name: Demontageanleitung_J_Linie_EN.doc
L:\Geräte\Linie_J\J9\J9_4_OneTouch_TFT\Schulungs_Unterlag
en\E\Demontageanleitung_J_Linie_EN.doc
Date:
Rev. A:
Rev. B:
Rev. C:
Rev. D:
Rev. E:
Rev. F:
28.09.2006
27.08.2013
Page 1/18
IMPRESSA J5 IMPRESSA J7 IMPRESSA J9.1
IMPRESSA J9.2 IMPRESSA J9.3 IMPRESSA J9.4
IMPRESSA XJ5 IMPRESSA XJ9

Elektroapparate AG
Disassembling manual
Technical Support
Language
EN
IMPRESSA J/XJ line
Author: Patrik Studer
Checked:
Approved:
Docu.-name: Demontageanleitung_J_Linie_EN.doc
L:\Geräte\Linie_J\J9\J9_4_OneTouch_TFT\Schulungs_Unterlag
en\E\Demontageanleitung_J_Linie_EN.doc
Date:
Rev. A:
Rev. B:
Rev. C:
Rev. D:
Rev. E:
Rev. F:
28.09.2006
27.08.2013
Page 2/18
Table of contents:
1Remove bean container of the IMPRESSA XJ line:...................................................................3
2Disassembling of single components: ......................................................................................3
3CAPPU outlet IMPRESSA J9.3/J9.4/XJ9: .............................................................................. 10
4Particular view Left:.............................................................................................................. 11
5Particular view Right:............................................................................................................ 12
6Particular view Back: ............................................................................................................ 13
7Particular view Top: .............................................................................................................. 14
8Fluid system IMPRESSA J5/J7/XJ5: ..................................................................................... 15
9Fluid system IMPRESSA J9.1/J9.2/J9.3: .............................................................................. 15
10 Fluid system IMPRESSA J9.4/XJ9:..................................................................................... 16
11 Logic- and power print connections (example IMPRESSA J9.4): ...................................... 17
11.1 Logic: .................................................................................................................................. 17
11.2 Power: ................................................................................................................................. 18
This instruction can be used for all coffee machines of the J/XJ line.
(Images are taken of the IMPRESSA J5).
Type specific changes are especially mentioned.
Revision:
A: New appliances added
Elektroapparate AG
Disassembling manual
Technical Support
Language
EN
IMPRESSA J/XJ line
Author: Patrik Studer
Checked:
Approved:
Docu.-name: Demontageanleitung_J_Linie_EN.doc
L:\Geräte\Linie_J\J9\J9_4_OneTouch_TFT\Schulungs_Unterlag
en\E\Demontageanleitung_J_Linie_EN.doc
Date:
Rev. A:
Rev. B:
Rev. C:
Rev. D:
Rev. E:
Rev. F:
28.09.2006
27.08.2013
Page 3/18
1Remove bean container of the IMPRESSA XJ line:
Remove water tank
Detach cover upwards and remove it
Slide-in the beans lock
Unscrew TORX 10 of the bean container
Slide bean container to the left and lift and remove it upwards
2Disassembling of single components:
1. View from the top:
Unscrew 4x Oval-screws
2. Unscrew only the left Oval-screw

Elektroapparate AG
Disassembling manual
Technical Support
Language
EN
IMPRESSA J/XJ line
Author: Patrik Studer
Checked:
Approved:
Docu.-name: Demontageanleitung_J_Linie_EN.doc
L:\Geräte\Linie_J\J9\J9_4_OneTouch_TFT\Schulungs_Unterlag
en\E\Demontageanleitung_J_Linie_EN.doc
Date:
Rev. A:
Rev. B:
Rev. C:
Rev. D:
Rev. E:
Rev. F:
28.09.2006
27.08.2013
Page 4/18
3. Remove water tank and tray
4. Turn the JURA-emblem on the back
anti-clockwise and remove it
5. Unscrew 2x TORX15
6. Remove shield
(Snap-locks are situated up and down)

Elektroapparate AG
Disassembling manual
Technical Support
Language
EN
IMPRESSA J/XJ line
Author: Patrik Studer
Checked:
Approved:
Docu.-name: Demontageanleitung_J_Linie_EN.doc
L:\Geräte\Linie_J\J9\J9_4_OneTouch_TFT\Schulungs_Unterlag
en\E\Demontageanleitung_J_Linie_EN.doc
Date:
Rev. A:
Rev. B:
Rev. C:
Rev. D:
Rev. E:
Rev. F:
28.09.2006
27.08.2013
Page 5/18
7. Remove the right side case
8. Unscrew the TORX15 to slide the left side case
backwards
9. Remove brewing unit spilling cover
10. Remove brewing unit by unscrewing 2x TORX20
and 1x TORX15 and taking off the hose of the
coffee outlet

Elektroapparate AG
Disassembling manual
Technical Support
Language
EN
IMPRESSA J/XJ line
Author: Patrik Studer
Checked:
Approved:
Docu.-name: Demontageanleitung_J_Linie_EN.doc
L:\Geräte\Linie_J\J9\J9_4_OneTouch_TFT\Schulungs_Unterlag
en\E\Demontageanleitung_J_Linie_EN.doc
Date:
Rev. A:
Rev. B:
Rev. C:
Rev. D:
Rev. E:
Rev. F:
28.09.2006
27.08.2013
Page 6/18
11. Unscrew TORX15 and slide the support of the
power print and logic print to the left
12. - Thermoblock-lid is fixed with 2 snap-locks
- The pump can only be removed when the
thermoblock-lid is taken off
13. - Unscrew TORX15 to remove the thermoblock
support
- Multi-ceramic-valve is secured with a snap-lock
14. Multi-ceramic-valve support is combined with the
drain-magnet and can be removed by unscrewing
3x TORX15

Elektroapparate AG
Disassembling manual
Technical Support
Language
EN
IMPRESSA J/XJ line
Author: Patrik Studer
Checked:
Approved:
Docu.-name: Demontageanleitung_J_Linie_EN.doc
L:\Geräte\Linie_J\J9\J9_4_OneTouch_TFT\Schulungs_Unterlag
en\E\Demontageanleitung_J_Linie_EN.doc
Date:
Rev. A:
Rev. B:
Rev. C:
Rev. D:
Rev. E:
Rev. F:
28.09.2006
27.08.2013
Page 7/18
15. Removing control-panel:
- Unscrew 2x TORX15 from the control-panel-
module
- Cable case is secured with snap-locks
- Un-plug 3x connectors, cup-illuminating lights
and control panel
16. Removing control-panel:
- Un-plug 3x connectors, cup-illuminating lights
and control panel
17. Remove the left and right front-cover by lifting
them upwards
18. Unscrew first the 2x TORX15 of the
water-/steam-tap to be able to remove the right
front panel

Elektroapparate AG
Disassembling manual
Technical Support
Language
EN
IMPRESSA J/XJ line
Author: Patrik Studer
Checked:
Approved:
Docu.-name: Demontageanleitung_J_Linie_EN.doc
L:\Geräte\Linie_J\J9\J9_4_OneTouch_TFT\Schulungs_Unterlag
en\E\Demontageanleitung_J_Linie_EN.doc
Date:
Rev. A:
Rev. B:
Rev. C:
Rev. D:
Rev. E:
Rev. F:
28.09.2006
27.08.2013
Page 8/18
19. Clean the coffee outlet by unscrewing
2x TORX9
20. To remove the complete coffee outlet, release
2 snap-locks with a small screwdriver.
Unscrew TORX8 (access via the lined arrow).
21. View of the disassembled coffee outlet
(position of the TORX8)
22. Unplug the cup-illuminating cables and take off
the hose of the brewing unit to completely
remove the coffee outlet
23. When replacing the incoming feeder, one shall
connect a dummy-cable to the old one for being
able to pull-in the new one
(cable box cannot be opened)
24. If a clamping spring is loosened, one has to
replace the webbing-hose as it will become
not dense anymore

Elektroapparate AG
Disassembling manual
Technical Support
Language
EN
IMPRESSA J/XJ line
Author: Patrik Studer
Checked:
Approved:
Docu.-name: Demontageanleitung_J_Linie_EN.doc
L:\Geräte\Linie_J\J9\J9_4_OneTouch_TFT\Schulungs_Unterlag
en\E\Demontageanleitung_J_Linie_EN.doc
Date:
Rev. A:
Rev. B:
Rev. C:
Rev. D:
Rev. E:
Rev. F:
28.09.2006
27.08.2013
Page 9/18
No picture
25. Encoder secured with clamp
26. ---
27. Check the hinge of the bean tank cover when
re-assembling it
28. Assembled bean tank cover shall not move
upwards, otherwise check hinge again
29. The right and left oval-screw is meant to fix the
shield
30. Unscrew TORX15 to remove the cover hinges

Elektroapparate AG
Disassembling manual
Technical Support
Language
EN
IMPRESSA J/XJ line
Author: Patrik Studer
Checked:
Approved:
Docu.-name: Demontageanleitung_J_Linie_EN.doc
L:\Geräte\Linie_J\J9\J9_4_OneTouch_TFT\Schulungs_Unterlag
en\E\Demontageanleitung_J_Linie_EN.doc
Date:
Rev. A:
Rev. B:
Rev. C:
Rev. D:
Rev. E:
Rev. F:
28.09.2006
27.08.2013
Page 10/18
3CAPPU outlet IMPRESSA J9.3/J9.4/XJ9:
31. Remove CAPPU outlet:
- Unscrew 6x TORX15
32. - Remove coffee outlet TORX8 according to
image 20
- Remove 2x snap-locks of coffee spout
- Remove spring
- Remove 2x hoses and cable
33. View:
- CAPPU support
- Coffee spout (snap-lock)
34. View:
- CAPPU spout

Elektroapparate AG
Disassembling manual
Technical Support
Language
EN
IMPRESSA J/XJ line
Author: Patrik Studer
Checked:
Approved:
Docu.-name: Demontageanleitung_J_Linie_EN.doc
L:\Geräte\Linie_J\J9\J9_4_OneTouch_TFT\Schulungs_Unterlag
en\E\Demontageanleitung_J_Linie_EN.doc
Date:
Rev. A:
Rev. B:
Rev. C:
Rev. D:
Rev. E:
Rev. F:
28.09.2006
27.08.2013
Page 11/18
4Particular view Left:
Flowmeter
Reed-contact to
water tank
Brewing unit connection

Elektroapparate AG
Disassembling manual
Technical Support
Language
EN
IMPRESSA J/XJ line
Author: Patrik Studer
Checked:
Approved:
Docu.-name: Demontageanleitung_J_Linie_EN.doc
L:\Geräte\Linie_J\J9\J9_4_OneTouch_TFT\Schulungs_Unterlag
en\E\Demontageanleitung_J_Linie_EN.doc
Date:
Rev. A:
Rev. B:
Rev. C:
Rev. D:
Rev. E:
Rev. F:
28.09.2006
27.08.2013
Page 12/18
5Particular view Right:
TB2003 (1400W)
Gear-motor
Multi valve
Membran controller
Encoder
Thermostat
Pump
Drain magnet
Pre-heater
Thermosicherung
Thermo fuses
Micro-switch tray

Elektroapparate AG
Disassembling manual
Technical Support
Language
EN
IMPRESSA J/XJ line
Author: Patrik Studer
Checked:
Approved:
Docu.-name: Demontageanleitung_J_Linie_EN.doc
L:\Geräte\Linie_J\J9\J9_4_OneTouch_TFT\Schulungs_Unterlag
en\E\Demontageanleitung_J_Linie_EN.doc
Date:
Rev. A:
Rev. B:
Rev. C:
Rev. D:
Rev. E:
Rev. F:
28.09.2006
27.08.2013
Page 13/18
6Particular view Back:
Power print
Logic print
Transformer
Detection springs
Suppression-filter

Elektroapparate AG
Disassembling manual
Technical Support
Language
EN
IMPRESSA J/XJ line
Author: Patrik Studer
Checked:
Approved:
Docu.-name: Demontageanleitung_J_Linie_EN.doc
L:\Geräte\Linie_J\J9\J9_4_OneTouch_TFT\Schulungs_Unterlag
en\E\Demontageanleitung_J_Linie_EN.doc
Date:
Rev. A:
Rev. B:
Rev. C:
Rev. D:
Rev. E:
Rev. F:
28.09.2006
27.08.2013
Page 14/18
7Particular view Top:
Bean surveillance
Service plug
Grinder adjustment
Micro-switch to
powder funnel-lid
Control-Panel

Elektroapparate AG
Disassembling manual
Technical Support
Language
EN
IMPRESSA J/XJ line
Author: Patrik Studer
Checked:
Approved:
Docu.-name: Demontageanleitung_J_Linie_EN.doc
L:\Geräte\Linie_J\J9\J9_4_OneTouch_TFT\Schulungs_Unterlag
en\E\Demontageanleitung_J_Linie_EN.doc
Date:
Rev. A:
Rev. B:
Rev. C:
Rev. D:
Rev. E:
Rev. F:
28.09.2006
27.08.2013
Page 15/18
8Fluid system IMPRESSA J5/J7/XJ5:
9Fluid system IMPRESSA J9.1/J9.2/J9.3:

Elektroapparate AG
Disassembling manual
Technical Support
Language
EN
IMPRESSA J/XJ line
Author: Patrik Studer
Checked:
Approved:
Docu.-name: Demontageanleitung_J_Linie_EN.doc
L:\Geräte\Linie_J\J9\J9_4_OneTouch_TFT\Schulungs_Unterlag
en\E\Demontageanleitung_J_Linie_EN.doc
Date:
Rev. A:
Rev. B:
Rev. C:
Rev. D:
Rev. E:
Rev. F:
28.09.2006
27.08.2013
Page 16/18
10 Fluid system IMPRESSA J9.4/XJ9:

Elektroapparate AG
Disassembling manual
Technical Support
Language
EN
IMPRESSA J/XJ line
Author: Patrik Studer
Checked:
Approved:
Docu.-name: Demontageanleitung_J_Linie_EN.doc
L:\Geräte\Linie_J\J9\J9_4_OneTouch_TFT\Schulungs_Unterlag
en\E\Demontageanleitung_J_Linie_EN.doc
Date:
Rev. A:
Rev. B:
Rev. C:
Rev. D:
Rev. E:
Rev. F:
28.09.2006
27.08.2013
Page 17/18
11 Logic- and power print connections (example IMPRESSA J9.4):
11.1 Logic:

Elektroapparate AG
Disassembling manual
Technical Support
Language
EN
IMPRESSA J/XJ line
Author: Patrik Studer
Checked:
Approved:
Docu.-name: Demontageanleitung_J_Linie_EN.doc
L:\Geräte\Linie_J\J9\J9_4_OneTouch_TFT\Schulungs_Unterlag
en\E\Demontageanleitung_J_Linie_EN.doc
Date:
Rev. A:
Rev. B:
Rev. C:
Rev. D:
Rev. E:
Rev. F:
28.09.2006
27.08.2013
Page 18/18
11.2 Power:
This manual suits for next models
9
Table of contents
Other Jura Coffee Maker manuals

Jura
Jura WE6 Professional User manual

Jura
Jura GIGA W10 User manual

Jura
Jura GIGA X9c Professional Configuration guide

Jura
Jura IMPRESSA Z7 User manual

Jura
Jura Impressa ENA5 User manual

Jura
Jura IMPRESSA 5000 User manual

Jura
Jura E6 User manual

Jura
Jura IMPRESSA S9 User manual

Jura
Jura IMPRESSA S9 One Touch User manual

Jura
Jura IMPRESSA J9.3 User manual