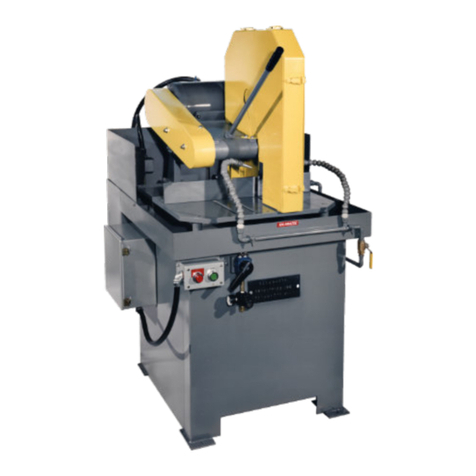
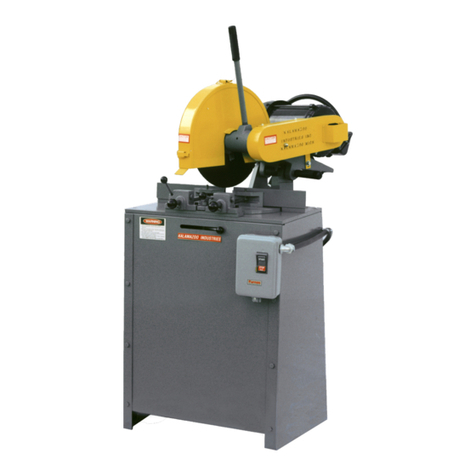
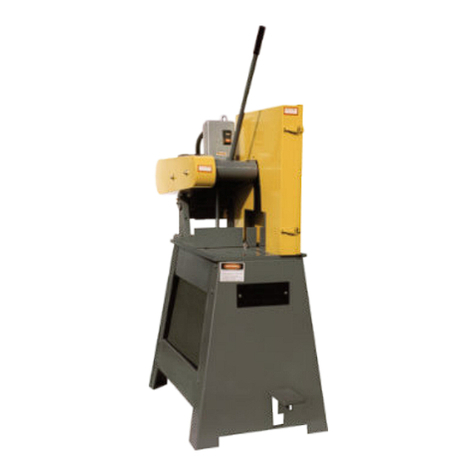
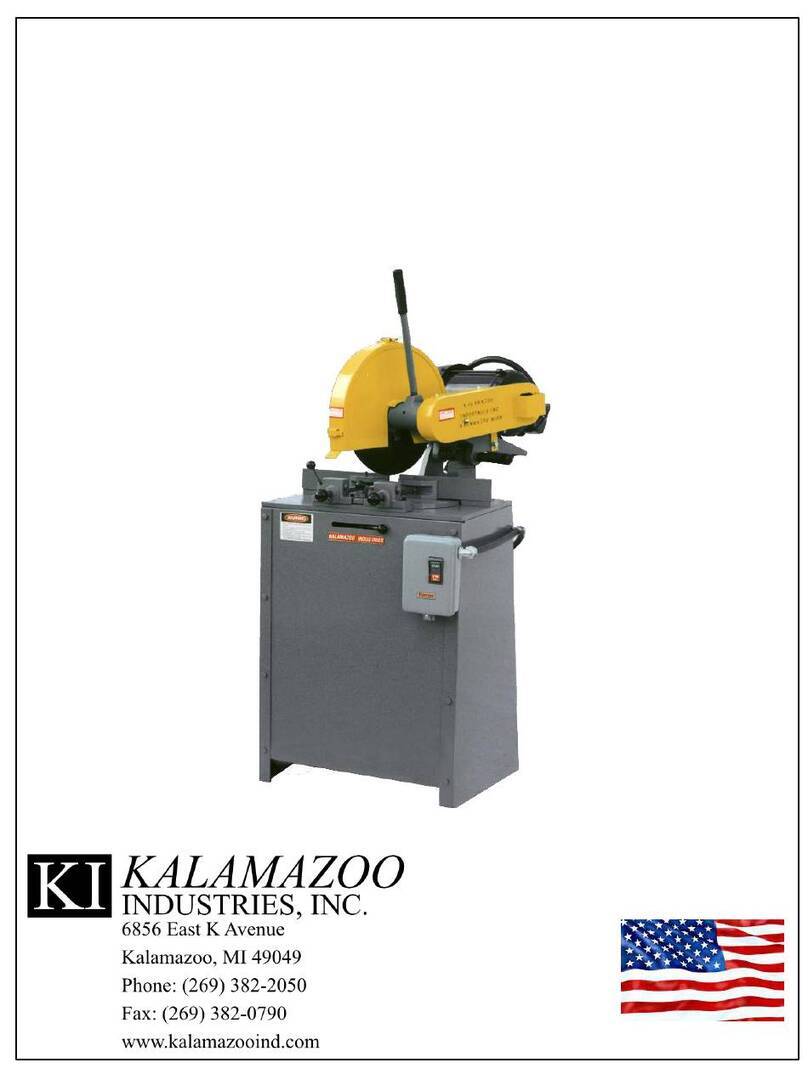
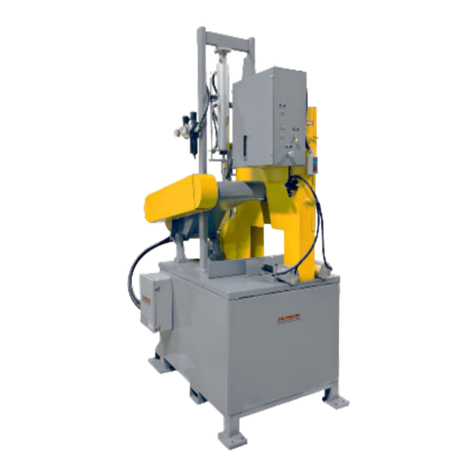
Kalamazoo K10SW User manual

MADE IN USA
K10SW ABRASIVE WET SAW
INSTRUCTION MANUAL

1
WARNING!
TO REDUCE THE RICK OF FIRE OR SHOCK HAZARD, DO NOT EXPOSE THIS
EQUIPMENT TO RAIN, ANY LIQUID OR MOISTURE.
INSPECTION
If these goods are damaged in transit, the DELIVERING TRANSPORTATION COMPANY is required by law to make notation of damages on
the freight bill. If in your opinion, there may be concealed damage, they are required to make an inspection after goods are unpacked. Transportation
rates are made in proportion to damage. Therefore, the carrier and NOT the shipper should be charged with any loss or damage. Any claim should
be led with the delivering Transportation Company. PLEASE DO NOT RETURN GOODS TO US WITHOUT OUR RGA NUMBER AND
SHIPPING INSTRUCTIONS.
Electrical: CAUTION: Voltage changes require wiring changes at drive motor. WARRANTY DOES NOT COVER unauthorized wiring
changes/failures. Consult an electrician an electrician if your not familiar with electrics.
K10SW SETUP
• BEFORE STARTING OR CONNECTING ELECTRICAL VERIFY THE PHASE AND VOLTAGE OF THE UNIT.
• BE SURE MACHINE IS BALANCED CORRECTLY SO IT WILL TIP OVER.
• TO GUARD AGAINST CONCEALED DAMAGE, STAND CLEAR AND OBSERVE UNIT FOR THE FIRST FEW MINUTES OF
OPERATION. GUARDS MUST NEVER BE REMOVED.
• BEFORE INSTALLING THE ABRASIVE WHEEL CONFIRM THAT THE CUTOFF WHEEL IS DESIGNED TO RUN AT 4800 SFPM
(MOS). YOU CAN FIND THIS INFORMATION DIRECTLY ON THE THE SIDE OF YOUR CUTOFF WHEEL. IT
ABRASIVE SAW SAFETY
• NEVER REMOVE SAFETY GUARDS FROM MACHINE. DISCONNECT MACHINE FROM POWER SOURCE BEFORE MAKING
ANY MACHINE ADJUSTMENTS.
• DO NOT USE AROUND FLAMMABLE MATERIALS OR LIQUIDS.
• MACHINES SHOULD BE OPERATED IN VENTILATED AREAS.
• ALWAYS WEAR SAFETY GLASSES OR A FULL FACE SHIELD FOR PROTECTION.
• DO NOT USE TOOTHED BLADE WITH THIS SAW AND DO NOT ATTEMPT TO USE STEEL BLADES ON THIS SAW.
• KEEP HANDS CLEAR OF THE CUTTING AREA.
• DO NOT WEAR GLOVES OR LOOSE FITTING CLOTHES WHEN OPERATING THIS MACHINE.
• ALWAYS KEEP HAIR TIED BACK OR COVERED.
• ALWAYS KEEP FLANGES CLEAN AND TIGHT AGAINST CUTTING WHEEL.
• MANUALLY TIGHTEN AND LOOSE SPINDLE NUT.
• DO NOT USE IMPACTED GUN TO LOOSEN OR TIGHTEN SPINDLE NUT.
• ALWAYS KEEP WHEEL GUARD IN THE DOWN POSITION.
• BE SURE WORK PIECE IS CLAMPED SECURELY IN VISE BEFORE CUTTING.
WARNING!!!!
IMPROPER USE MAY CAUSE BREAKAGE AND SERIOUS INJURY.
DO
1. DO always handle and store wheels in the vertical position.
2. DO visually inspect all wheels before mounting for possible
damage.
3. DO check machine speed against the established maximum safe
operating speed marked on the wheel.
4. DO check mounting anges for equal and correct diameter.
5. DO use mounting blotters when supplied with wheel.s
6. DO always use a safety guard covering a least one-half of the
abrasive wheel.
7. DO allow newly mounted wheels to run at operating speed, with
guard in place, for at least one minute before cutting.
8. DO always wear safety glasses or some type of eye protection
when cutting.
9. DO tie back hair.
DON'T
1. DON'T use a cracked wheel or one that has been dropped or has
become damaged.
2. DON'T force a wheel onto the machine or alter the size of the
mounting hole if wheel won't r the machine.
3. DON'T ever exceed maximum operating speed established for
the wheel.
4. DON'T use mounting anges on which the bearing surfaces are
not clean, at and free of burrs.
5. DON'T tighten the spindle nut excessively.
6. DON'T start the machine until the wheel guard is in place.
7. DON'T jam work into wheel.
8. DON'T force cutting so that motor slows noticeable or work gets
hot.
9. DON'T wear gloves and or have loose clothing when operating
machine.
10. DON'T use tooth blade on saw.

2
BASIC OPERATION
1. Be certain correct wiring is matched to motor.
2. Punch NEMA ELECTRICAL ENCLOSER FOR INCOMING
WIRING. MAKE SURE TO USE A SEAL TITE FITTING TO
INSURE A TIGHT SEAL AROUND THE WIRING. Input wiring to
L1, L2 and L3. CAUTION: IF NOT FAMILIAR WITH ELECTRICS
CONSULT AN ELECTRICIAN! The machine is wired a the factory for
the voltage specied on the order. Any electrical failures do to incorrect wiring
or voltage changes from factor settings are not warranted
3. Always keep anges clean and tight against the abrasive wheel.
4. Be certain work piece is securely clamped in the vise. Any movement in the
work piece during cutting will result in broken abrasive cutoff blades.
5. Down stop screw located on saw base (#57) under the saw arm (#4) must be
adjusted so the abrasive wheel does not cut into the saw base. Adjust the
screw up when installing a new wheel so as not to allow the wheel to cut into
the saw base. Keep adjusting the screw down as the wheel ears so you can cut
thru the work piece.
6. Keep the blade guard in the down position at all times. Guarding is designed
for abrasive blades only. DO NOT USE STEEL TOOTHED BLADES!!!
GUARDING IS NOT DESIGNED FOR STEEL TOOTHED BLADES
PER OSHA AND ANSI STANDARDS.
7. Saw spindle speed is set at 3,450 SPFM select cutoff wheel that's
designed to run at 3,450 SPFM . Contact the wheel manufacturer or
dealer for the correct wheel. NOTE: DON’T USE IMPACT GUN TO
TIGHTEN SPINDLE NUT.
8. Always follow safety procedures. Wear safety glasses, never wear gloves or
loose tting clothing that can get caught in the moving parts and tie back loose
hair. Always keep hands out of sawing area when cutting. See attached safety
sheet.
9. V-belts will stretch with use over time. Keep v-belts tight with 1/2" of
"squeeze". Use a v-belt tensioner to tighten v-belt belt. Keep both faces of
spindle and motor pulley aligned in the same plan with a straight edge. Check
motor and spindle pulleys set set prior to operating the machine.
10. The coolant that needs to be used with this saw has to have a anti rusting
agent in it to prevent the machine from rusting (contact your coolant dealer
for coolant specications).

DD
1
42
44
FRONT VIEW
2
5
29
9
43
36
41
37
48
51
42
1
24
29
36
19
48
52
2
38
41
15
C
1
44
42
LEFT SIDE VIEW
2
29
51
26
25
4
27
X 4 PLACES
43
36
49 30
49
30
48
40
41
A
B
E
E
INTERNAL LEFT SIDE VIEW OF
BELTS AND PULLEYS
25
8
9
12
28
12
19
20
22 30 23
22 30 23
24
48
38
52
41
46
47
45
47
36
40
F
SECTION A-A
SCALE 1 : 2
INTERNAL VIEW OF SPINDLE
57 8
9
10 10
11
13 1412
19
20
28
24
40
38
TOP VIEW
2
9
29
19
20
24
4243
44
37
36
52
48
51
41
37
G
G
INTERNAL RIGHT SIDE VIEW
1
44
42
2 21 5
8
9
24 51
43
36
37
41
49 30
49
49
48
BRACKET IS FITTED AND
ATTACHED TO WHEEL
GUARD DURING FINAL
ASSEMBLY.
38
19
31
DETAIL B
SCALE 1 : 1
MOTOR MOUNT DETAILS
26
25
25
4
27
X 4 PLACES
DETAIL C
SCALE 2 : 5
VISE DETAILS
52
64
X 2 PLACES
SECTION D-D
TOP VIEW LAYOUT
2
3 4
X 4 PLACES
5
X 4 PLACES
6
18
17
16
X 4 PLACES
15
37
41
26
52
6 4
X 2 PLACES
38 39
39
SECTION E-E
SCALE 1 : 1
ATTACHING PLASTIC
OUTER BELT GUARD
SET DISTANCE APPROXIMATELY
3-3/8 TO MATCH INSIDE OF
PLASTIC BELT GUARD.
273427272525435
DETAIL F
SCALE 1 : 1
ATTACHMENT OF WHEEL GUARD
TO MAIN ARM
31
3232
33
33
19
SECTION G-G
SCALE 1 : 2
FASTENERS FOR
COOLANT VALVE
ASSEMBLY
48 19
49
30
50
PLEASE CONSULT DRAWING #912-015
FOR VISE DETAILS.
ITEM NO.
PART NUMBER
DESCRIPTION
QTY.
1
12-W
WET TOP STAND
1
2
050-008
K10 BASE
1
3
HHC5031032
5/16-18 X 2 HHCS GR5 Z
4
4
SLWZ031 5/16 SPLIT L/W Z
14
5
041-006
TRUNNION BRACKET FOR K10
1
6
SHCA031024
5/16-18 X 1-1/2 SHCS
6
7
697-013
TENSION SPRING FOR 2FS, 2FS72,
2FSM, BG142, 2FS72M, K12-14B
1
8
562-004
TRUNNION PIN FOR K7B, K8B,
K10B
1
9
002-001
ALUMINUM SAW ARM FOR K7B,
K8B, K10B (TAKES NEW 6202-2RS-
1/2 BEARINGS
1
10
044-007
K10 BEARING
2
11
701-003
K10 SPINDLE W TIGHT FLANGE
1
12
560-045
K10B, K10SW, KM10 PULLEY
2
13
292-008
LOOSE FLANGE FOR K10B AND
2SK7
1
14
FJNZ063
5/8-18 F H JAM NUT Z
1
15
342-008
SPARK DEFLECTOR GUARD FOR
K10 WHEEL GUARD
1
16
SRMZ011008
10-24 X 1/2 SLT ROUND MS Z
4
17
SLWZ010
#10 SPLIT L/W Z
4
18
MSWZ010
#10 M.S. F/W Z
4
19
342-006
WHEEL GUARD FOR K10B SAWS
1
20
342-027
K10B INNER GUARD BELT
BRACKET
1
21
SSKA025008
1/4-20 X 1/2 SOC SET KNURL PT.
1
22
HHC5025012
1/4-20 X 3/4 HHCS GR5 Z
2
23
UFWZ025
1/4 USS F/W Z
2
24
486-006
3 HP MOTOR FOR FOR K8B, K10B,
KM10, BG260H AND S460W
1
25
UFWZ031
5/16 USS F/W Z
12
26
HHC5031016
5/16-18 X 1 HHCS GR5 Z
8
27
FHN5031
5/16-18 FHN GR5 ZINC
10
28
051-003
V-BELT FOR K10, KM10, S6MW,
S460W
1
29
342-043
K10B, KM10 PLASTIC OUTER BELT
GUARD
1
30
SLWZ025
1/4 SPLIT L/W Z
7
31
SSBA031006
5/16 X 3/8 SOC SHOULDER BOLT
1
32
UFWZ037
3/8 USS F/W Z
2
33
BWWA031
5/16 BOWED SPRING WASHER
21/64
2
34
RND-0.31-18 THRD
RODX
3 INCHES OF 5/16-18 THREADED
ROD
1
35
CPNZ031
5/16-18 CAP NUT NICKEL
1
36
381-003
HANDLE W GRIP FOR K7B, K8B,
K10B SAWS
1
37
SSKA025004
1/4-20 X 1/4 SOC SET KNURL PT.
2
38
431-002
K10- 14 REAR VISE JAW
1
39
SHCA031048
5/16-18 X 3 SHCS
2
40
537-014
K10-14 FENCE NUT
1
41
709-002
WORK STOP FOR K10B
1
42
716-011
COOLANT TANK ASSEMBLY FOR
S460W, S6MW, S6MW, K12-14MS,
K12-14W
1
43
041-114
1/4 TO 1/2 H.P. COOLANT PUMP
MOUNTING BRACKET FOR WET
SANDERS
1
44
577-002
1/4HP COOLANT PUMP AND
MOTOR
1
45
RND-5/8-11 THRD
RODX4.
4 INCHES OF 5/8-11 THREADED
ROD
1
46
RND-0.625-11 THRD
RODX5.5
5-1/2 INCHES OF 5/8-11
THREADED ROD
1
47
FJNZ062
5/8-11 F H JAM NUT Z
2
48
389-013
COOLANT HOSE MOUNTING
BRACKET ASSEMBLY W FLEXIBLE
HOSE & FITTINGS FOR K12-14MS,
K12-14W, AND OTHER MACHINES
1
49
HHC5025008
1/4-20 X 1/2 HHCS GR5 Z
5
50
FHN5025
1/4-20 FHN GR5 Z
2
51
12-SG
3- SIDED SPLASH GUARD FOR 12-
W STAND
1
52
912-015
K10- 14 VISE ASSEMBLY
1
A A
B B
C C
D D
E E
F F
G G
H H
8
8
7
7
6
6
5
5
4
4
3
3
2
2
1
1
MODEL K10SW 10" WET
ABRASIVE SAW
DO NOT SCALE DRAWING
K10SW
SHEET 1 OF 1
UNLESS OTHERWISE SPECIFIED:
SCALE: 1:5
WEIGHT:
REV
DWG. NO.
E
SIZE
TITLE:
NAME
DATE
COMMENTS:
Q.A.
MFG APPR.
ENG APPR.
CHECKED
DRAWN
FINISH
MATERIAL
INTERPRET GEOMETRIC
TOLERANCING PER:
DIMENSIONS ARE IN INCHES
TOLERANCES:
FRACTIONAL
ANGULAR: MACH
BEND
TWO PLACE DECIMAL
THREE PLACE DECIMAL
APPLICATION
USED ON
NEXT ASSY
PROPRIETARYAND CONFIDENTIAL
THE INFORMATION CONTAINED IN THIS
DRAWING IS THE SOLE PROPERTY OF
<INSERT COMPANY NAME HERE>. ANY
REPRODUCTION IN PART OR AS A WHOLE
WITHOUT THE WRITTEN PERMISSION OF
<INSERT COMPANY NAME HERE> IS
PROHIBITED.
24 486-007 3HP 3PH 1
44 577-002 1/4HP 3PH 1
3PH MOTOR AND PUMP
Other Kalamazoo Saw manuals

Kalamazoo
Kalamazoo K10WBT User manual

Kalamazoo
Kalamazoo K10B User manual

Kalamazoo
Kalamazoo AH9AW KALAMATIC Operating instructions

Kalamazoo
Kalamazoo K10B User manual

Kalamazoo
Kalamazoo AH9AW KALAMATIC User manual

Kalamazoo
Kalamazoo HS14 User manual

Kalamazoo
Kalamazoo K16-18 User manual

Kalamazoo
Kalamazoo KM14 User manual

Kalamazoo
Kalamazoo K12-14B User manual

Kalamazoo
Kalamazoo K12-14V User manual