manuals.online logo
Brands
  1. Home
  2. •
  3. Brands
  4. •
  5. KAM
  6. •
  7. Dj Equipment
  8. •
  9. KAM LED Quadbar 1 DMX User manual

KAM LED Quadbar 1 DMX User manual

For the latest product updates and information on the entire Kam range visit:
www.kam.co.uk
Kam products are manufactured by: Lamba plc, Unit 1, Southfields Road, Dunstable, Bedfordshire, United Kingdom U6 3EJ
Telephone: (+44) (0)1582 690600 • Fax: (+44) (0)1582 690400 • Email: [email protected] • Web: www.lambaplc.com
INSTRUCTION MANUA
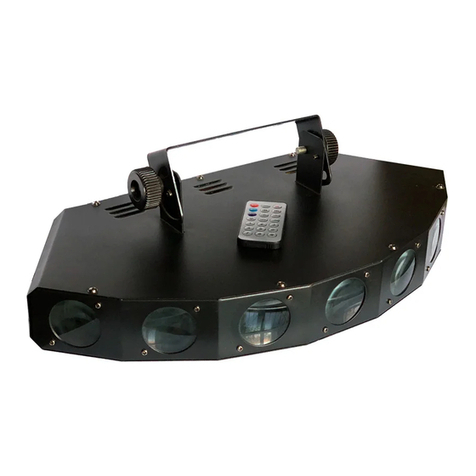
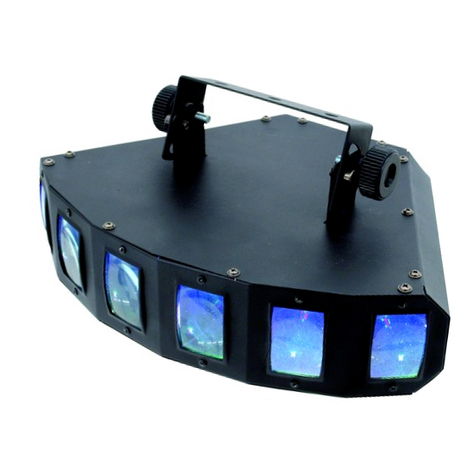
LED Quadbar 1 DMX
Stand mountable ED flower effect
4 lens RGB unit that produces stunning flower effects
256 extreme bright 5mm red, green and blue EDs
Wide angle design mounts on a 35mm lighting stand
4 large glass lenses for extreme dispersion
DMX or Sound-to- ight modes
Sound-to- ight operation via built-in microphone
No fan due to cool ED operating temperature
Metal chassis and adjustable hanging bracket
Includes rugged rig bag
Mains fused IEC
MANUA VERSION 2.0
07-07-10
Kam LED Quadbar 1 DMX
Stand mountable ED flower effect
Thank you for purchasing this product, we hope that it serves you for many years to come.
To optimise the performance of this product, please read these operating instructions carefully to
familiarise yourself with the basic operations of this unit.
This unit has been tested at the factory before being shipped to you.
To prevent or reduce the risk of electrical shock or fire, do not expose this unit to high temperature
and rain or moisture.
Unpacking
Please unpack your new product carefully, your new product should reach you in perfect condition. Please check
that no damage has occurred during transit. If any damage is found, do not operate your unit. Please contact the
retailer you purchased it from immediately.
afety
This unit operates on 240V AC. This appliance must be earthed.
This product is for indoor use only, do not expose to rain or moisture. Always store unit in a dry place.
If there is any damage to the mains cable do not use the device.
Always disconnect the unit from the mains supply when carrying out any servicing or cleaning of the unit.
The unit must not be connected to dimming-packs.
Never look directly into any light source as this may damage eyes.
There are no user serviceable parts in this unit, please consult your retailer for any repair work.
Operation
To prolong the life of your unit it is recommended that the unit is not for constant us. eaving a break between long
periods of use will increase the life span of your unit.
When choosing the installation position, please make sure that the device is not exposed to extreme temperature,
moisture, and that no air ways are blocked, keep a good distance from materials etc.
When using smoke machines/foggers, make sure that the device is never exposed to the direct smoke jet and is
installed at distance of 0.5 meters away from other surfaces. Always fix the fixture with an appropriate safety-
chain. The maximum ambient temperature Ta = 45°C must never be exceeded.
Installation / Overhead rigging
Caution: any units installed in an overhead position may cause severe injuries if not installed correctly or safely.
Please ensure the mounting structure is secure and stable, and is capable of holding 10 times the weight of the
unit to be installed. Always use suitable hanging/mounting brackets or clamps. Always fit a suitable safety chain.
If in any doubt about installation please contact a qualified technician.
Replacing the fuse
If the fuse of the unit fuses, only replace the fuse by one of the same type and rating.
Before replacing the fuse, unplug mains lead.
Step 1: Open the fuse holder on the rear panel with a screwdriver.
Step 2: Remove the old fuse from the fuse holder.
Step 3: Install the new fuse in the fuse holder.
Step 4: Replace the fuse holder in the housing.
Should you need any spare parts, please use genuine parts.
Should you have further questions, please contact your retailer or local Kam Service Station.
2

Basic operation
After connecting the unit to the mains the ED display will illuminate on the rear panel and you can choose the
desired operating mode via the Mode, Up and Down buttons. The device has two operating basic operating modes:
Stand Alone or DMX modes.
tand Alone / ound-to-Light operation
Select SND mode with the rear Function buttons. The unit is now in Sound-to- ight mode and will now respond to
any strong bass sound. Adjust the senstivity of the microphone using the Mic Sensitivity control.
tand Alone / Auto operation
Select Auto mode (AUTo) with the rear Function buttons. The unit has built-in programs and will cycle through
these programs in Auto mode. The speed of the programs can be adjusted using the Up and Down buttons on the
rear of the unit. The range is S001 (fast) to S100 (slow).
DMX operation
The ED display allows you to assign each unit’s DMX address, which is defined as the first channel from
which the unit will respond to your external DMX controller.
DMX addressing
Press the Mode button until the display shows 512. Set the desired address via the Up or Down buttons,. The unit
is now ready for control via your external DMX controller.
DMX512 connection / connection between units
All DMX cables must be wired correctly, with suitable 2 core screened cable. The signal lines must be separate and
no cables should be bridges. Please check this if you are trying to use a microphone cable as these are often
balanced leads and will not work for DMX purposes.
If you are using a DMX controller with this unit, you can connect the DMX output of the controller directly into the
DMX input of the first unit in the DMX chain.
Master/ lave explained
The Master/Slave operation enables several devices to be synchronised and controlled by one master device.
On the rear panel of the unit you will find X R input and X R output sockets which can be used for linking devices.
Choose the device which is to control the effects. This device will work as the Master device and controls all other
connected units, these are known as the Slaves.
Building a serial DMX chain
Connect the DMX output of the first unit in the DMX chain to the DMX input of the next unit. Always connect one
output with the input of the next fixture until all units are connected.
Master/ lave operation
You can link a maximum of 32 devices. Choose the device which will serve as the Master. On this unit press the
Mode button to choose Sound or Auto mode.
To set the Slave devices press the Mode button to choose DMX512 mode. Select the starting address via the Up
and Down buttons. Select A1.
Please note only one Master unit should be in the chain, all other units must be set to Slave DMX addressing.
3
Channel DMX value Description
Channel 1 - red colour settings 000 – 010 Off
011 – 255 Red
Channel 2 - green colour settings 000 – 010 Off
011 – 255 Green
Channel 3 - blue colour settings 000 – 010 Off
011 – 255 Blue
Channel 4 - horizontal chaser automatic ED chaser from left to right
Channel 5 - vertical chaser automatic ED chaser from up to down
Channel 6 - Auto mode / progs / mode 000 – 005 No function
006 – 022 Program 1
023 – 039 Program 2
040 – 056 Program 3
057 – 073 Program 4
074 – 090 Program 5
091 – 107 Program 6
108 – 124 Program 7
125 – 141 Program 8
142 – 158 Program 9
159 – 175 Program 10
176 – 192 Program 11
193 – 209 Program 12
210 – 226 Program 13
227 – 249 Program 14
250 – 255 Sound-to- ight mode
Channel 7 - Auto mode speed 000 – 255 Increasing speed
Technical specifications
Power supply: 230V AC, 50Hz ~
Power consumption: 40W
Number of DMX channels: 7
DMX512 connection: 3 pin XLR
Sound control: via built-in microphone
Maximum ambient temperature Ta: 45°C
Maximum housing temperature TB (steady state): 50°C
Minimum distance from flammable surfaces: 0.50m
Minimum distance to lighted object: 0.10m
Fuse: F1A, 250V
Number of EDs: 256
Beam angle: 15°
Dimensions ( xWxH): 800 x 90 x 230mm
Weight: 5.5Kg
4
Due to continuous product development, specifications and appearance are subject to change.
If this product is ever no longer functional please it take to a recycling plant for environmentally friendly disposal.
© COPYRIGHT AMBA plc 2009. E&O E.

Other KAM Dj Equipment manuals

KAM KCD550 User manual

KAM

KAM KCD550 User manual

KAM HEXATRIX GLOW User manual

KAM

KAM HEXATRIX GLOW User manual

KAM DMX Laser 40 User manual

KAM

KAM DMX Laser 40 User manual

KAM KML305 User manual

KAM

KAM KML305 User manual

KAM BLUE MOVER 500 FSCAN User manual

KAM

KAM BLUE MOVER 500 FSCAN User manual

KAM Gobolaser 550RB User manual

KAM

KAM Gobolaser 550RB User manual

KAM Mini Par 12 USB User manual

KAM

KAM Mini Par 12 USB User manual

KAM Energy SD300 User manual

KAM

KAM Energy SD300 User manual

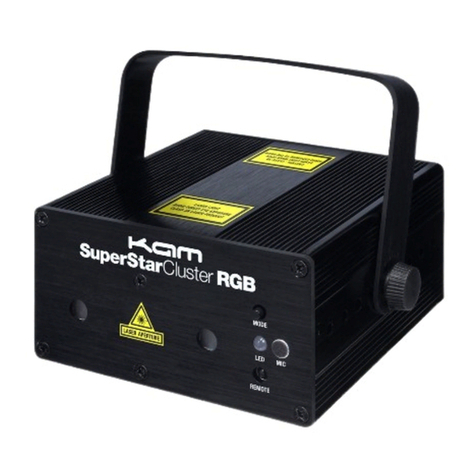
KAM SuperStar Cluster RGB User manual

KAM

KAM SuperStar Cluster RGB User manual

KAM Liteobar 126 User manual

KAM

KAM Liteobar 126 User manual

KAM DMX Laser80 FScan User manual

KAM

KAM DMX Laser80 FScan User manual

KAM FloodBank1 User manual

KAM

KAM FloodBank1 User manual

KAM LASERSCAN 1000 3D User manual

KAM

KAM LASERSCAN 1000 3D User manual

KAM LED Quadtrix User manual

KAM

KAM LED Quadtrix User manual

KAM Powercan70W User manual

KAM

KAM Powercan70W User manual

KAM K-Strip12 User manual

KAM

KAM K-Strip12 User manual

KAM DMX Star Cluster 3D User manual

KAM

KAM DMX Star Cluster 3D User manual

KAM Laserscan Hyper 3D User manual

KAM

KAM Laserscan Hyper 3D User manual

KAM KSD2 User manual

KAM

KAM KSD2 User manual

KAM iLINK RVP User manual

KAM

KAM iLINK RVP User manual

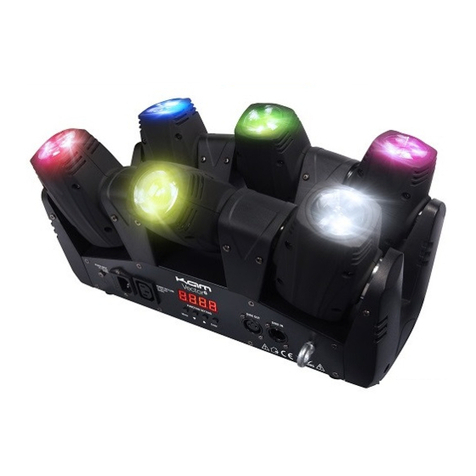
KAM VECTOR6 User manual

KAM

KAM VECTOR6 User manual

KAM LED PAR 56 User manual

KAM

KAM LED PAR 56 User manual

KAM Par Kit WFS User manual

KAM

KAM Par Kit WFS User manual

KAM LED Hexaflower 1 DMX User manual

KAM

KAM LED Hexaflower 1 DMX User manual

Popular Dj Equipment manuals by other brands

Viking Stage Lighting VK1810 instructions

Viking Stage Lighting

Viking Stage Lighting VK1810 instructions

ETC F-Drive R12 Series installation manual

ETC

ETC F-Drive R12 Series installation manual

Show Tec Mirrorball 20 Sm V1 manual

Show Tec

Show Tec Mirrorball 20 Sm V1 manual

Show Tec 42498 user manual

Show Tec

Show Tec 42498 user manual

STUDIODUE Parled 200 PRO IP67 user manual

STUDIODUE

STUDIODUE Parled 200 PRO IP67 user manual

EuroLite LED KLS-400 manual

EuroLite

EuroLite LED KLS-400 manual

Stadium MVHEDL1 user manual

Stadium

Stadium MVHEDL1 user manual

Numark DDS quick start guide

Numark

Numark DDS quick start guide

Pioneer DDJ-SX2 operating instructions

Pioneer

Pioneer DDJ-SX2 operating instructions

Coemar LEDko + user manual

Coemar

Coemar LEDko + user manual

Sagitter SG AQUPAR18 user manual

Sagitter

Sagitter SG AQUPAR18 user manual

Briteq Pro Beamer RGBW outdoor Operation manuals

Briteq

Briteq Pro Beamer RGBW outdoor Operation manuals

Cameo ZENIT Z 120 user manual

Cameo

Cameo ZENIT Z 120 user manual

Beamz LED 24 Butterfly 3 x 3W RGB instruction manual

Beamz

Beamz LED 24 Butterfly 3 x 3W RGB instruction manual

Osram BY-M03B user manual

Osram

Osram BY-M03B user manual

Chauvet Rogue R2 SPOT user manual

Chauvet

Chauvet Rogue R2 SPOT user manual

American DJ Copter-Sphere User instructions

American DJ

American DJ Copter-Sphere User instructions

Europalms Lightbox large 200 x 80 cm user manual

Europalms

Europalms Lightbox large 200 x 80 cm user manual

manuals.online logo
manuals.online logoBrands
  • About & Mission
  • Contact us
  • Privacy Policy
  • Terms and Conditions

Copyright 2025 Manuals.Online. All Rights Reserved.