manuals.online logo
Brands
  1. Home
  2. •
  3. Brands
  4. •
  5. Kärcher
  6. •
  7. Steam Cleaner
  8. •
  9. Kärcher K50 User manual

Kärcher K50 User manual

5.959-954 04/2003
50
Before First Use, Please Fully
ChargeThe Battery For
Approximately24 hours.
The model FW4199/15.1179 power supply is only
intended for charging the rechargeable battery in
the Karcher electric broom model 50, and it
should not be used for any other purpose.
!
Caution:
Always switch the unit OFF before storing, recharging or
performing any care or maintenance.
This unit is designed for household use.
This unit is not suitable for concrete, interlocking stone and
similar surfaces or deep pile carpets and wet floors.
Rechargeable broom /
Balai electrique rechargeable
/
Escoba electrica
Waste container
Réservoir à balayures
Recipiente para la
suciedad
Charging bush
Prise de recharge
Conexión de carga
Switch ON/OFF
Interrupteur MARCHE/ARRET
Interruptor para conexión y desconexión
with a wall mounting bracket for
easy storage
Avecfixationmuralefacilitant le
rangement
con soporte de fijación en la pared
Forsimplecleaningbetween
major cleaning jobs: K50 -
effectivecleaningwith
rechargablebatteriedrivenbrush
roller
.. to sweep up dirt on hard surfaces and
carpets.
Before first use /
Avant la première utilisation /
Antes
de la puesta en marcha inicial del aparato
2. 3.
1.
!
3
STEP1:
Ensure the unit is OFF.
STEP2:
Connectthe chargerand
charge for approximately 24
hours before first use.
Disconnect battery charger
after charging.
Parts & Assembly /
Préparatifs
/ Preparativos
2
Charging the battery /
Mise en charge de la batterie
/
Cargar la batería
1STEP 1: Contents
Whenunpacking checkthe contents.
Informyour Karcherdealer ofany
damagein transportation.
STEP2:
Assemble handle and connect to base
STEP 3: OPTIONAL
Attach wall mounting bracket using
screws and washers provided.
1
2
2345
Operating ManualOperating Manual
Operating Manual
Before operating this unit, please
read this manual thoroughly and
retain it for future reference.
Please keep the original box and
receipt.
Rechargeable broom
Balai electrique rechargeable
Escoba electrica
Manuel d’instructionManuel d’instruction
Manuel d’instruction
Veuillezconserverlaboîte
originale, l’emballage et le reçu.
Avant d’utiliser cet appareil pour la
première fois, veuillez lire la
présente notice et vous conformer
auxinstructionsqu’ellecontient.
Instrucciones de servicioInstrucciones de servicio
Instrucciones de servicio
Pour petits balayages rapides
entre les grands: Le K50 -
Balayage efficace, par le rouleau-
brosse marchant sur accu,
...des salissures sèches sur surfaces dures
etmoquettes.
Para la limpieza rápida e
inmediata en el hogar: La escoba
eléctrica K 50 - Limpieza rápida y
eficaz gracias al cepillo cilíndrico
de barrido con accionamiento
eléctrico por batería que
incorpora.
..para laeliminación dela suciedadseca
acumuladasobre superficiesresistentes o
enmoquetadas.
Avant la première utilisation du balai,
veuillez recharger la batterie
pendant env. 24 heures.
!
Attention:
Eteigneztoujours l’appareilavantde leranger,de le recharger,
dele nettoyeret d’effectuerdessus destravaux d’entretien.
Cetappareil nepourra servirqu’aubalayage domestique.
Nevous servez jamais de cetappareil pourbalayer dubéton
lavé,des graviers, tapisà poilshauts oudes revêtementsde
solmouillés.
Cargar la batería antes de la puesta
en marcha inicial del aparato
durante 24 horas.
!
Atención!
Desconectarsiempre elaparato antesdeguardarlo,cargar
labatería oefectuartrabajos decuidado o mantenimiento.
Elpresente aparatoha sidodiseñado exclusivamentepara
usodoméstico enel interiordel hogar.
Elaparato NO esapropiado parael barridode sueloso
revestimientosdehormigónlavado,grava,gravilla,
alfombraso moquetasde pelolargo osueloso
revestimientoshúmedos omojados.
Primer paso: Contenido del
embalaje
Verificarsiel embalajecontiene el equipo
completodel aparato.
Encaso de comprobardaños o
desperfectos atribuibles al transporte,
deberá ponerse en contacto
inmediatamente con el Servicio Técnico
Posventa Oficial de Kärcher.
Segundo paso:
Montar el asa de la escoba y acoplarla
al cuerpo del aparato.
Tercer paso: OPCIONAL
Montar en la pared, con ayuda de los
tornillos y tacos que se suministran con
el aparato.
el soporte de fijación de la escoba
eléctrica.
1ère étape : contenu
Vérifiezque lecontenu del’emballageest
bienau complet.Si cedernier aété
endommagé,veuillez prévenirle service
après-venteKärcher.
2ème étape :
Assemblez le manche puis reliez-le au
corps de l’appareil.
3ème étape (OPTION) :
Fixez le support mural au moyen des
vis et chevilles fournies d’origine.
1ère étape :
Assurez-vousque l’appareilest bien
éteint.
2ème étape :
Branchezla fichemâle duchargeur dans
uneprise dusecteur puis,avant la1ère
mise en service, rechargez l’accu
pendantenv.24heures.
Une fois l’accu chargé, débranchez la
fiche mâle de la prise secteur.
Primerpaso:
Cerciorarsede queel aparatoestá
desconectado.
Segundopaso:
Conectar el cargador a la red eléctrica.
Cargar la batería, antes de la puesta
en marcha inicial del aparato, durante
aprox. 24 horas.
Desconectar el cargador de la red
eléctrica tras concluir el ciclo de carga
de la batería.
Care and Maintenance /
Entretien et nettoyage
/
Cuidados y mantenimiento
3
2
1
!
CAUTION:
Ensure that unit is OFF.
How to empty waste container?
STEP1: Switch OFF unit.
STEP2: Push tab down.
STEP 3: Empty into waste basket.
How to clean roller brush?
STEP 4: Check for and remove fluff, hair
and other debris from brush
Operation /
Travail avec l’appareil
/ Trabajar con el
aparato
5
4
23.05.2000
5.744-015.0
1.258-103.0 * AUS
1.258-104.0 * GB
1.258-105.0 * USA
4.762-275.0
6.654-118.0
4.515-066.0
50
4.070-399.0
4.070-399.0
4.672-105.0
1.258-103.0 * AUS
1.258-104.0 * GB
1.258-105.0 * USA
6.369-434.0
6.682-554.0
6.682-555.0
6.682-556.0
Spare Parts List /
Pièces de rechange
/ RepuestosProtect the environment /
Respect de
l’environnement /
Consejos para preservar el medio
ambiente
Troubleshooting
Rotating brush does not work
- Check for blockage: i.e. hair and other debris
- Check battery charge status
Cleaning result is not acceptable
- Waste container is full. Empty waste container
- Rotating brush is worn out. Replace rotating brush
Cd
678910
1ère étape :
Enclenchezl’appareil.
2ème étape :
Passez l’appareil en avant sur la surface
dusol.
3ème étape :
Eteignezl’appareil puisrangez-le
4ème étape (OPTION) :
Utilisezle support muralpourranger
l’appareil.
5ème étape :
Rechargez l’accu si nécessaire.
Primerpaso:
Conectarel aparato
Segundopaso:
Barrerla superficiea limpiardesplazando
elaparato hacia adelante.
Tercer paso:
Desconectarla escoba yguardarla enel
emplazamientoprevisto alrespecto.
Cuartopaso: OPCIONAL
Guardarla escobacolgándola delsoporte
defijación mural.
Quinto paso:
Cargarla bateríaen casode quefuera
necesario.
!
Atención!
Cerciórese de que el aparato está
desconectado.
Vaciar el recipiente para la suciedad.
Primerpaso: Desconectarel
aparato.
Segundopaso: Accionarel dispositivo
dedesbloqueo
Tercer paso: Vaciarelrecipiente
para la suciedad
Limpieza del cepillo cilíndrico
Cuarto paso: Verificar si hay
acumuladas en las cerdas del cepillo
pelusas, pelos o cualquier otra suciedad;
eliminar la suciedad del cepillo.
!
Attention :
Assurez-vousd’abordquel’appareilest
bien éteint.
Comment vider le réservoir à balayures
?
1ère étape : éteignezl’appareil
2ème étape : appuyez sur la touche
dedéverrouillage
3ème étape : videz le réservoir à
balayures
Comment nettoyer le rouleau-brosse ?
4ème étape : vérifiezlaprésence
éventuelle de duvet, cheveux et autres
salissures prises dans les crins, enlevez-
les si c’est le cas.
Dérangements et remèdes
Le rouleau brosse ne tourne pas
-Brosse bloquée par des cheveux et autres salissures. Enlevez les
salissures.
- Accu vide, rechargez-le.
Rendement de balayage insuffisant
- Réservoir à balayures plein.Videz-le.
- Les crins du rouleau brosse se sont usés. Changez ce rouleau.
Localización de averías
El cepillo cilíndrico no gira
- El cepillo está bloqueado por pelos u otro tipo de suciedad atrapada o
enrollada en el mismo; eliminar la suciedad del cepillo.
- La batería está descargada; cargarla
Insuficiente potencia de limpieza
- El recipiente para la suciedad está lleno; vaciarlo.
- Las cerdas del cepillo están desgastadas. Sustituir el cepillo cilíndrico
por uno nuevo.
!
Dispose of battery at an
approved recycling facility
only.
!
Nerapportez l’accu qu’àun
centre de recyclage agréé.
!
Entreguela bateríasólo en un
centro o punto oficial de
recogida o reciclaje.
3
2
1
4
Warranty
In each country the warranty terms issued by our authorized
marketing company are valid, providing the cause of the fault
proves to be a material or manufacturing error repair will be free of
charge.
Should you wish to call upon the warranty, please apply to your
dealer or nearest authorized Customer Service centre taking along
also the accessories and bill of sale.
Customer Service Information /
Service après-vente /
Servicio Postventa
- GB: 0 12 95 75 20 00
www.karcher.com
- AUS: 61 3 9765 2300
www.karcher.com
- NZ: 09 274 46 03
www.karcher.com
- USA: 877-527-2437
www.karcher-usa.com
- CDN: 905-672 82 33
www.karcher.ca
Garantie
Dans chaque pays, les conditions de garantie en vigueur sont
celles publiées par notre société de distribution autorisée. Si
pendant la durée de la garantie votre appareil présente des vices
de matière ou de fabrication, la réparation est gratuite.
En cas de recours en garantie, veuillez vous adresser à votre
revendeur ou au bureau du service après-vente le plus proche de
chez vous. Munissez-vous de l’appareil, de ses accessoires et de la
preuved’achat.
Garantía
En cada país rigen las condiciones de garantía establecidas por las
correspondientesSociedadesDistribuidoras.Lasperturbaciones
y averías de su aparato serán subsanadas de modo gratuito en la
medida en que las causas de las mismas sean debidas a defectos
de material o de fabricación.
En un caso de garantía rogamos se dirija con el aparato y sus
accesorios, así como el comprobante/factura de la compra, al
Distribuidor en donde adquirió el aparato o a la Delegación Oficial
del Servicio Postventa más próxima.
Technical specifications /
Données techniques
/
Características Técnicas
Unitoperating cyclewith fullbattery */
Duréede fonctionnementde l’appareil,
accuchargé
*/ Autonomíade funcionamientodel aparato conla batería
completamentecargada......................................................................... 12 -20 min
Operatingvoltage(battery)/Tensiondetravail(accu)/Tensión detrabajo(batería).....4,8 V
Chargingperiod forfully dischargedbattery, approx./
Duréede rechargede l’accu
vide,env.
/ Duración del ciclo de carga de una batería vacía, aprox....................14 h
Battery chargeroutput voltage /
Tension duchargeur
/Tensióndelcargador dela
batería.............................................................................................. 5,8V /100mA
Soundlevel /
Niveaude pressionacoustique
/ Nivelsonoro ....................... 60 dB(A)
Weight /Poids /Peso .....................................................................................2,0kg
*dependent onfloor surface/ dépendantde lasurface du sol
!
Caution:Rotating brush
Attention!brosse rotative
Atenciónal cepillogiratorio!
STEP1:
Switchthe unitON.
STEP2:
Pushforward on floor surfaces.
STEP3:
Switch OFF and store.
STEP 4: OPTIONAL
Usemounting bracketfor storage.
STEP5:
Chargeunit as necessary.
Theappliance isnot intendedfor useby young
childrenorinfirmpersonswithoutsupervision.
Youngchildrenshould besupervisedto ensure
thatthey do notplay with theappliance.

Other Kärcher Steam Cleaner manuals

Kärcher 1105 VAPORAPID User manual

Kärcher

Kärcher 1105 VAPORAPID User manual

Kärcher RC 3000 User manual

Kärcher

Kärcher RC 3000 User manual

Kärcher 1102 BS User manual

Kärcher

Kärcher 1102 BS User manual

Kärcher SC 1122 User manual

Kärcher

Kärcher SC 1122 User manual

Kärcher SC 1 User manual

Kärcher

Kärcher SC 1 User manual

Kärcher SC 1202 User manual

Kärcher

Kärcher SC 1202 User manual

Kärcher SC 5.850 C User manual

Kärcher

Kärcher SC 5.850 C User manual

Kärcher SC 1.030 User manual

Kärcher

Kärcher SC 1.030 User manual

Kärcher SC 1 User manual

Kärcher

Kärcher SC 1 User manual

Kärcher SC 4 Iron Kit User manual

Kärcher

Kärcher SC 4 Iron Kit User manual

Kärcher SC 1122 User manual

Kärcher

Kärcher SC 1122 User manual

Kärcher SC 2 User manual

Kärcher

Kärcher SC 2 User manual

Kärcher SV 1902 User manual

Kärcher

Kärcher SV 1902 User manual

Kärcher SC 5 User manual

Kärcher

Kärcher SC 5 User manual

Kärcher K 55 User manual

Kärcher

Kärcher K 55 User manual

Kärcher K 1405 User manual

Kärcher

Kärcher K 1405 User manual

Kärcher SC 1502 User manual

Kärcher

Kärcher SC 1502 User manual

Kärcher SC 3 Premium User manual

Kärcher

Kärcher SC 3 Premium User manual

Kärcher SC 5 User manual

Kärcher

Kärcher SC 5 User manual

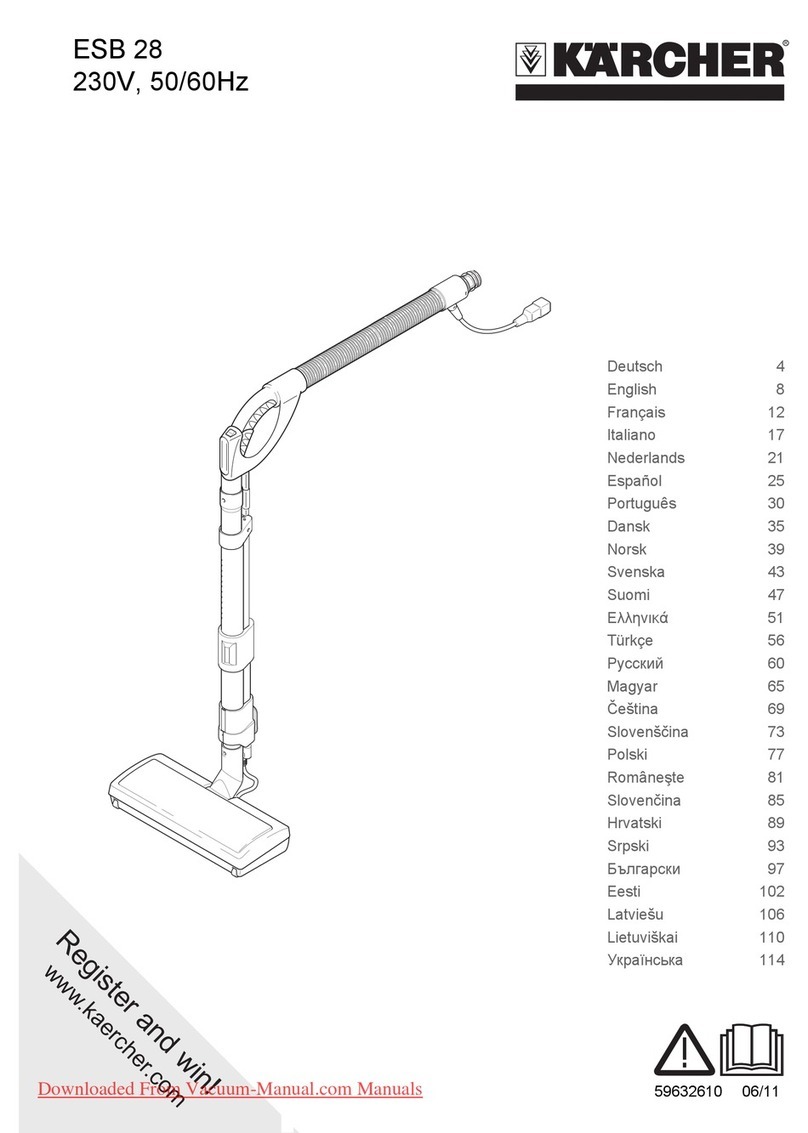
Kärcher ESB 28 User manual

Kärcher

Kärcher ESB 28 User manual

Kärcher K 55 User manual

Kärcher

Kärcher K 55 User manual

Kärcher SC 1125 User manual

Kärcher

Kärcher SC 1125 User manual

Kärcher T 50 T-racer User manual

Kärcher

Kärcher T 50 T-racer User manual

Kärcher SC 2 EasyFix User manual

Kärcher

Kärcher SC 2 EasyFix User manual

Popular Steam Cleaner manuals by other brands

Light 'n' Easy GS700 manual

Light 'n' Easy

Light 'n' Easy GS700 manual

Philips GC505 user manual

Philips

Philips GC505 user manual

Rowenta ultrasteam manual

Rowenta

Rowenta ultrasteam manual

TEFAL DT61 Series manual

TEFAL

TEFAL DT61 Series manual

Philips WALITA PerfectCare 6000 Series WALITA PerfectCare... user manual

Philips

Philips WALITA PerfectCare 6000 Series WALITA PerfectCare... user manual

Conair Travel Smart TS183MS user manual

Conair

Conair Travel Smart TS183MS user manual

SuperTek SteamTek 3 user guide

SuperTek

SuperTek SteamTek 3 user guide

Morphy Richards 70495 user manual

Morphy Richards

Morphy Richards 70495 user manual

Abode ADHSC3001 Pro+ user guide

Abode

Abode ADHSC3001 Pro+ user guide

POLTI Vaporetto SV205 instruction manual

POLTI

POLTI Vaporetto SV205 instruction manual

Morphy Richards Garment Steam Brush user manual

Morphy Richards

Morphy Richards Garment Steam Brush user manual

Bissell Powerfresh user guide

Bissell

Bissell Powerfresh user guide

tomado TSH1201W instruction manual

tomado

tomado TSH1201W instruction manual

Shark VacMop QM250 Series owner's guide

Shark

Shark VacMop QM250 Series owner's guide

Homeright SteamMachine 053 instruction manual

Homeright

Homeright SteamMachine 053 instruction manual

Adler Europe AD 7038 user manual

Adler Europe

Adler Europe AD 7038 user manual

Sealey HST500 instructions

Sealey

Sealey HST500 instructions

Ribimex Sprizzy User and maintenance manual

Ribimex

Ribimex Sprizzy User and maintenance manual

manuals.online logo
manuals.online logoBrands
  • About & Mission
  • Contact us
  • Privacy Policy
  • Terms and Conditions

Copyright 2025 Manuals.Online. All Rights Reserved.