manuals.online logo
Brands
  1. Home
  2. •
  3. Brands
  4. •
  5. Kargo Master
  6. •
  7. Automobile Accessories
  8. •
  9. Kargo Master PRO-IV User manual

Kargo Master PRO-IV User manual

D
M
J
1/2", 9/16", & 3/4"
PRO - III & IV
C
J
HA
H
L
D
J
J
M
F
K
N
F
K
N
B
L
N
8
88
777
3
1
2
S
IL
IC
O
N
E
S
I
LI
C
O
N
E
S
I
L
I
C
O
NE
E
G
KN
KM
4
E(2 ea.)
5/16" x 2 1/4"
Button Head Bolt
F(8 ea.)
5/16" x 3/4"
Button Head Bolt
H
AG
JK
(10 ea.) 1/2" SAE Flat Washer (18 ea.) 3/8" SAE Flat Washer (14 ea.) 5/16" Flat Washer
(4 ea.)
L(6 ea.) M(10 ea.) N(14 ea.)
(4 ea.)
Shown Actual Size
Shown Actual Size
1/2" x 3 1/2"
Hex Bolt
5/16" x 3/4"
Carriage Bolt
1/2" Jam Nut 3/8" Lock Nut 5/16" Lock Nut
D(8 ea.)
3/8" x 1 3/4"
Button Head
C(2 ea.)
3/8" x 2 1/4"
Button Head
B(2 ea.)
1/2" x 2 1/4"
Button Head Bolt
P(4 ea.)
5/16" x 3/8"
Allen Head Set Screw
G
N
K
S
I
L
I
C
O
N
E
STEP 1
STEP 2
#1 = Cover entire swedge joints with silicone
sealant and join FRONT and REAR side channels
together, there is a LEFT & RIGHT FRONT, with
the Right marked with a GREEN dot on the
overlapping plate. There is a RIGHT & LEFT
REAR. The leg cups angle outward. Be sure the
connecting plates overlap, and bolt together with
bolts G, washers K and lock nuts N.
#2 = Slide the FRONT leg onto the front side
channel. There is a RIGHT & a LEFT.
Match to the correct side channel so that both
FRONT & REAR legs angle outward.
Insert the set screws P, but do not tighten yet.
#3 = Loosely attach the top CLAMP with
bolts F, washers K, and nuts N.
#1 = Cover entire swedge joints with
silicone sealant and attach the REAR LEGS
with bolts C, washers J, and nuts M.
Note: The distance between front & rear
legs will not be longer than the inside
measurements of the bed itself.
F
P
NK
STEP 3
S
I
LI
CO
N
E
C
J
M
(RIGHT SIDE SHOWN)
BulkheadTailgate
#1 = Measure the inside of truck bed, from
tail gate to bulk head. Position the front
legs at approximately that distance from the
rear legs. Final positioning of the front legs
will follow in STEP 7.
E
N
K
STEP 4
#1 = Cover entire swedge joints with
silicone sealant and insert the CENTER
CROSS BAR into the SIDE RAIL CUPS
and attach with bolts E, washers K and
lock nuts N.
#1 = Insert PLASTIC CAPS onto the rear
crossbar uprights, (the tall side of the tube).
Slide the REAR CROSS BAR into the REAR
LEG POSTS at the top, as shown.
STEP 6
#1 = Cover entire swedge joints with
silicone sealant and slide FRONT CROSS
BAR onto side rails and bolt together with
bolts B, and jam nut L.
S
I
L
I
CON
E
STEP 5
B
L
S
IL
I
C
ON
E
STEP 7
#2 = Attach the Mount Plates on truck using either bolts D, washers J
and nuts M, or a combination of Clamps and Stake Pocket T bolts.
#3 = Measure the distance, center to center, between the
FRONT and REAR U-BRACKETS. Adjust the distance between
the FRONT and REAR LEGS to match that measurement.
Then set the rack on the truck and attach the rear legs first with
bolts A, washers H, and nuts L.
NOTE: If it is not possible to locate a second hole close to the front leg, or if you would like to
mount your rack without drilling into your truck’s bed rail, please see OPTIONAL MOUNTING
METHODS on the last page of these instructions. These options require accessory mount kits
purchased separately.
#1 = Position the Front Mount Plates on the truck bed rail so that they are as far forward as possible,
but make sure inserted bolt A is at least 1” clear of the cab of the truck.Position the Rear Mount Plates on
the truck bed rail so that the rear of the Mount Plate is even with the inside of the truck tail gate. Find the
pre-drilled hole in the footplate that is furthest from the leg and drill 3/8” hole through truck’s bed rail. You
must drill a second bolt hole through both the footplate and the truck’s bed rail. Locate this second hole as
close as possible to the front leg, but making sure you can access the end of the bolt underneath the truck’s
bed rail as necessary to put on the washer and nut.
NOTE: When using Stake Pocket T Bolts, it is convienient to locate the
Mounting Plates so that one of the pre drilled holes in the Mount Plate is
over the truck’s stake pocket.
JJ
3"
8
D
M
LHHA
STEP 8
STEP 9
P
#1 = Make final adjustments and
attach front leg with bolts A,
washers H, and nut L.
Center rack on truck bed.
Tighten up the bolts on the crossbar and clamp
plates as well as the set screws P.
#1 = Attach the front SUPPORT
UPRIGHT where the 1” tube begins
to bend downward, then...
TIGHTEN DOWN EVERYTHING AND....
THAT’S IT!
You’re ready to LOAD & GO!
NK
G
LH
HA
SILICONE
SEALANT
Apply a healthy air tight bead of silicone around every swaged joint to prevent
moisture from leaking into and out of the joint. If this is not done properly, the
inside surface of the tubes can rust and rusty water can leak out. Maintain this
joint seal throughout the life of your rack.
Rusty Joint
(WITHOUT SEALANT)
®
B
A
A
3"
8
Drill 1st hole in truck bedrail,
through pre-drilled hole in
the footplate, as shown.
NO DRILL clamp-on mounting
Follow instruction that come with
your Stake Pocket T- Bolt Mounting Kit
#31560
TRUCKs’
BEDRAIL
Optional
T-nut
Optional Clamp-On Mount
Rack Mounting Bracket
Footplate Pre-Drilled Holes
When it is not possible to locate a bolt close to the front leg, use our
optional Stake Pocket T- Bolt Kit #31560.
The T-nuts will go into the stake pocket to secure the footplate to bed
rail, along with the hole drilled into the trucks’ bed rail through the
pre-drilled hole in the footplate. Complete instructions come with the
kit.
This plan is the NO DRILL ANYTHING solution.
These clamps allow you to bolt down the footplates to the trucks’ bed
rail without having to drill any holes in your truck or the footplate.
This kit is #31580.
A PURCHASED SEPARATELY: PURCHASED SEPARATELY:
OPTION B
OPTION

Other Kargo Master Automobile Accessories manuals
Kargo Master 40131 User manual

Kargo Master

Kargo Master 40131 User manual

Kargo Master 40110 User manual

Kargo Master

Kargo Master 40110 User manual

Kargo Master PRO-II KS User manual

Kargo Master

Kargo Master PRO-II KS User manual

Kargo Master 40640 User manual

Kargo Master

Kargo Master 40640 User manual

Kargo Master 4081SF Manual

Kargo Master

Kargo Master 4081SF Manual

Kargo Master 4A98L-Rev 1 User manual

Kargo Master

Kargo Master 4A98L-Rev 1 User manual

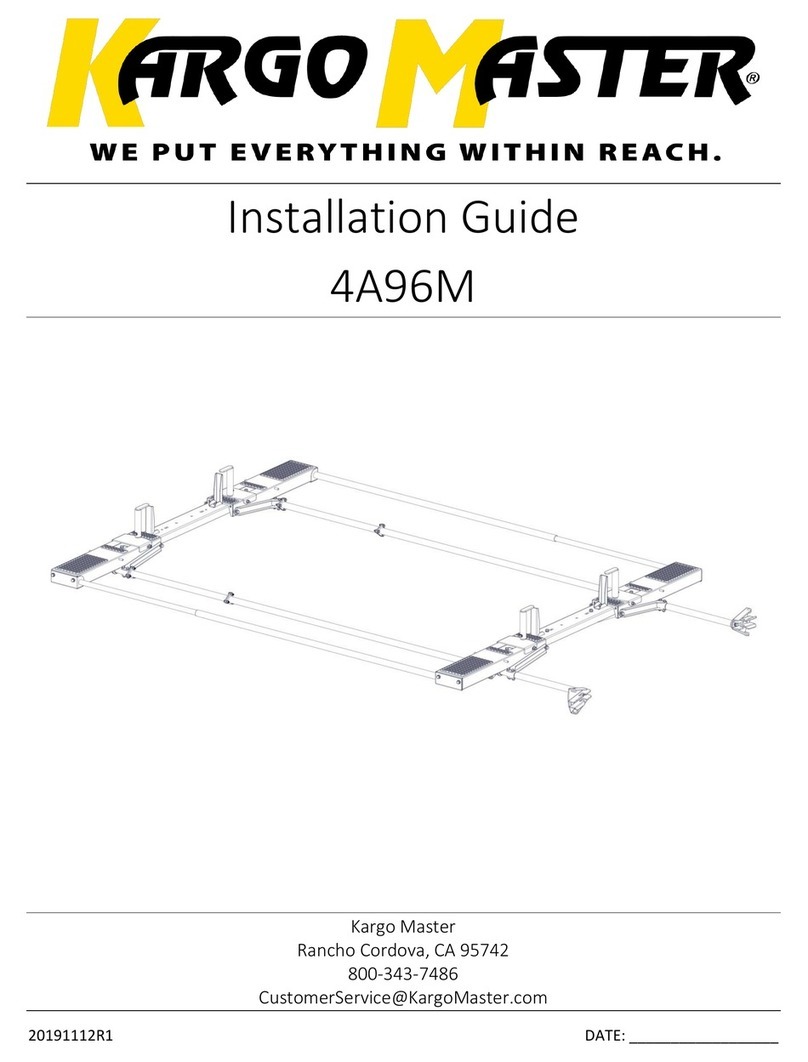
Kargo Master 4A96M User manual

Kargo Master

Kargo Master 4A96M User manual

Kargo Master 4A873 Manual

Kargo Master

Kargo Master 4A873 Manual

Kargo Master 48152 User manual

Kargo Master

Kargo Master 48152 User manual

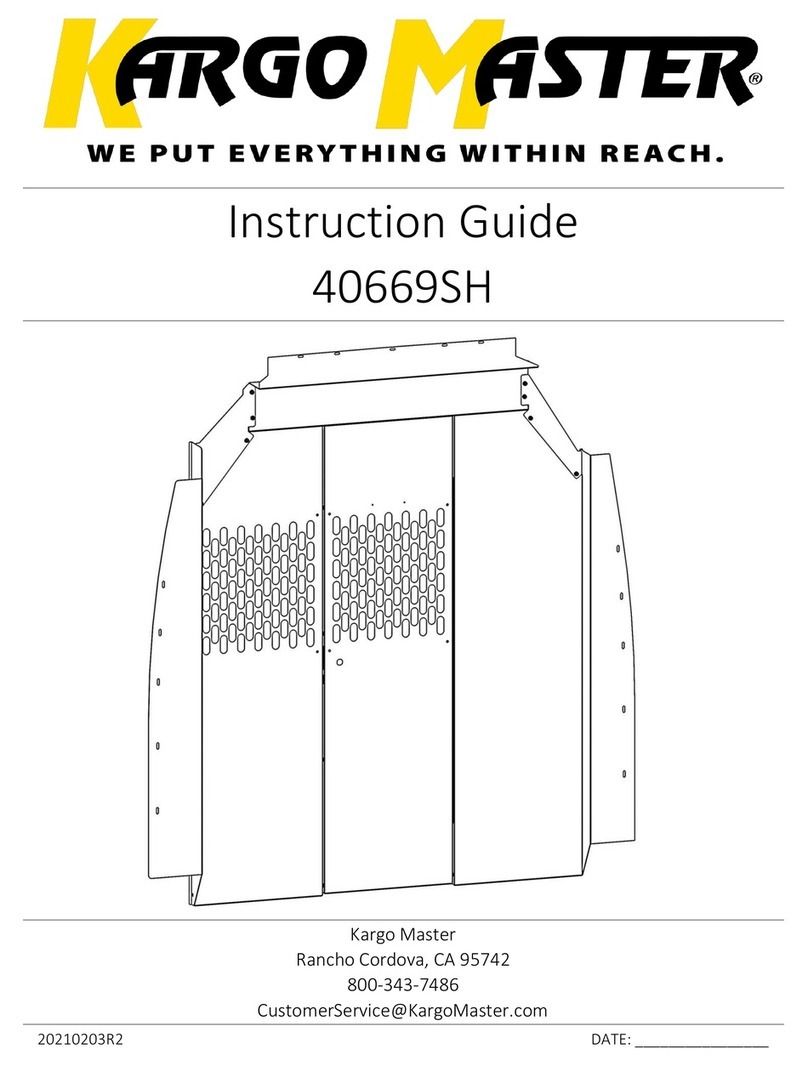
Kargo Master 40669SH Manual

Kargo Master

Kargo Master 40669SH Manual

Kargo Master 4A815 User manual

Kargo Master

Kargo Master 4A815 User manual

Kargo Master 4A85L Manual

Kargo Master

Kargo Master 4A85L Manual

Kargo Master 40983 User manual

Kargo Master

Kargo Master 40983 User manual

Kargo Master 40020 User manual

Kargo Master

Kargo Master 40020 User manual

Kargo Master 4A93L User manual

Kargo Master

Kargo Master 4A93L User manual

Kargo Master 40813 User manual

Kargo Master

Kargo Master 40813 User manual

Kargo Master 406GMF-P Manual

Kargo Master

Kargo Master 406GMF-P Manual

Kargo Master 4081M User manual

Kargo Master

Kargo Master 4081M User manual

Kargo Master 40053 Manual

Kargo Master

Kargo Master 40053 Manual

Kargo Master 4A82T User manual

Kargo Master

Kargo Master 4A82T User manual

Kargo Master 408SC User manual

Kargo Master

Kargo Master 408SC User manual

Kargo Master 406GM Manual

Kargo Master

Kargo Master 406GM Manual

Kargo Master 4A92L User manual

Kargo Master

Kargo Master 4A92L User manual

Kargo Master 4A95L User manual

Kargo Master

Kargo Master 4A95L User manual

Popular Automobile Accessories manuals by other brands

Starkey 3601 manual

Starkey

Starkey 3601 manual

Phonocar 3/578 instruction manual

Phonocar

Phonocar 3/578 instruction manual

Thule 1565 instructions

Thule

Thule 1565 instructions

DriveNTalk KlaT 8 user guide

DriveNTalk

DriveNTalk KlaT 8 user guide

Sena 50S user guide

Sena

Sena 50S user guide

Flash Cover Slim MN009CT installation manual

Flash Cover

Flash Cover Slim MN009CT installation manual

Crux RVCCH-75 manual

Crux

Crux RVCCH-75 manual

WIX WP9240 Installation instruction

WIX

WIX WP9240 Installation instruction

iArmor EDGE manual

iArmor

iArmor EDGE manual

Dobinsons BU59-3506 installation guide

Dobinsons

Dobinsons BU59-3506 installation guide

Tessera4x4 SOT-ROLL Series manual

Tessera4x4

Tessera4x4 SOT-ROLL Series manual

Young Electric Sole manual

Young Electric

Young Electric Sole manual

Cruz Evo Rack Alu A17-126 Assembly instructions

Cruz

Cruz Evo Rack Alu A17-126 Assembly instructions

Cruz Evo Rack Alu A23-126 Assembly instructions

Cruz

Cruz Evo Rack Alu A23-126 Assembly instructions

bosal ORIS 049-223 FITTING INSTRUCTION

bosal

bosal ORIS 049-223 FITTING INSTRUCTION

Cruz 907-402 Assembly instructions

Cruz

Cruz 907-402 Assembly instructions

Cruz Evo Rack Pro P30-140 Assembly instructions

Cruz

Cruz Evo Rack Pro P30-140 Assembly instructions

Road Ranger ET 210207 Installation instruction

Road Ranger

Road Ranger ET 210207 Installation instruction

manuals.online logo
manuals.online logoBrands
  • About & Mission
  • Contact us
  • Privacy Policy
  • Terms and Conditions

Copyright 2025 Manuals.Online. All Rights Reserved.