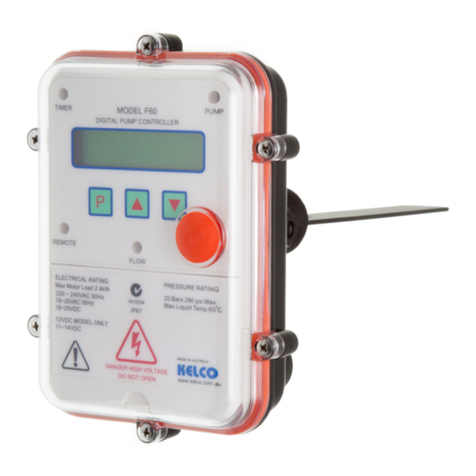
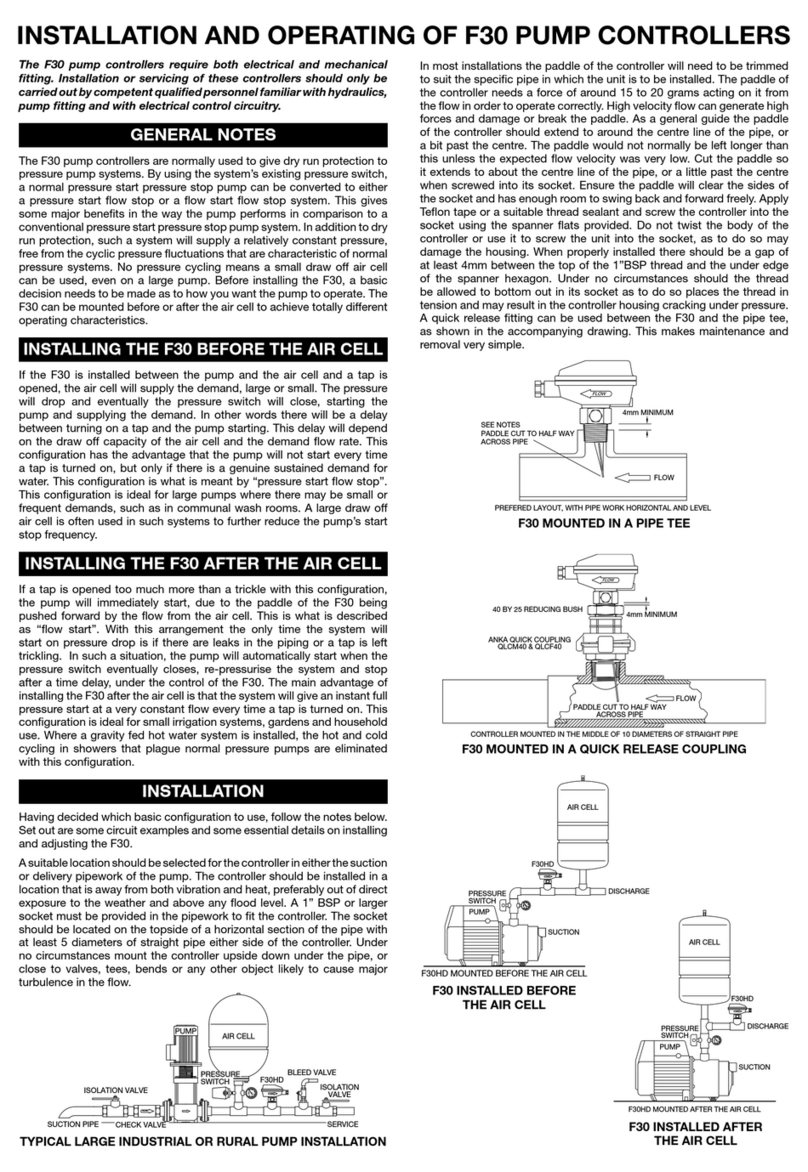
KELCO F40-240LC Guide

WARNING
Please read this installation sheet fully and
carefully. The F40LC Digital Pump Controller is
a mains voltage device. Death or serious injury
may result if this product is not correctly installed
and used.
INTRODUCTION
The F40LC pump controller is a simple to use controller.
It is a microprocessor based integrated pressure and flow
device. It is designed for controlling the operation of a
pump and for protecting it against running dry.
WARNING
The F40LC Digital Pump Controller is water
resistant to IP67. The F40LC may present a shock
hazard and death or serious injury may result if
water enters its electrical housing. There are no
user serviceable parts in this pump controller.
Under no circumstances should the main
housing be opened. Warranty on this product is
automatically void if the sealed body screws are
opened.
IMPORTANT
This installation and usage information sheet must be
read with reference to the specific model controller being
installed. The power switching capacity and the pressure
rating of the controllers vary from model to model and it is
very important to understand the limitations of a specific
controller before installing it.
MODELS
SUPPLY VOLTAGE
240 = 220 TO 240VAC
CABLE
NO LETTER = 10Amp PLUG & PLAY
S = SINGLE CABLE 2M LONG WITH 4 CORES
F40-240LC-S
OPERATING ENVIRONMENT
Supply F40-240-LC 220 to 250VAC 50Hz Single Phase
Ambient Temperature Range 1ºC to 50ºC
Liquid Temperature Range 1ºC to 60ºC
Ingress Protection Rating IP67
Maximum Operating
Pressure
20 Bars (300 psi)
OPERATING RANGE
Start-up Timer Automatic 10 seconds
Run-on Timer Automatic 10 seconds
Restart Timer Automatic, 4 attempts at
15 minute intervals
Pump Start Pressure Range Adjustable 0 to 5 Bars in 16 steps
Maximum Starting Pressure 500kPa (72 psi)
Minimum Starting Pressure 33kPa (4.7 psi)
Recommended Pipe Sizes 25mm (1”) or larger
(There is no upper limit)
Maximum Switched Load 250VAC 50Hz 2.4kW (Motors up
to 3HP)
Operating Pressure Range,
Static or Dynamic
0 to 20 Bars (0 to 300 psi),
See note below
Burst Pressure 50 Bars (750 psi)
NOTE: The F40LC pump controller must NOT be used in hot water
applications (>60ºC). The F40LC pump controller is rated to
withstand water pressure to 20 Bars (300 psi) and must not be used
in applications where the static or dynamic pressure exceeds this
rating.
INSTALLATION
The F40LC is suitable for use in all cold water based
applications such as potable water, sea water, bore water,
chlorinated pool water, brackish water or filtered effluent.
A suitable location should be selected for the controller in
the delivery pipework of the pump. The controller should
be installed in a location that is away from both vibration
and heat, preferably out of direct exposure to the weather
and above any flood level. A 1” BSP socket, or threaded
pipe tee must be provided in the pipework to fit the
controller. The controller should be located on the topside
of a horizontal section of the pipework with a minimum of
2 diameters of straight pipe either side of the controller.
Under no circumstances mount the F40LC under a pipe
or close to valves, tees, bends or any other obstructions
likely to cause major turbulence in the flow. The F40LC
can be mounted in vertical pipework if required and flow
can pass either in an upward or downward direction.
In most installations the paddle of the F40LC will need to
be trimmed to suit the specific pipe tee in which it is to
be installed. The paddle of the controller needs a force
equivalent to 20 grams dead weight acting on it from the
flow in order to operate correctly. The force is generated
by water in motion pushing against the exposed area
of the paddle. The more area of paddle exposed to the
flow the more force available to actuate the controller. Be
INSTALLING AND USING
THE KELCO F40-240LC PUMP CONTROLLER

aware that high velocity flow can generate high forces and
may damage the paddle. As a general guide the paddle
of the F40LC should extend to slightly past the centre
line of the pipe. The paddle would not normally be left
longer than this unless the expected flow rate was very
low. If you know the likely flow rate and the pipe size of
your pump system there is an online calculator available
at www.kelco.com.au that will help you to work out an
exact size to cut the paddle. Use tin snips, side cutters
or a hacksaw to cut the paddle. If needed, cut away the
sides of the paddle so it clears the pipe socket and pipe
walls by at least 4mm at its closest point. Apply a suitable
thread sealant tape or paste and screw the F40LC into the
socket using the spanner flats provided. When properly
installed the controller should be square to the axis of
the pipe, with the flow arrow on the side of the F40LC’s
body correctly oriented and parallel to the line of flow. In
addition, there should be a gap of at least 4mm between
the top of the 1”BSP pipe socket and the under edge
of the F40LC’s spanner flats. Under no circumstances
should the F40LC be wound into the pipe socket until
its thread bottoms out in the socket as to do so places
the thread in tension and may result in the controller’s
housing cracking under pressure.
HOW TO INSTALL AN F40LC DIGITAL PUMP
CONTROLLER
FLOW
4mm MINIMUM GAP
STANDARD PIPE TEE
1” BSP REDUCING BUSH
OF STRAIGHT PIPE EACH
CUT PADDLE TO CLEAR THE
PIPE BY A MINIMUM OF 4mm
ALL ROUND
MINIMUM OF 2 DIAMETERS
SIDE OF THE F40LC
ELECTRICAL
The F40LC pump controller requires a stable supply voltage
in order to operate correctly. Pay particular attention
to cable sizes and ensure cables are adequate for the
specific pump motor load. This is particularly important
where long cable runs are to be used in the installation. If
the voltage drop associated with the starting of the pump
motor is excessive the F40LC will automatically reset and
this may cause the pump to jog. Jogging can snap the
main spindle of a pump very easily, so please take all
precautions to ensure the voltage supply to the F40LC is
stable and that the current carrying capacity of the cable
is adequate for the job.
Never use long or coiled extension leads (longer than 5
metres) to connect a pump to the F40LC. The standard
F40LC pump controller is supplied fitted with a 10 Amp
plug and socket. Pumps up to 2.4kW (P1) can be plugged
directly into the socket connection to the controller.
WARNING
When installing the F40LC the socket outlet
connection (GPO) for the input power must be
accessible and must be positioned in a dry and
protected location out of the weather and above
any flood or water level. Where the F40LC is to
be used to control pump motors up to 2.4kW 3HP
the supply to the F40LC must be protected by a
10 Amp fuse or by a 10 Amp circuit breaker.
FIXED INSTALLATION
WARNING
Fixed Installations must only ever be carried out
by a licensed electrician and must conform to
local wiring rules.
When used in a fixed installation a disconnecting device
such as a switch or a circuit breaker must isolate the
pump and F40LC. The disconnecting device must be
easily and readily accessible after installation. Where a
circuit breaker is used it must be rated at 10 Amp. Where
an isolation switch is used the circuit must be protected
by a 10 Amp fuse. In the interests of safety a 10 Amp
RCD with a maximum 30mA trip should also be installed
in the supply.
BROWNOUT OR BLACKOUT
If a blackout or brownout occurs while the F40LC is
operating the controller will not retain any memory of
where in its run or stop cycle it may have been. It will
simply shut down the pump. When power resumes, the
F40LC will reboot and restart the pump. A manual reboot
can be done at any time by simply pressing the reset
button on the top deck of the controller.
DETAILS OF THE CONTROLS
1
2
3
4
5
67

No. DESCRIPTION FUNCTION
1 MASTER RESET BUTTON With power on, press this button to start the pump at any time. Always press it
after making any changes to the pressure setting dial. Any changes you have made
will not take effect until you press the reset button. All internal timers are reset to
zero when the reset button is pressed.
2 PRESSURE SETTING This dial sets the pump’s start up pressure. The dial is adjustable from zero to 5
Bars in 16 steps. If this dial is left on zero the F40LC only senses flow and not
pressure. This dial is normally set to marginally higher than the system’s static
pressure. When pressure falls because a tap has been turned on a point will be
reached where the pressure drops to the level set on this dial. The pump then
automatically starts and runs for a fixed 10 seconds. If there is a demand for flow
the pump will run continuously and satisfy the demand.
3 START LIGHT This light turns on blue whenever the pump is running.
4 FLOW LIGHT This light turns on green whenever the F40LC detects flow. Along with the alarm
light 5 it also flashes red in a coded sequence if the pump has run dry.
5 ALARM LIGHT This light flashes red if the F40LC has been run dry. It flashes in bursts of one pulse
the first time it detects a dry run. After 15 minutes the F40 automatically attempts
to restart the pump. If it finds the system is still running dry it shuts down the pump
and flashes this light and the flow light 4 in bursts of two pulses to indicate it is on
its second try. It repeats this process every 15 minutes for an hour. After each try it
adds one pulse of red light to the count. By counting the pulses you can determine
how many times the F40LC has attempted to restart the system. If after four tries
the system is still running dry, the F40LC goes into full alarm mode and rapidly
flashes the alarm light 5 and the flow light 4 alternately red.
6 FLOW SENSITIVITY
ADJUSTMENT
Under this dust cap is a screw that sets the sensitivity of the F40LC to flow. As
supplied, this screw is wound fully in which is its least sensitive position. By winding
this screw anti-clockwise (out) the F40LC can be set to detect progressively lower
flows. In other words become more sensitive and responsive to low flows. The
screw should not be wound out beyond where the dust cap can be refitted. The
F40LC will not operate if this screw is fully removed. Use a wide bladed screwdriver
to adjust this screw.
7 PADDLE The paddle (a replaceable item) must be trimmed to suit the intended application.
Normally the paddle is cut so when installed it intrudes to a little past the centre
line of the pipe. The more area of paddle exposed to the flow the more responsive
the F40LC will be. The paddle is normally trimmed with a pair of tin snips or a
hacksaw. It can be narrowed down and its end rounded to suit the specific pipe
in which it is to be installed. The paddle should always be trimmed so there is a
minimum of 4mm clearance to the closest adjacent pipe walls. If you know the
likely flow rate and the pipe size of your pump system there is an online calculator
available at www.kelco.com.au that will help you to work out an exact size to cut
the paddle.
SETTING THE START PRESSURE DIAL
The pressure at which the pump controller starts the pump
can be set using the dial on the top deck of the controller.
The starting pressure range is zero to 5 Bars (0 to 72psi).
If the dial is set to zero the controller will not start if the
pressure drops, it will only start if flow pushes its paddle
forward. Set the dial to a pressure that you want the
pump to start at. The selected pressure must be slightly
higher than the system’s static pressure or the pressure
start function will not work. Press the reset button after
making any changes to the start-up pressure, changes to
the dial setting will not take effect until the reset button
is pressed.
PRESSURE SYSTEMS
The F40LC pump controller can be used to protect a
conventional pressure start pressure stop pump from
running dry if flow is lost. In a conventional pressure
system a pressure switch turns the pump on when the
pressure drops and switches it off when the pressure
rises. All such systems have one basic flaw, if they run
out of water for any reason the lack of pressure will hold
the pressure switch on and keep the pump running. The
result is usually severe damage to the pump. The F40LC
is an ideal alternative because it monitors flow as well
as pressure and will stop the pump from running dry by
detecting the loss of flow. The pump will switch on on a
falling pressure and switch off when flow ceases.

AIR CELLS AND PUMPS STARTS
An air cell is not essential in a pump system
controlled by an F40-240LC, but does reduce the
frequency of pump starts and will generally improve
the performance of the system.
An air cell can be used in a pump system to store
pressure energy and provide the motive power to trigger
the system and restart the pump. The F40LC relies on
either pressure drop or flow to start a pump. If an F40LC
is installed in a pump system before the air cell, any
demand at the tap will be met by the draw off from the air
cell until the pressure falls to the level set on the F40LC’s
pressure dial. The pump will then start and if there is an
ongoing demand continue to pump. In such a system
the draw off capacity of the air cell and the flow demand
will determine how frequently the pump starts. A large
capacity air cell will reduce the frequency of starting and
thus the cycling of the pump. A small draw off air cell will
give a more constant pressure but at the expense of more
frequent starting.
If the F40LC is installed after the air cell, any more than
a slight flow from the air cell will start the pump on flow.
If the flow demand is extremely low, eventually the pump
will simply start on pressure drop once the pressure
reaches the pressure dial’s set point. Where a system is
required to supply a constant pressure the F40LC should
be mounted after the air cell. When pump cycling is to be
kept to a minimum, the F40LC should be mounted before
the air cell and a large draw off capacity air cell should be
used in the system.
SENSITIVITY ADJUSTMENT
A sensitivity adjusting screw (9) is provided for fine-tuning
the F40LC. Under the end of the switch housing is a
hex-headed plug that covers the adjusting screw. Remove
the plug and using a broad-bladed screwdriver wind the
adjusting screw anticlockwise to increase the sensitivity
(reduce the flow rate needed to actuate the paddle.) As
supplied, the screw is wound fully in and the F40LC is set
to its least sensitive. The maximum sensitivity is reached
with the screw wound out to a point where the hex dust
cover can still be refitted. Normally the sensitivity screw
should be left fully in. If the paddle has been trimmed
too short the resultant loss of sensitivity can be offset by
winding the sensitivity screw out a few turns.
LIMITATIONS
The F40LC pump controller requires a stable 220 to 240 V
AC 50Hz supply in order to operate properly. Where large
pumps are connected to an F40LC care should be taken
to ensure cable sizes are adequate. Never use the F40LC
with long or coiled extension leads or on generator sets.
The electronics built into the F40LC are protected against
surges and brownout and these protection systems can
be triggered by voltage drop, severe voltage spikes or by
an erratic electrical supply.
The F40LC should only be used in ambient temperature
water applications. It is neither designed for, nor is it
intended to be used with liquids other than water. The
F40LC pump controller must never be used in hot
water applications (greater that 60ºC) and must also be
protected from freezing.
The F40LC is designed to withstand water pressures up
to 20 Bars (300 psi) and must not be used in applications
where either the static or dynamic pressure exceeds this
rating.
A PUMP SYSTEM WITH NO AIR CELL
CONTROLLED BY AN F40LC
SUCTION
DISCHARGE
PUMP
F40LC PUMP
CONTROLLER
WARNING
If the F40LC Pump Controller is used in a manner
not specified by the manufacturer the protection
provided by the device may be impaired or
negated. In addition, all warranties stated or
implied will be rendered invalid.
MADE IN AUSTRALIA BY
KELCO Engineering Pty Ltd
ABN 20 002 834 844
Head Office and Factory: 9/9 Powells Road BROOKVALE 2100 AUSTRALIA
Postal Address: PO Box 496 BROOKVALE NSW 2100
Phone: +61 2 9905 6425 Fax: +61 2 9905 6420
PLEASE NOTE: The Kelco F40LC Digital Pump Controller is the subject of Australian and International patent and trademark applications.
Kelco Engineering Pty Ltd reserves the right to change the specification of this product without notice. Kelco Engineering Pty Ltd accepts no liability
for personal injury or economic loss as a consequence of the use of this product. All rights reserved copyright Kelco Engineering Pty Ltd © 2010
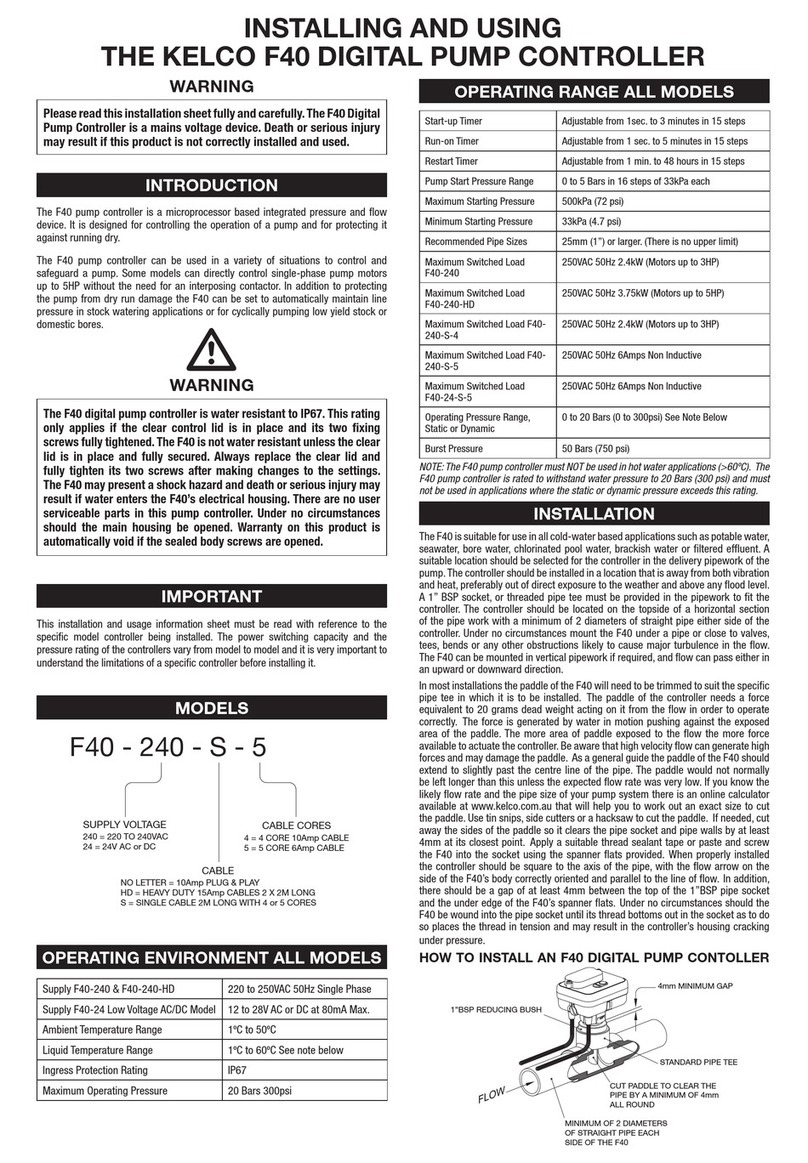
Other KELCO Controllers manuals

KELCO
KELCO F40 Series Guide

KELCO
KELCO F30 User manual

KELCO
KELCO F29 MK3 Assembly instructions

KELCO
KELCO PG20 Series Instruction Manual

KELCO
KELCO F60 Mk2 Assembly instructions

KELCO
KELCO F60 MK3 Assembly instructions

KELCO
KELCO F30 User manual

KELCO
KELCO F60 User manual

KELCO
KELCO F60 Installation manual
Popular Controllers manuals by other brands

Georg Fischer
Georg Fischer Signet 5600 manual

Prolific
Prolific PL-2303 Driver installation guide

Hall Research Technologies
Hall Research Technologies CNT-IP-264 user manual

Micropelt
Micropelt EnOcean MVA003E User manual and device specification

Vanderbilt
Vanderbilt ACT365 VCU Installation and operating instructions

Pioneer
Pioneer 9537EU owner's guide