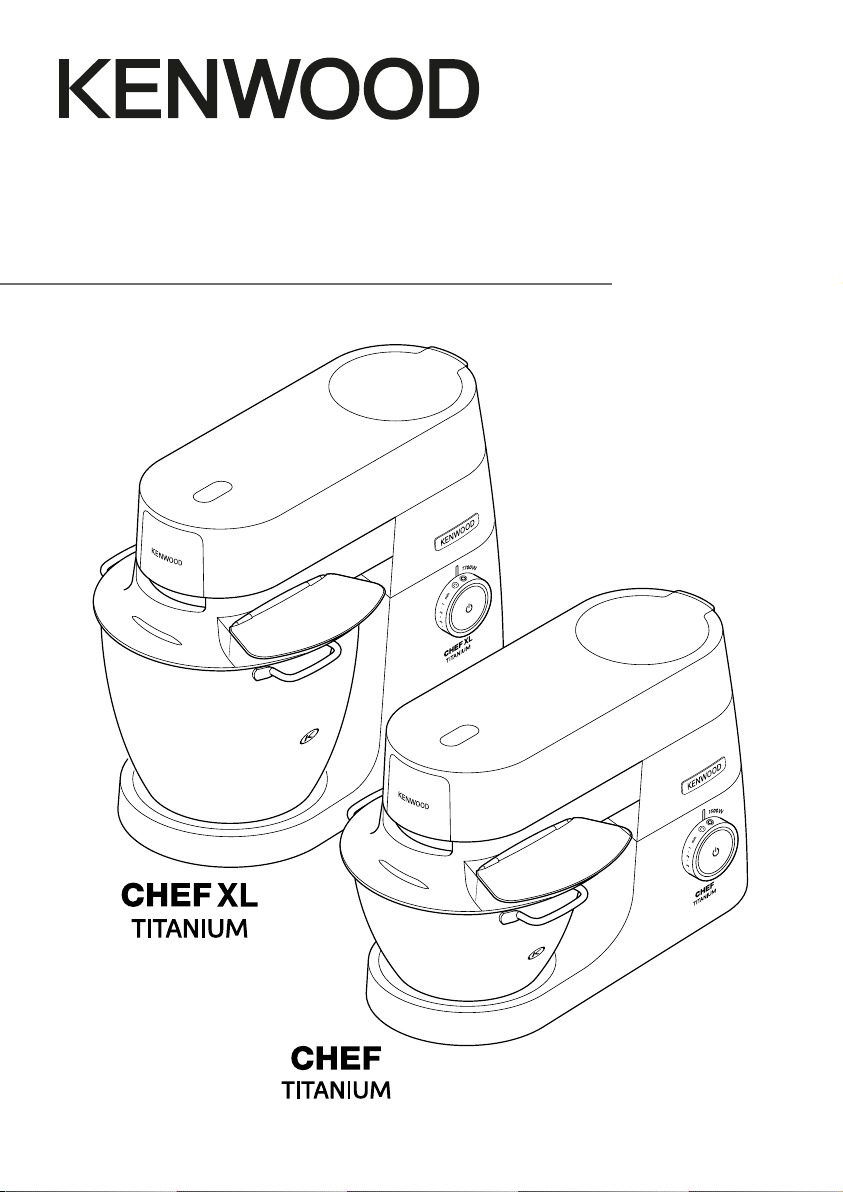
5
Optional attachments
There are a range of optional attachments
available to use with your Stand Mixer.
See the attachment leaflet included in your
pack or visit www.kenwoodworld.com
to see the full range and how to buy an
attachment not included in your pack.
Note: Slow Speed outlet attachments
The slow speed outlet on your Stand
Mixer model features the Twist Connection
System. It is designed to accept Twist
Connection System attachments.
When purchasing new attachments for
the slow speed outlet you should check
compatibility with your Stand Mixer. All
Twist Connection System attachments
can be identified by the product code
which starts with KAX and also by
the Twist logo which is visible on
packaging. For more information visit
www.kenwoodworld.com/twist.
If you own attachments featuring the Bar
Connection System you will need to
use the KAT002ME adaptor to connect
these to the Twist Connection System
on your Stand Mixer.
For more information visit
www.kenwoodworld.com/twist.
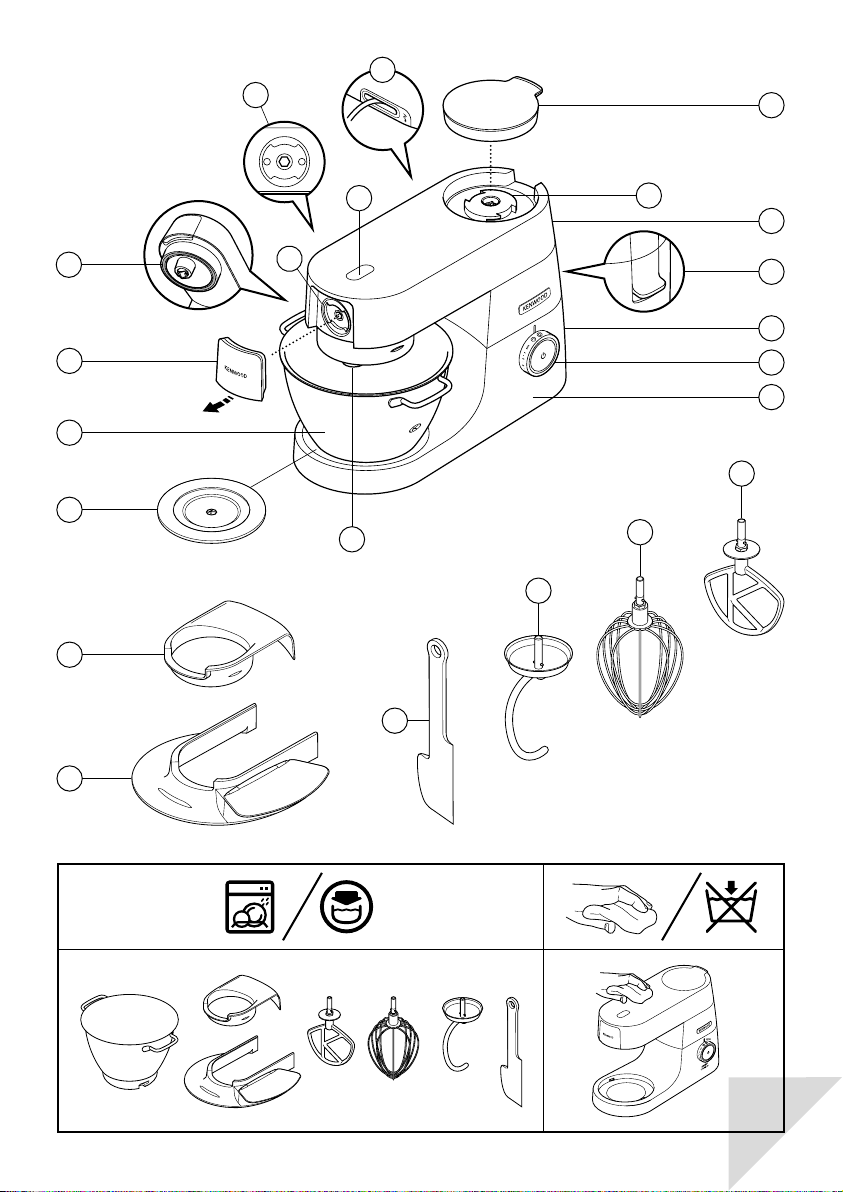
K-beater
For making cakes, biscuits, pastry, icing,
fillings, éclairs and mashed potato.
Dough Tool
For yeast mixtures only.
Whisk
For eggs, cream, batters, fatless sponges,
meringues, cheesecakes, mousses,
soufflés. Do not use the whisk for heavy
mixtures (e.g. creaming fat and sugar) -
you could damage it.
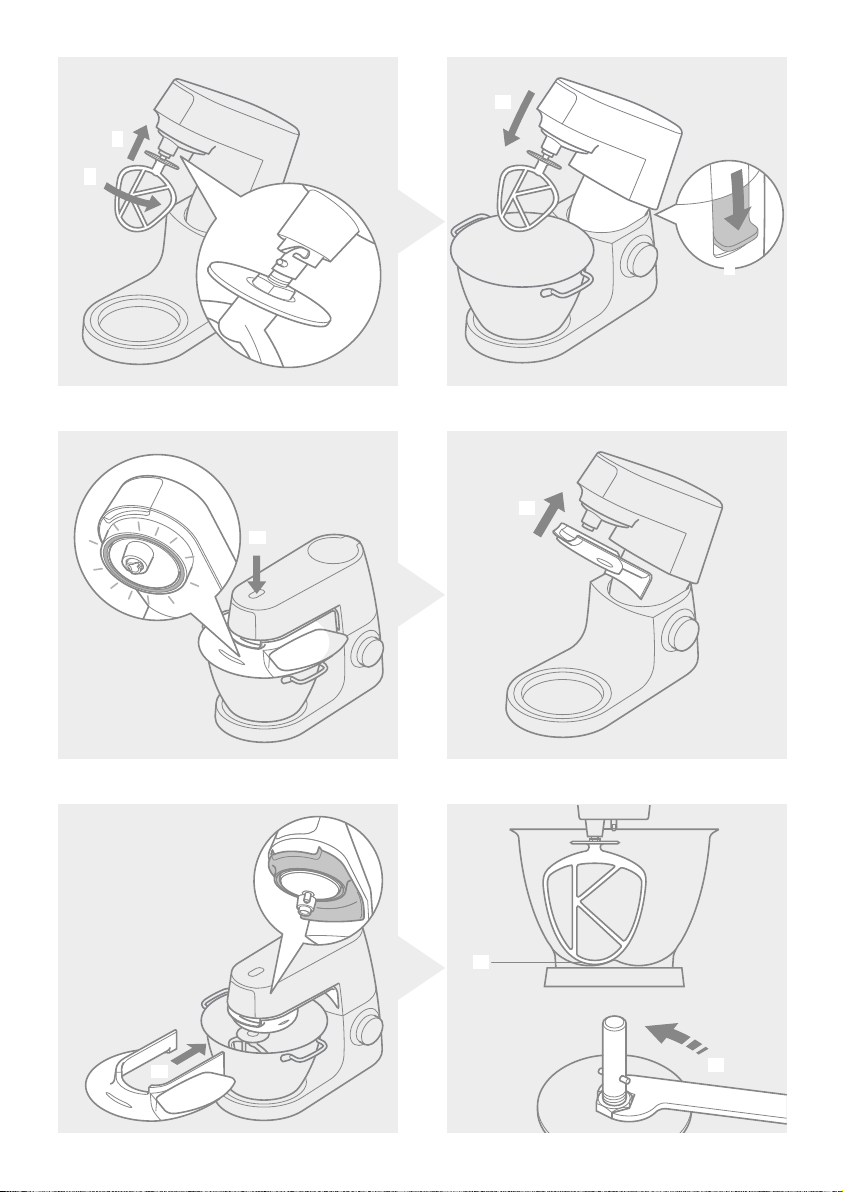
To use your bowl tools
Ensure the cord is fully unfolded from the
cord storage compartment bo before
using the Stand Mixer.
1 Plug in and the Standby Button 8will
light up.
Note: The standby button light 8
will flash and the Stand Mixer will not
operate if the mixer head is in the
raised position or the speed control
is not in the ‘O’ position.
Before operating, check that the
mixer head is correctly latched down
and the speed control is in the ‘O’
position. If the light continues to
flash refer to the ‘troubleshooting
guide’.
2 Push the head-lift lever 1down and
raise the mixer head until it locks 2.
Ensure the bowl seating pad bp is
correctly fitted with the symbol
uppermost.
3 Fit the bowl on the base, press down and
turn clockwise 3to secure in position.
4 Place the required tool into the socket.
Then push up 4and turn 5the tool to
lock into position.
Note: If the K-beater or Whisk are not
picking up ingredients from the bottom
of the bowl refer to the “Tool Adjustment”
section.
5 Lower the mixer head by pushing the
head release lever down 6and lower
the mixer head until it locks 7.
The bowl tools and some of their uses