Introduction
Your
choice
of
this
preduct
indicates
that
you
are
a
devotee
te
excellence
in
sound
reproduction.
We
appreciate
your
patronage
and
take
pride
in
the
long
tradi-
tion
of
quality
components
that
our
company
represents.
So
that
you
can
get
the
most
out
of
your
unit,
we
suggest
that
you
take
the
time
to
read
through
this
manual
before
you
hook
up
and
operate
your
system.
This
will
acquaint
you
with
oper-
ating
features
and
system-connection
considerations
so
that
your
listening
pleasure
will
be
enhanced
right
from
the
start.
You
will
notice
that
in
all
aspects
of
planning,
engineering,
styling,
operating
convenience
and
adaptability
we
have
sought
to
anticipate
your
needs
and
desires,
Keep
this
manual
handy
for
future
reference.
For
your
records
Record
the
serial
number,
found
on
the
back
of
the
unit,
in
the
spaces
designated
on
the
warranty
card,
and
in
the
space
provided
below.
Refer
to
the
model
and
serial
numbers
whenever
you
call
upon
your
dealer
for
information
or
service
on
this
product.
Model.
CC—“‘CSCSC;C‘*S
rib
Nurmble@rr
Unpacking
Unpack
the
unit
carefully
and
make
sure
that
all
accessories
are
put
aside
so
they
will
not
be
lost.
Examine
the
unit
for
any
possibility
of
shipping
damage.
If
your
unit
is
damaged
or
fails
to
operate,
notify
your
dealer
immediately.
If
your
unit
was
shipped
to
you
directly,
notify
the
shipping
company
without
delay,
Only
the
consignee
(the
person
orcompany
receiving
the
unit)
can
file
a
claim
against
the
carrier
for
shipping
damage.
We
recommend
that
you
retain
the
original
carton
and
pack-
ing
materials
for
use
should
you
transport
or
ship
the
unit
in
the
future.
Se,
ee
a
Contents
Liauitole(H/o1
k's]
q
Eaneenene
mea
Mcne
amen
een
tae
Special
feature
A.Before
applying
power...
ASafety
Precautions
,......cc
cece
sasesceseevecereecatsesseeonsnse
BETONe
Opera
ON
x
tecidichowicrarsdudnnibiaidasie
shits
eon
aa
alte
tee
OYSTEIN)
CONNECUIONS.
ci
iiist
dicen
oda
Controls
and
indicators
wu
Listening
to
cassette
tapes
2
KX-W895
(En)
WARNING
NOTICE:
IN
MOST
CASES
IT IS
AN
INFRINGMENT
OF
COPY-
RIGHT
TO
MAKE
COPIES
OF
TAPES
OR
DISCS WITH-
OUT
THE
PERMISSION
OF
THE
COPYRIGHT
OWNERS.
ANYONE
WISHING
TO
COPY
COMMERCIALLY
AVAIL-
ABLE
TAPES
OR
DISCS
SHOULD
CONTACT
THE
ME-
CHANICAL
COPYRIGHT
PROTECTION
SOCIETY
LIMITED
OR
THE
PERFORMING
RIGHTS
SOCIETY
LIM-
ITED.
Dolby
noise
reduction
and
HX
Pro
headroom
extension
manufac-
tured
under
license
from
Dolby
Laboratories
Licensing
Corpora-
tion.
HX
Pro
originated
by
Bang
&
Olufsen.
“DOLBY”,
the
double-D
symbol
00
and
“HX
PRO”
are
trade-
marks
of
Dolby
Laboratories
Licensing
Corporation.
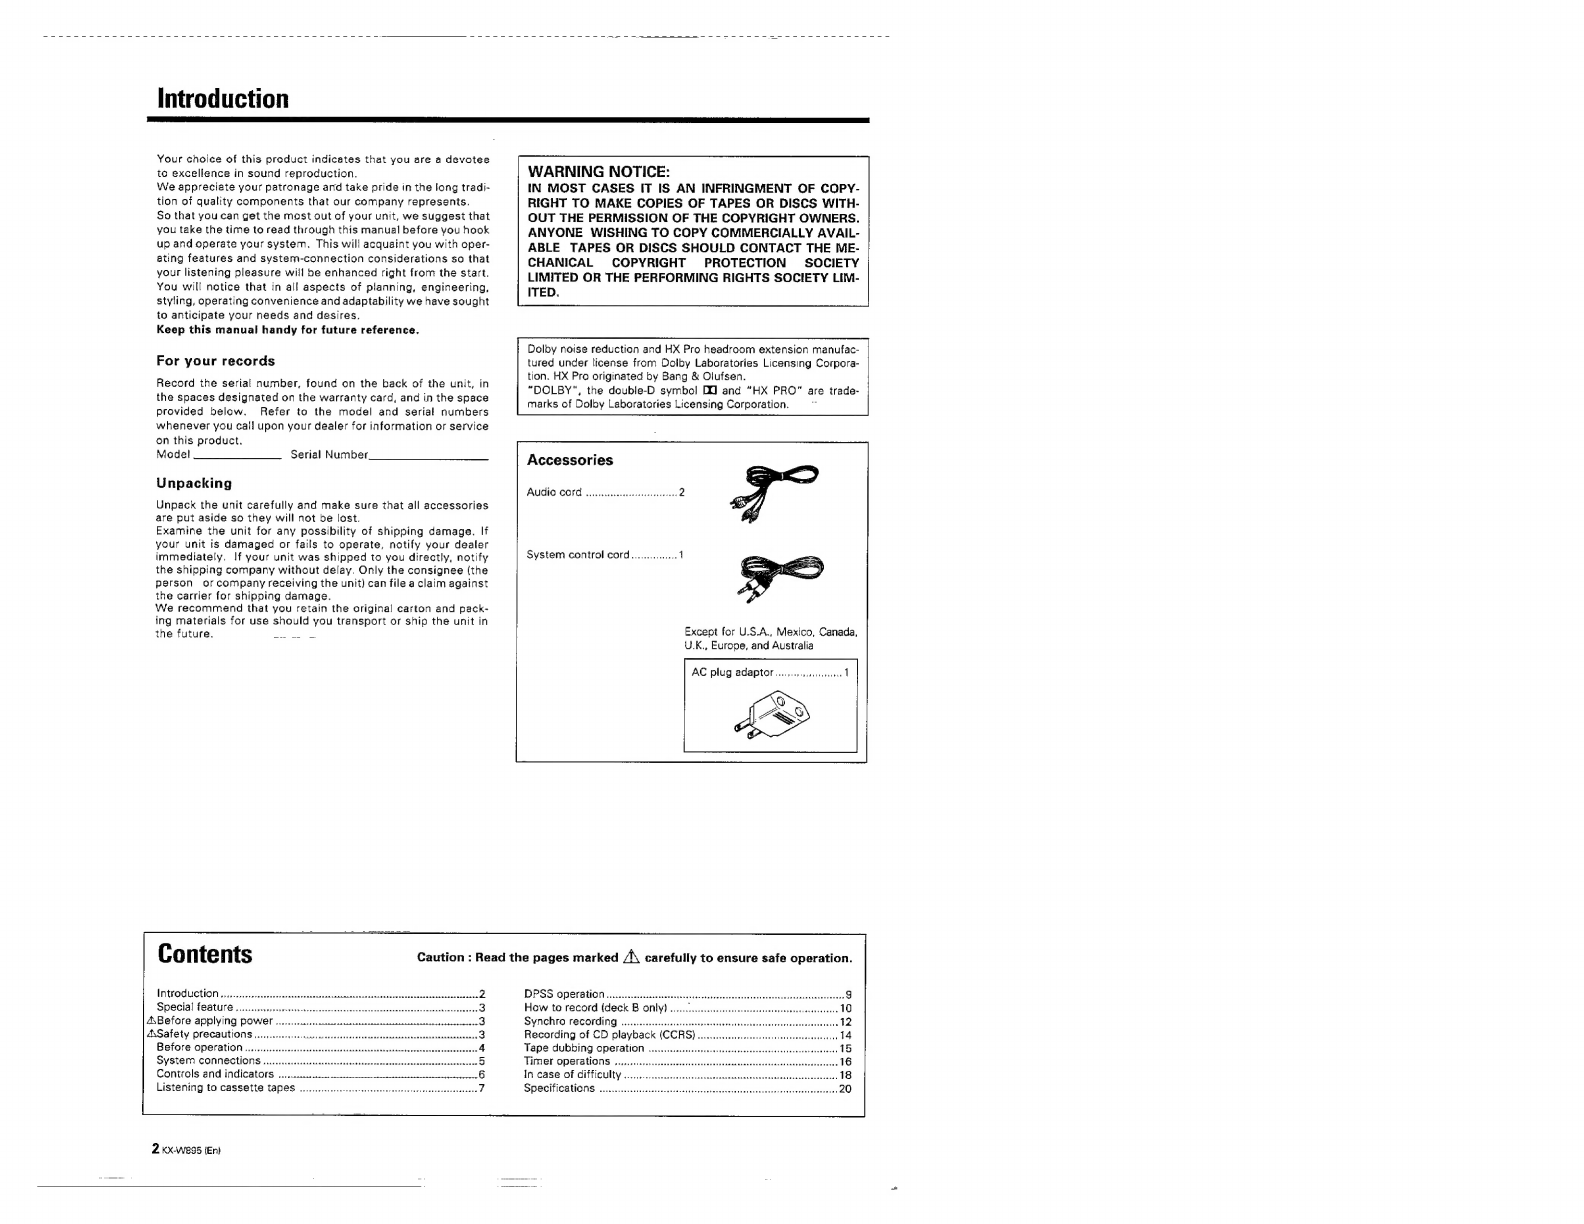
Accessories
Audio
cord
System
control
cord...
al
Except
for
U.S.A.,
Mexico,
Canada,
U.K.,
Europe,
and
Australia
Caution
:
Read
the
pages
marked
Ay
carefully
to
ensure
safe
operation.
DPSS
operation...
How
to
record
(deck
B
only)
Synchro
recording
Recording
of
CD
playback
(CCRS)
Tape
dubbing
operation
HPPEROBSIAUONS
isrs
suse
Aiea
sidcebies
sacs
ektatebiecl
se
danas
eens
I
CASE-OF
CITT
COUNTY
soos
cits
ines
siosbaduesaerocerbdebethdacceunts
eutbers
Specifications
eee
ee
PPE
re
rs
eee
ee
ce
cee
re
eee
ee
eer
ee
eee
ee
Tere
eee)


