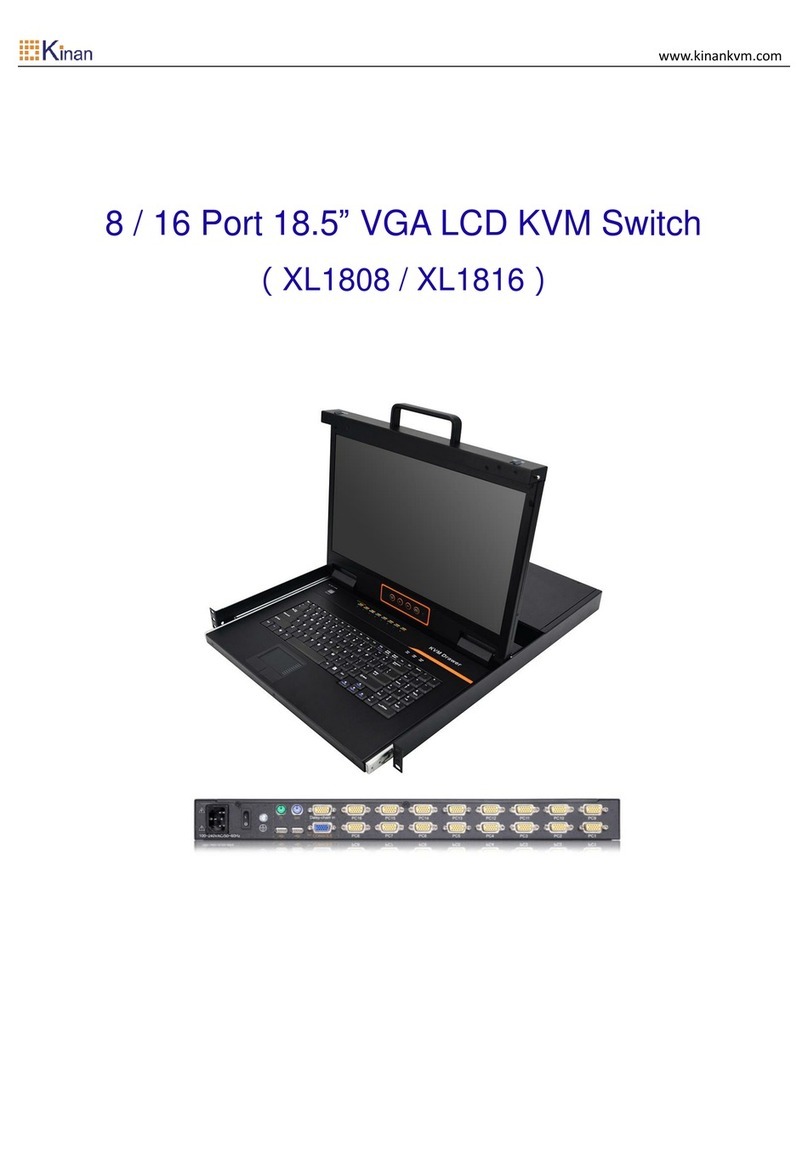
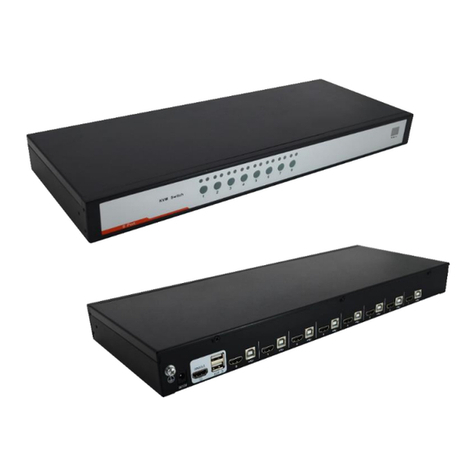
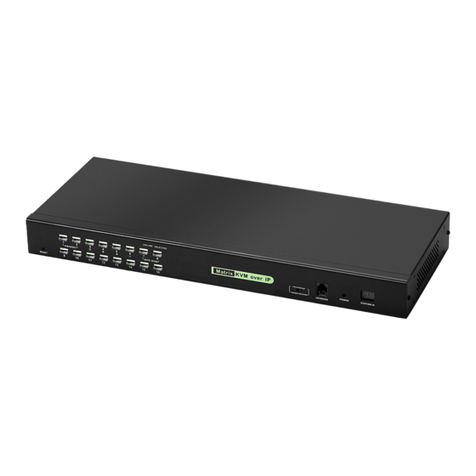
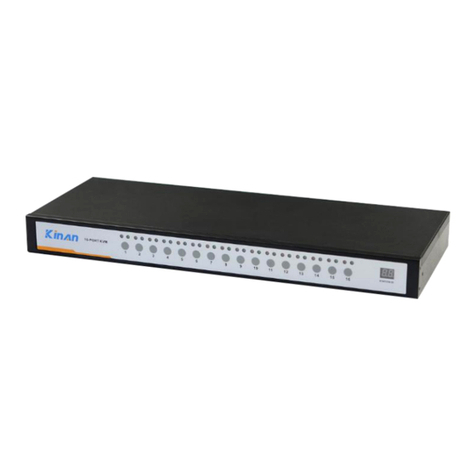
KinAn HT5216 User manual

16 Ports / 32 Ports / 64 Ports User Manual
CAT5 KVM over IP Switch
16 Ports / 32 Ports / 64 Ports
User Manual

16 Ports / 32 Ports / 64 Ports User Manual
1/51
Contents
Overview............................................................................................................................................................. 3
1.1 Features...............................................................................................................................................3
1.2 Port Introduction............................................................................................................................... 6
1.3 Structure & Size................................................................................................................................ 7
1.4 Terms................................................................................................................................................... 8
2. Installation & Setup.....................................................................................................................................9
2.1.1 Rack Mounting.....................................................................................................................10
2.1.2 Device Connection Diagram.............................................................................................11
2.1.3 Adapter Connection Diagram.......................................................................................... 13
2.2 Default login information..............................................................................................................13
2.3 Setup & Operation......................................................................................................................... 14
Step2: Install Java client on the client PC...............................................................................................17
3. Operating Guide........................................................................................................................................ 23
3.1 Port Access......................................................................................................................................24
3.1.1 Browser GUI......................................................................................................................... 24
3.1.2 Port Operation..................................................................................................................... 25
3.1.3 Connections Page...............................................................................................................25
3.1.4 Menu bar............................................................................................................................... 26
3.1.5 Tool Bar.................................................................................................................................31
3.2 User Management.......................................................................................................................... 31
3.2.1User list...................................................................................................................................32

16 Ports / 32 Ports / 64 Ports User Manual
2/51
3.2.2 Add new User.......................................................................................................................33
3.2.3 User Group list.....................................................................................................................34
3.2.4 Add User Group...................................................................................................................35
3.2.5 Change Password...............................................................................................................36
3.3 Device Management...................................................................................................................... 37
3.3.1Network Settings..................................................................................................................37
3.3.2 Date / Time.......................................................................................................................... 38
3.3.3 Event...................................................................................................................................... 38
3.3.4 Port Settings........................................................................................................................ 39
3.3.5 Local Port............................................................................................................................. 40
3.3.6 Workstation Configuration............................................................................................... 40
3.4 Security............................................................................................................................................. 41
3.4.1 Security Settings.................................................................................................................42
3.4.2 Authentication Settings..................................................................................................... 44
3.4.3 Audit Log...............................................................................................................................45
3.5 Maintenance.................................................................................................................................... 46
3.5.1 Device Information..............................................................................................................46
3.5.2Backup/ Restore.................................................................................................................. 47
3.5.3 Ping Host.............................................................................................................................. 47
3.5.4 Restore Factory Settings.................................................................................................. 48
3.5.5 Restart Device..................................................................................................................... 48
3.5.6 Remote Upgrade................................................................................................................. 48
4. Specifications............................................................................................................................................ 50

16 Ports / 32 Ports / 64 Ports User Manual
3/51
Overview
The digital KVM Switches are IP-based KVM control units with enterprise level security
which allow 1 local and 4 remote operators to monitor and access multiple servers from
a single console at the same time. A single can control up to 64 servers in BIOS level.
With HD OLED display, the operator can easily check the device operating status by
simply push the front panel buttons even without monitor, keyboard and mouse. The
KVM series can be connected to servers individually or in combination with the DC-SG,
and be accessed via their IP addresses from anywhere on the LAN, WAN or Internet,
whether the connecting computer is located in the computer room, testing lab, studio or
enterprise service room.
1.1 Features
1. Supports 1 independent local console(Video output: VGA) and 4 extended local
consoles(requires local workstations), the local console can be extended up to 150,
which offers a variety of local management solutions
2. Single IP access, supports 4 independent IP remote users
3. Local console provides 3 USB keyboard and mouse support
4. Supports 2 independent RS485 serial ports to connect serial devices
5. Two 10/100/1000Mbps NICs for redundant LAN, two power supply redundant
design
6. HD OLED display, pushing front buttons to show IP address or other system
information

16 Ports / 32 Ports / 64 Ports User Manual
4/51
7. EMC/EMI metal case design ensuring a reliable electromagnetic compatibility
environment
8. High port density – RJ-45 connectors and CAT5 / 5e/ 6 cables for up to 32 ports
in a 1U housing; RJ-45 connectors and CAT5 / 5e/ 6 cables for up to 64 ports in a
2U housing
9. Multidirectional thermal-convection design to provide a reliable working
environment for the device
10. Monitor and control up to 16 / 32 / 64 computers from a single console, supports
BIOS level access and out-of-band management, connect with the server with KIM
adapter
11. Supports USB2.0, VGA and SUN connectivity
12. Supports multiple warning functions – buzzer warning, OLED display warning and
system email warning.
13. Supports AES/DES/3DES hardware encryption
14. When the system failed, it will not affect the controlled device, the keyboard, mouse
and display connected to server is still active
15. Local console, browser based and GUIs offer a unified interface to realize
convenient HCI
16. Multi-browser support: IE, Firefox, Safari, Opera, Chrome, Netscape
17. Multiplatform client support: Windows, Linux, Unix, Mac, Solaris(Sun), Redhat,
Ubuntu
18. WEB-based remote management, remote video resolution is up to 1600 x
1200@60Hz, video transmitting rate is up to 30 FPS; Video size can be adjusted to

16 Ports / 32 Ports / 64 Ports User Manual
5/51
optimize screen when switching between different server with different resolution;
Full-screen or sizable and scalable Virtual Remote Desktop
19. Mouse Syncing automatically synchronizes the local and remote mouse movements
20. Supports audit function, the administrator can audit the device through system logs
and operation logs
21. Supports hot keys, select hotkeys from the control panel when remote access to the
server to avoid conflict with the local hotkeys
22. Local hotkeys: ALT+ number key to switch to selected server, for convenient
operation users can connect the frequently-used servers to 1-9 KVM ports
23. Up to 4 remote servers or 16 / 32 / 64 serial devices can be controlled from a single
client
24. Remote authentication support: RADIUS, LDAP
25. User groups allow administrators to easily and efficiently manage users and devices,
different user groups have different permissions
26. Strong password protection, different password levels for different users
27. Supports SNMP V2 network management protocol, notify warning messages and
system events via SNMP Trap; Supports Syslog system log, compatible with KVMs
from other brands that support SNMP
28. Support firmware online upgrade

16 Ports / 32 Ports / 64 Ports User Manual
6/51
1.2 Port Introduction
Real Panel
Front Panel

16 Ports / 32 Ports / 64 Ports User Manual
7/51
1.3 Structure & Size
440 88
320
64 ports size diagram
440 44
320
16 / 32 Port size diagram

16 Ports / 32 Ports / 64 Ports User Manual
8/51
1.4 Terms
1
Power Interface 1
AC 100-240V 50-60HZ
2
Power Interface 2
3
Ground Terminal
Connect to the ground via the ground lead
4
Local extended user interface
Interface to connect to the local workstation
5
Network Interface 1
10/100/1000Mbps RJ45 interface
6
Network Interface 2
7
VGA display interface
Local display interface

16 Ports / 32 Ports / 64 Ports User Manual
9/51
8
S485 interface
Connect to serial device, e.g.: PDU
9
USB interface
Connect to keyboard and mouse
10
KVM interface
Connect to servers via KVM adapter
11
Local User
Access and control the connected target servers or
serial devices from the local console
12
extended local users
Access and control the connected target servers or
serial devices from the local workstation
13
remote users
Access and control the connected target servers or
serial devices from the WEB based PC
14
target servers
Servers connected to the KVM via KVM adapters
15
local workstation
Adapters used to connect local extended user
and keyboard/mouse/video
16
adapter
KVM adapter to connect target servers or serial device
2. Installation & Setup
This chapter provides step-by-step instructions for device, adapter and accessories
installation and setup.

16 Ports / 32 Ports / 64 Ports User Manual
10 /51
2.1.1 Rack Mounting
The KVM can be installed in the 19”1U rack.
First screw the bracket to the front two sides of the KVM device with the M3x5 screws,
as shown in the diagram below:
And then position the KVM device on the rack with M6 screws, as shown in the diagram
below:

16 Ports / 32 Ports / 64 Ports User Manual
11 /51
2.1.2 Device Connection Diagram

16 Ports / 32 Ports / 64 Ports User Manual
12 /51
Notice:
1. Power interface 1 and 2 should be connected to AC 100-240V 50-60HZ. To use the two power
supplies, make sure both power interface 1 and 2 are connected to the power and turn on the power
switch. The power LED is orange-yellow when two power supplies are powered up.
Front panel power LED status
Power Interface status
Power LED
status
Both power interface 1 and 2 are powered up
Orange +
yellow
Power interface 1 is powered up and power interface 2 is not
powered up
Red
Power interface 1 is not powered up and power interface 2 is
powered up
Green
Both power interface 1 and 2 are not powered up
No ligKVM
2. CAT5, CAT5e and CAT6 cables are required to connect to the RJ45 ports.
3. Turn on the power switch after power cables are connected, the unit is powered up and ready to
operate.

16 Ports / 32 Ports / 64 Ports User Manual
13 /51
2.1.3 Adapter Connection Diagram
Plug the VGA and USB ports of the KVM adapter into the corresponding ports on the PC and
connect the RJ45 ports to the corresponding ports on the KVM via CAT5 / 5E / 6 cables, as shown
in the diagram above.
2.2 Default login information
Default Items
Default Value
User name
admin
Password
password
IP address
192.168.1.167
Notice: For security, please change the password after the
first login. Differentiating between capital and
lowercase letters.

16 Ports / 32 Ports / 64 Ports User Manual
14 /51
2.3 Setup & Operation
Step 1: Configure the target server
The KVM target server is the server that connected to the digital KVM Switch. Before install and use
the digital KVM Switch, we need to configure the target server first. Please refer to below
configuration instructions:
The digital KVM switch supports below two mouse mode:
Absolute mouse mode
Standard mouse mode
Mouse configuration is different for different operating systems; please refer to below detail
instructions for mouse configuration.
Mouse and display configuration on Windows server 2003 and above version, Windows XP and
above version
Operating systems: Windows server 2003, Windows server 2005, Windows server 2008, Windows
server 2012; Windows XP, Windows7, Windows8, Windows10

16 Ports / 32 Ports / 64 Ports User Manual
15 /51
Set Mouse Precision
Start—>Control Panel—>[Hardware]—>Mouse
Please follow the steps above to finish the setting.
Set up the display of the target server under Windows XP, Windows 2003, Windows2008
Start—>Control Panel—>[Hardware]—>Display

16 Ports / 32 Ports / 64 Ports User Manual
16 /51
Please follow the steps above to finish the setting.
Configure the mouse under Linux (ubuntu 10)
Input “xset m 1 1” in the Linux command line terminal and press Enter to finish the mouse setting,
as shown below.

16 Ports / 32 Ports / 64 Ports User Manual
17 /51
Step2: Install Java client on the client PC
The JAVA client is included in the USB disk in the package, follow below steps to install the JAVA
client on the client PC.
Install Firefox Browser, as shown in below figure.
Install JAVA client, as shown in below figure.
Double-click to bring up the JAVA Client setup, as shown in below figure.
Click “Install” to install the JAVA Client.

16 Ports / 32 Ports / 64 Ports User Manual
18 /51
Below figure comes out to show a successful installation window after about 30 seconds.
Configure the JAVA components
Open the control panel, as shown in below figure.

16 Ports / 32 Ports / 64 Ports User Manual
19 /51
Double-click the JAVA icon, as shown in below figure.
Please follow the steps above to finish the setting.
This manual suits for next models
4
Table of contents
Other KinAn Switch manuals
Popular Switch manuals by other brands

Imtex-Controls
Imtex-Controls SLR Series Installation & Adjusting Instructions

Element-Hz
Element-Hz ELE9090 installation manual

axing
axing basic-line SPU 81-00 Operation instructions

Foundry Networks
Foundry Networks Switch and Router Installation and configuration guide

NETGEAR
NETGEAR ProSafe FS728TPv2 installation guide

HP
HP StorageWorks 2/140 - Director Switch installation instructions