USB Charger Kit Instructions
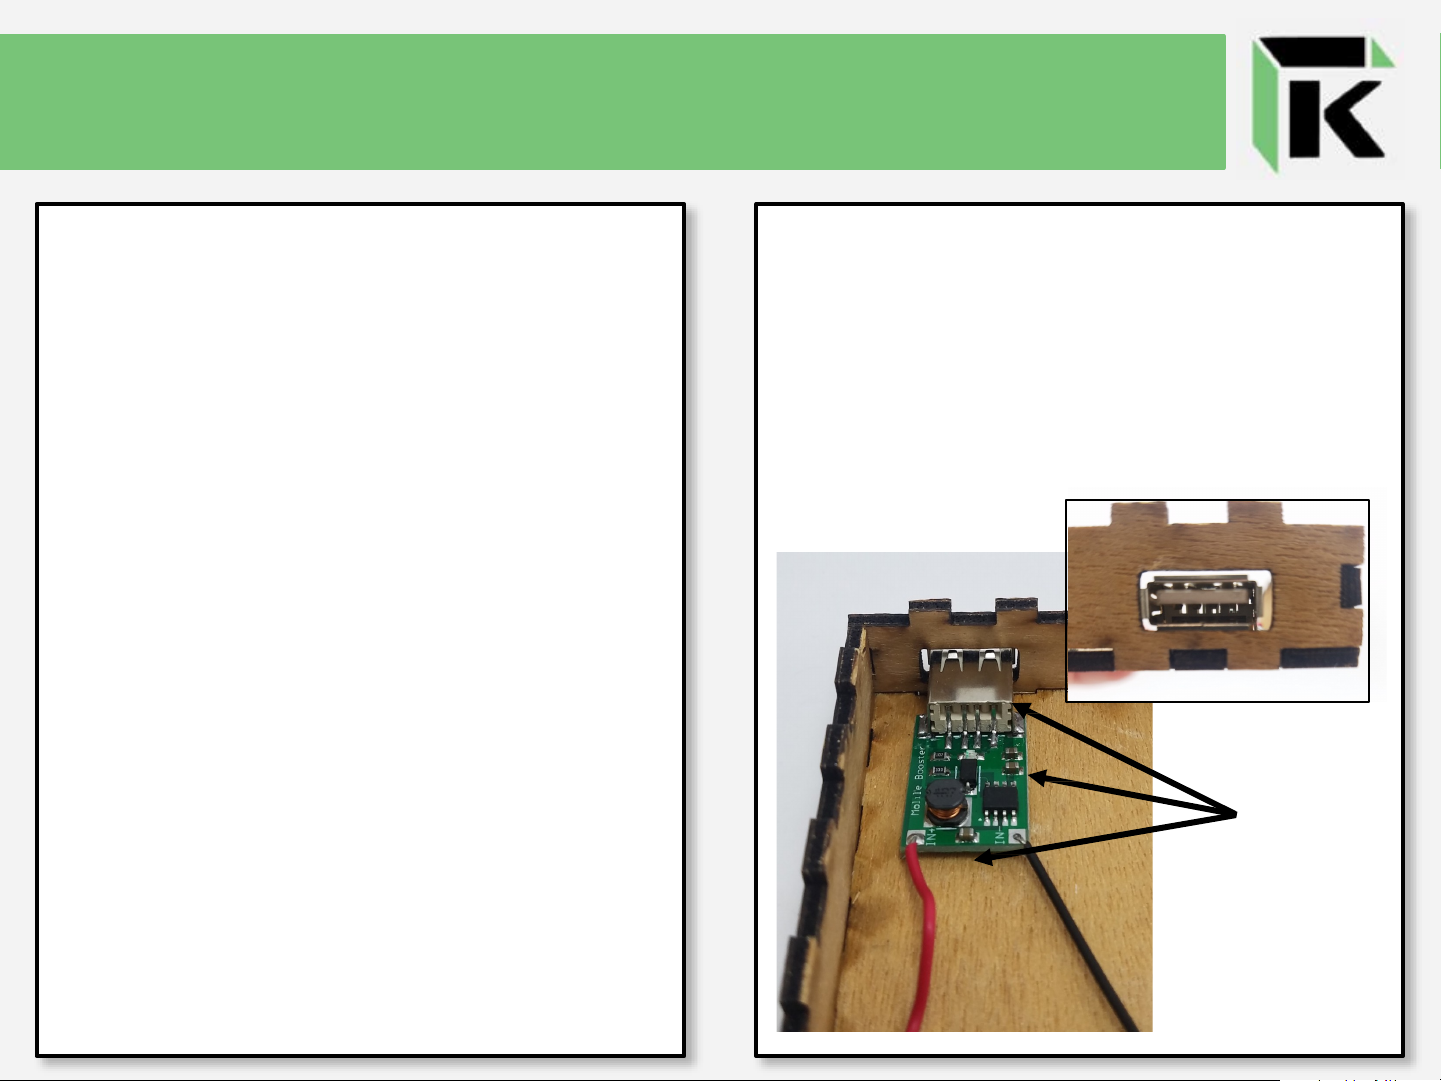
Be sure the switch is off. Secure components to
the bottom of the box case with glue or other
adhesive. We recommend using a hot glue gun
for added adhesive as the USB Booster and
Micro USB ports will experience repeated use.
Be sure that the USB and Micro USB ports are
aligned with their respective openings and are
snug against the box sides when securing them in
place.
At this point, you should test
your kit to confirm all
connections are correct. With
the switch off, use a micro USB
charge cable to connect the
Micro USB Charging Module to
a wall outlet or other power
source. A red light on the Micro
USB Charging Module indicates
that the Battery is charging.
The red light switches to blue
when the Battery is fully
charged. Turn the switch on. A
red light on the USB Booster
board indicates power is being
directed to the USB Booster for
charging a device connected to
the standard USB.
Glue