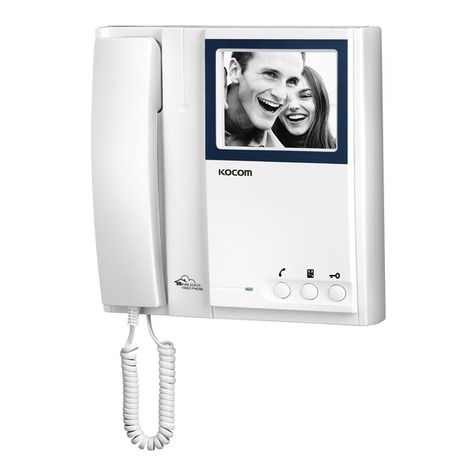
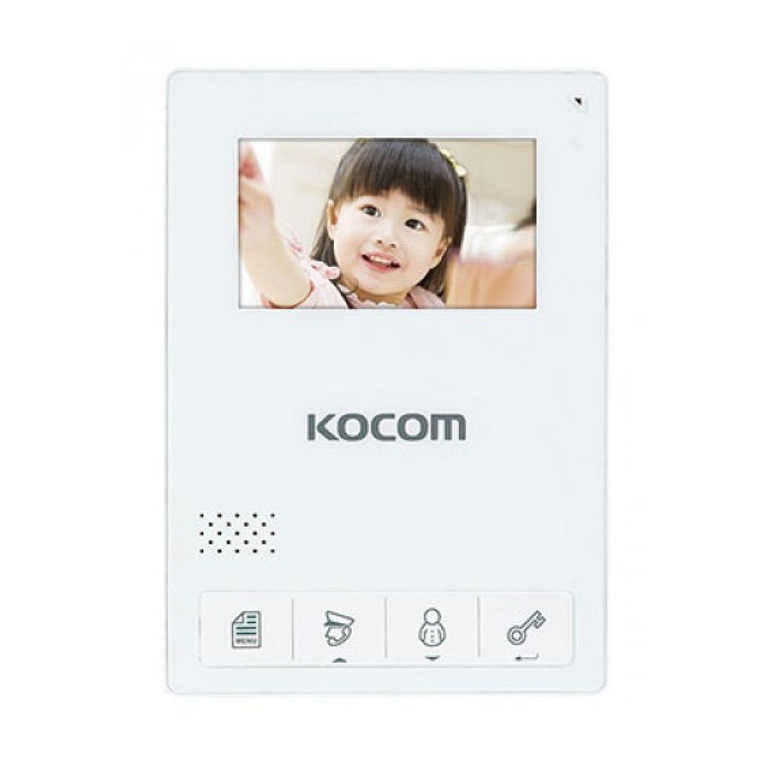
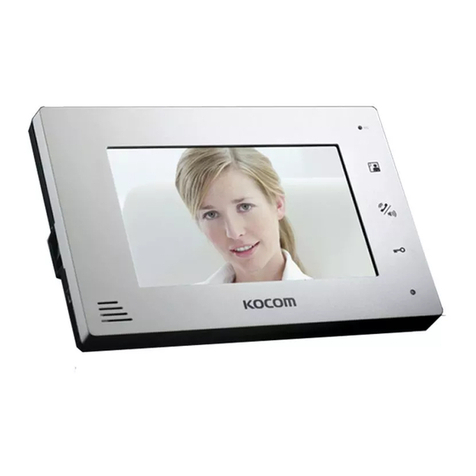
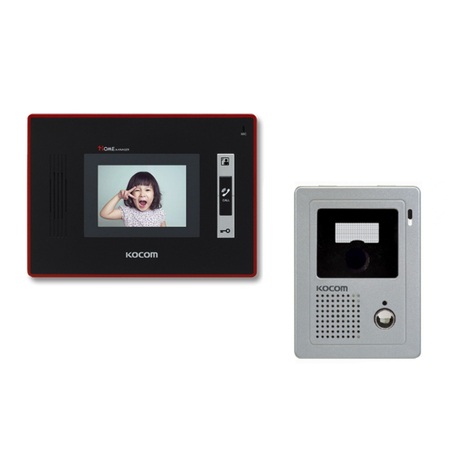
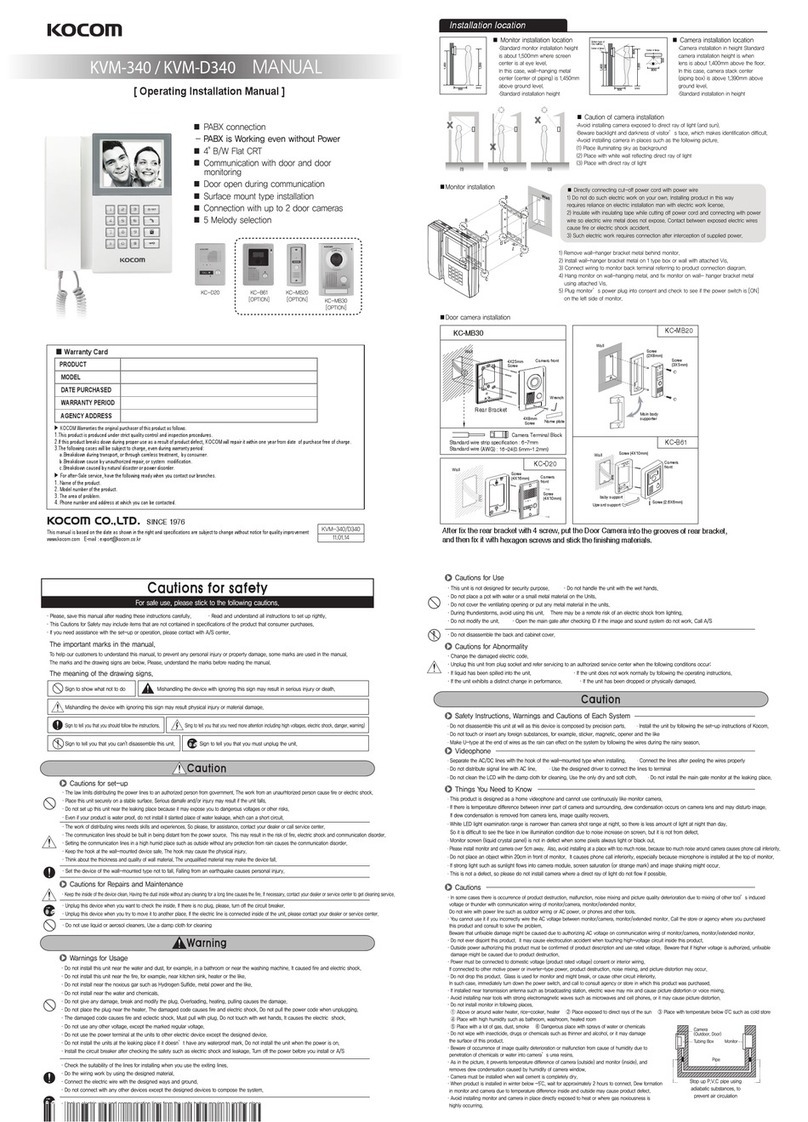
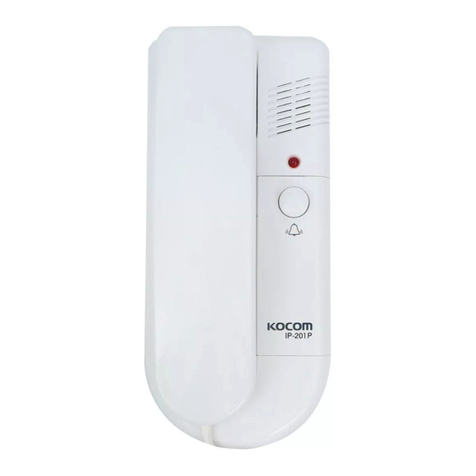
1.When visitor presses call button of door camera, the ding-dong sound is made from monitor
and visitor image appears in the screen of the monitor.
2.After checking the visitor through the screen, press communication button then you can
communicate with visitor.
(The screen of the monitor is automatically off after 3 minutes.)
3.When the conversation is finished with visitor, press communication or camera button, then
screen is off. And you can press door release button in order to open the door automatically.
4.If you want to check the outside, press camera button then the screen is on and you can
check outside.
(But you cannot communicate with camera. If you want to communicate with camera,
press communication button.)
Instruction for the priority communication button
(It is only available with the communication through camera)
The function of priority communication button is to send the voice from the monitor to
camera in priority.
x) In case the voice from monitor to camera is not heard well and clearly due to the heavy
noise outside, press this priority communication button, then the visitor can hear the voice
from the monitor well and clearly.
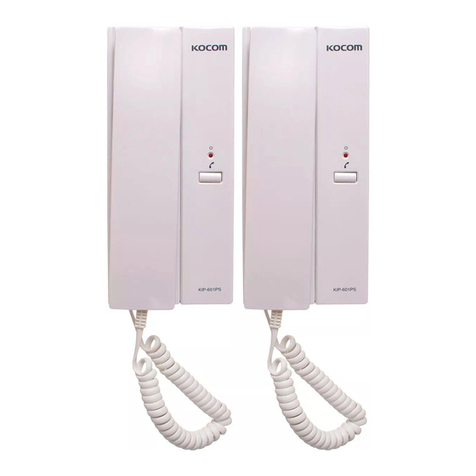
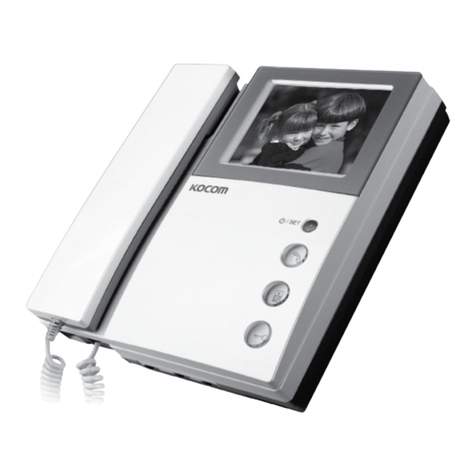
KIV-201C Monitor
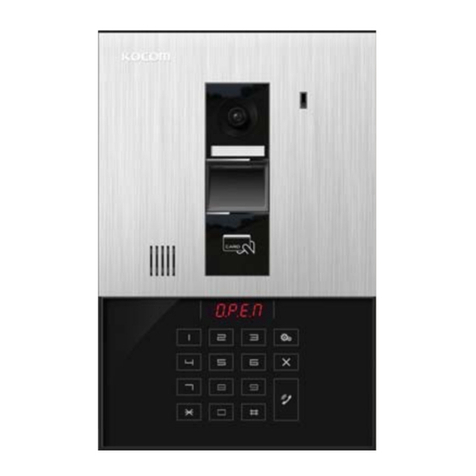
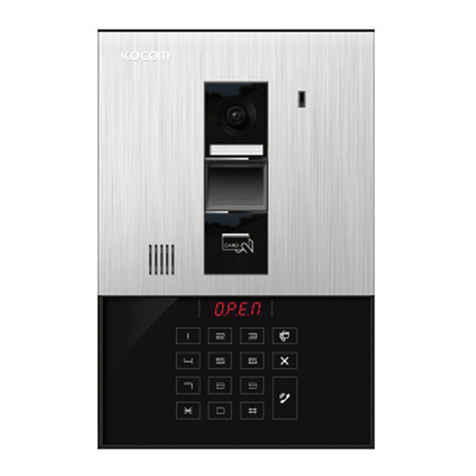
KC-C60 Camera & KC-D31 Metal Pinhole Camera
Name of each part
C-Mic
To communicate with
camera or guardroom
Wiring Diagram
Communica ion Bu on
To communicate with
camera or guardroom
Priori y
communica ion Bu on
To communicate with
camera first
Camera Bu on
To see the visitor
Guadroom Bu on
To communicate with
guardroom
Door Release Bu on
To open the door
Communica ion
Lamp
Power Lamp
4 inch screen
To identify
visitor
Brigh ness Con rol
Knob
To control brightness
of monitor screen
Con ras Con rol
nob
To control contrast of
monitor screen.
Color Con rol
nob
To control color of
the screen.
Call Signal Volume Con rol Knob
To control calling signal volume.
Speaker Volume
Con rol Knob
To control speaker
volume.
AUTO-REC
Surface-mounting Door Camera Installation
DOOR CAMERA INS ALLA ION
After attach the body supporter
with 2 screws(4x10mm),
put the Door Camera into the
grooves of body supporter,
and then fix it with a
screw(2.6x6mm).
After attach the body supporter
with 2 screws(4x10mm), insert
the upward support into the
upward groove of body
supporter, and then fix it with
a screw(2.6x6mm).
Looking “Upward” Ins alla ion
Looking “Downward”Ins alla ion
S raigh Ahead Ins alla ion
After attach the body supporter
with 2 screws(4x10mm), insert
the Door Camera into the
downward control groove, and
then fix it
with a screw(2.6x6mm).
Standard Height of Door Camera
Standard height of the door camera is 1,400mm
1,450mm from the bottom of one camera to the floor.
In case that the height of Door camera exceeds the range
of min. 1,250mm1,550mm, it is impossible to control
the screen picture with only the lens angle,
and therefore, be careful of the height of
camera installation.
Downward con rol
groove
Upward con rol
groove
Upward con rol
groove
(uni :mm)
Door camera Installation
Bo om base of
One hall Box
Surface moun
Flush moun
bady suppor
Upward suppor
Wall Screw(4x10mm)
Screw(2.6x6mm)
Camera Front
Video Doorphone Wiring Diagram
When system is attached to 1 rectangular switch box
Basic Installation method of Monitor
Standard height monitor
Wall hanger panel
for fixing Moni or
Wall hanger panel
for fixing Moni or
Screw
Wall
Wall
1 Rec angular
swi ch box
Standard height of monitor is ranged 1,450 ~ 1,500
from bottom to the center of monitor screen.
For installation, avoid the places where there is any
excessive humidity,magnetic force, dangerous
chemicals, direct ray of sun, and any places near a
heater which can cause break down.
Monitor Installation
(uni :mm)
Screw
Cau ion for wiring
Wiring between videophone and camera is 4 wire in polarity and use 0.65mm or more single cable
Connecting wiring between monitor and door camera should not be installed near other electrical cable, nor be
horizontal.(In such case, clear picture can not be expected due to interruption by electrical noise)
Call from visitor
How to operate (Instruction for operating)
Bo om of
1Rec angular
swi ch box
Cen er of moni or
C-Mic
To communica e wi h Moni or
Power Lamp
To check power ON/OFF s a us
Speaker
When visi or calls, he voice from moni or
comes ou of he speaker.
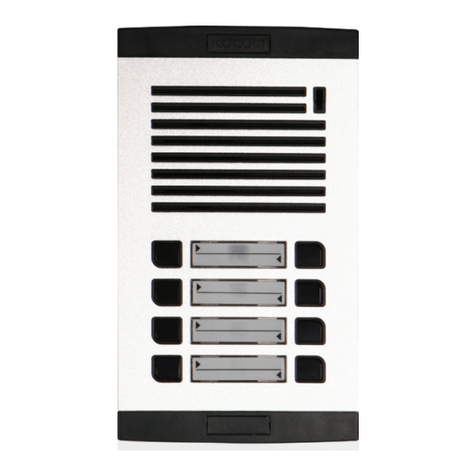
Call Bu on
By pressing he bu on, he
rela ed house will be called.
Camera Lens
Clear pic ure quali y realized
by adop ing 1/3" CCD
Option
