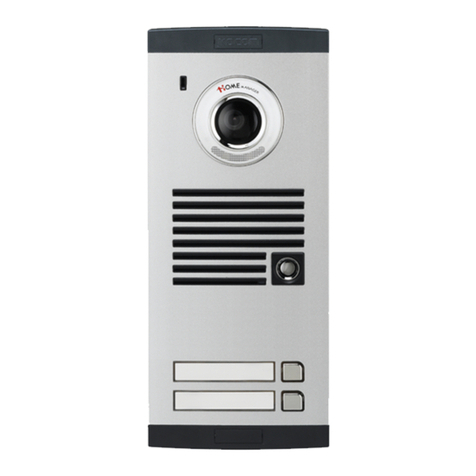
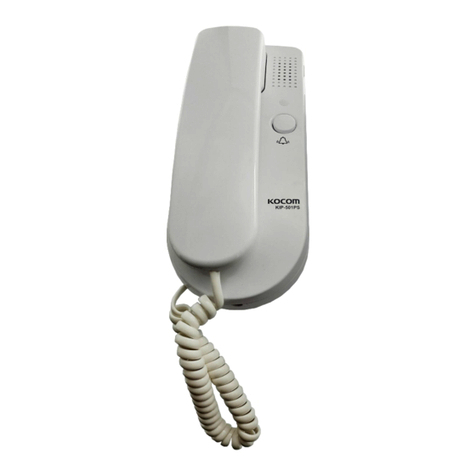
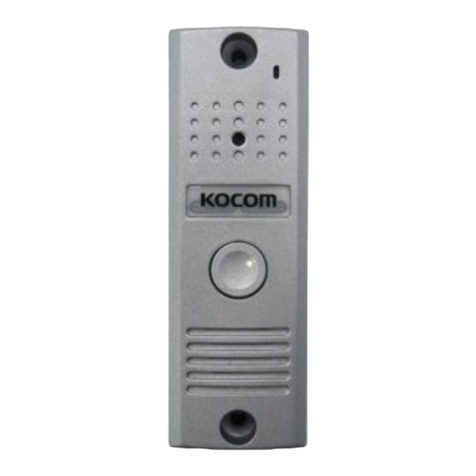
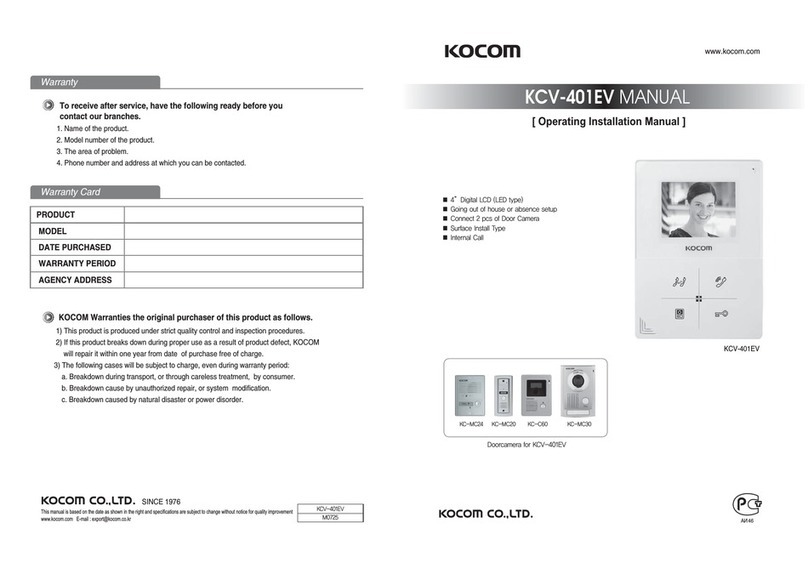
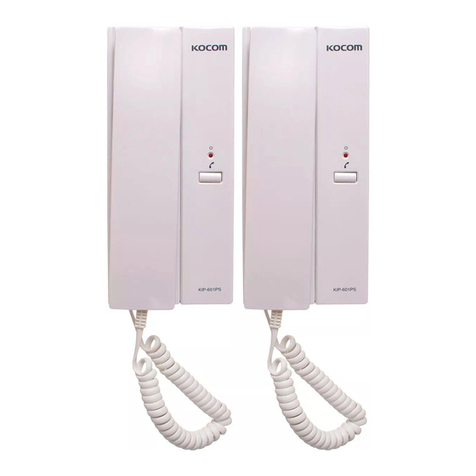
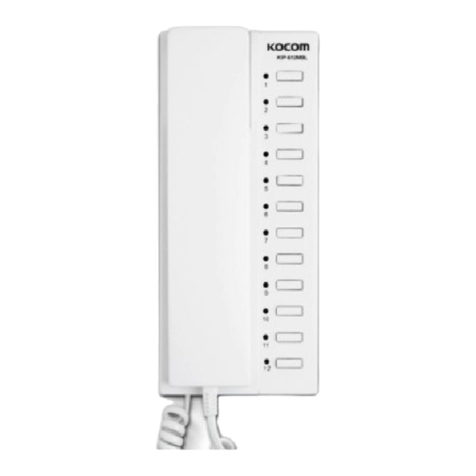
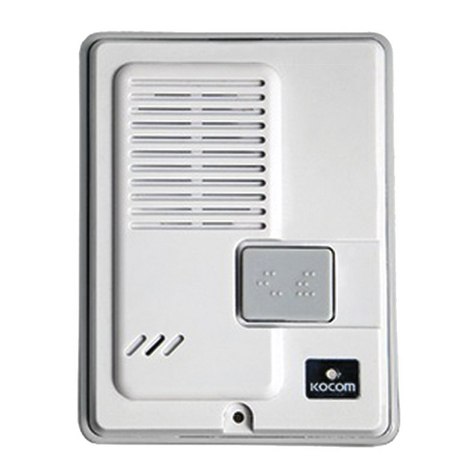
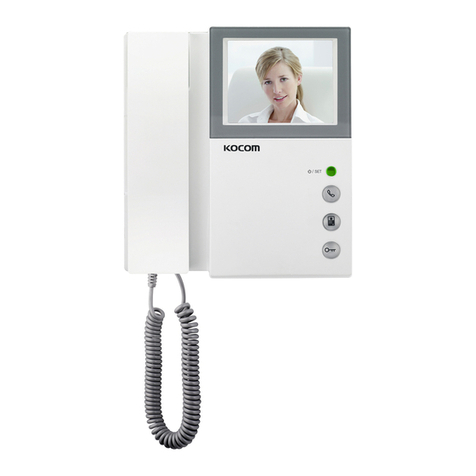
KOCOM KVM-524GS Manual

Thank you very much
for purchasing KOCOM
video doorphone.
please read this manual
thoroughly to ensure
correct usage, before
operating
PRODUCT
MODEL
DATE PURCHASED
WARRANTY PERIOD
AGENCY ADDRESS
KOCOM Warranties the original purchaser of this product
as follows.
1) This product is produc d und r strict quality control and insp ction proc dur s.
2) If this product br aks down during prop r us as a r sult of product d f ct, KOCOM
will r pair it within on y ar from dat of purchas fr of charg .
3) Th following cas s will b subj ct to charg , v n during warranty p riod:
a. Br akdown during transport, or through car l ss tr atm nt, by consum r.
b. Br akdown caus by unauthoriz d r pair, or syst m modification.
c. Br akdown caus d by natural disast r or pow r disord r.
Warranty
Warranty Card
KVM524GS 05.03
To receive after-Sales service, have the following ready
when you contact our branches
1. Nam of th product
2. Mod l numb r of th product
3. Th ar a of probl m
4. Phon numb r and addr ss at
which you can b contact d.
IDEO DOORPHONE
KVM-524GS Op rating Installation Manual
Clear & Bright Picture at Low Light
Int rcom Function
4Flat Monitor
4 Wir d
in Polarity
Easy Installation
Wid vi w angl
KC-D20 (90) / KC-B61(120)
AC 220V or AC 120V
Additional 2 Monitors availabl
Additional 1Monitor + 1 doorphon availabl
This manual is bas d on th dat as shown in th right and sp cifications
ar subj ct to chang without notic for quality improv m nt.
Monitor
K M-524GS
Doorphone
KDP-602G
Option
4-wir s
polarity
4-wir s
polarity
Camera KC-D20
Camera KC-B61
Option

Precautions for Operation
1
1
K p away from humidifi r and
stov . High t mp ratur and
humidity can caus br akdown.
Wh n cl aning, n v r us w t
hands, volatil b nz n or paint
thinn r.
K p pictur cl ar by cl aning
cam ra window fr qu ntly with
soft cloths.
As this d vic consists of
l ctronic pr cision
compon nts, and high voltag
is g n rat d int rnally, do not
att mpt to disass mbl .
Do not drop monitor or door
cam ra, and avoid strong
impact.
K p away from d vic s
g n rating strong magn tic fi ld
(TV, Sp ak r, tc.) (Pictur can
b disturb d or blurr d and
br akdown can r sult)
Installation Precautions
Monitor and cam ra must b install d away from dir ct
light and count r light.
Cam ra must b install d at a plac fr from rain.
Standard h ight of monitor must b 1,450mm~1,500mm
from ground, c nt r d around brawn tub .
Cam ra should b install d on th wall in which c m nt
is compl t ly dry.
If install d during wint r s ason at t mp ratur b low
-5, cond nsation might b g n rat d insid monitor and
cam ra du to t mp ratur diff r nc b tw n indoors
and outdoors. To pr v nt br akdown du to such
cond nsation, conn ction should b mad in 2 hours or
mor aft r installation.
Do not install monitor and cam ra in locations subj ct to
dir ct h ating as harmful gas s may subs qu ntly b
mitt d in significant amounts.
Stopping up pip as abov minimiz s
t mp ratur diff r nc b tw n indoors
and outdoors, and also liminat s moistur
and cond nsation on door cam ra window.
Stop up P.V.C. pip using
adiabatic substanc s, to
pr v nt air circulation
Specifications
MONITOR
((KVM-524GS)
Power source
Power consumption
Ambient temperature
Braun tube
Communication system
Call signal sound
Output Impedance
Wiring
Max Wiring Distance
Dimension
AC 220V only
Max:16W, Stand by : 1.6W
0~+50
4 inch Flat Tub (B/W)
Dupl x hands t conv rsation
El ctric sound(Ding-dong from cam ra / b p sound from monitor)
Pictur : 75ohm, Voic : 600ohm
4 Wir d in Polarity (VCC / GND/VOICE / VIDEO )
4 Wir d in Polarity (VCC / GND/VOICE / Int rphon Pow r)
0.65 Singl Cabl /50m, 5C-2V Coaxial Cabl /100m
210(W)222(H)53(D)mm
Component
Monitor Acc ssori s
Scr ws for
fixing
4 x 30mm
Wall hang r pan l
Cam ra Acc ssori s
Monitor & Cam ra
Main body support r
Scr w for fixing cam ra
main body support r
4 x 10mm
Scr ws for fixing cam ra
4 x 16mm
finishing rubb r
Wall hang r pan l is
pack d in th Monitor
M tal
Pinhol
Cam ra
KC-D20
CAMERA
KC-B61
Power source
Power consumption
Assurance temperature
Scanning frequency
Lens
Min. Illumination
Dimension
Illumination
Angle of picture
Color of KC-D20
KC-D20 KC-B61
DC12V1V(pow r from Monitor)
Max: 2.5W
-10~50
(H) 15.734/15.625KHz,(V)50Hz (CCIR)/60Hz (EIA)
F:2.0, f=3.0mm F:2.0, f=2.9mm
0.1Lux (LED ON)
88(W)127(H)32(D)mm 96(W)127(H)32(D)mm
Infra-r d LED
Diagonal 90Diagonal 120
Black or Silv r
3.Aft r communication r plac hands t. How v r, if conv rsation
continu mor than 3minut s, monitor scr n is turn d off
automatically. And if you want to communicat mor tim , pr ss
button again.
K M-524GS Monitor
Name of each part
Hands t
To communicat
with door cam ra.
Button
To confirm visitor
without holding
th hands t
Button
Door op ns wh n this
button is pr ss d.
Availabl only for
th door quipp d
with door op n r.
Pow r Lamp
To ch ck pow r
ON/OFF status
4 inch scr n
To id ntify visitor
Button
To call and
communicat with
oth r monitor
or doorphon
Brightn ss Control
Knob
To control brightn ss
of monitor scr n
Call Signal
Volum Control
Knob
To control calling
signal volum .
Identifying and talking to visitors
2-1 Hold hands t and id ntify visitor.
Th n, communicat with visitor. And,unl ss you r plac hands t
within 3minut s, th monitor scr n is turn d off automatically.
2-2 Wh n th hands t is h ld on and th call is mad from th
cam ra, pr ss button on th monitor. th n communicat
with visitor.
2-3 Whil communicating with cam ra, if th int rnal call is
mad from th xt nd d monitor or doorphon , th b p signal
sounds in 5 s c. and disconn ct d with th cam ra automatically
Th n you can communicat with xt nd d monitor or doorphon
aft r pr ssing button on th monitor.
1.Call signal rings from th monitor, whil
scr n is turn d on and visitor is app ar d
automatically.
Wh n visitor pr ss s th call
button of door cam ra.
How to operate (Instruction for operating)
KC-D20 Metal Pinhole Camera
C-Mic
To communicat with Monitor
Sp ak r
Wh n visitor calls on th phon , th
sound of communication is amplifi d
and it com s out of th sp ak r.
Sp ak r
Call Button
By pr ssing th button, th r lat d
hous will b call d. Call Button
KC-B61 Camera
C-Mic
To communicat
with Monitor
Cam ra L ns
Cl ar pictur quality r aliz d
by adopting 1/3" CCD
Pow r Lamp
To ch ck pow r
ON/OFF status

Checking out door side - Don’t need to hold handset
Identifying visitors
1. If pr ss button on th monitor, scr n is turn d
on automatically. And, you can ch ck out door sid .
2. Aft r ch cking, scr n is turn d off as pr ssing
button again.
3. Aft r int rnal call is mad , th monitoring is not availall
for 60 s c.
1. If pr ss call button on th door cam ra, th scr n is turn d
on automatically. And, you can ch ck out door sid .
2. At this tim , you can asily id ntify visitors without lifting
hands t. ( Aft r 60s c., Monitor scr n is turn d off
automatically)
Opening door automatically (Regardless of handset status)
Internal call and intercom function
1. For this purpos , automatic AC doorlock should b first
install d on th door and th n conn ct d with vid o
doorphon
2. Aft r communication with visitor, pr ss button,
and th door is automatically op n d
Caution
Wh n additional monitor and door phon ar conn ct d to th monitor.
as doorphon has no s curity function, th conv rsation b tw n 2 monitors
can b h ard from th xt nd d doorphon without notic .
Hold on hands t and pr ss button on th monitor.
Th n th call signal sounds from th xt nd d monitor or
doorphon .
And if it is answ r d from th xt nd d monitor or doorphon
you can communicat .
In cas th hands t of th xt nd d monitor is h ld on, and
button on th xt nd d monitor is pr ss d, you can
communicat .
During int rnal communication, if th call is mad from th
cam ra, th b p signal sounds in a s c. and th call signal
from th cam ra sounds.
At sam tim th monitor is disconn ct d automatically with
xt nd d monitor or doorphon
Th n if you pr ss button on th monitor, you can talk
with visitor
ideo Doorphone Wiring Diagram
Caution for wiring
Availabl vid o doorphon wiring with TIV O.65mm is l ss than 50m in l ngth.
Conn cting wiring b tw n monitor and door cam ra should not b install d n ar oth r l ctrical cabl ,
nor b horizontal.(In such cas , cl ar pictur can not b xp ct d du to int rruption by l ctrical nois )
Transmission 4-wir d Wiring
TIV0.5: Max. 20m
Cabl Distanc TIV0.6: Max. 30m
TIV0.65: Max. 50m
Coaxial cabl : Max. 100m
For th dott d lin in TIV 1.6 must b us d
For th dott d lin in TIV 0.65must b us d.
(Max. cabl distanc 50m)
In cas of UPT cabl
wiring, pl as r f r
to th wiring and this
wiring is
r comm nd d.
pl as avoid wiring
R(audio)and
W(vid o) in a twist d
cabl .
KVM-524GS

KC-D20 Surface-mounting Door Camera Installation
Aft r attach th body support r with 2 scr ws,
put th Door Cam ra into th groov s of body support r,
and th n fix it with 2 scr ws and stick th finishing mat rials.
Straight Ah ad Installation
Standard Height of Door Camera
Standard h ight of th door cam ra is 1,400mm 1,450mm from th bottom of on cam ra
to th floor.
In cas that th h ight of Door cam ra xc ds th rang of min. 1,250mm1,550mm, it is
impossibl to control th scr n pictur with only th l ns angl ,
and th r for , b car ful of th h ight of cam ra installation.
(unit:mm)
Door camera Installation
Bottom bas of
On hall Box
Surfac mount
Flush mount
Basic Installation m thod of Monitor
Wh n syst m is attach d to 1 r ctangular switch box
Standard height monitor
Wall hang r
pan l for
fixing Monitor
Scr w
Wall
Wall hang r pan l
for fixing Monitor
1 R ctangular
switch box
Standard h ight of monitor is rang d 1,450 ~ 1,500
from bottom to th c nt r of monitor scr n.
For installation, avoid th plac s wh r th r is any
xc ssiv humidity,magn tic forc , dang rous
ch micals, dir ct ray of sun, and any plac s n ar a
h at r which can caus br ak down.
Monitor Installation
(unit:mm)
Scr w
Bottom of
1 R ctangular
switch box
C nt r of monitor
This manual suits for next models
3
Table of contents
Other KOCOM Intercom System manuals

KOCOM
KOCOM KCV-434SD Manual

KOCOM
KOCOM KLP-100 Instruction Manual

KOCOM
KOCOM KDP-602GD User manual

KOCOM
KOCOM KVM-624 Manual

KOCOM
KOCOM DS-4M User manual

KOCOM
KOCOM KDP-Q81F User manual

KOCOM
KOCOM KDP-601A Instruction Manual

KOCOM
KOCOM KVL-C202i User manual

KOCOM
KOCOM KLP-305 series Manual

KOCOM
KOCOM KIP-601PM Instruction Manual

KOCOM
KOCOM DP-203HA Guide

KOCOM
KOCOM KCV-D801R Manual

KOCOM
KOCOM KVM-301 Manual

KOCOM
KOCOM KIP-120 Instruction Manual

KOCOM
KOCOM KDP-601A Instruction Manual

KOCOM
KOCOM KCV-340 Manual

KOCOM
KOCOM KOCKCVS701IP2W User manual

KOCOM
KOCOM KDP-602A Instruction Manual

KOCOM
KOCOM KIP-300 User manual

KOCOM
KOCOM KC-MB20 User manual