Using Your Smart Pie Maker
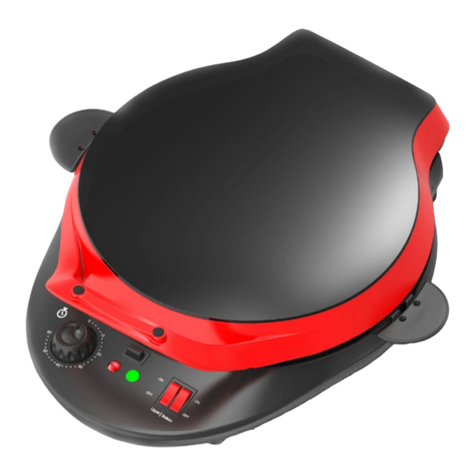
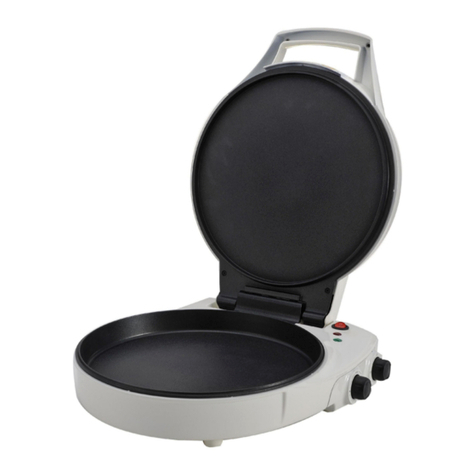
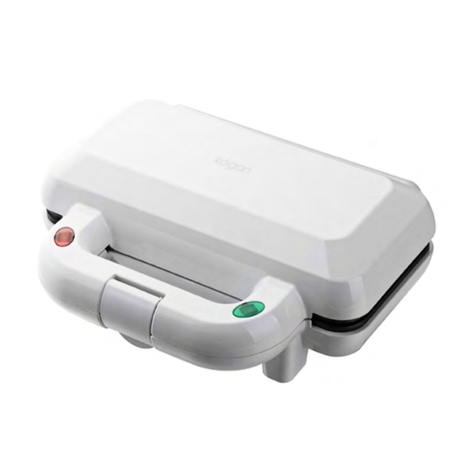
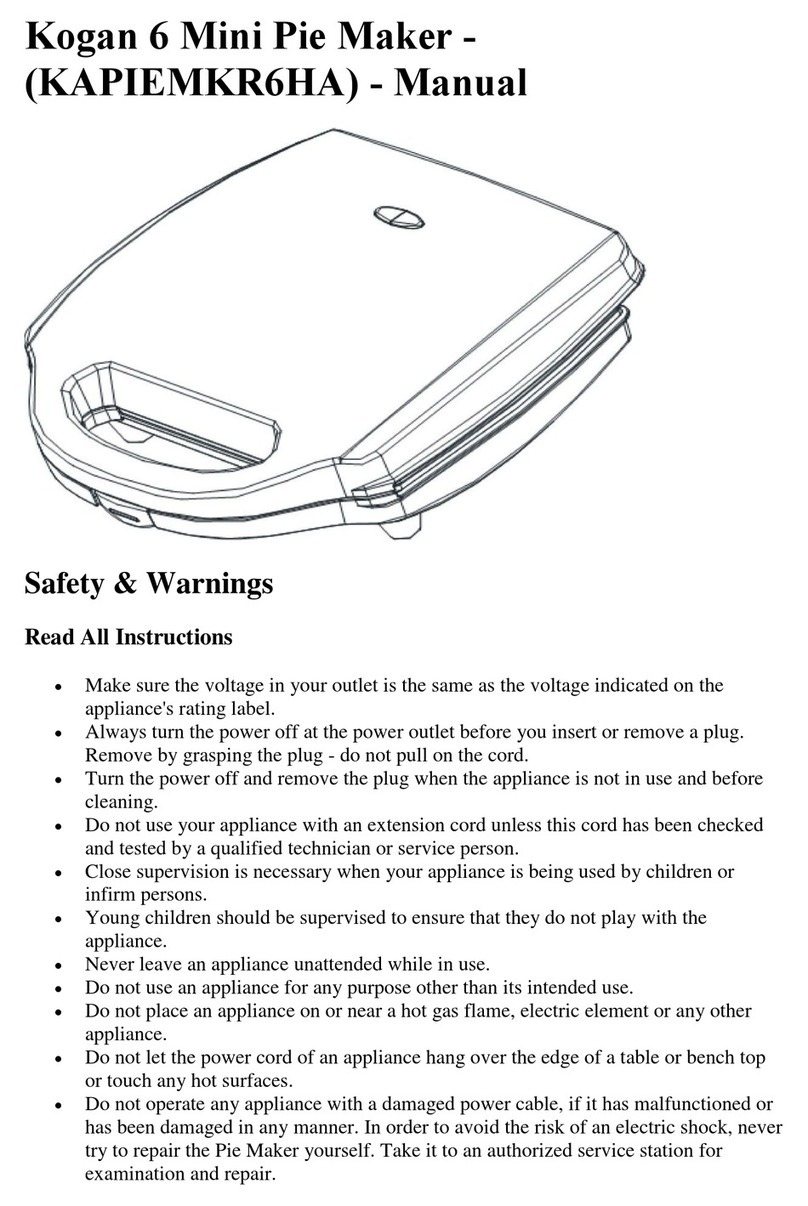
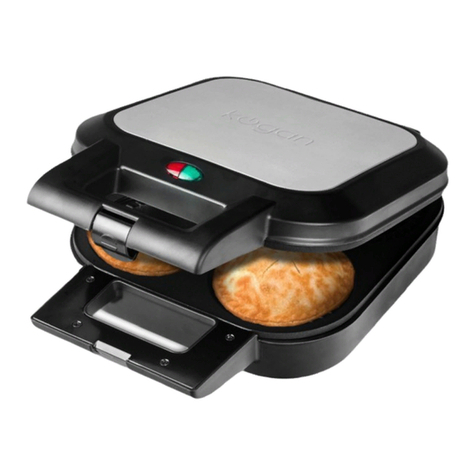
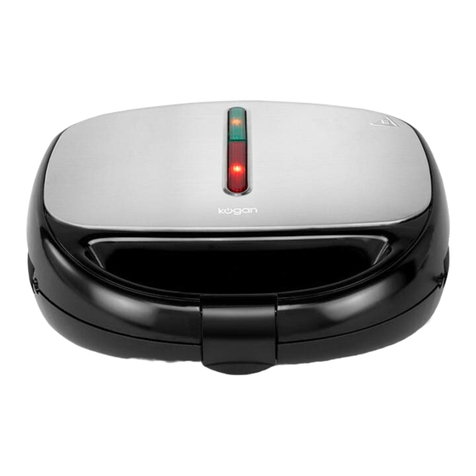
Place the pie maker on a stable, level surface. Close the cover and connect to a power outlet. The red
light will illuminate, indicating that the appliance is powered on and preheating. In approximately 3- 8
minutes, the green light will illuminate, indicating the appliance is preheated and ready for use. The green
light will cycle on and off during the cooking process, indicating that the correct temperature is being
maintained. Always keep the cover closed when preheating or in between uses.
Cakes & Muffins
1. If making cakes and muffins, fill the mould directly with approx. 2/3rds full unless the recipe states
otherwise. Close the cover and press the locking latch in until it clicks.
2. Set a timer for the specified time as indicated in your recipe.
3. When the cooking time is complete, unplug the pie maker from the outlet. Pull the locking latch up
from the bottom and carefully lift the lid. If you need additional browning, simply close the lid and
set the timer to the desired additional time.
4. Carefully remove the cake or muffin from the mould by using a nylon or wooden spatula. Do not
use metal utensils or the non-stick surface may be damaged.
Pies & Tarts
1. If making pies and tarts use the Reversible Pie Cutter to make the moulds. The larger side is for
the pie bottom and the smaller for the pie top. The slits in the mould bottom allow you to overlap
the dough for a better fit in the mould.
2. Unless the recipe states otherwise it is recommended using puff pastry dough for the tops and
standard pie dough for the bottom. If using store brought dough you can find puff pastry dough in
the freezer section of your supermarket. Pie dough is usually found in the refrigerated section
with muffins and cookies.
3. Open the pie maker and place the large bottom dough over the pie mould. Add your fillings
according to the recipe instructions and the weight of the fillings will cause the dough to drop
down into the mould. You can also use the bottom of a ladle to gently press the dough into the
mould being careful not to tear the dough. Warning! Surfaces are hot. Never touch the cooking
surface directly with your fingers.
4. If your recipe calls for a top, place the moulded dough top over the filled mould and close the
cover. Press the locking latch in until you hear a click indicating that it is locked.
5. Set a timer for the specified time as indicated in your recipe. You will notice the green ready light
will cycle on and off during the cooking process indicating that the correct temperature is being
maintained.
6. When the cooking time is complete unplug the pie maker from the wall outlet. Pull the locking
latch up from the bottom and carefully lift the lid. If you need additional browning simply close the
lid and set the timer to the desired time.
7. Carefully remove the pie from the mould by using a nylon or wooden spatula. Do not use metal
utensils to avoid damaging the non-stick surface.
Helpful Hints
•Use puff pastry dough as opposed to pie dough for pie tops.
•You can store unused moulded pie crust in the freezer by simply adding baking paper in
between layers and storing in a plastic freezer bag. Remove excess air from bag before
freezing.
•Ensure you do not use too much or too little filling (as a guide, 2/3rd full for cakes and batter
and 3/4 full for pies) or the top of the pie will not contact the heating plate and will not brown
as well.
•The pie maker cooks pies within approximately 10 minutes and so will not cook raw fruit
fillings or proteins for pies. Pre-cook or use pre-prepared fillings.

