Kohler PURIST 10129T-4 User manual
Other Kohler Plumbing Product manuals
Kohler
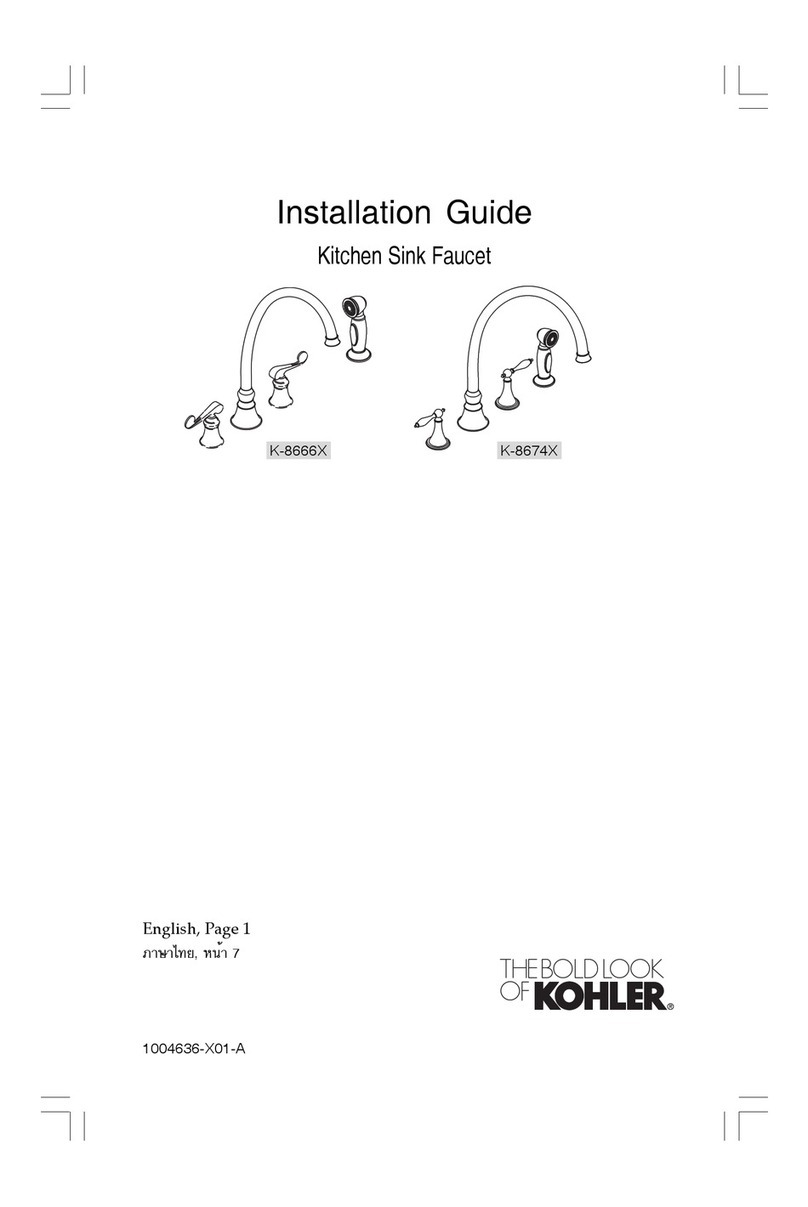
Kohler K-8666X User manual

Kohler
Kohler REVIVAL K-T16119 User manual
Kohler
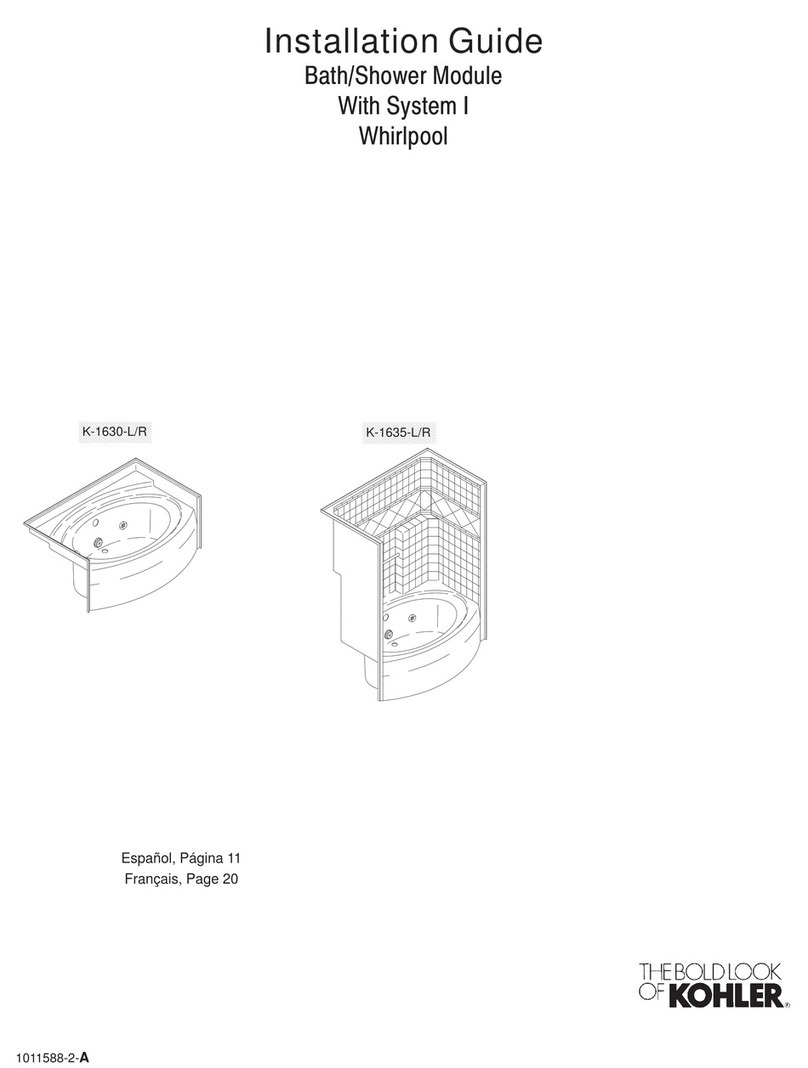
Kohler K-1630-L User manual
Kohler
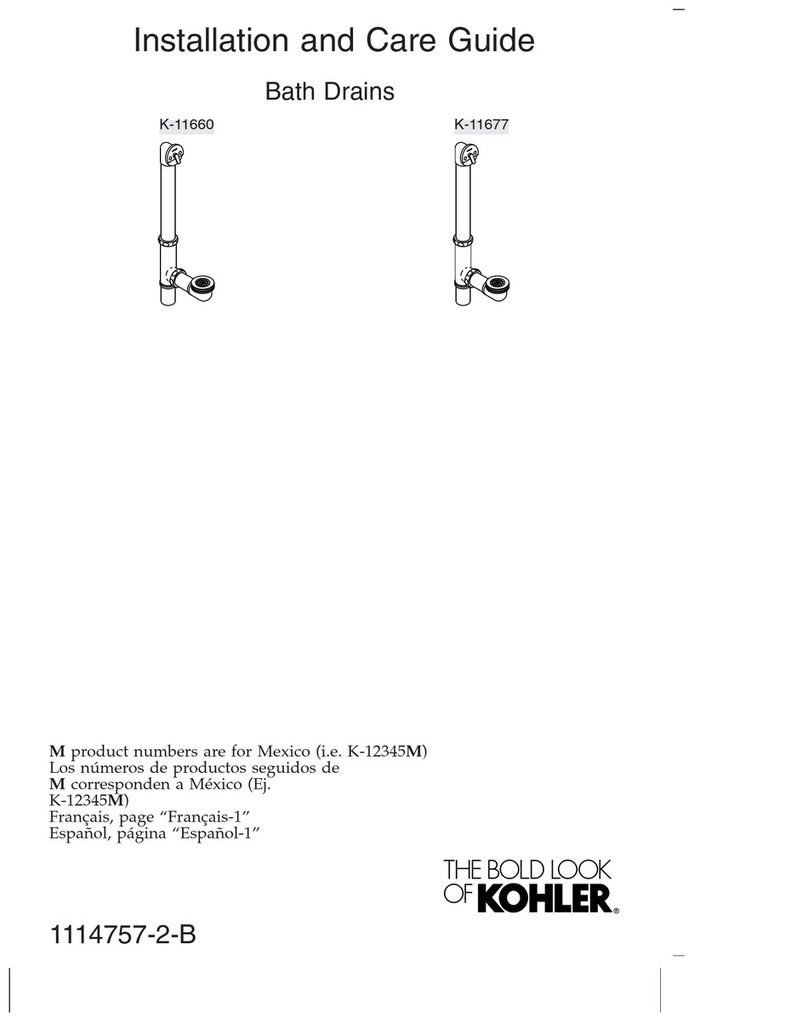
Kohler K-11660 Assembly instructions
Kohler
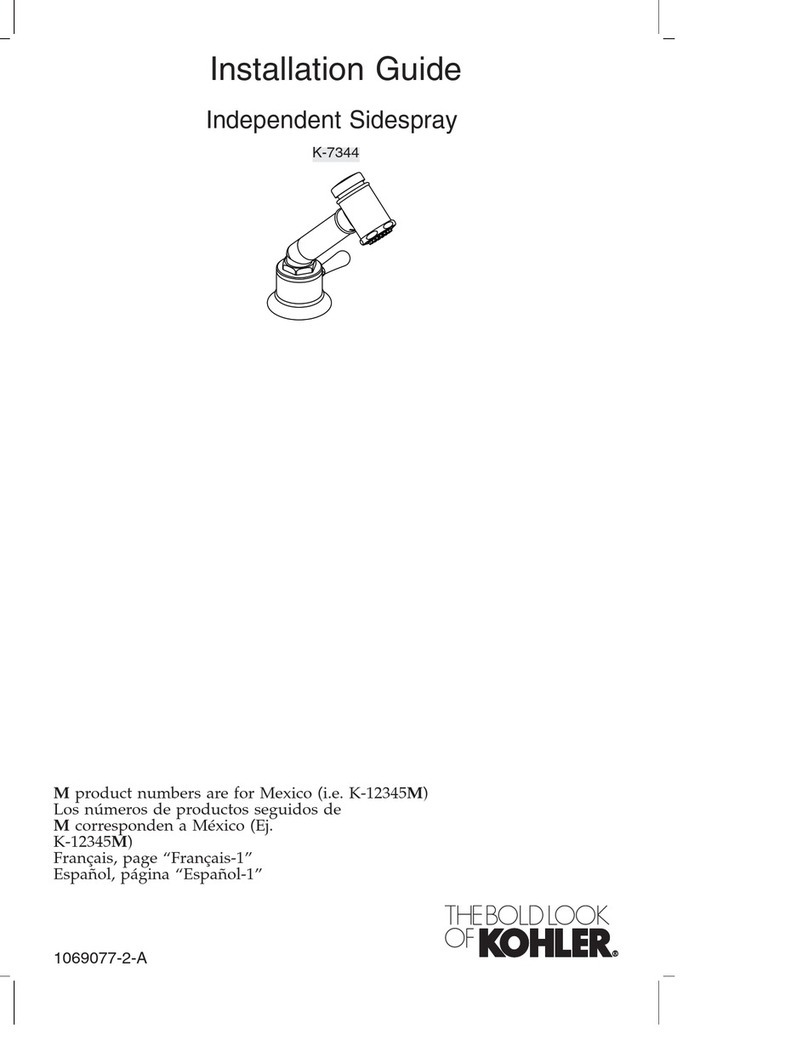
Kohler K-7344 User manual

Kohler
Kohler Trend K-11933 User manual
Kohler
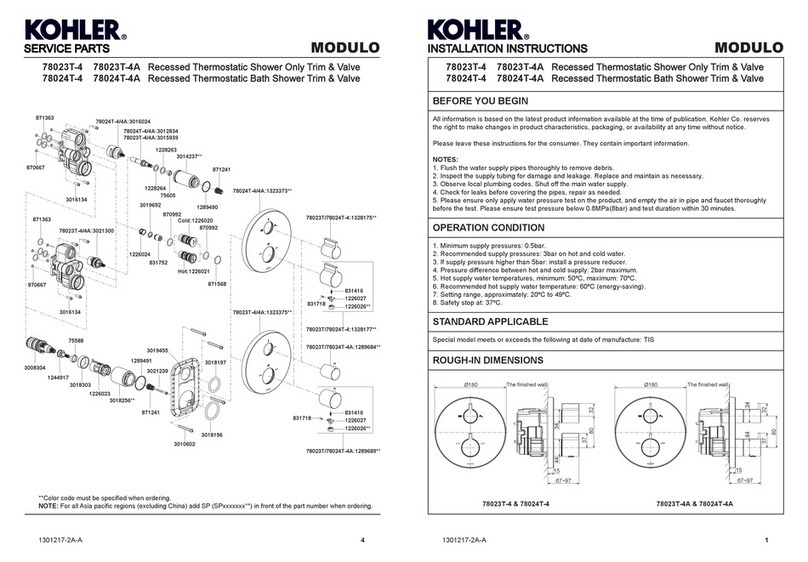
Kohler MODULO 78023T-4 User manual
Kohler
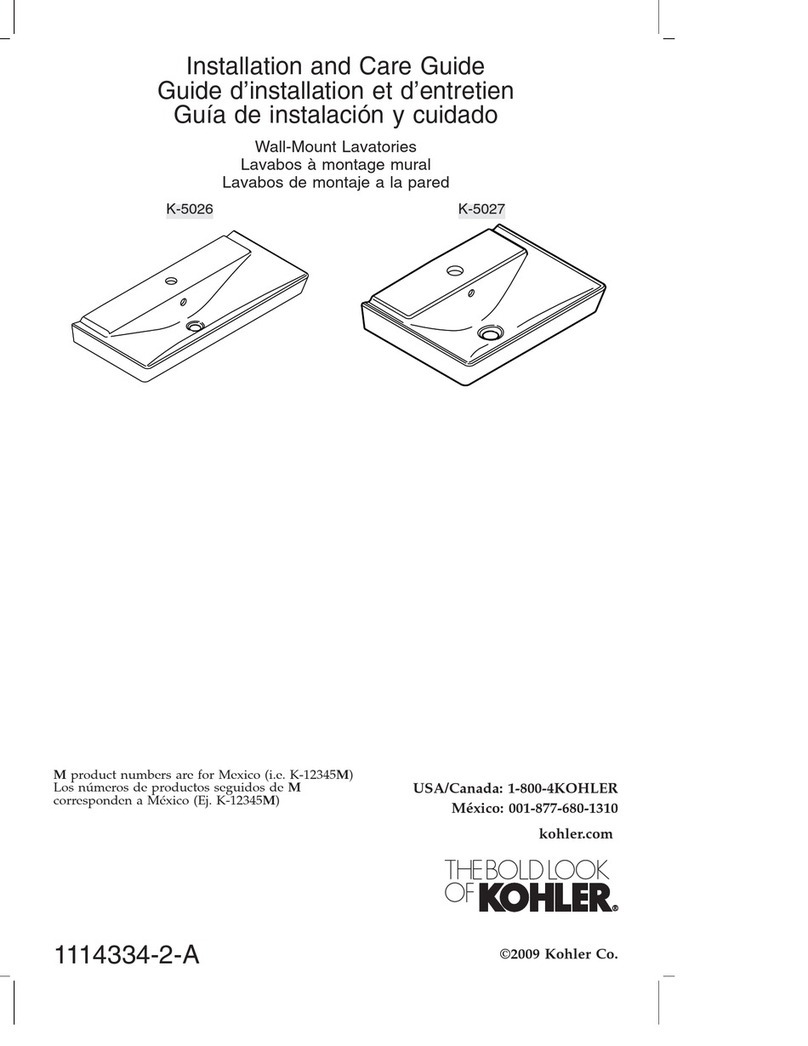
Kohler K-5026 Assembly instructions
Kohler
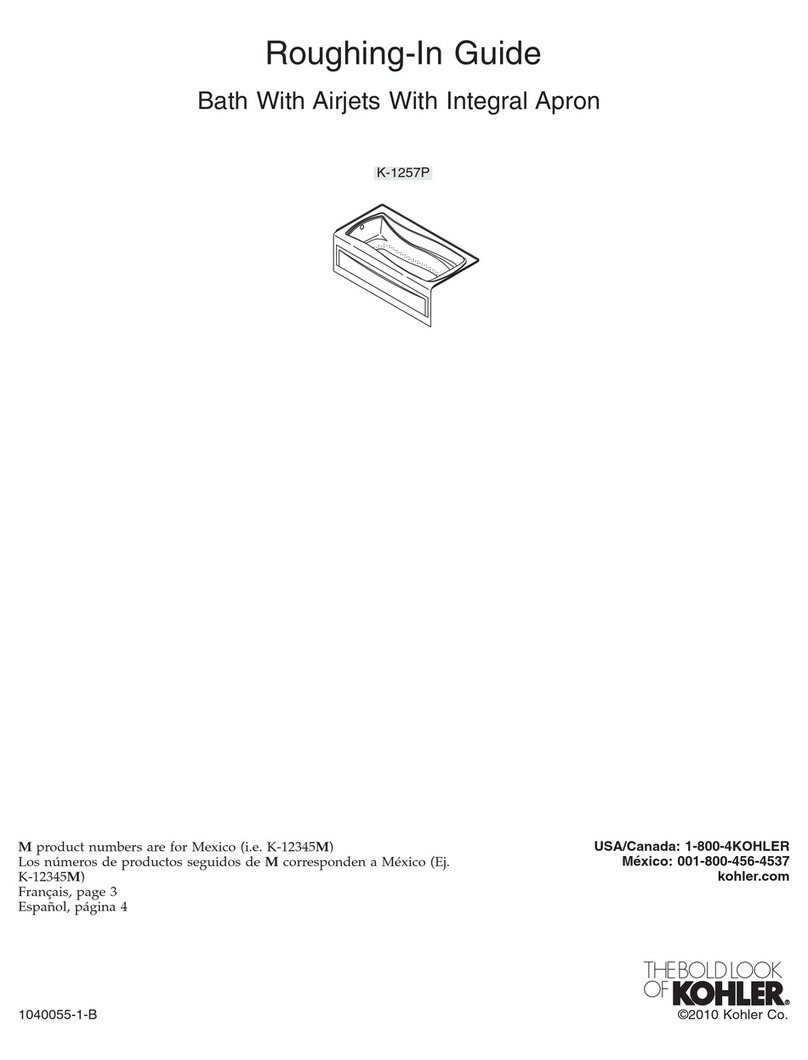
Kohler K-1257P Quick start guide
Kohler
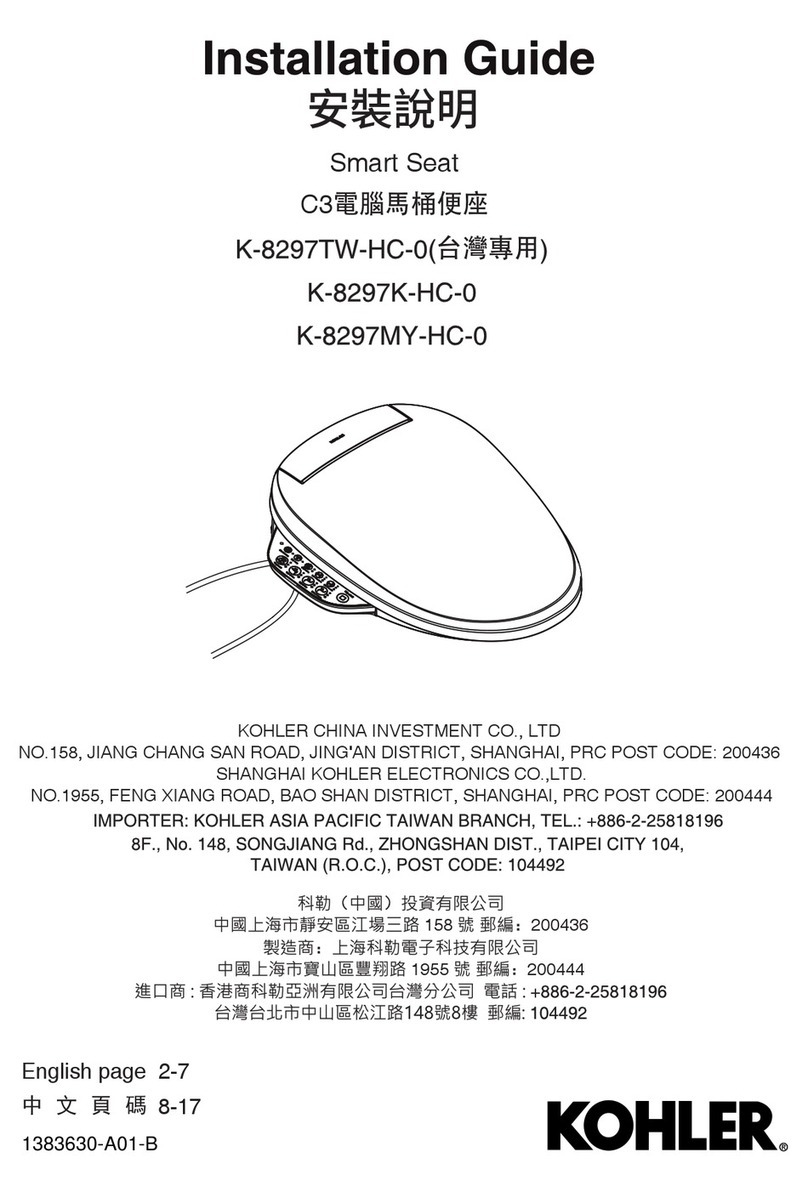
Kohler K-8297TW-HC-0 User manual
Kohler
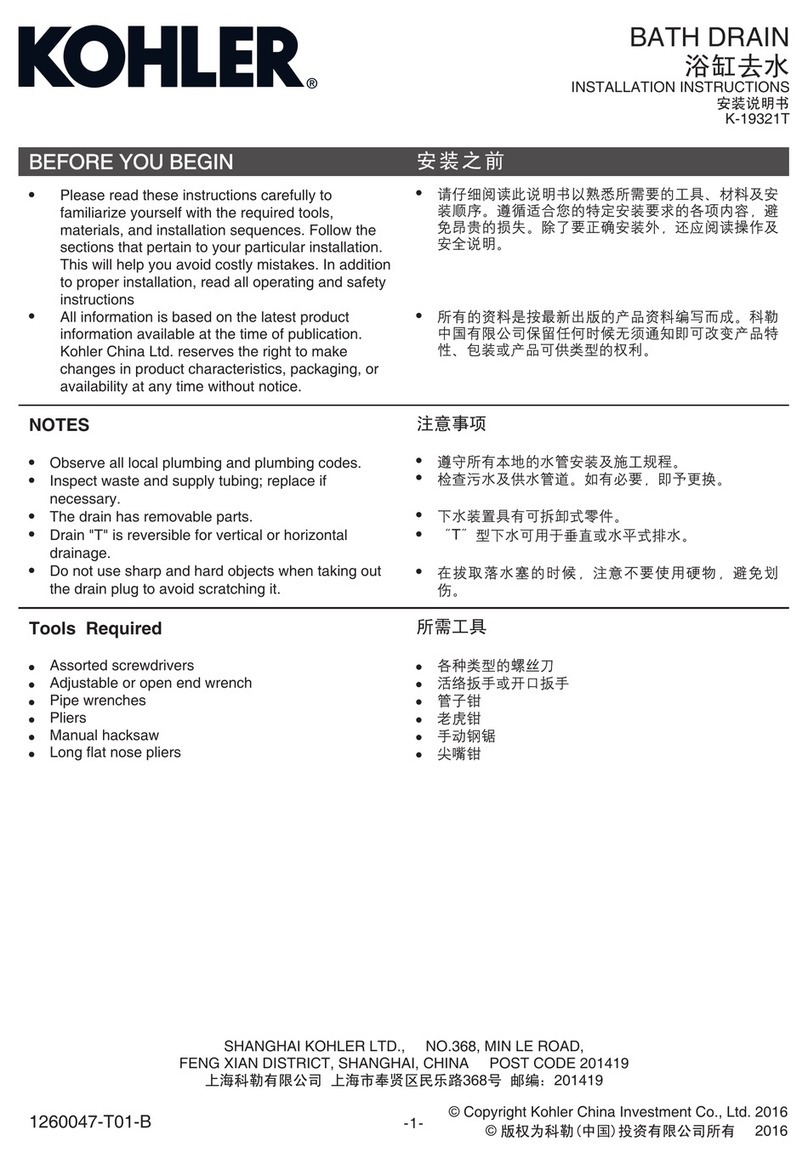
Kohler K-19321T User manual
Kohler
Kohler Cleansing Seat Assembly instructions
Kohler
Kohler WELLWORTH WATERGUARD K-3520 User manual
Kohler
Kohler K-2363X Assembly instructions

Kohler
Kohler Devonshire K-TS395-4S User manual
Kohler
Kohler Singulier 7787T-4 User manual
Kohler
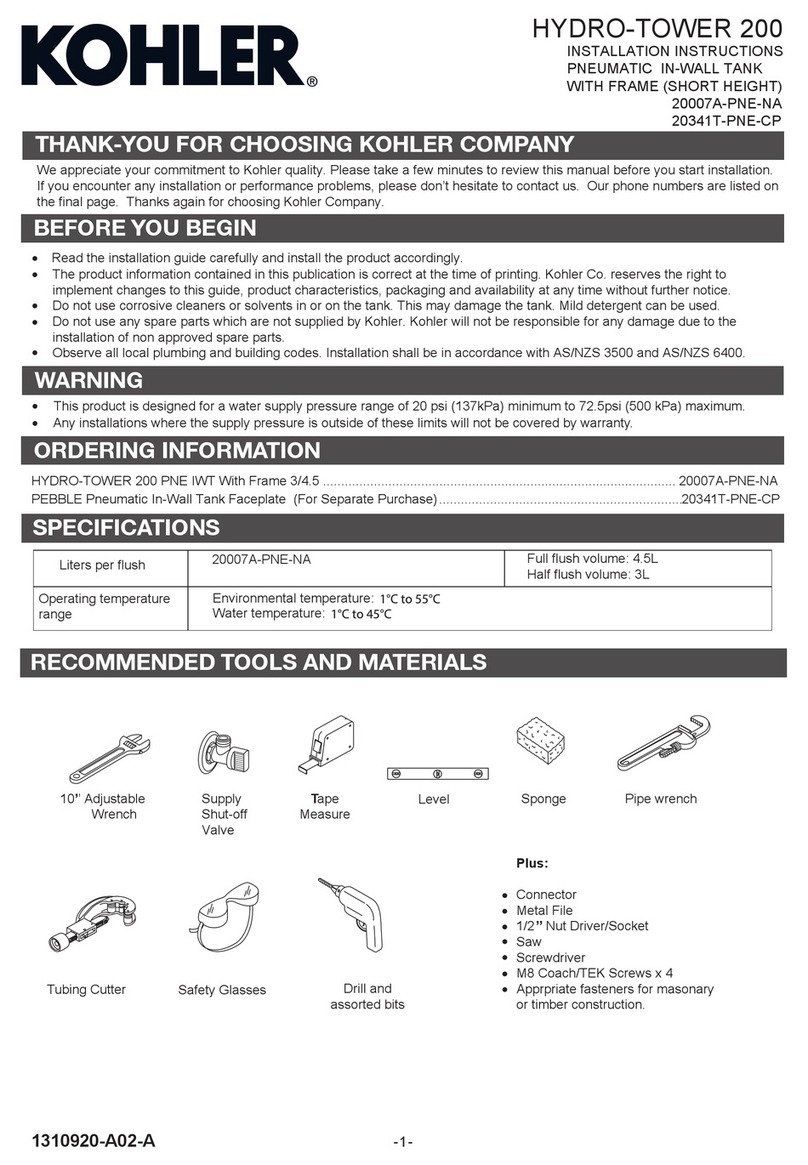
Kohler HYDRO-TOWER 200 Series User manual

Kohler
Kohler Flipside 15704T User manual
Kohler
Kohler K-9404 User manual
Kohler
Kohler K-3524 Assembly instructions
Popular Plumbing Product manuals by other brands

Weka
Weka 506.2020.00E ASSEMBLY, USER AND MAINTENANCE INSTRUCTIONS

American Standard
American Standard DetectLink 6072121 manual

Uponor
Uponor Contec TS Mounting instructions

Pfister
Pfister Selia 49-SL Quick installation guide

Fortis
Fortis VITRINA 6068700 quick start guide

Maxxus
Maxxus MX-M206-01 instruction manual

Viega
Viega Prevista Pure 8512 Instructions for use

Viega
Viega Prevista Dry 8522.33 Instructions for use

Sanela
Sanela Lema SLP 59RB Instructions for use

Elkay
Elkay EDF15AC Installation, care & use manual

Hans Grohe
Hans Grohe AXOR Citterio E 36702000 Instructions for use/assembly instructions

baliv
baliv WT-140 manual

BELLOSTA
BELLOSTA romina 0308/CC Installation instruction

Bristan
Bristan PS2 BAS C D2 Installation instructions & user guide

Crosswater
Crosswater Heir 18-31 installation instructions
Sanela
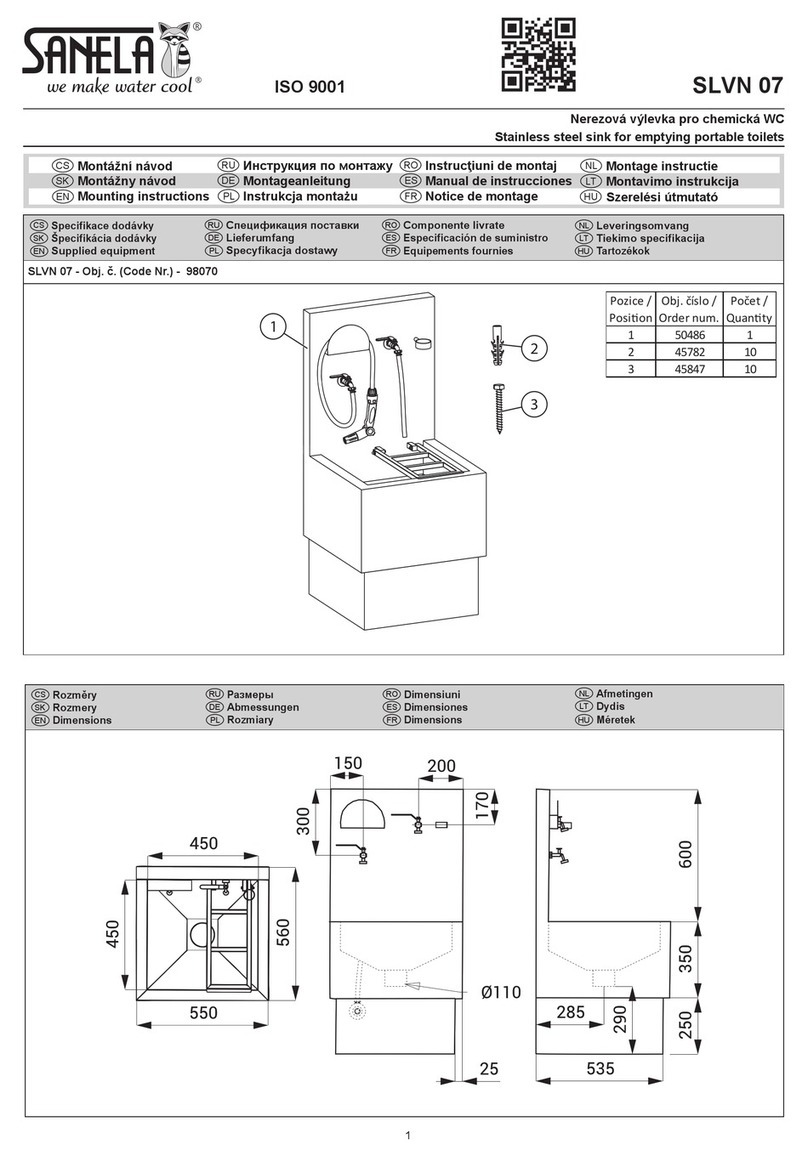
Sanela SLVN 07 Mounting instructions

Glacier bay
Glacier bay DORIND HD67478W-6001 Installation and care guide
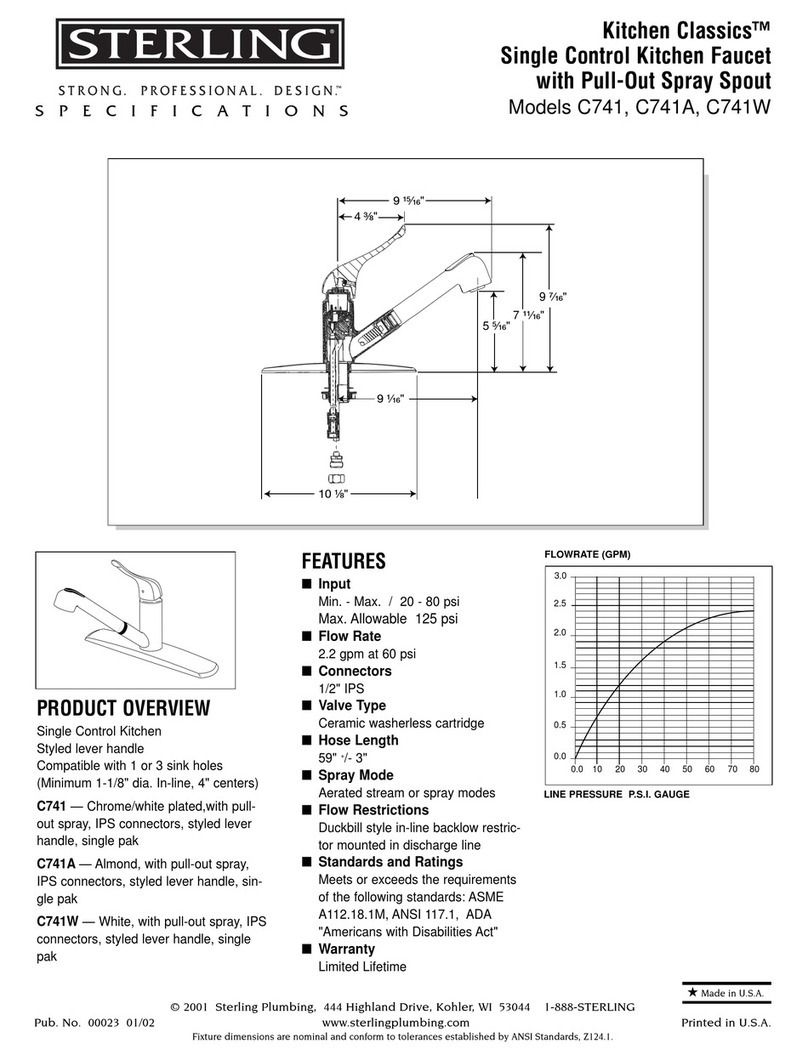
Sterling Plumbing
Sterling Plumbing C741 Specification sheet
