4
1. Overview, Features and Development
Outline
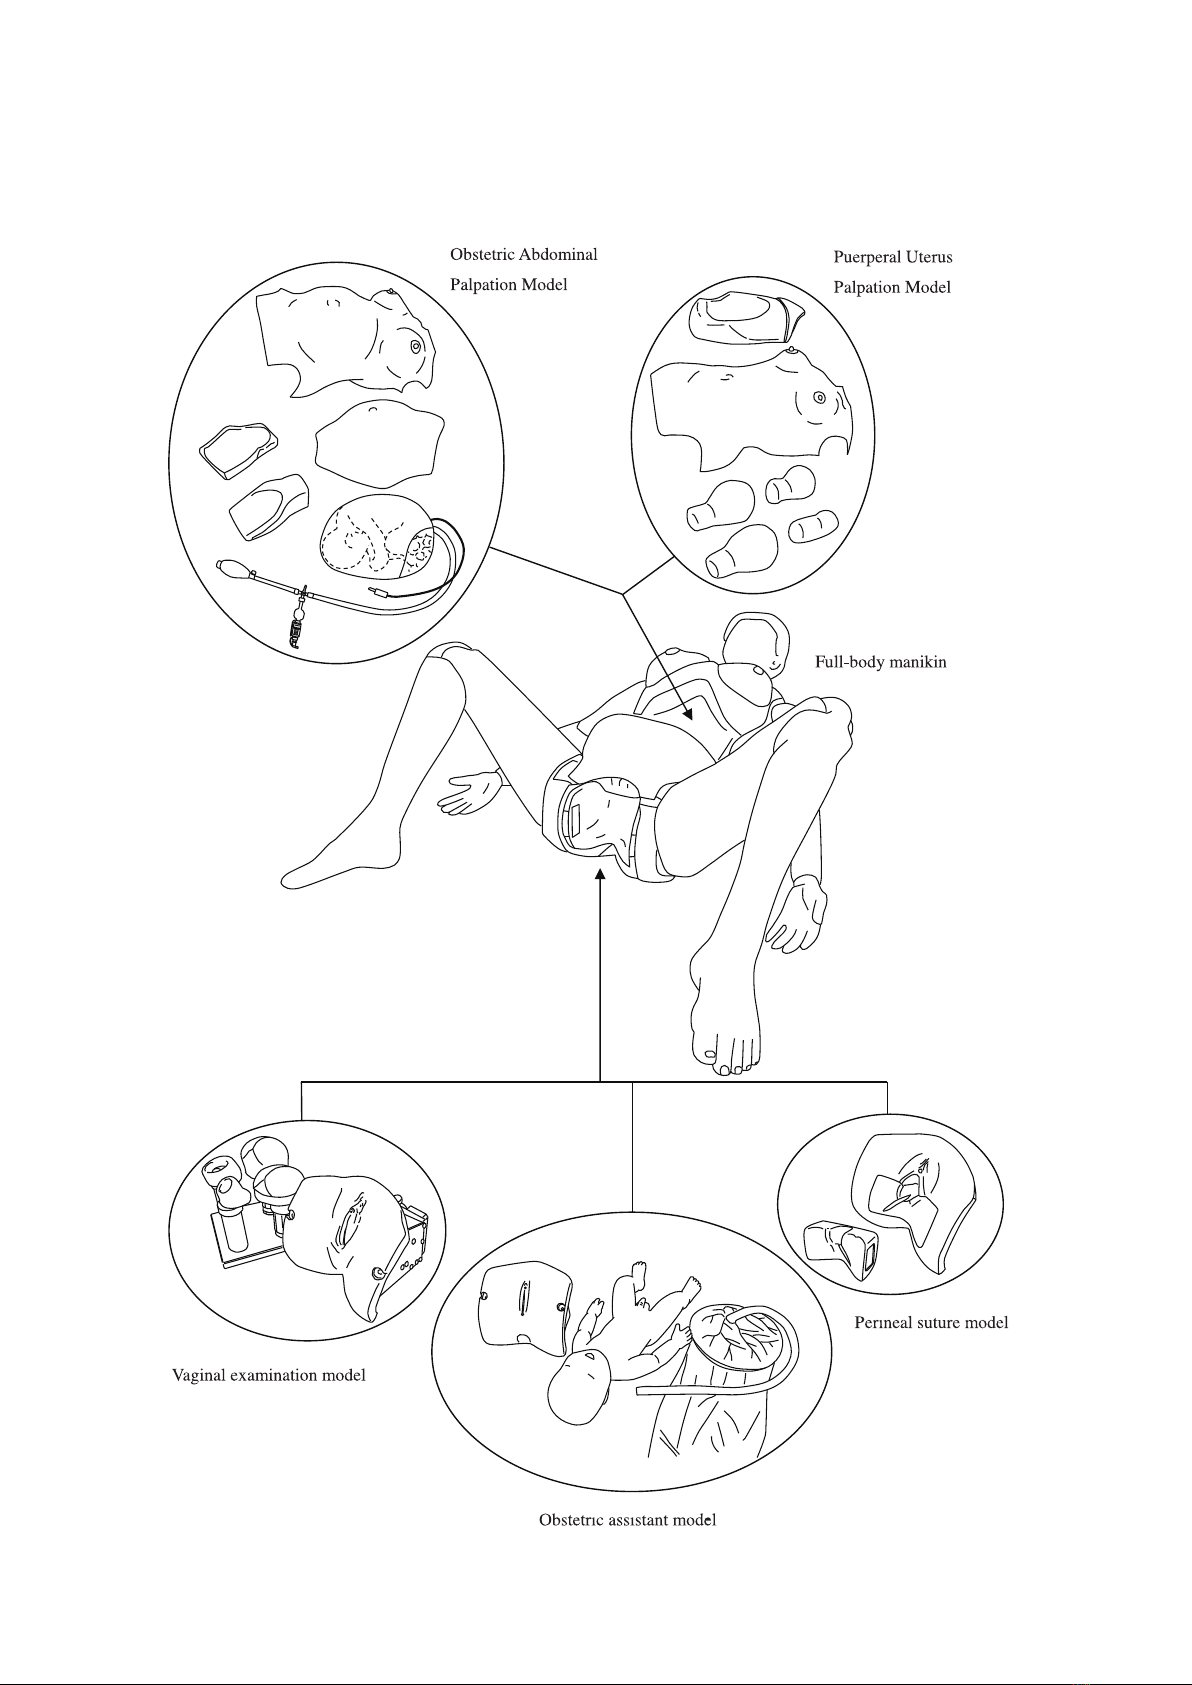
・ By interchanging various parts, procedures such as external examination of a pregnant
woman, internal examination during stages of delivery, practical obstetric assistance, perineal
suture of soft birth canal lacerations, palpation of the uterus fundus during the puerperal
period, and breast care can be practiced. Trainees can practice a series of techniques based on
the L.D.R. concept (Labor, Delivery, and Recovery) using a life size full-body model.
・ Each part is made with a special material to simulate the texture of human skin.
・ Obstetric assistance can be practiced on the model in either a supine or free-style position.
Features
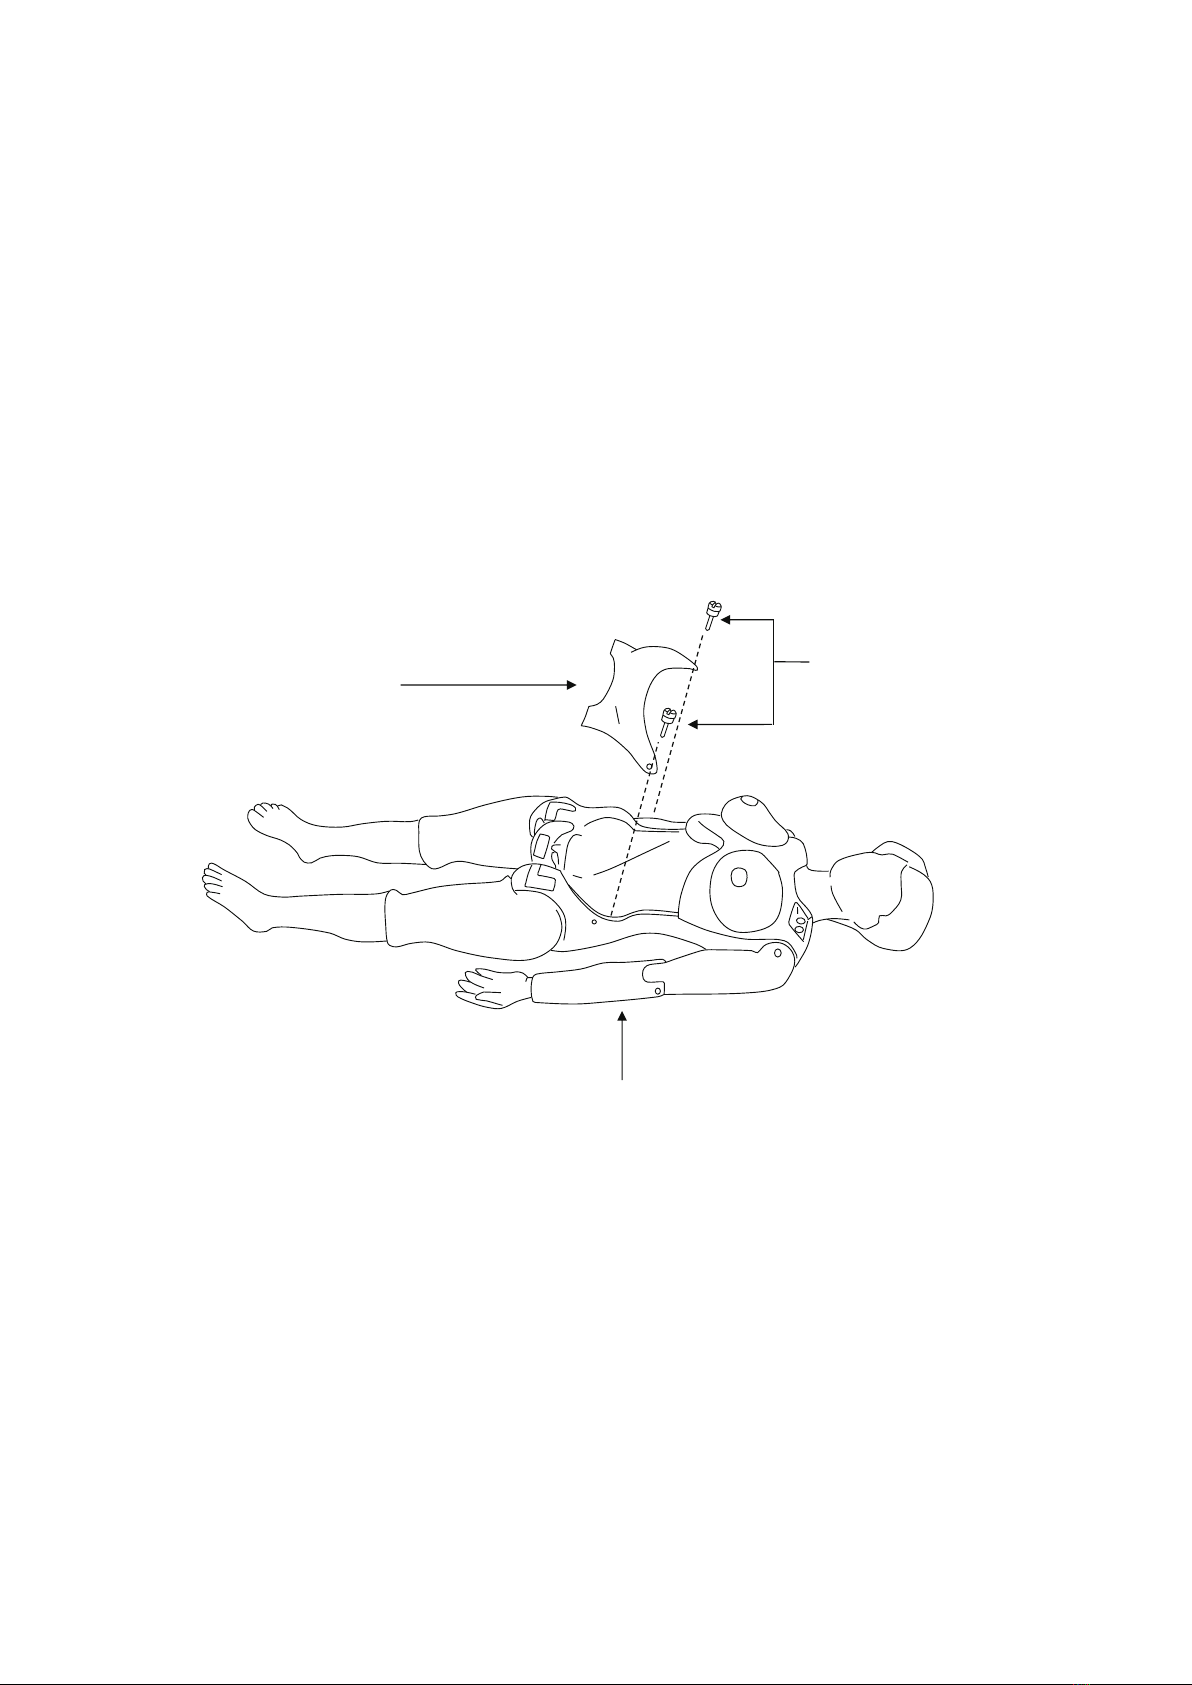
Obstetric Abdominal Palpation Model
・ Represents the 36th to 40th weeks of pregnancy.
・ Visual diagnosis, palpation and abdominal measurements (abdominal girth, fundal height)
according to the four types of Leopold’s Maneuvers, monitoring of fetal heartbeats, and breast
care can be practiced.
・ Changing the position and orientation of the fetus enables diagnosis in various fetal positions
and orientations, and diagnosis of stability and mobility of the fetal presenting part.
・ The fetal heartbeat can be adjusted between 80 and 180 bpm.
Vaginal Examination Model
・ Bishop scores from the late stage of pregnancy to the onset of labor (cervical dilation,
eacement, consistency and position) can be conrmed.
・ Made with a material that is more tear-resistant than the previous model, increasing its
durability.
・ Three models with varying degrees of cervical dilation are provided, together with a full
dilation model. These can be interchanged and the station can be adjusted, thereby allowing
the assessment of the progression of labor by means of a vaginal examination.
・ The full dilation model can be used to gauge orientation of the fetal head by palpation of the
positions of the sagittal sutures and posterior fontanel.
・ The vulva has a urethral orice for inserting a urinary catheter.
Obstetric Assistant Model
・ By changing between various positions, including supine, hands and knees, lateral, and
standing, the fetal model can be rotated according to each position, providing several
positions for obstetric assistant practice (Free-style delivery).
・ The obstetric model - vulva II is made with a highly elastic and durable material that
decreases resistance and reduces the amount of force needed to extract the fetus during
delivery, enabling smooth practice. (Use glycerin to lubricate.)
・ Protection of the perineum can be practiced.
・ Breech extraction can also be practiced as one type of emergency response.
• The head of the fetal model has been improved to create a more realistic shape and texture.
The neck moves exibly so that the model can be seen from the posterior fontanelle during