Kongsberg APOS Survey User manual
Other Kongsberg Marine Equipment manuals

Kongsberg
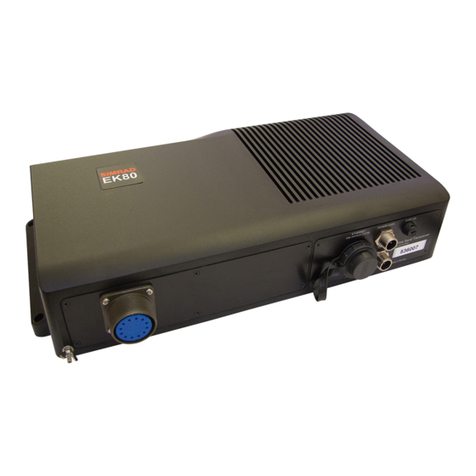
Kongsberg Simrad EK80 User manual

Kongsberg
Kongsberg EA 400 User manual
Kongsberg
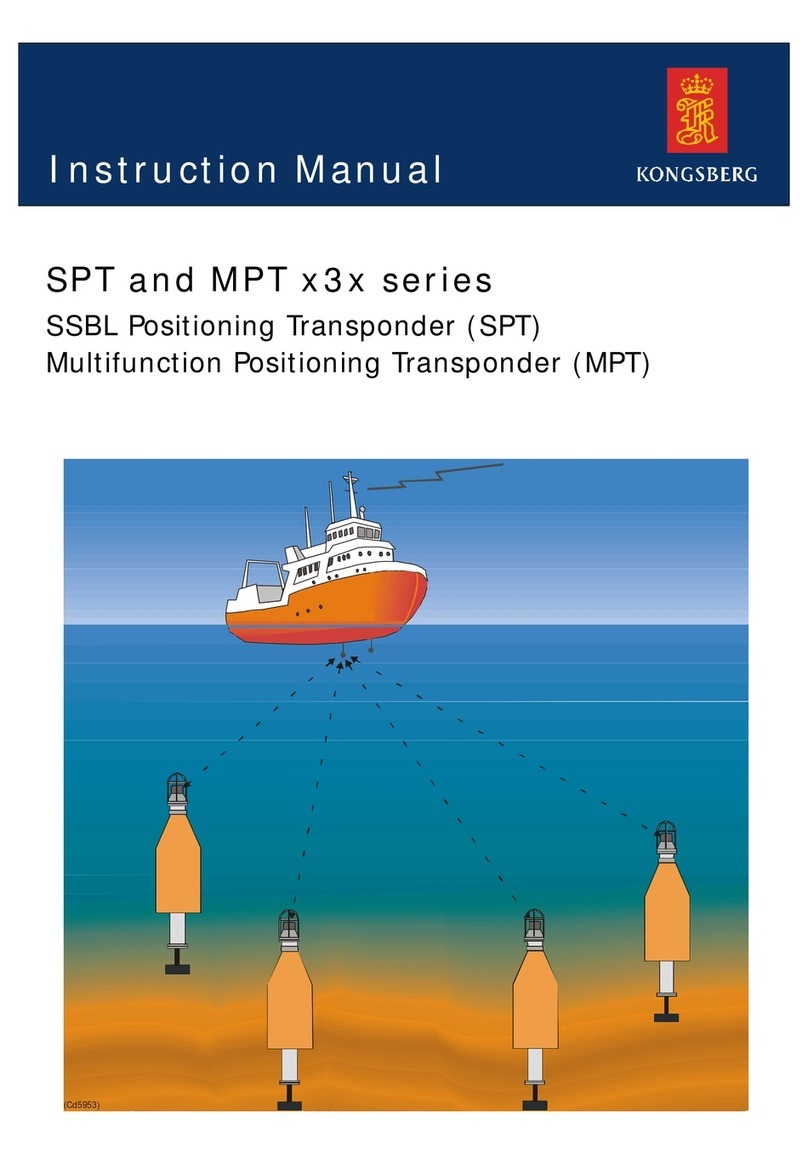
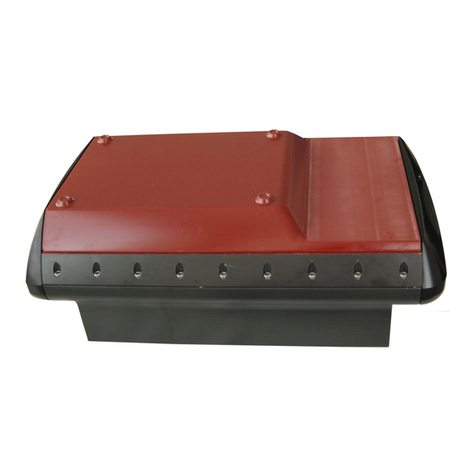
Kongsberg SPT 3 Series User manual
Kongsberg
Kongsberg EM 2040P User manual
Kongsberg
Kongsberg Simrad SY50 User manual

Kongsberg
Kongsberg EM 124 User manual
Kongsberg
Kongsberg Simrad EM 300 User manual

Kongsberg
Kongsberg EM 3002 User manual
Kongsberg
Kongsberg EM 2040 User manual

Kongsberg
Kongsberg Simrad EK80 User manual

Kongsberg
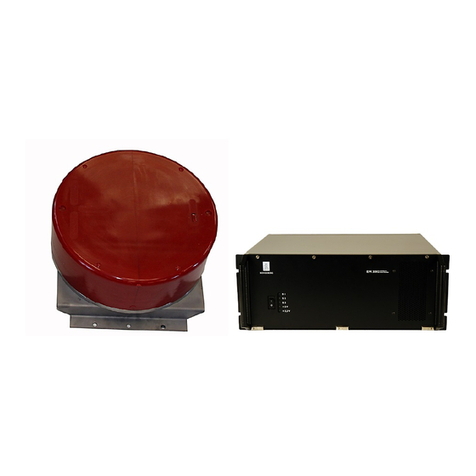
Kongsberg HiPAP 502 User manual
Kongsberg
Kongsberg EM - REV M User manual
Kongsberg
Kongsberg SIMRAD IS15 Expander User manual
Kongsberg
Kongsberg Simrad SU90 Series User manual

Kongsberg
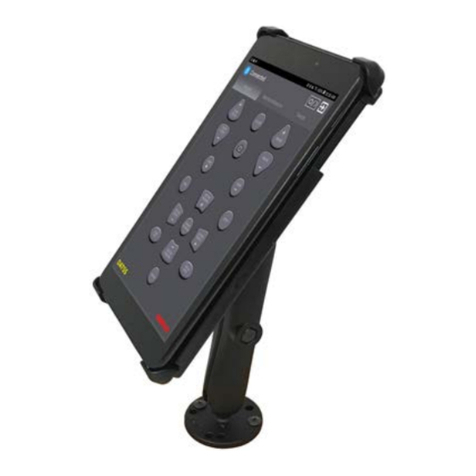
Kongsberg EM 712 User manual
Kongsberg
Kongsberg Simrad FS70 User manual

Kongsberg
Kongsberg EM 2000 User manual

Kongsberg
Kongsberg EM series User manual

Kongsberg
Kongsberg EM 2040C User manual

Kongsberg
Kongsberg EM 2040 MKII User manual
Popular Marine Equipment manuals by other brands

GUIDANCE MARINE
GUIDANCE MARINE 20- Series Installer's guide

Raymarine
Raymarine ST60 Tridata Owner's handbook

Sonic
Sonic 2024 Operation manual

Quicksilver
Quicksilver 88688A25 Installation, operation and maintenance instructions

Furuno
Furuno Navtex NX-700-A Operator's manual

olympia electronics
olympia electronics ΒS-532/WP quick start guide
