manuals.online logo
Brands
  1. Home
  2. •
  3. Brands
  4. •
  5. Konica Minolta
  6. •
  7. Measuring Instrument
  8. •
  9. Konica Minolta CL-70F User manual

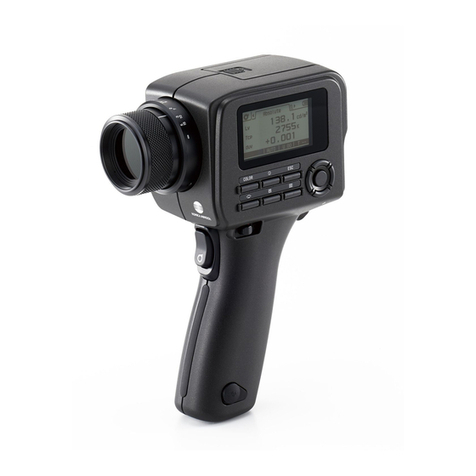
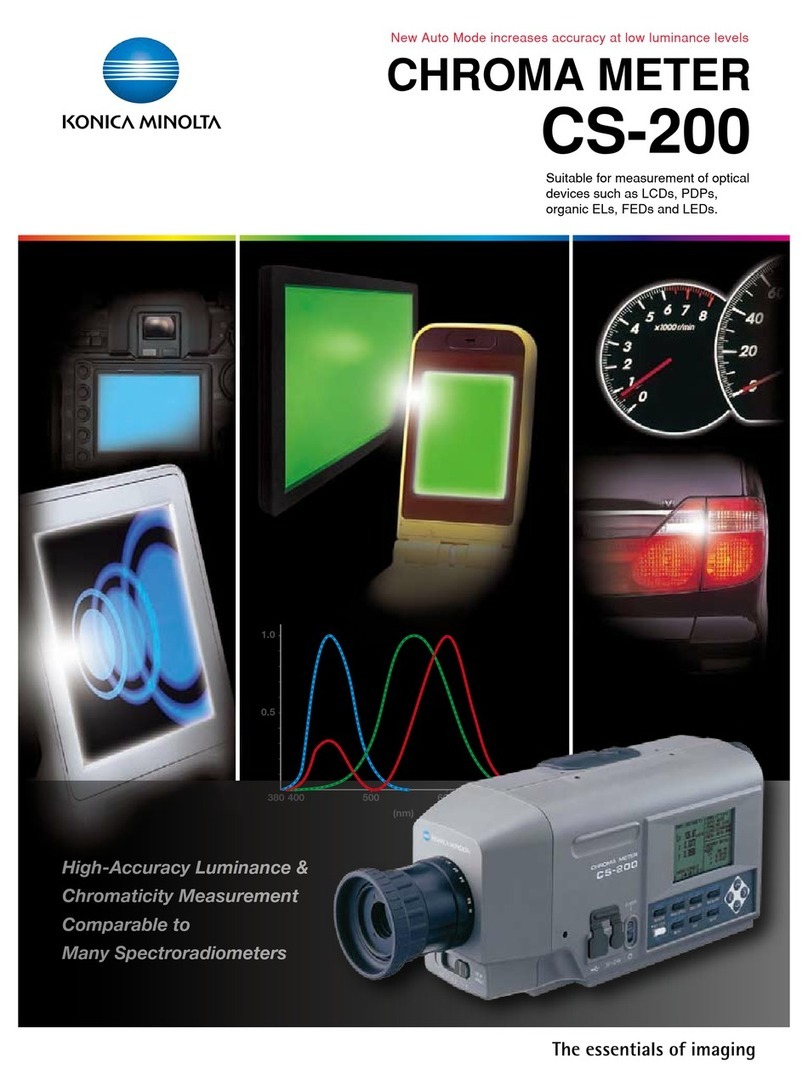
Konica Minolta CL-70F User manual

Other manuals for CL-70F

1

Other Konica Minolta Measuring Instrument manuals

Konica Minolta T-10A User manual

Konica Minolta

Konica Minolta T-10A User manual

Konica Minolta MYIRO-1 User manual

Konica Minolta

Konica Minolta MYIRO-1 User manual

Konica Minolta REGIUS SIGMA2 User manual

Konica Minolta

Konica Minolta REGIUS SIGMA2 User manual

Konica Minolta CM-3220D User manual

Konica Minolta

Konica Minolta CM-3220D User manual

Konica Minolta CR-400 User manual

Konica Minolta

Konica Minolta CR-400 User manual

Konica Minolta CM-2600d User manual

Konica Minolta

Konica Minolta CM-2600d User manual

Konica Minolta CM-3700A-U User manual

Konica Minolta

Konica Minolta CM-3700A-U User manual

Konica Minolta CA-410 Series User manual

Konica Minolta

Konica Minolta CA-410 Series User manual

Konica Minolta SPAD-502 PLUS User manual

Konica Minolta

Konica Minolta SPAD-502 PLUS User manual

Konica Minolta CM-25cG User manual

Konica Minolta

Konica Minolta CM-25cG User manual

Konica Minolta CM-26dG Technical specifications

Konica Minolta

Konica Minolta CM-26dG Technical specifications

Konica Minolta CM-3700A User manual

Konica Minolta

Konica Minolta CM-3700A User manual

Konica Minolta CA-410 Series User manual

Konica Minolta

Konica Minolta CA-410 Series User manual

Konica Minolta REGIUS 190 User manual

Konica Minolta

Konica Minolta REGIUS 190 User manual

Konica Minolta REGIUS 110 User manual

Konica Minolta

Konica Minolta REGIUS 110 User manual

Konica Minolta MULTI GLOSS 268 User manual

Konica Minolta

Konica Minolta MULTI GLOSS 268 User manual

Konica Minolta RANGE 5 User manual

Konica Minolta

Konica Minolta RANGE 5 User manual

Konica Minolta CM3610D User manual

Konica Minolta

Konica Minolta CM3610D User manual

Konica Minolta MULTI GLOSS 268Plus User manual

Konica Minolta

Konica Minolta MULTI GLOSS 268Plus User manual

Konica Minolta CM-M6 User manual

Konica Minolta

Konica Minolta CM-M6 User manual

Konica Minolta CM2500C User manual

Konica Minolta

Konica Minolta CM2500C User manual

Konica Minolta CR-14 User manual

Konica Minolta

Konica Minolta CR-14 User manual

Konica Minolta CM-36dGV User manual

Konica Minolta

Konica Minolta CM-36dGV User manual

Konica Minolta SKR 4000 User manual

Konica Minolta

Konica Minolta SKR 4000 User manual

Popular Measuring Instrument manuals by other brands

Powerfix Profi 278296 Operation and safety notes

Powerfix Profi

Powerfix Profi 278296 Operation and safety notes

Test Equipment Depot GVT-427B user manual

Test Equipment Depot

Test Equipment Depot GVT-427B user manual

Fieldpiece ACH Operator's manual

Fieldpiece

Fieldpiece ACH Operator's manual

FLYSURFER VIRON3 user manual

FLYSURFER

FLYSURFER VIRON3 user manual

GMW TG uni 1 operating manual

GMW

GMW TG uni 1 operating manual

Downeaster Wind & Weather Medallion Series instruction manual

Downeaster

Downeaster Wind & Weather Medallion Series instruction manual

Hanna Instruments HI96725C instruction manual

Hanna Instruments

Hanna Instruments HI96725C instruction manual

Nokeval KMR260 quick guide

Nokeval

Nokeval KMR260 quick guide

HOKUYO AUTOMATIC UBG-05LN instruction manual

HOKUYO AUTOMATIC

HOKUYO AUTOMATIC UBG-05LN instruction manual

Fluke 96000 Series Operator's manual

Fluke

Fluke 96000 Series Operator's manual

Test Products International SP565 user manual

Test Products International

Test Products International SP565 user manual

General Sleep Zmachine Insight+ DT-200 Service manual

General Sleep

General Sleep Zmachine Insight+ DT-200 Service manual

Sensa Core Lacto Spark user manual

Sensa Core

Sensa Core Lacto Spark user manual

VOLTCRAFT UTS-1980 operating instructions

VOLTCRAFT

VOLTCRAFT UTS-1980 operating instructions

EBCHQ 94915 Operation manual

EBCHQ

EBCHQ 94915 Operation manual

Balluff BIP LD2-T017-01-EP-S4 Series user guide

Balluff

Balluff BIP LD2-T017-01-EP-S4 Series user guide

Pulsar IMP Lite Series instruction manual

Pulsar

Pulsar IMP Lite Series instruction manual

ETCR 6800 user manual

ETCR

ETCR 6800 user manual

manuals.online logo
manuals.online logoBrands
  • About & Mission
  • Contact us
  • Privacy Policy
  • Terms and Conditions

Copyright 2025 Manuals.Online. All Rights Reserved.

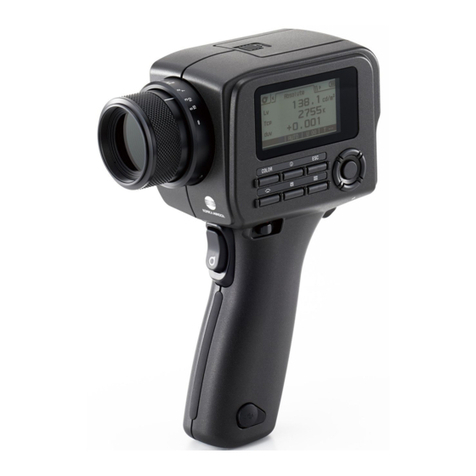
Thank you for purchasing a CRI Illuminance Meter CL-70F
a
nk
y
f
or
p
c
ha
s
a C
R
l
um
i
n
ce
M
e
r C
L
s Quick Guide introduces the basic operation for this instrument.
T
h
is
i
ck
G
e
in
t
u
ce
s
ba
s
p
era
t
for
t
i
ns
tr
Please refer to "Operating Manual" on the CD-ROM (included
ase r
r
to
pera
t
Man
on
e
CD
OM
(i
Pl
ea
r
ef
e
"O
p
ti
ng
n
ua
l
n
th
e
D
-R
O
uded
in
cl
u
product) for usage details
.
d
uc
t
r u
s
det
a
.
CRI Illuminance Meter
CL-70F
Quick Guide
Input Method of Characters and Figures
(Character Setting Screen, Figure Setting Screen)
No. Key Description
11/A/a
6KLIWVEHWZHHQ¿JXUHVXSSHUFDVHOHWWHUVORZHUFDVHOHWWHUV
2
0-9, ABC,
abc, hyphen,
period
Touching it displays an input value in the upper section.
By touching the same button multiple times, you can
change the character input to the English alphabet (ABC).
3Delete
Deletes the character at the cursored position.
4ĸ ĺ
Moves input position.
5Keypad
Shifts between Standard Keypad and Qwerty Keypad.
6OK
&RQ¿UPVWKHLQSXWYDOXHDQGUHWXUQVWRWKHRULJLQDOVFUHHQ
7Cancel
Cancels the input and returns to the original screen.
4.Input of Figures/Characters
Preset Name Preset Name Preset Name
Figure Input
Screen
Upper Case Input
Screen
Lower Case Input
Screen
1
5 5 5
1 1
3 3 3
2 2 2
4 4 4
6 6 67 7 7
2 2
6 65 53 37 7
4 4
1 1
1. &RQ¿UPLQJWKH%XQGOHG,WHPV
This instrument and the following accessories are included.
&RQ¿UPLIDQ\DFFHVVRULHVDUHPLVVLQJDIWHUXQSDFNLQJ
Quick Guide 0DLQ%RG\ CD-ROM
- Operating Manual
- CRI Illuminance
Meter CL-70F Utility
Safety Precaution
Neck Strap Soft Case
Safety Precaution
For Proper Operation
Before using this product, please read this "Safety Precautions" for
proper operation.
WARNING
The WARNING symbol indicates the
possibility of death or serious injury if the
product is not used properly.
CAUTION
The CAUTION symbol indicates the
possibility of minor to moderate personal
injury or product damage if the product is
not used properly.
NOTICE
The NOTICE symbol indicates cautions
or restrictions when using the product.
Please read all notes to avoid errors in
operation.
General Safety Information
Read the Operating Manual before use.
Keep the Operating Manual on hand for reference at any
time.
Stop using this product when there are any abnormalities.
7KHPRGL¿FDWLRQRUGLVDVVHPEO\RIWKLVSURGXFWLVSURKLELWHG
Do not attempt to repair this product by yourself.
This product is intended only for persons with expert
knowledge.
Monitor children so that they do not touch this product.
Use this product in a usage environment described in the
Operating Manual.
This product is not waterproof.
English
Authorized Service Facility Inspection
&HUWL¿FDWH

9229-A8FG-11













Inspe ction Certi ficate




㸦᳨ᰝྜ᱁ド㸧



PRODUCT

CRI Illumina nce Meter
₇Ⰽ↷ ᗘィ 



MODEL


CL-70 F



SERIAL NO.








This is to certify that the above product has
been inspected with the results listed on the
reverse and has been found to satisfy the
inspection standards of this company.

ୖグ〇ရࡣࠊ⿬㠃グ㍕ࡢ㡯┠࡟ࡘ࠸᳨࡚ᰝࡋࡓ⤖ᯝࠊ
ᙜ♫ุᐃᇶ‽ࢆ‶㊊ࡋ࡚࠸ࡿࡇ࡜ࢆド󰩣ࡋࡲࡍࠋ





Inspector :





* If something is missing, contact the sales agent.
* Batteries (size AA) and a USB cable are not included. Please prepare
them in advance yourself.
* The "CRI Illuminance Meter CL-70F", included as an accessory of this
product, can be used to save data, display memorized values and graphs,
and perform settings when the meter is connected by USB to computers
or tablets.
5.Turning the Power ON
After installing the batteries, turn the Light Selection Ring
2to the dark calibration position ( ) and turn ON this
instrument by pressing the Power Button 3.
After the Opening screen displays (for 2 seconds) in the
Display Panel, dark calibration starts. After dark calibration
properly ends, the Display Mode Selection screen displays.
* If "Please set Light Selection Ring for
dark calibration" is displayed, set the
Light Selection Ring 2to the dark
calibration position to start calibration.
* When taking measurements, set the
Light Selection Ring 2to the range L
(icon at the middle) for ALL ambient light.
)RUÀDVKOLJKWVHWWKHULQJWR+LFRQ
at the top) for high-power (brighter
WKDQO[āVÀDVKRU/LFRQDWWKH
PLGGOHIRUORZSRZHUÀDVKORZHU
than 640lx·s).
Dark Calibration Position
&RQ¿UPDWLRQ6FUHHQ
Select a language used when you turn on the power for the
¿UVWWLPH
The language selected will be displayed and encircled in
EOXH7RXFKWKH2.LFRQWRFRQ¿UP
(YHQDIWHU\RXKDYHFRQ¿UPHGWKHODQJXDJH\RXFDQFKDQJHLW
*
,I'DUN&DOLEUDWLRQ3RVLWLRQ&RQ¿UPDWLRQVFUHHQDSSHDUVVHWWKH
Light Selection Ring 2to Dark Calibration position and perform
calibration again.
* To turn OFF the power, press and hold the Power Button for more
than one second.
*
Please wait 3 or more seconds between turning the power ON/OFF.
Opening Screen
Language Selection
Screen
Display Mode Selection
Screen (2°)
Language Selection
&RQ¿UPDWLRQ6FUHHQ
Light Selection Ring 2
Power Button 3
Set to the dark calibration position. Press Power Button 3.
2.Part Designations
The part designations are as follows.
>%RWWRP9LHZ@
>5HDU9LHZ@>)URQW9LHZ@
1Light Receptor
2Light Selection
Ring
0Tripod Socket
33RZHU%XWWRQ
4Display Panel
5
0HDVXULQJ%XWWRQ
70HPRU\%XWWRQ
60HQX%XWWRQ
8
%DWWHU\&RYHU/DWFK
9%DWWHU\&RYHU
cStrap Eyelet
bSync Terminal
>%DWWHU\&RYHU6HFWLRQ@
%DWWHU\&RYHU/DWFK
Tabs
%DWWHU\&RYHU
d%DWWHU\+ROGHU
a86%&RQQHFWRU
3.Operation Method
The operation method of this instrument's Display Panel is
described.
%\WRXFKLQJDQLFRQZLWK\RXU¿QJHU\RXFDQVHOHFW\RXULQWHQGHG
setting or item.
Scroll Selection
6OLGHD¿QJHUXS
or down on the
setting value areas
to change setting
values.
Top Icon
Touch to advance
to the lowest
value.
6FUROO%DU
Touch and slide
up or down to
scroll settings.
%RWWRP,FRQ
Touch to advance
to the highest
value.
One Step Icon
Touch Up or Down
Icon to advance one
position.
* A blue illumination under
icons indicates which icons
are operational.
* Blue bar indicates value
selected.
(Ex.) Shutter Speed Selection Screen
6-1.Measurement Preparation
(Measuring Mode, Display Mode)
You can change screens after turning the power on as follows.
Changes from the Display Mode Selection Screen to the
Measurement Screen.
*
Pressing Menu Button
6
shifts to the Display Mode Selection screen.
Measuring Mode
Icon Description
Ambient Light
Mode
Measures continuous light such as
VXQOLJKWWXQJVWHQÀXRUHVFHQW/('
lights.
Flash Light
Cordless Mode
'HWHFWVÀDVKEULJKWQHVVZLWKRXWPHWHU
ÀDVKFRQQHFWLRQDIWHU0HDVXULQJ%XWWRQ
pressed to arm meter for 90 seconds
DQGÀDVK¿UHGVHSDUDWHO\0HDVXUHE\
WULJJHULQJDÀDVKGXULQJWKHZDLWWLPH
Flash Light
Cord (PC) Mode
'HWHFWVÀDVKEULJKWQHVVZLWK3&
V\QFKURFRUGPHWHUÀDVKFRQQHFWLRQ
Measuring Mode
Selection Screen
Measurement Screen
(Text Mode)
Display Mode
Selection Screen
6-2. Display Mode
3UHVV0HDVXULQJ%XWWRQ5to take a measurement in each
Display Mode.
3UHVV0HPRU\%XWWRQ7to memorize measured value.
SpectrumText Spectrum Comp.
CIE1931 (CIE1964)CRI
CIE1931 (CIE1964) Cmp.
CIE1976 CIE1976 Cmp. Setting
10
-1.Contents of Setting
ŶCustomize
*
Models sold in some countries do
not display "Unit of Illuminance"
item due to "fc (fc·s)" legal
restrictions.
Spectrum Y-axis
Scale
Auto Power
OFF
%DFNOLJKW
%ULJKWQHVV
Unit of Illuminance
Auto Dimmer Language
Reset
Customized Items
7.
Customizing Measuring Displays
You can customize displayed information to see exactly
what you need in single view. A blue illumination under
icons indicates which icons are operational.
Field of
view
No.
2° 10° Name
Icon
1
Correlated Color
temperature
2
Deviation
3
Tristimulus
value
4
5
6
Chromaticity
coordinates
7
8
9
10
Field of
view
No.
2° 10° Name
Icon
11
Dominant
wavelength
12
Excitation
purity
13
Peak
wavelength
14
Illuminance /
luminous exposure
1
5
Average Color
Rendering Index
1
6
ௗWRௗ
Color Rendering
Index
Display Item List
Measuring Screen
Spectrum Display
Measuring Screen
Text Display
Measuring Screen
CRI Display
10
-2.Contents of Setting
ŶEdit a Preset
ŶDark Calibration ŶDisplay information
*
The on-screen display may differ from
the display on this spectrometer model.
Preset Editing (2°)
Page 1
Preset Editing (2°)
Page 2
Preset Editing (2°)
Page 3
Perform Dark
Calibration? Product Information
To page 2 To page 3 To page 1 To page 2
8.Functions
7RXFKLQJWKH7RRO%R[ )" icon in any measurement
VFUHHQVKLIWVWKHGLVSOD\WRWKH7RRO%R[VFUHHQZKHUH
frequently used functions can be accessed.
Preset Selection will be grayed out and cannot be selected
if no preset has been created in the Setting Mode.
7RRO%R[
4Exposure Time
1Preset Selection
(2°)
5Shutter Speed 6Memory
Management
2Preset Selection
(10°)
3Memory Title
1
2
3
4
5
6
Intended Usage
The meter is designed for:
Measuring correlated color temperature, deviation, color
rendering index (CRI), illuminance, tristimulus value,
chromaticity coordinates, dominant wavelength and excitation
purity of various lighting sources such as LEDs, organic EL's
and projectors.
Power Supply
௘$$EDWWHULHV 9îDONDOLQHPDQJDQHVH
௘86%EXVSRZHU9P$RUOHVV
via USB cable when connected to computer
(Limited Power Source or Class 2 Power Source)
Environmental Condition
௘,QGRRUXVH
௘
Altitude of operation (m)
: Max 2000 m
௘
Pollution degree (PD)
: PD2
௘
Operating temperature
: -10°C ~ 40°C (without condensation)
௘2SHUDWLQJKXPLGLW\ 
5+RUOHVVDW&ZLWKRXWFRQGHQVDWLRQ
9.Setting
Touching the "Setting" icon in the Display Mode Selection
VFUHHQVKLIWVWKHGLVSOD\WRWKH6HWWLQJVFUHHQ+HUH
you can set functions and display methods required for
measurement in advance.
Settings displayed are as follows.
NOTE
3UHVVLQJWKH0HQX%XWWRQ6
will abort any setting
operation and return the
screen to Display Mode
Selection.
Setting (Page 1) Setting (Page 2)
Menu Button 6
To page 2 To page 1
JT7297620
JULY 2015
Printed in Japan
SAFETY PRECAUTIONS
WARNING
Infants or toddlers may accidentally wrap the strap around their necks, so please place it in a
location out of their reach. There is a danger of suffocation.
'RQRWSODFHEDWWHULHVLQRSHQÀDPHVDWWHPSWWRVKRUWGLVDVVHPEOHRUDSSO\KHDWWRWKHPXVH
XQVSHFL¿HGEDWWHULHVRUUHFKDUJHWKHPH[FHSWUHFKDUJHDEOHEDWWHULHV7KH\PD\EXUVWDQGFDXVH
¿UHVVHULRXVLQMXU\RUGDPDJHWKHHQYLURQPHQW
D
RQRWXVHWKHVSHFWURPHWHULQDSODFHFRQWDLQLQJÀDPPDEOHRUFRPEXVWLEOHYDSRUV2WKHUZLVHLWPD\FDXVHD¿UH
([HUFLVHFDUHQRWWRGURSÀXLGVRQWKHVSHFWURPHWHU$OVRGRQRWDWWHPSWWRLQVHUWPHWDOVLQWRLW
'RLQJVRPD\FDXVHD¿UHRUDQHOHFWULFVKRFN,IDQ\ÀXLGGURSVRQRUDPHWDOLVLQVHUWHGLQWRWKH
spectrometer, turn the power switch OFF immediately, and remove the battery (or unplug the USB
power cable). Then, consult our Support Center for assistance.
'RQRWGLVDVVHPEOHRUPRGLI\WKLVVSHFWURPHWHU'RLQJVRPD\FDXVHD¿UHRUDQHOHFWULFVKRFN
CAUTION
D
o not handle this product with wet hands, or leave it in the rain or in a location where water may splash on
it, where the product may be submerged in water, or it may come in contact with moisture. There is a danger
of electric shock if the "Flash Light Cord (PC) Mode" is used. This may also result in damage to the product.
'RQRWDWWHPSWWRGLVDVVHPEOHWKHSURGXFWIRUPRGL¿FDWLRQRUSDUWVUHSODFHPHQW,WPD\DIIHFW
measurement results or damage the meter.
Do not attempt to play the included CD-ROM using an audio CD player. It may impair hearing or
damage speakers and earphones.
:KHQFRQWUROOLQJWKHPHWHUZLWKWKH/&'JHQWO\WRXFKZLWK\RXU¿QJHU8VLQJSRLQWHGSHQVRU
pencils may scratch the LCD screen or damage the product.
,IWKHHTXLSPHQWLVXVHGLQDPDQQHUQRWVSHFL¿HGE\WKHPDQXIDFWXUHUWKHSURWHFWLRQSURYLGHGE\
the equipment may be impaired.
Be careful that the neck strap does not come loose when carrying the product, as the meter may
be damaged when dropped.
Do not use or store the product in a place where it may be dropped and damaged by impacts or
where it will be affected by constant vibration.
This product contains precision optical components, and it may be damaged by these mechanical
shocks. Also, exercise care not to subject the product to vibrations or impact when handling.
Keep this product away from excessive dust, high humidity, and corrosive gases. Otherwise a
product failure may occur.
Do not measure a bright object that emits light exceeding the measuring range (wavelength and
illuminance). They may damage the optical components and result in inaccurate measurement.
Before removing or replacing the battery or USB cable, always turn the power switch OFF.
Otherwise, the product may fail.
D
o not place the product on an unstable or tilted bench. Otherwise, it may drop and you may be injured.