高精度・安定性に優れた
分光放射輝度計の最上位モデル
高精度・安定性に優れた
分光放射輝度計の最上位モデル
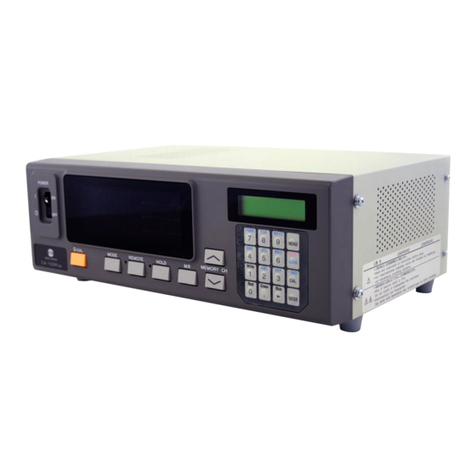
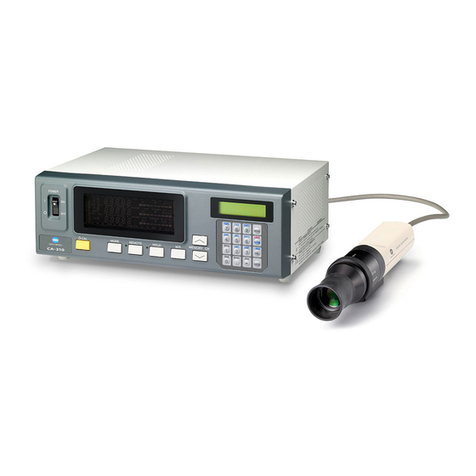
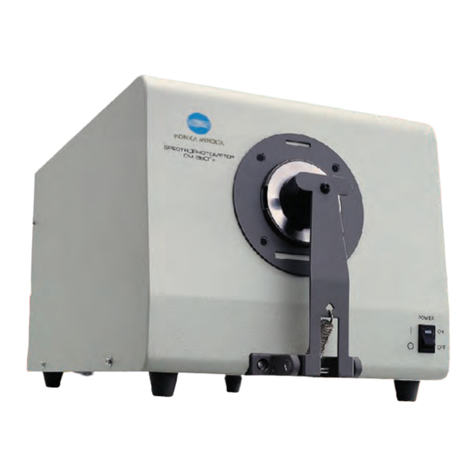
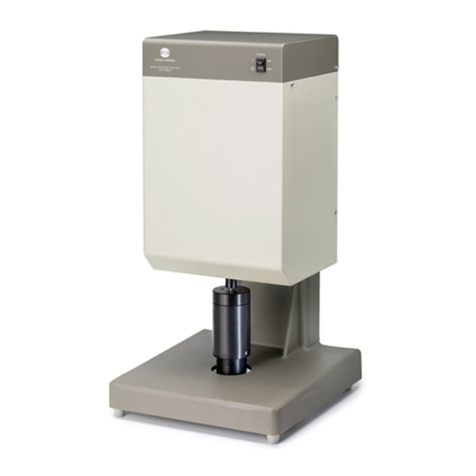
分光放射輝度計
CS-2000/2000A
14
世界トップレベルの分光放射輝度計
9242-A9AG-41 CDMDK 9
For correct use and for your safety, be sure to read the instruction manual before using the instrument.
●Always connect the instrument to the specified power supply voltage. Improper connection may cause a fire or
electric shock.
●Be sure to use the specified batteries. Using improper batteries may cause a fire or electric shock.
SAFETY PRECAUTIONS
ISO Certifications of KONICA MINOLTA, Inc., Sakai Site
JQA-E-80027
Design, development,
manufacture, service and sales
of measuring instruments
JQA-QMA15888
Design, development, manufacture/
manufacturing management, calibration, and
service of measuring instruments
©2016-2023 KONICA MINOLTA, INC.
KONICA MINOLTA, INC. Osaka, Japan
Konica Minolta Sensing Americas, Inc. New Jersey, U.S.A. PHONE: (888)473-2656 (in USA), +1(201)236-4300 (outside USA) FAX: +1(201)785-2480 E-Mail: service.sus@konicaminolta.com
Konica Minolta Sensing Europe B.V. European HQ/ BENELUX Nieuwegein, Netherlands PHONE: +31(0)30 248-1193 E-Mail: [email protected]onicaminolta.eu German Oce München, Germany PHONE: +49(0)89 4357 156 0 E-Mail: [email protected]onicaminolta.eu French Oce Roissy CDG Cedex, France PHONE: +33(0)1 80 11 10 70 E-Mail: info.fr[email protected]onicaminolta.eu UK Oce Warrington, United Kingdom PHONE: +44(0)1925 467300 E-Mail: [email protected]onicaminolta.eu Italian Oce Cinisello Balsamo, Italy PHONE: +39 02849488.00 E-Mail: [email protected]onicaminolta.eu Swiss Oce Dietikon, Switzerland PHONE: +41(0)43 322-9800 E-Mail: [email protected]onicaminolta.eu Nordic Oce VÄSTRA FRÖLUNDA, Sweden PHONE: +46(0)31 7099464 E-Mail: info.nor[email protected]onicaminolta.eu Polish Oce Wrocław, Poland PHONE: +48(0)71 73452-11 E-Mail: [email protected]onicaminolta.eu Konica Minolta (CHINA) Investment Ltd. SE Sales Division Shanghai, China PHONE: +86-(0)21-6057-1089 E-Mail: [email protected]onicaminolta.com Beijing Oce Beijing, China PHONE: +86-(0)10-8522 1551 E-Mail: [email protected]onicaminolta.com Guangzhou Oce Guangzhou, China PHONE: +86-(0)20-3826 4220 E-Mail: [email protected]onicaminolta.com Chongqing Oce Chongqing, China PHONE: +86-(0)23-6773 4988 E-Mail: [email protected]onicaminolta.com Qingdao Oce Shandong, China PHONE: +86-(0)532-8079 1871 E-Mail: [email protected]onicaminolta.com Wuhan Oce Hubei, China PHONE: +86-(0)27-6885 0586 E-Mail: [email protected]onicaminolta.com Shenzhen Oce Shenzhen, China PHONE: +86-(0)755-2868 7535 E-Mail: [email protected]onicaminolta.com Xiamen Oce Xiamen, China PHONE: +86-(0)592-7107 399 E-Mail: [email protected]onicaminolta.com Konica Minolta Sensing Singapore Pte. Ltd. Singapore PHONE: +65 6563-5533 E-Mail: se-service.sg@konicaminolta.com
Konica Minolta Sensing Korea Co., Ltd. Korean HQ Goyang-si, Korea PHONE: +82(0)2-523-9726 E-Mail: se.korea@konicaminolta.com
Cheonan Oce Cheonan-si, Korea PHONE: +82(0)41-556-9726 E-Mail: se.korea@konicaminolta.com
Addresses and telephone/fax numbers and e-mail address are subject to change without notice.
For the latest contact information, please refer to KONICA MINOLTA Worldwide Offices web page: https://konicaminolta.com/instruments/network
For correct use and for your safety, be sure to read the instruction manual before using the instrument.
●Always connect the instrument to the specified power supply voltage. Improper connection may cause a fire or
electric shock.
●Be sure to use the specified batteries. Using improper batteries may cause a fire or electric shock.
SAFETY PRECAUTIONS
ISO Certifications of KONICA MINOLTA, Inc., Sakai Site
JQA-E-80027
Design, development,
manufacture, service and sales
of measuring instruments
JQA-QMA15888
Design, development, manufacture/
manufacturing management, calibration, and
service of measuring instruments
Main Specifications System Diagram
Dimensions (Units: mm)
• KONICA MINOLTA, the Konica Minolta logo and symbol mark, “Giving Shape to Ideas” and
SpectraMagic are registered trademarks or trademarks of Konica Minolta, Inc.
• Bluetooth®is a registered trademark of Bluetooth SIG, Inc. and is used under license agreement.
• Displays shown are for illustration purpose only.
• The specifications and appearance shown herein are subject to change without notice.
58.5
φ35
50
10
4(Mounting screw height)
10
2-M3 mounting screw, depth 3.5
(Height from measuring port to screw: 4 mm)
80.581.3
Model Spectrophotometer CM-25cG
Color
Illumination/
viewing system
45°c:0°
Conforms to CIE No.15 (2004), ISO7724/1, ASTM E179,
ASTM E1164, DIN 5033 Teil7, JIS Z8722 Condition "a"
Detector Dual 40-element silicon photodiode arrays
Spectral separation
device Planar diffraction grating
Wavelength range
360 to 740 nm
Wavelength pitch 10 nm
Half bandwidth Approx. 10 nm
Measurement range
0 to 175 %; Resolution:0.01 %
Light source Pulsed xenon lamp
Measurement/
illumination area MAV:Ø8 mm/12×16 mm, SAV:Ø3 mm /12×16 mm
Repeatability
Standard deviation within ΔE*ab 0.04
(When a white calibration plate is measured 30 times at 10-second
intervals after white calibration under Konica Minolta standard conditions)
Inter-instrument
agreement
Within ΔE*ab 0.15 (MAV)
(Average for 12 BCRA Series II color tiles compared to values measured
with a master body under Konica Minolta standard conditions)
Observer 2° Standard Observer, 10° Standard Observer
Illuminant A,C,D50,D65,F2,F6,F7,F8,F10,F11,F12,ID50,ID65,User illuminant *1
(simultaneous evaluation with two illuminants possible)
Display items Spectral values/graph, colorimetric values/graph, color-difference
values/graph, pass/fail judgement, pseudocolor
Color spaces L*a*b*, L*C*h, Hunter Lab, Yxy, XYZ, and color differences in these
spaces; Munsell
Indexes MI, WI (ASTM E313-73), YI (ASTM E313-73, ASTM D1925),
ISO Brightness (ISO2470), WI/Tint (CIE), User Index*2
Color-difference
equations
ΔE*ab (CIE 1976), ΔE*94 (CIE 1994), ΔE00 (CIEDE2000), CMC (l:c),
ΔE (Hunter), ΔE99o (DIN 99o)
Gloss
Measurement geometry
60 °
Light source White LED
Detector Silicon photo diode
Color sensitivity Spectrally adjusted to CIE photopic luminous
efficiency V(λ) under CIE illuminant C
Measurement range 0 to 200 GU; Output/display resolution:0.01 GU
Measurement area MAV:Ø10 mm, SAV:Ø3 mm
Repeatability
Standard deviation
0 to 10 GU: Within 0.1 GU
10 to 100 GU: Within 0.2 GU
100 to 200 GU: Within 0.2%
(When measured 30 times at 10-second intervals under Konica
Minolta standard measurement conditions)
Inter-instrument
agreement
0 to 10 GU: Within ± 0.2 GU
10 to 100 GU: Within ± 0.5 GU
(MAV; compared to values measured with a master body under
Konica Minolta standard measurement conditions)
Standard compliance JIS Z8741, JIS K5600, ISO 2813, ISO 7668, ASTM D523-08, ASTM
D2457-13, DIN 67530
Measurement time Approx. 1 seconds (to data display/output)
Minimum measurement interval
Approx. 2 seconds
Battery performance
Approx. 3,000 measurements (approx. 1,000 measurements
when using Bluetooth) when measurements are taken at
10-second intervals at 23°C with the dedicated lithium battery
Displayed languages Japanese, English, German, French, Italian, Spanish, Chinese
(Simplified), Portuguese, Russian, Turkish, Polish
Display 2.7-inch TFT color LCD
Interfaces USB 2.0: Bluetooth (SPP compatible. Using
optional Bluetooth Module)
Data memory Target data: 2,500 measurements; Sample
data: 7,500 measurements
Power
Dedicated lithium-ion battery (removable),
USB bus power (with lithium-ion battery installed),
Special AC adapter (with lithium-ion battery installed)
Charging time Approx. 6 hours when no charge remains
Operation temperature/
humidity range
5 to 40 °C, relative humidity is 80% or less
(at 35°C) with no condensation
Storage temperature/
humidity range
0 to 45 °C, relative humidity is 80% or less
(at 35°C) with no condensation
Size (W x H x D) Approx. 81 x 81 x 224 mm
Weight Approx. 600 g (Including battery)
AC Adapter*
Computer
(commercially available)
USB Cable (2 m)
IF-A26
Wrist Strap
CR-A73
Flat Type
Battery Cover
CM-A218
Lithium-Ion
Battery
CM-A235*Lithium-Ion Battery
(spare)
CM-A235*
Battery Charger
CM-A237*
Hard Case
CM-A236
Optional
Accessories
Optional
Accessories
Standard Accessories
Stapler Type
Target Mask
CM-A216
Optional
Accessories
Connection
possible
Standard
Accessories
Spectrophotometer
CM-25cG
Bluetooth Module
CM-A219*
Bluetooth Printer
(commercially available)
Cleaning cloth
Calibration Stage
CM-A217
• Zero Calibration Hole
• White Calibration Plate
• Gloss Calibration Plate
*Not available in all areas.
Color Plates (14 colors)
Color Data Software
SpectraMagic NX2
Spectrophotometer
Configuration Tool
CM-CT1
* Available for download on the web
* Some functions are not available
without SpectraMagic NX2.
*1 Optional Color Management Software SpectraMagic NX2 is required for setting user-configured illuminants.
*2 Optional Configuration Tool CM-CT1 (Ver. 1.4 or later) and Color Management Software SpectraMagic NX2 are
required for setting user indexes.
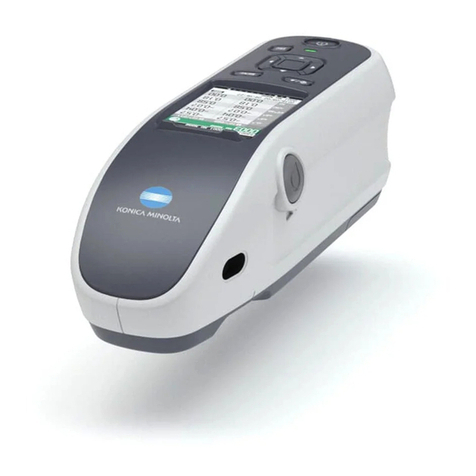
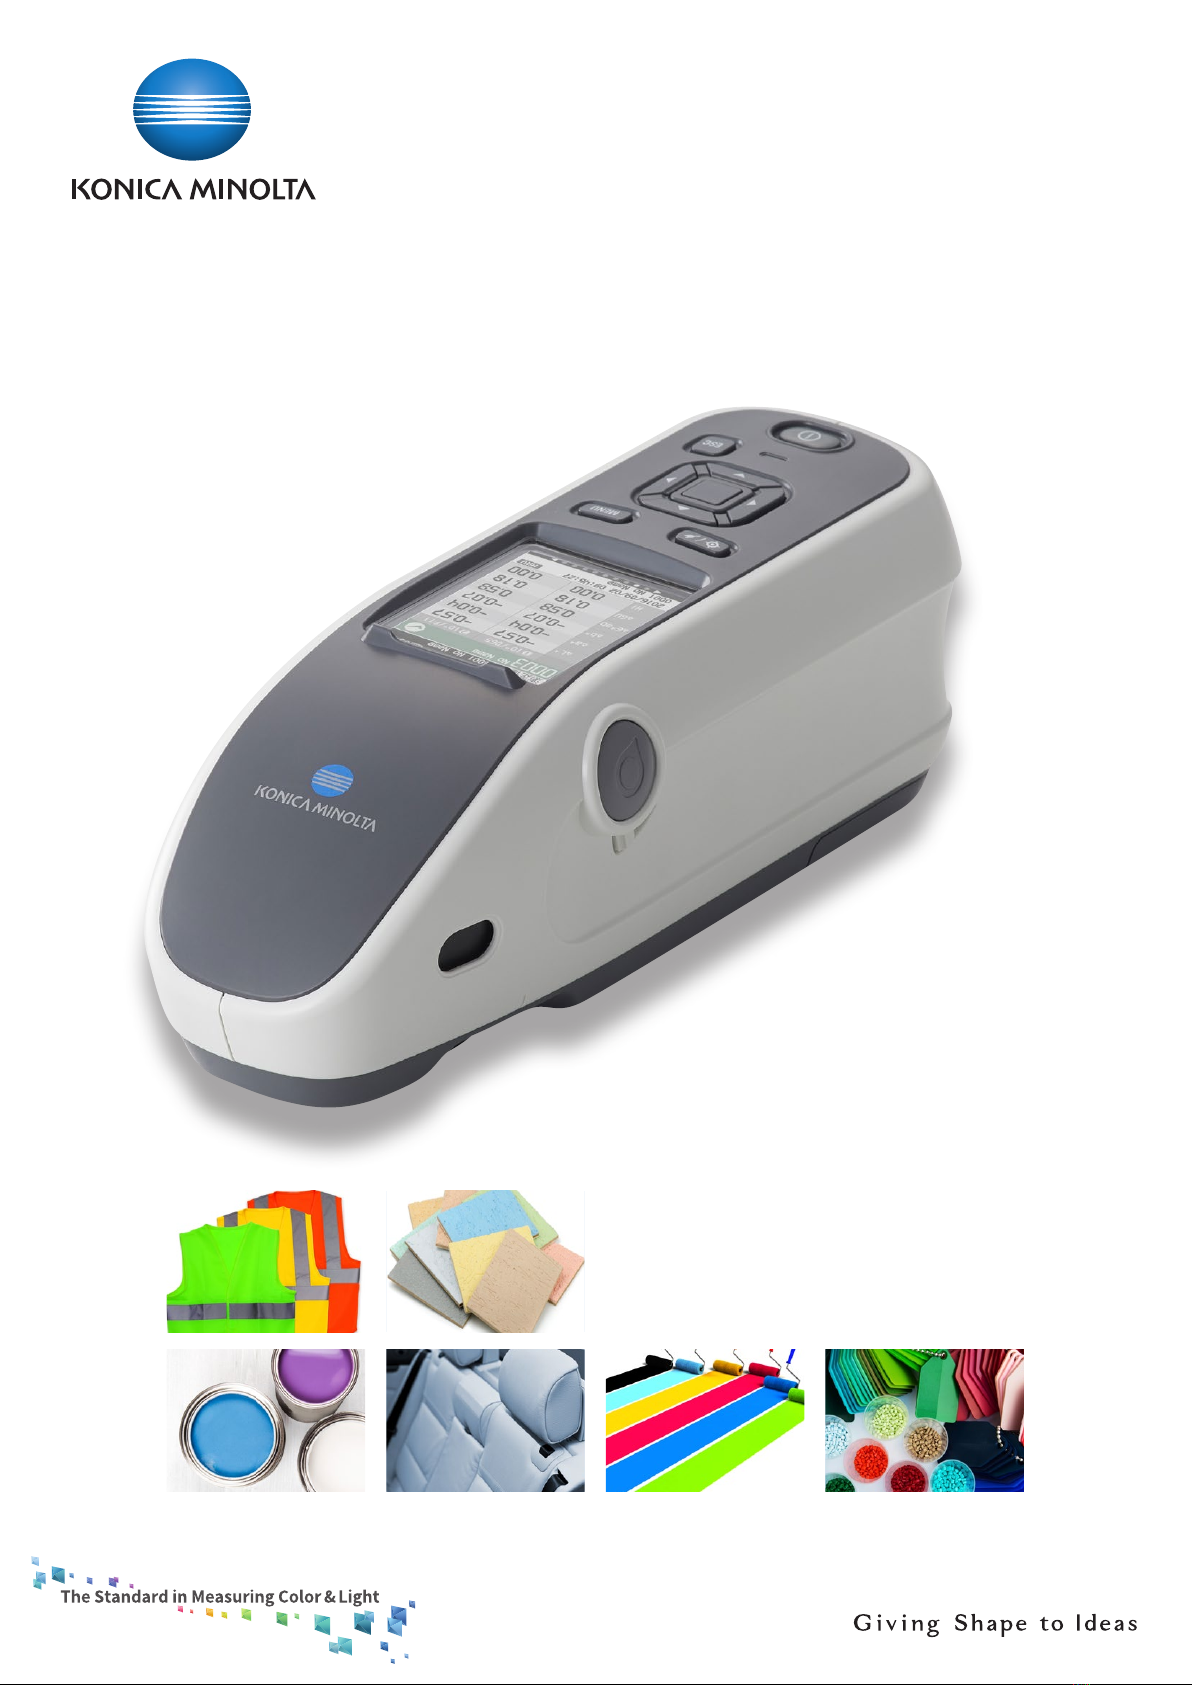
Spectrophotometer
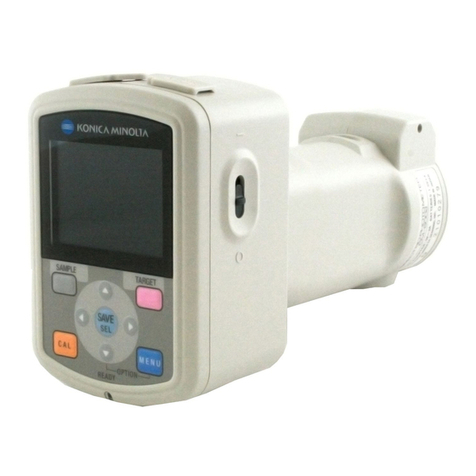
CM-25cG
New standard model for color
and gloss measurement!
