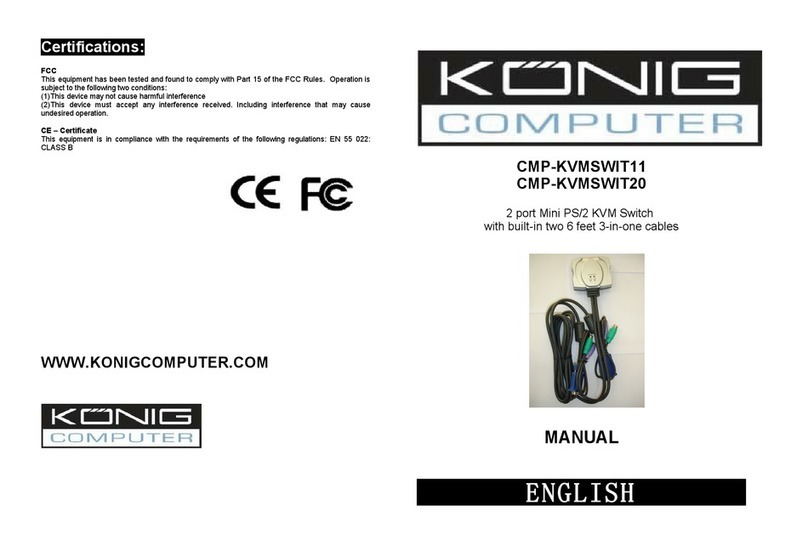
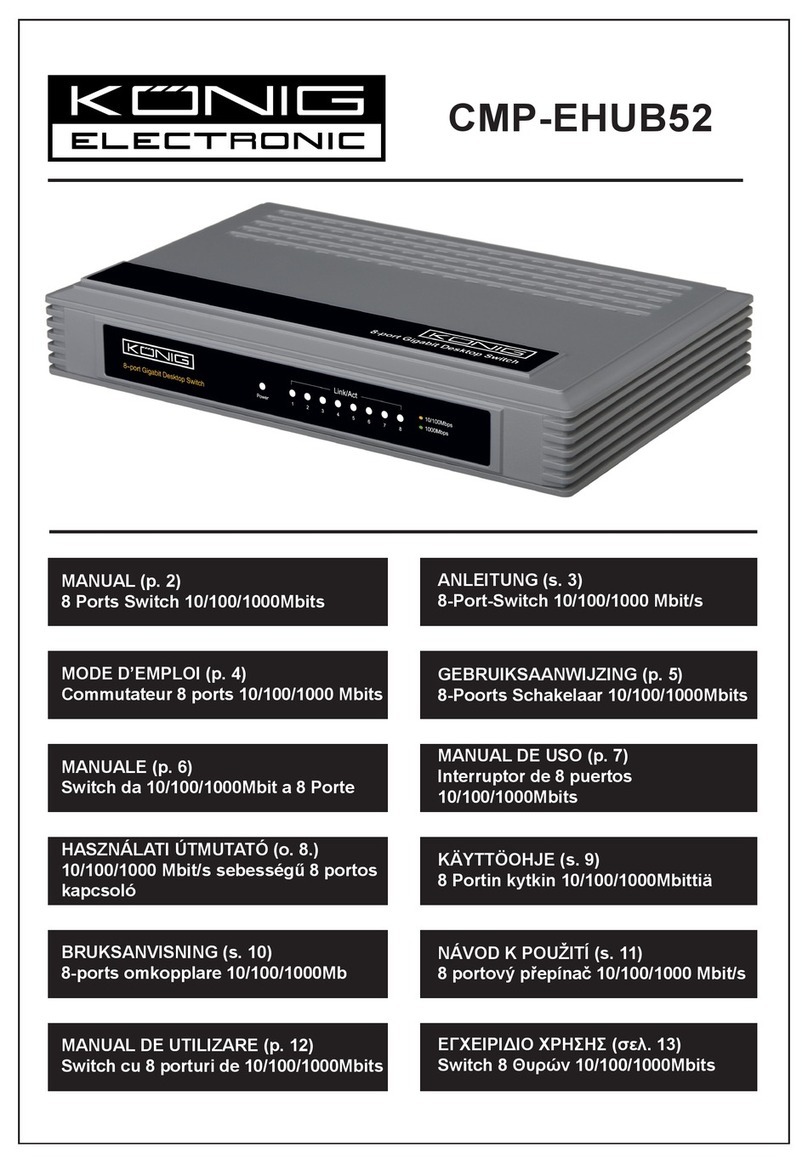
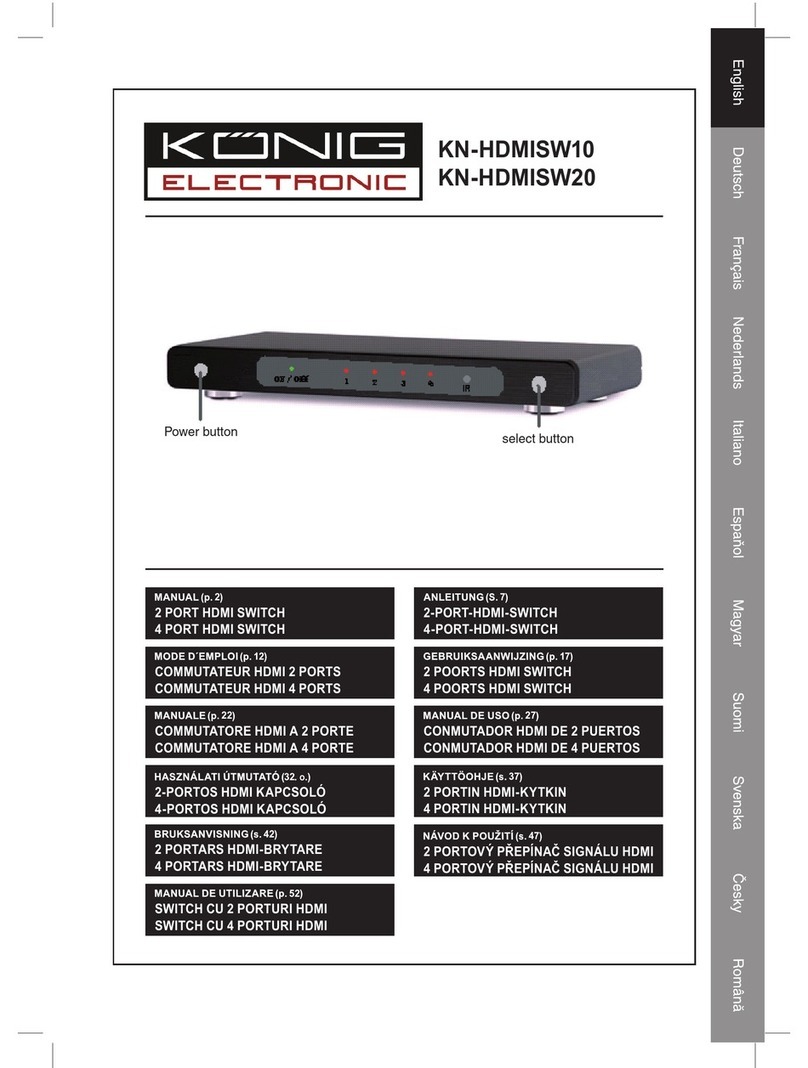
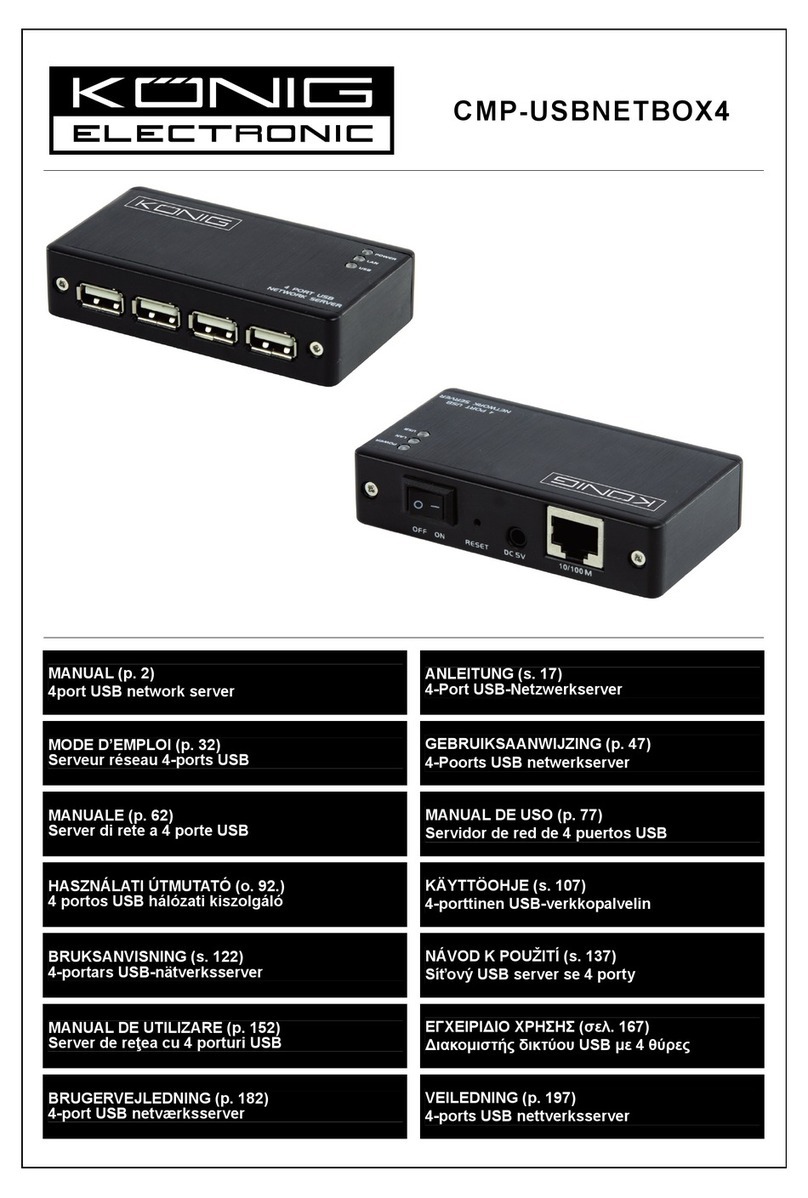
Konig CMP-KVMSWIT60 User manual

English Deutsch Français Nederlands Italiano Español Magyar Suomi Svenska Česky
CMP-KVMSWIT60
2 Port ps/2 KVM switch
with USB
MANUAL
MODE D’EMPLOI
MANUALE
HASZNÁLATI ÚTMUTATÓ
BRUKSANVISNING
ANLEITUNG
GEBRUIKSAANWIJZING
MANUAL DE USO
KÄYTTÖOHJE
NÁVOD K POUŽITÍ

Česky Svenska Suomi Magyar Español Italiano Nederlands Français Deutsch English
2
Configuration:
After installation, you can either choose the "SELECT" button that leads
You through multiple computers or Hot Key controls.
Hardware Installation
Back of PC Back of PC
SELECT button

English Deutsch Français Nederlands Italiano Español Magyar Suomi Svenska Česky
3
Keyboard Hot Key Menu:
Press Scroll Lock twice, and you will hear an audible switching confirmation tone to
ensure you are already in the Hot Key Mode (LED is blinking), then Pressing either
number 1, number 2, F1, or F2 to switch from one computer to another.
: To Hot-Key mode.
: Switch to PC1 but Audio still with PC2. PC1 LED is
blinking.
: Switch to PC2 but Audio still with PC1. PC2 LED is
blinking.
: Switch computer and Audio to PC1 simultaneously.
PC1 LED is solid.
: Switch computer and Audio to PC2 simultaneously.
PC2 LED is solid.
or : To forward/backward port.
any keys : End the auto
scan.
Open Close : Close the buzzer.
Close Open : Open the buzzer.
: Reset Mouse.
: End the Hot-Key mode.
PS:
Auto scan intervals: 10 seconds
In the Auto Scan mode, the KVM switch remains on one port for 10 seconds before
switching to the next. Please notice that the mouse and keyboard control will be
restricted in the Auto Scan mode.
P.S: Escape from Hot Key Mode, if you don’t press any buttons after 4 or 5 seconds.
This KVM Switch will not detect whether a computer is on or off if the "Power On"
function is set in the Bios. Meaning, when you switch to the computer that is turned off,
there will be nothing displayed on the monitor.

Česky Svenska Suomi Magyar Español Italiano Nederlands Français Deutsch English
4
Safety precautions:
To reduce risk of electric shock, this product should ONLY be opened by an authorized
technician when service is required. Disconnect the product from mains and other
equipment if a problem should occur. Do not expose the product to water or moisture.
Warranty:
No guarantee or liability can be accepted for any changes and modifications of the
product or damage caused due to incorrect use of this product.
General:
Designs and specifications are subject to change without notice.
All logos brands and product names are trademarks or registered trademarks of their
respective holders and are hereby recognized as such.
Attention:
This product is marked with this symbol. It means that used electrical and
electronic products should not be mixed with general household waste.
There is a separate collections system for these products
Copyright ©

English Deutsch Français Nederlands Italiano Español Magyar Suomi Svenska Česky
1
CMP-KVMSWIT60
2 Port PS/2 KVM-Switch
mit USB
MANUAL
MODE D’EMPLOI
MANUALE
HASZNÁLATI ÚTMUTATÓ
BRUKSANVISNING
ANLEITUNG
GEBRUIKSAANWIJZING
MANUAL DE USO
KÄYTTÖOHJE
NÁVOD K POUŽITÍ

Česky Svenska Suomi Magyar Español Italiano Nederlands Français Deutsch English
2
Konfiguration:
Nach der Installation können Sie entweder die Taste "SELECT" wählen, die Sie
durch die Konfiguration mehrerer Computer leitet oder die Hotkey-Steuerungen.
Hardwareinstallation
Rückseite des PCs Rückseite des PCs
SELECT Taste

English Deutsch Français Nederlands Italiano Español Magyar Suomi Svenska Česky
3
Tastatur Hotkey-Menü:
Drücken Sie die Taste "Rollen" zwei Mal. Sie hören eine akustischen Umschaltton um
sicherzustellen, dass Sie sich bereits im Hotkey-Modus befinden (LED blinkt). Drücken
Sie anschließend entweder die Nummer 1, Nummer 2, F1 oder F2, um von einem
Computer zum nächsten umzuschalten.
: In den Hotkey-Modus.
: Umschalten auf PC1 aber Audio kommt noch immer von PC2.
Die PC1 LED blinkt.
: Umschalten auf PC2 aber Audio kommt noch immer von PC1.
Die PC2 LED blinkt.
: Computer und Audio gleichzeitig auf PC1 umschalten. PC1
LED leuchtet dauerhaft.
: Computer und Audio gleichzeitig auf PC2 umschalten. PC2
LED leuchtet dauerhaft.
oder : Zum nächsten/vorherigen Anschluss.
und Tasten : automatische Suche
beenden.
Öffnen Schließen : Summer abschalten.
Öffnen Schließen : Summer einschalten.
: Maus zurücksetzen.
: Hotkey-Modus beenden.
PS:
Automatische Suchintervalle: 10 Sekunden
Im automatischen Suchmodus bleibt der KVM-Switch für 10 Sekunden an einem
Anschluss, bevor er zum nächsten umschaltet. Bitte beachten Sie, dass die Steuerung
von Maus und Tastatur im automatischen Suchmodus eingeschränkt sind.
P.S: Hotkey-Modus beenden, wenn Sie innerhalb von 4 oder 5 Sekunden keine Taste
drücken.
Dieser KVM-Switch kann nicht erkennen, ob ein Computer ein- oder ausgeschaltet ist,
wenn die Funktion "Power On" im Bios eingestellt ist. Das heißt, wenn Sie zu einem
Computer umschalten, der ausgeschaltet ist, wird auf dem Monitor nichts dargestellt.

Česky Svenska Suomi Magyar Español Italiano Nederlands Français Deutsch English
4
Sicherheitsvorkehrungen:
Um das Risiko eines elektrischen Schlags zu verringern, sollte dieses Produkt
AUSSCHLIESSLICH von einem autorisierten Techniker geöffnet werden, wenn eine
Wartung erforderlich ist. Trennen Sie das Produkt vom Stromnetz und anderen Geräten,
wenn ein Problem auftreten sollte. Sorgen Sie dafür, dass das Gerät nicht mit Wasser
oder Feuchtigkeit in Berührung kommt.
Garantie:
Es kann keine Garantie oder Haftung für irgendwelche Änderungen oder Modifikationen
des Produkts oder für Schäden übernommen werden, die aufgrund einer nicht
ordnungsgemäßen Anwendung des Produkts entstanden sind.
Allgemein:
Konstruktionen und technische Daten können ohne vorherige Ankündigung geändert
werden.
Alle Logos, Marken und Produktnamen sind Warenzeichen oder registrierte
Warenzeichen ihrer jeweiligen Eigentümer und werden hiermit als solche anerkannt.
Achtung:
Dieses Produkt ist mit diesem Symbol gekennzeichnet. Es bedeutet,
dass die verwendeten elektrischen und elektronischen Produkte nicht im
allgemeinen Haushaltsmüll entsorgt werden dürfen. Für diese Produkte
stehen gesonderte Sammelsysteme zur Verfügung.
Copyright ©

English Deutsch Français Nederlands Italiano Español Magyar Suomi Svenska Česky
1
CMP-KVMSWIT60
Commutateur Clavier/Ecran/
Souris ps/2 2 ports
avec port USB
MANUAL
MODE D’EMPLOI
MANUALE
HASZNÁLATI ÚTMUTATÓ
BRUKSANVISNING
ANLEITUNG
GEBRUIKSAANWIJZING
MANUAL DE USO
KÄYTTÖOHJE
NÁVOD K POUŽITÍ

Česky Svenska Suomi Magyar Español Italiano Nederlands Français Deutsch English
2
Configuration :
Après l'installation vous pouvez soit choisir la touche "SELECT" qui vous fait basculer
entre les différents PC ou choisir les commandes de Raccourcis Clavier.
Installation matérielle
Arrière du PC Arrière du PC
Touche SELECT
(SELECTIONNER)

English Deutsch Français Nederlands Italiano Español Magyar Suomi Svenska Česky
3
Menu touche de raccourcis clavier :
Appuyez deux fois sur la touche Arrêt Défil, vous entendez alors un beep de confirmation
de commutation qui vous indique que vous êtes déjà en mode Raccourcis Clavier (le
voyant clignote), appuyez ensuite soit sur les chiffres 1 ou 2, ou sur les touches F1 ou F2
pour basculer d'un ordinateur à l'autre.
: Passage en mode Raccourcis Clavier.
: Commutation au PC1 mais l'audio est toujours sur le PC2. Le
voyant PC1 clignote.
: Commutation au PC2 mais l'audio est toujours sur le PC1. Le
voyant PC2 clignote.
: Commutation au PC1 avec l'audio simultanément. Le voyant PC1
est fixe.
: Commutation au PC2 avec l'audio simultanément. Le voyant PC2
est fixe.
ou : Pour avancer/reculer de port en port.
n'importe quelles touches : Arrêter la
recherche
automatique.
Ouvrir Fermer : Arrêter le buzzer.
Fermer Ouvrir : Activer le buzzer.
: Réinitialisation de la souris.
: Quitter le mode Raccourcis Clavier.
PS :
Intervalles de recherche automatique : 10 secondes
En mode Auto Scan (Recherche Automatique), le commutateur Clavier/Ecran/Souris
reste sur un port pendant 10 secondes avant de passer au suivant. Sachez que les
commandes souris et clavier sont restreintes en mode Auto Scan.
P.S : Quitte le mode Raccourcis Clavier si aucune touche n'est enfoncée dans les 4 à 5
secondes.
Ce commutateur C/E/S ne détecte pas si un ordinateur est éteint ou allumé si la fonction
"Power On" est paramétrée sur Bios. Ce qui signifie que si vous permutez sur un
ordinateur qui est éteint, rien ne sera affiché à l'écran.

Česky Svenska Suomi Magyar Español Italiano Nederlands Français Deutsch English
4
Consignes de sécurité :
Afin de réduire les risques de chocs électriques, ce produit ne doit être ouvert QUE par
un technicien qualifié agréé en cas de réparation. Débranchez l'appareil du secteur et
des autres équipements en cas de problème. N'exposez jamais l'appareil à l'eau ou à
l'humidité.
Garantie :
Aucune garantie ou responsabilité ne sera acceptée en cas de modification et/ou
de transformation du produit ou en cas de dommages provoqués par une utilisation
incorrecte de l'appareil.
Généralités :
Le design et les caractéristiques techniques sont sujets à modification sans notification
préalable.
Tous les logos de marques et noms de produits sont des marques déposées ou
immatriculées dont leurs détenteurs sont les propriétaires et sont donc reconnus
comme telles dans ce document.
Attention :
Ce symbole figure sur l'appareil. Il signifie que les produits électriques et
électroniques ne doivent pas être jetés avec les déchets domestiques. Le
système de collecte est différent pour ce genre de produits.
Copyright ©

English Deutsch Français Nederlands Italiano Español Magyar Suomi Svenska Česky
1
CMP-KVMSWIT60
2 poorts ps/2 KVM Switch
met USB
MANUAL
MODE D’EMPLOI
MANUALE
HASZNÁLATI ÚTMUTATÓ
BRUKSANVISNING
ANLEITUNG
GEBRUIKSAANWIJZING
MANUAL DE USO
KÄYTTÖOHJE
NÁVOD K POUŽITÍ

Česky Svenska Suomi Magyar Español Italiano Nederlands Français Deutsch English
2
Configuratie:
Na het installeren van de hardware kunt u middels de "SELECT" toets of via een
sneltoetsreeks (Hot Keys) tussen de computers schakelen.
Hardware installatie
Achterzijde van PC Achterzijde van PC
SELECT knop

English Deutsch Français Nederlands Italiano Español Magyar Suomi Svenska Česky
3
Toetsenbord Hot Key (sneltoets) menu:
Druk tweemaal op de Scroll Lock toets. U zult nu een signaal ('beep') horen ter
bevestiging dat u in de Sneltoets (Hot Key) modus bent (LED knippert). Druk vervolgens
op cijfertoets 1, cijfertoets 2, functietoets F1 of functietoets F2 om van de ene naar de
andere computer te schakelen.
: naar Hot-Key modus.
: schakelt naar PC1 maar audio komt nog van PC2. PC1 LED
knippert.
: schakelt naar PC2 maar audio komt nog van PC1. PC2 LED
knippert.
: schakelt naar PC1 inclusief audio. PC1 LED brandt.
: schakelt naar PC2 inclusief audio. PC2 LED brandt.
of : vorige/volgende poort.
willekeurige toets : einde autoscan.
Aan Uit : buzzer uit.
Uit Aan : buzzer aan.
: reset muis.
: Hot-Key modus verlaten.
NB:
Autoscan interval: 10 seconden
In de Autoscan modus, schakelt de KVM switch iedere 10 seconden naar een volgende
poort. Let op: in de autoscan modus zal het gebruik van muis en keyboard beperkt
zijn.
NB: de Hot-Key modus wordt na 4 of 5 seconden automatisch beëindigd als er binnen
deze tijd niet op een toets gedrukt wordt.
Deze KVM Switch zal niet vaststellen of een computer AAN of UIT staat als de "Power
On" functie in de Bios geactiveerd is. Dat wil zeggen, wanneer u naar een computer
schakelt die UIT staat, dan wordt er op de monitor niets weergegeven.

Česky Svenska Suomi Magyar Español Italiano Nederlands Français Deutsch English
4
Veiligheidsvoorzorgsmaatregelen:
Wanneer service of reparatie noodzakelijk is, mag dit product UITSLUITEND door
een geautoriseerde technicus geopend worden; dit om de kans op het krijgen van een
elektrische schok te voorkomen. Als er een probleem optreedt, koppel het product dan
los van het lichtnet en van andere apparatuur. Stel het apparaat niet bloot aan water of
vocht.
Garantie:
Voor wijzigingen en veranderingen aan het product of schade veroorzaakt door een
verkeerd gebruik van dit product, kan geen aansprakelijkheid worden geaccepteerd.
Tevens vervalt daardoor de garantie.
Algemeen:
Wijziging van ontwerp en specificaties zonder voorafgaande mededeling onder
voorbehoud.
Alle logo's, merken en productnamen zijn handelsmerken of geregistreerde
handelsmerken van de respectievelijke eigenaren en worden hierbij als zodanig
erkend.
Let op:
Dit product is voorzien van dit symbool. Dit symbool geeft aan dat
afgedankte elektrische en elektronische producten niet met het gewone
huisafval verwijderd mogen worden. Voor dit soort producten zijn er speciale
inzamelingspunten.
Copyright ©

English Deutsch Français Nederlands Italiano Español Magyar Suomi Svenska Česky
1
CMP-KVMSWIT60
Commutatore KVM ps/2 a 2
porte con USB
MANUAL
MODE D’EMPLOI
MANUALE
HASZNÁLATI ÚTMUTATÓ
BRUKSANVISNING
ANLEITUNG
GEBRUIKSAANWIJZING
MANUAL DE USO
KÄYTTÖOHJE
NÁVOD K POUŽITÍ

Česky Svenska Suomi Magyar Español Italiano Nederlands Français Deutsch English
2
Configurazione:
Dopo l'installazione, è possibile scegliere indifferentemente il pulsante "SELECT"
(SELEZIONA) che metterà a disposizione più computer o controlli hotkey (scelta
rapida).
Installazione hardware
Retro del PC Retro del PC
Pulsante SELECT
(Seleziona)

English Deutsch Français Nederlands Italiano Español Magyar Suomi Svenska Česky
3
Menu hotkey della tastiera:
Premere due volte BlocScorr. Si sentirà un segnale di conferma della commutazione
che indicherà l'inserimento della modalità Hotkey (il LED lampeggia). Premere quindi
indifferentemente il numero 1, il numero 2, F1 o F2 per passare da un computer
all'altro.
: Alla modalità hotkey.
: Passare al PC1 ma con l'audio ancora sul PC2. Il LED PC1
lampeggia.
: Passare al PC2 ma con l'audio ancora sul PC1. Il LED PC2
lampeggia.
: Commutare contemporaneamente il computer e l'audio sul
PC1. Il LED PC1 è fisso.
: Commutare contemporaneamente il computer e l'audio sul
PC2. Il LED PC2 è fisso.
oppure : Per cambiare porta in avanti o
indietro.
qualsiasi tasto : Finire la scansione
automatica.
Aprire Chiudere : Chiudere il segnalatore acustico.
Chiudere Aprire : Aprire il segnalatore acustico.
: Reset mouse.
: Terminare la modalità hotkey.
PS:
Intervalli scansione automatica: 10 secondi
Nella modalità Scansione automatica, il commutatore KVM resta su una sola porta
per 10 secondi, prima di passare alla successiva. Si ricordi che il controllo di mouse e
tastiera sarà limitato nella modalità Scansione automatica.
P.S.: Uscita dalla Modalità hotkey se non si preme alcun pulsante dopo 4 o 5 secondi.
Questo il commutatore KVM non rileva se il computer è acceso o spento, nel caso che
la funzione "Power On" (accensione) sia impostata nel Bios. In pratica, se si passa al
computer spento, non apparirà nulla sul monitor.

Česky Svenska Suomi Magyar Español Italiano Nederlands Français Deutsch English
4
Precauzioni di sicurezza:
Per ridurre il rischio di scosse elettriche, questo prodotto deve essere aperto
ESCLUSIVAMENTE da personale tecnico specializzato, se occorre assistenza. Se si
dovessero verificare dei problemi, scollegare il prodotto dall'alimentazione di rete e da
ogni altra apparecchiatura. Non esporre il prodotto ad acqua o umidità.
Garanzia:
Non sarà accettata alcuna garanzia o responsabilità in relazione a cambiamenti
e modifiche del prodotto o a danni determinati dall'uso non corretto del prodotto
stesso.
Generalità:
Il design e le caratteristiche tecniche sono soggetti a modifica senza necessità di
preavviso.
Tutti i marchi a logo e i nomi di prodotto sono marchi commerciali o marchi registrati
appartenenti ai rispettivi titolari e sono in questo documento riconosciuti come tali.
Attenzione:
Il prodotto è contrassegnato con questo simbolo, con il quale si indica che i
prodotti elettrici ed elettronici usati non devono essere gettati insieme ai rifiuti
domestici. Per questi prodotti esiste un sistema di raccolta differenziata.
Copyright ©
Table of contents
Languages:
Other Konig Switch manuals

Konig
Konig CMP-USBNETBOX4 User manual

Konig
Konig CMP-KVMSWIT75 User manual

Konig
Konig CMP-EHUB52 User manual

Konig
Konig CMP-KVMSWIT50 User manual

Konig
Konig KN-HDMISW10 User manual

Konig
Konig CMP-EHUB41 User manual

Konig
Konig CMP-KVMSWIT20 User manual

Konig
Konig KN-HDMISW25 User manual

Konig
Konig KN-HDMISW02 User manual

Konig
Konig CMP-KVMSWIT70 User manual