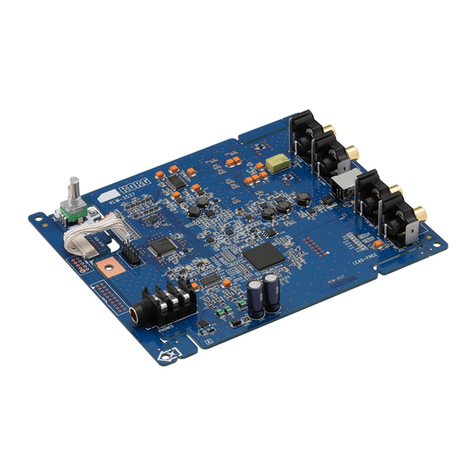
Solder the 5x newly installed wires to the pads on the MIDI board as shown:8.
Position the MIDI board in the battery compartment so that the ribbon cable from the KLM-
448A board, when folded, will reach the IDC socket. Plug the cable into the socket.
9.
Button
+5V
SYNC, pin 5
SYNC, pin 4
{
Reconnect the 2x at ex cables and 3x Molex connectors from the top case to the bottom
case. Close the KPR-77, ensuring that no wires are getting pinched or stretched. Replace the
7x case screws.
10.
MIDI Setup
e rst time you power on the KPR-77 aer installing the kit, it will not respond to notes as
the MIDI channel has not yet been initialised. To do so (and to change it at any point in the
future), press and hold the MIDI Learn button. While holding the button down, trigger a note
on the channel you want the KPR-77 to receive on.
e metronome bell will sound 3 times, indicating that the channel has been set. You can
now release the button. e channel will be stored in EEPROM and recalled on start-up. e
velocity of the note is taken as the accent threshold velocity.
MIDI Implementation
e KPR-77 will respond to MIDI Note On messages on a specic channel (see above). Drum
voices will play accented if the velocity is greater than the accent threshold velocity, depending
on the position of the ACCENT slider. Using MIDI will not aect the operation of the internal
sequencer - both can trigger voices simultaneously. e KPR-77’s original SYNC functionality
is unchanged, although it is not possible to use it at the same time as MIDI.
e drum voices are assigned to the following MIDI notes:
Bass Drum 36 (C3)
Snare Drum 38 (D3)
Closed Hi-Hat 42 (F#3)
Open Hi-Hat 46 (A#3)
High Tom 48 (C4)
Low Tom 45 (A3)
Hand Claps 39 (D#3)
Cymbal 49 (C#4)
Metronome (Click) 37 (C#3)
Metronome (Bell) 56 (G#4)


