System Ver. 1.5 Update Guide
Thank you for purchasing and using the Korg MR-2000S 1-bit studio recorder.
This update adds new functionality that makes the MR-2000S even easier to use.
1. MR Control Link function
The newly added MR Control Link function lets you per-
form synchronized recording and playback using multiple
MR-2000S units.
Connections
Use an S/P DIF cable to connect the
master MR-2000S unit's rear panel
S/P DIF OUT to the first slave MR-
2000S unit's rear panel S/P DIF IN
jack.
In the same way, connect the first
slave unit's S/P DIF OUT jack to the
second slave unit's S/P DIF IN jack,
and the third slave unit's S/P DIF
OUT jack to the fourth slave unit's
S/P DIF IN jack.
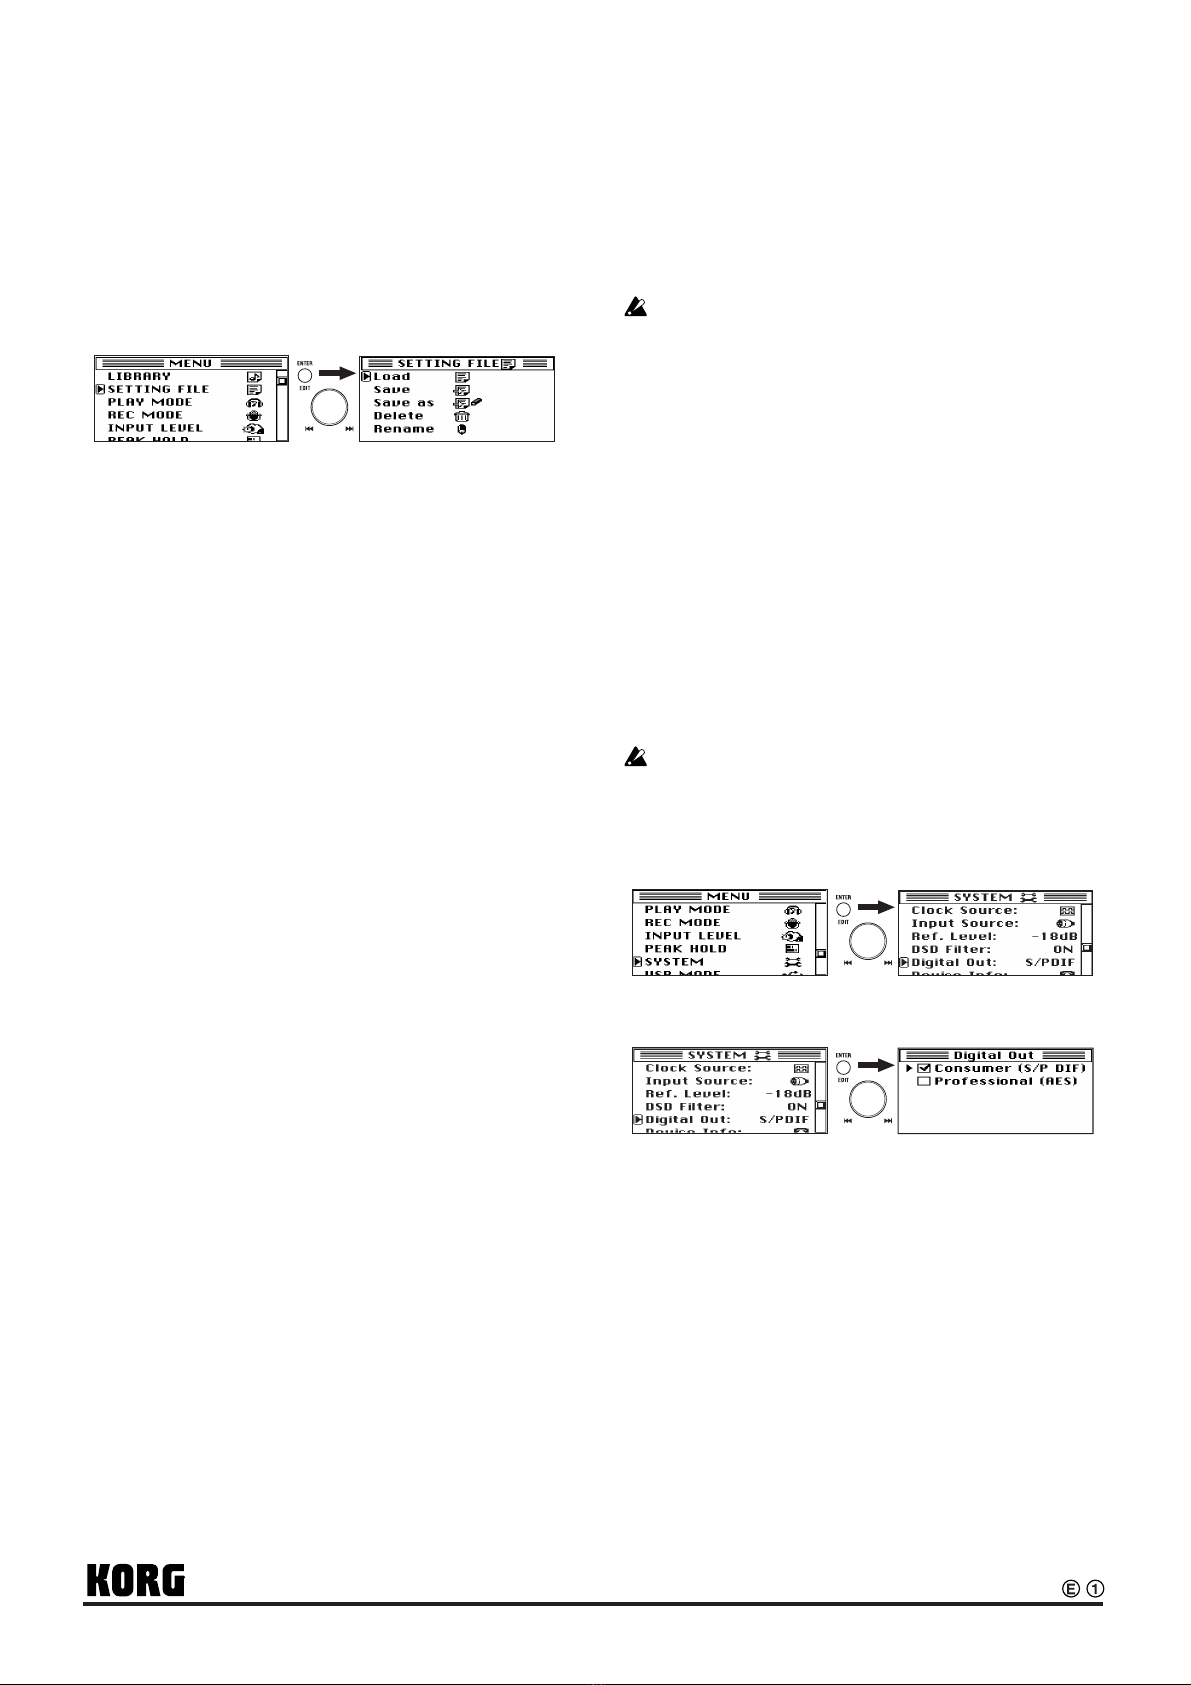
Settings
In the menu screen, select and confirm "SYSTEM," and then
select and confirm "MR Control Link."
In the MR Control Link screen, place a check mark in the
appropriate check box.
Master
• When you operate the dial or a button, a corresponding
synchronization message for that operation will be sent
to all connected MR-2000S units that are set to the
"Slave" setting.
• MR-2000S units that are set to the "Master" setting will
not respond to incoming synchronization messages.
Slave
• The SYSTEM setting "Clock Source" will automatically
be set to S/P DIF.
• If the SYSTEM setting "Input Source" is S/P DIF, it will
automatically be set to XLR. You can subsequently
change it to RCA if desired.
• If the SYSTEM setting "Digital Out" is Professional
(AES), it will automatically be set to Consumer (S/P
DIF).
•The unit will synchronize to the master MR-2000S unit's
record, play/pause, FF, and REW button operations.
- The dial and buttons of slave MR-2000S units can be
operated, but synchronization messages will not be
transmitted to other connected slave MR-2000R units.
Off
• Synchronization messages will not be transmitted or
received.
Operation
• During recording, the REC mode setting of a slave unit
will be the same as the master MR-2000S unit's setting.
• If you insert a marker on the master MR-2000S during
recording, a marker will be assigned at the same time
location on the slave units as well.
• When you move to a marker on the master MR-2000S,
the slave units will move to the same time location.
•You can move to a marker either during playback or
while stopped.
• If you perform fast-forward or rewind on the master
MR-2000S, the slave units will move to the same time
location when you release the button on the master unit.
• If you operate the dial of the master MR-2000S unit to
return to the beginning of the song, the slave units will
also return to the beginning of the song.
Be aware that if you pause the master MR-2000S unit
during recording, the slave units will not be at the same
time location.
2. Selection of stereo or mono as the
recording format
After you select and confirm "REC MODE" in the menu
screen, turn the dial to add a check mark to the desired check
box of the Stereo/Dual Mono screen.
If you select "Dual Mono," the L/R audio will be recorded as
separate audio files in the project folder.
Example:
WAV_0001_001_1.WAV
(monaural file for the L-channel input)
WAV_0001_001_2.WAV
(monaural file for the R-channel input)
3. Dual Mono playback of monaural files
When playing a project that was recorded with "Dual Mono"
selected as the recording format, or if there are monaural
files whose name ends in a numeral (e.g., trk1) or that are
likely to be a pair (e.g., _L, _R), they will be played back as a
Dual Mono stereo pair.
If the paired file is not found, that monaural file will be out-
put from both channels.
If the paired file is not found, the same sound will be
output from both channels.
S/P DIF
OUT IN
S/P DIF
OUT IN
S/P DIF
OUT IN
S/P DIF
OUT IN
Slave
Slave
Slave
Example:
Four units, eight tracks
Master