Before You Start Set Includes / DOʼs and DONʼTs
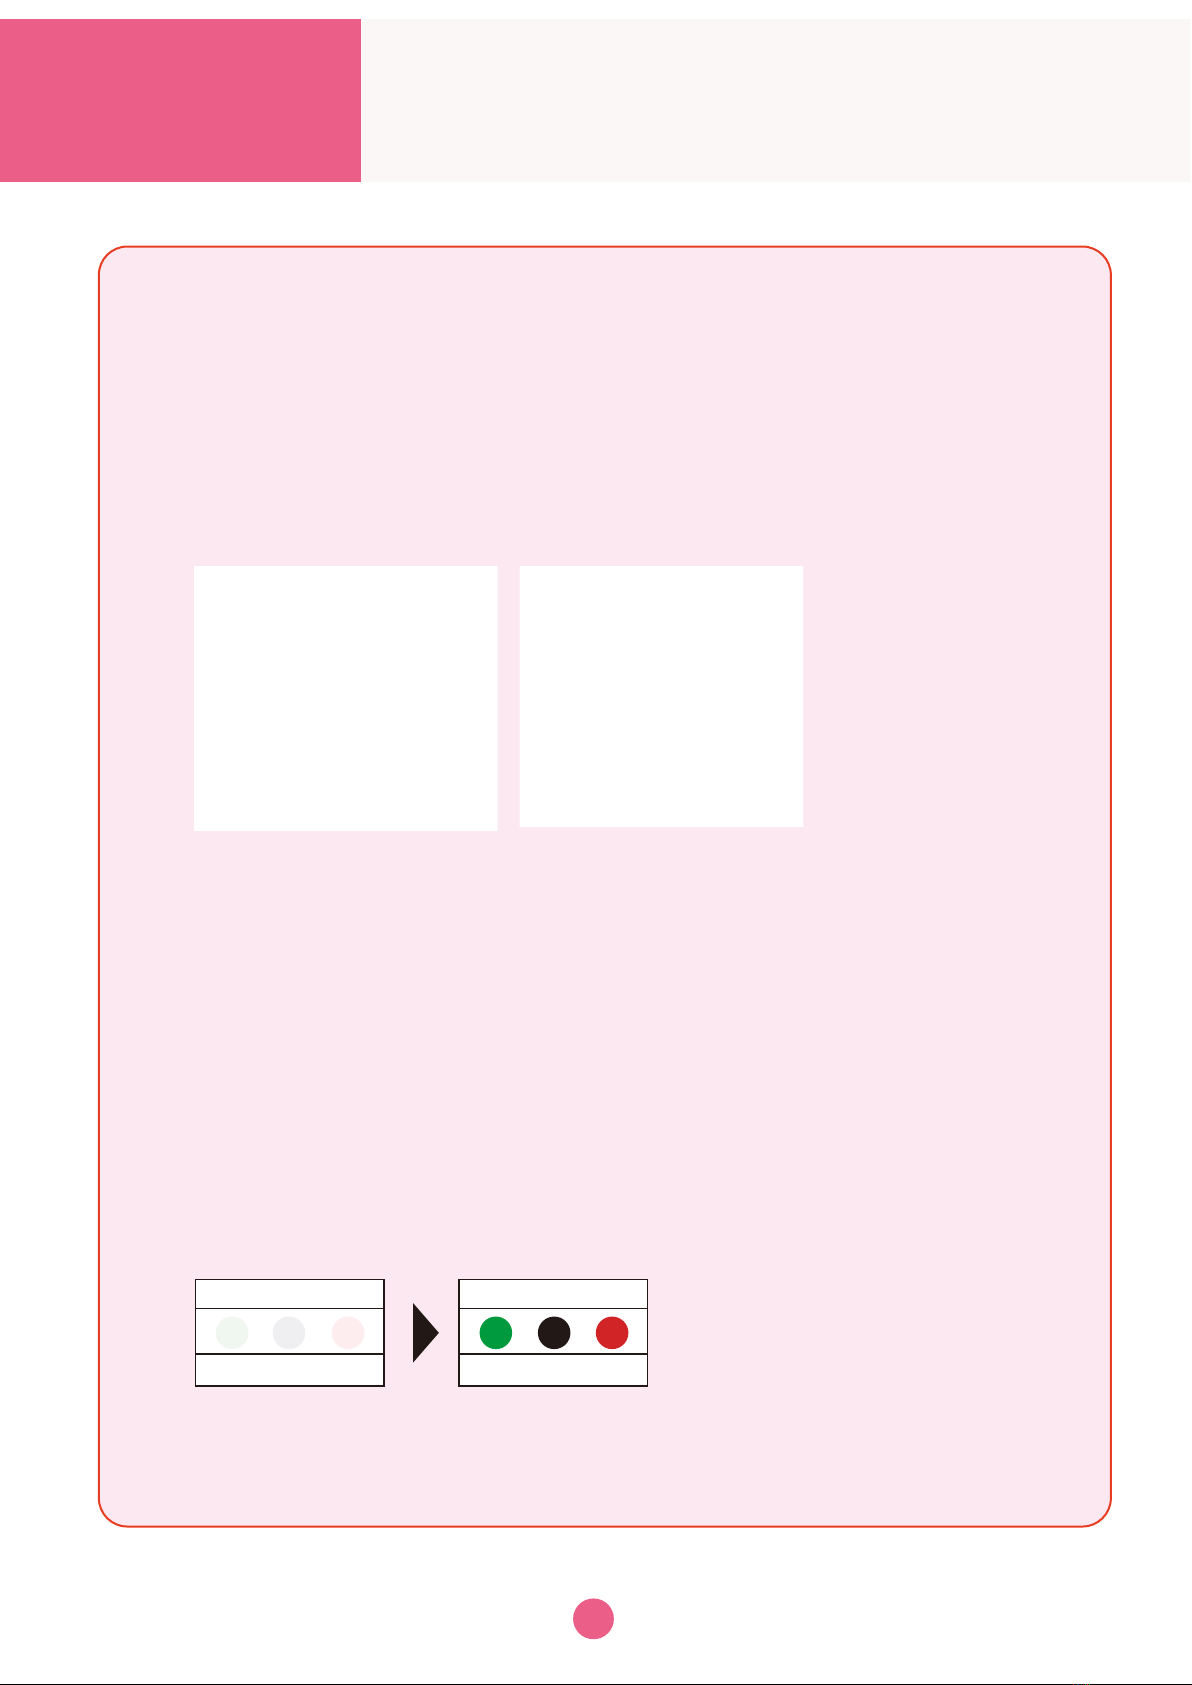
Set Includes
Beforeyoustart,ensurethatyouhaveallcomponentslistedbelow.
Note:Pleasestoreitawarefromhigh-temperature,humidityanddirectsunlight.
a
b
c
d
e
f
g
h
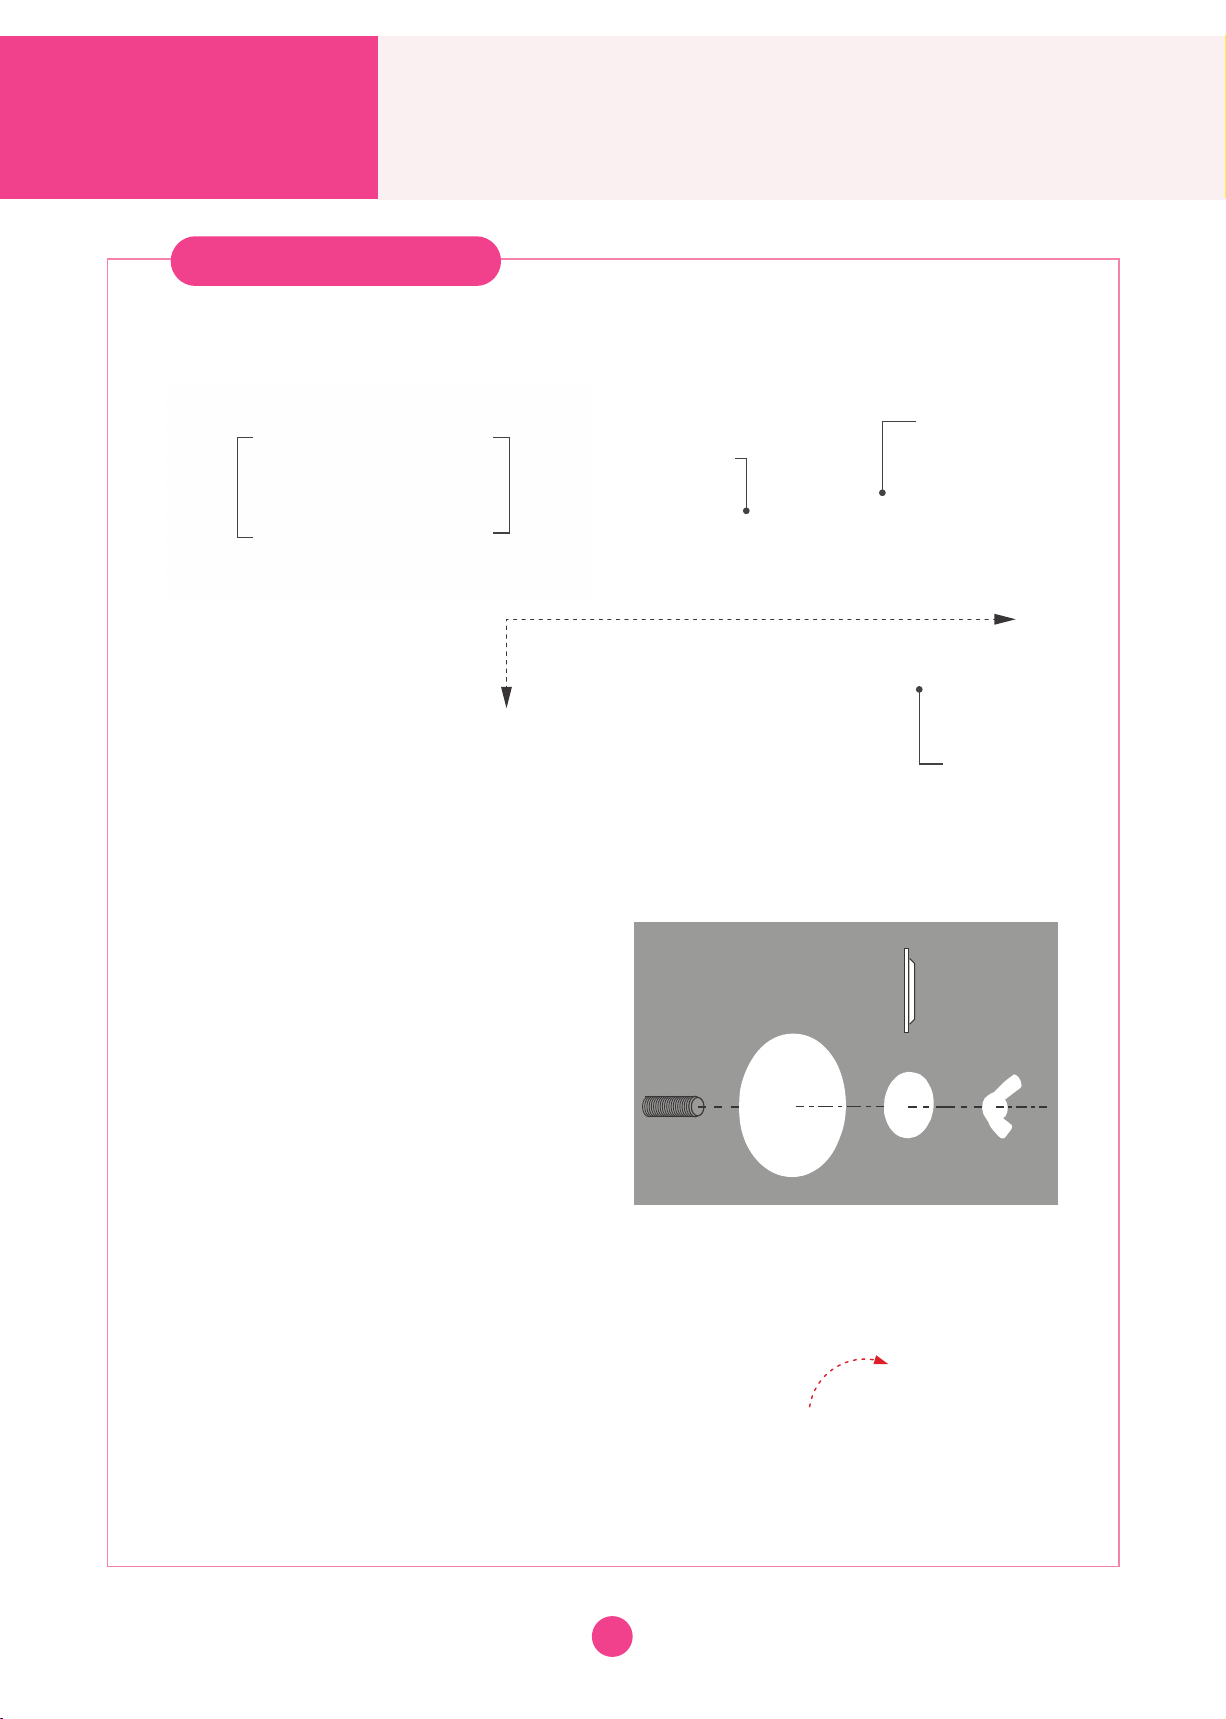
g. talcumpowder
h. Fittingpartsforthighs
Instructionmanual
5
1
3
6
1
1
1
1a. Maternalbody
b. Vaginalunit
c. Cervicalunit
d.
Setofcervicaldilation
modules(5variations)
e. Holderforthecervical
dilationmodule
f. Lubricant(150ml)
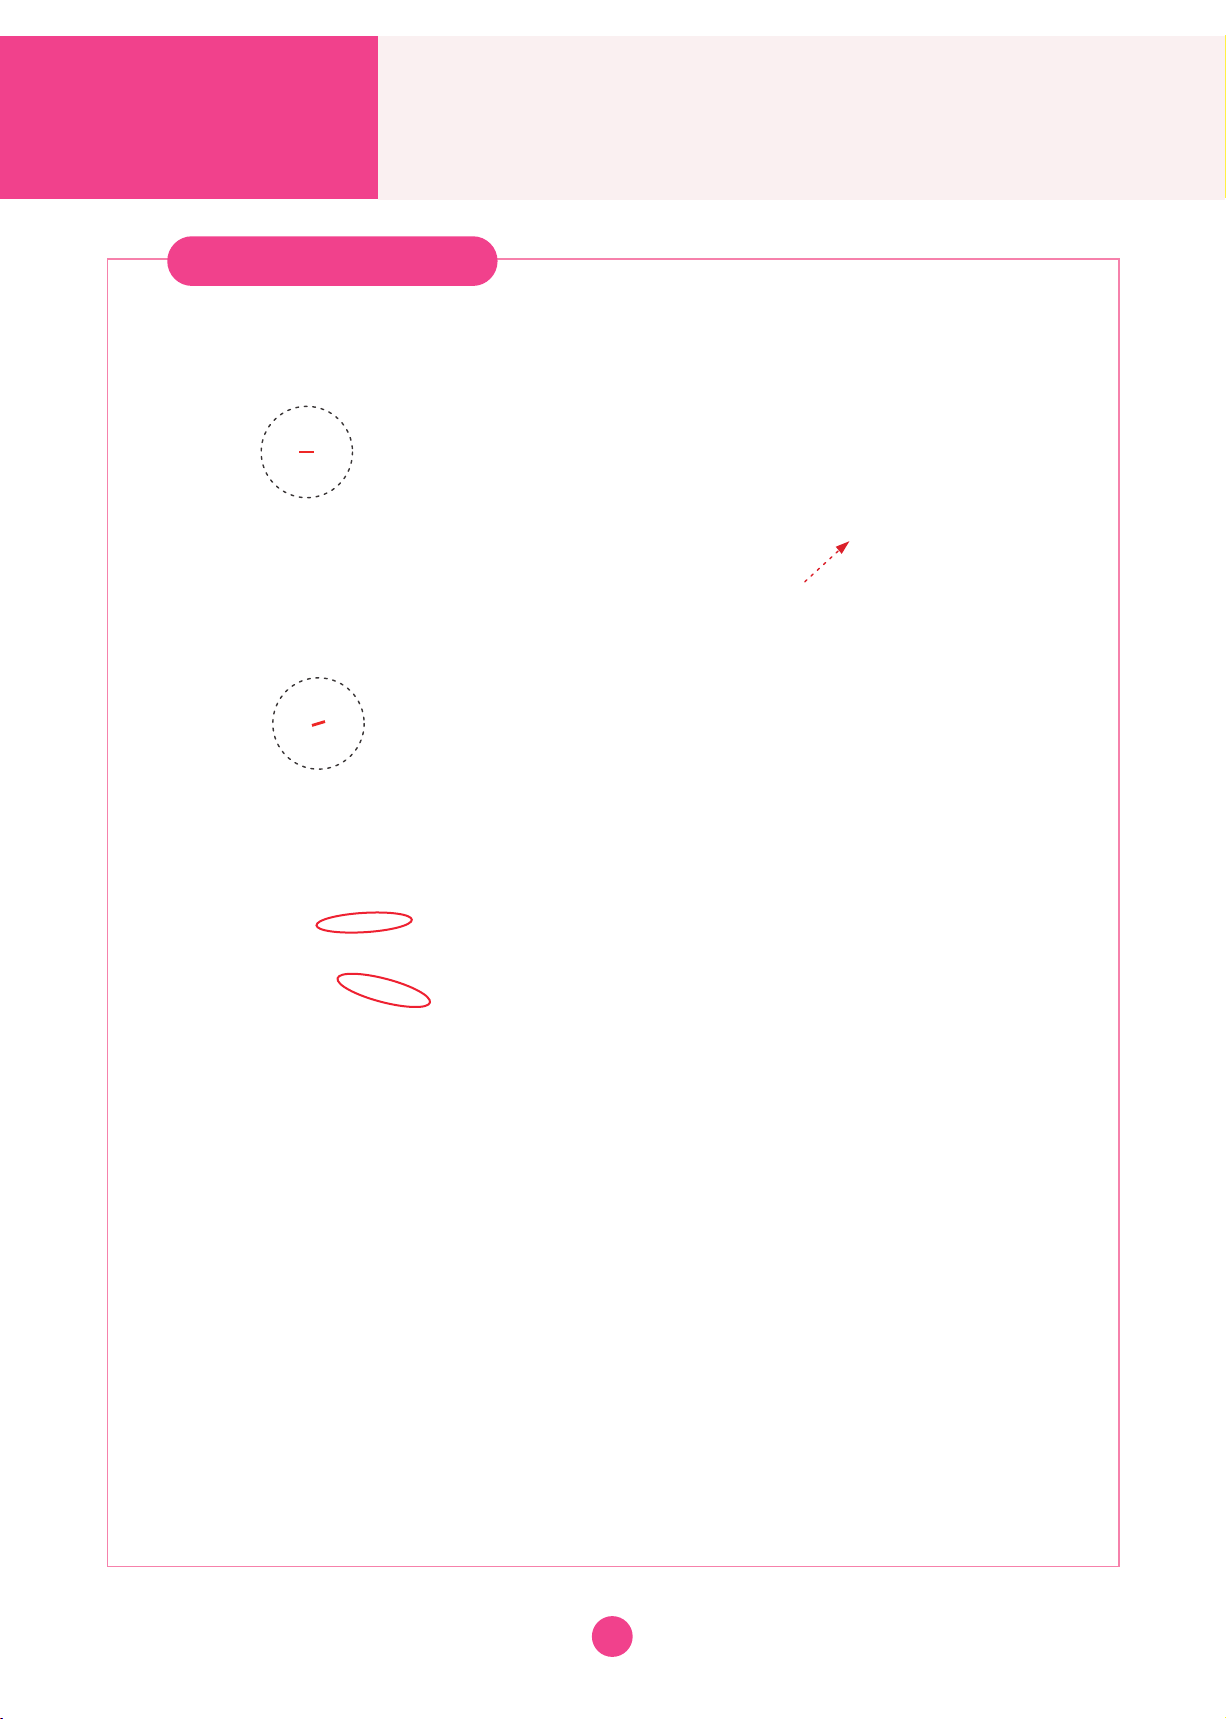
Besurenottodropthemanikinanditscompo-
nents,sincetheproductusesspecialresins.
● Handlethemanikinandthecomponents
withcare.
● Neveruseorganicsolventslikepaint
thinnertocleantheskin,asthiswill
damagethemanikin.
●DonotmarkonthemodelORother
componentswithapenorallowprinted
materialstocomeincontactwiththe
surface.Inkmarkscannotberemoved.
● Eveniftheskincolorofthemanikin
changesasitages,thequalityofthe
performanceisnotaffected.
●
Storingthemanikininadark,cooland
dryspacewillhelppreventtheskincolors
fromfadingandproductfrombecoming
deformed.
● Themanikinmaybecleanedwith
awetclothifnecessary,usingmildlysoapy
waterordiluteddetergent.
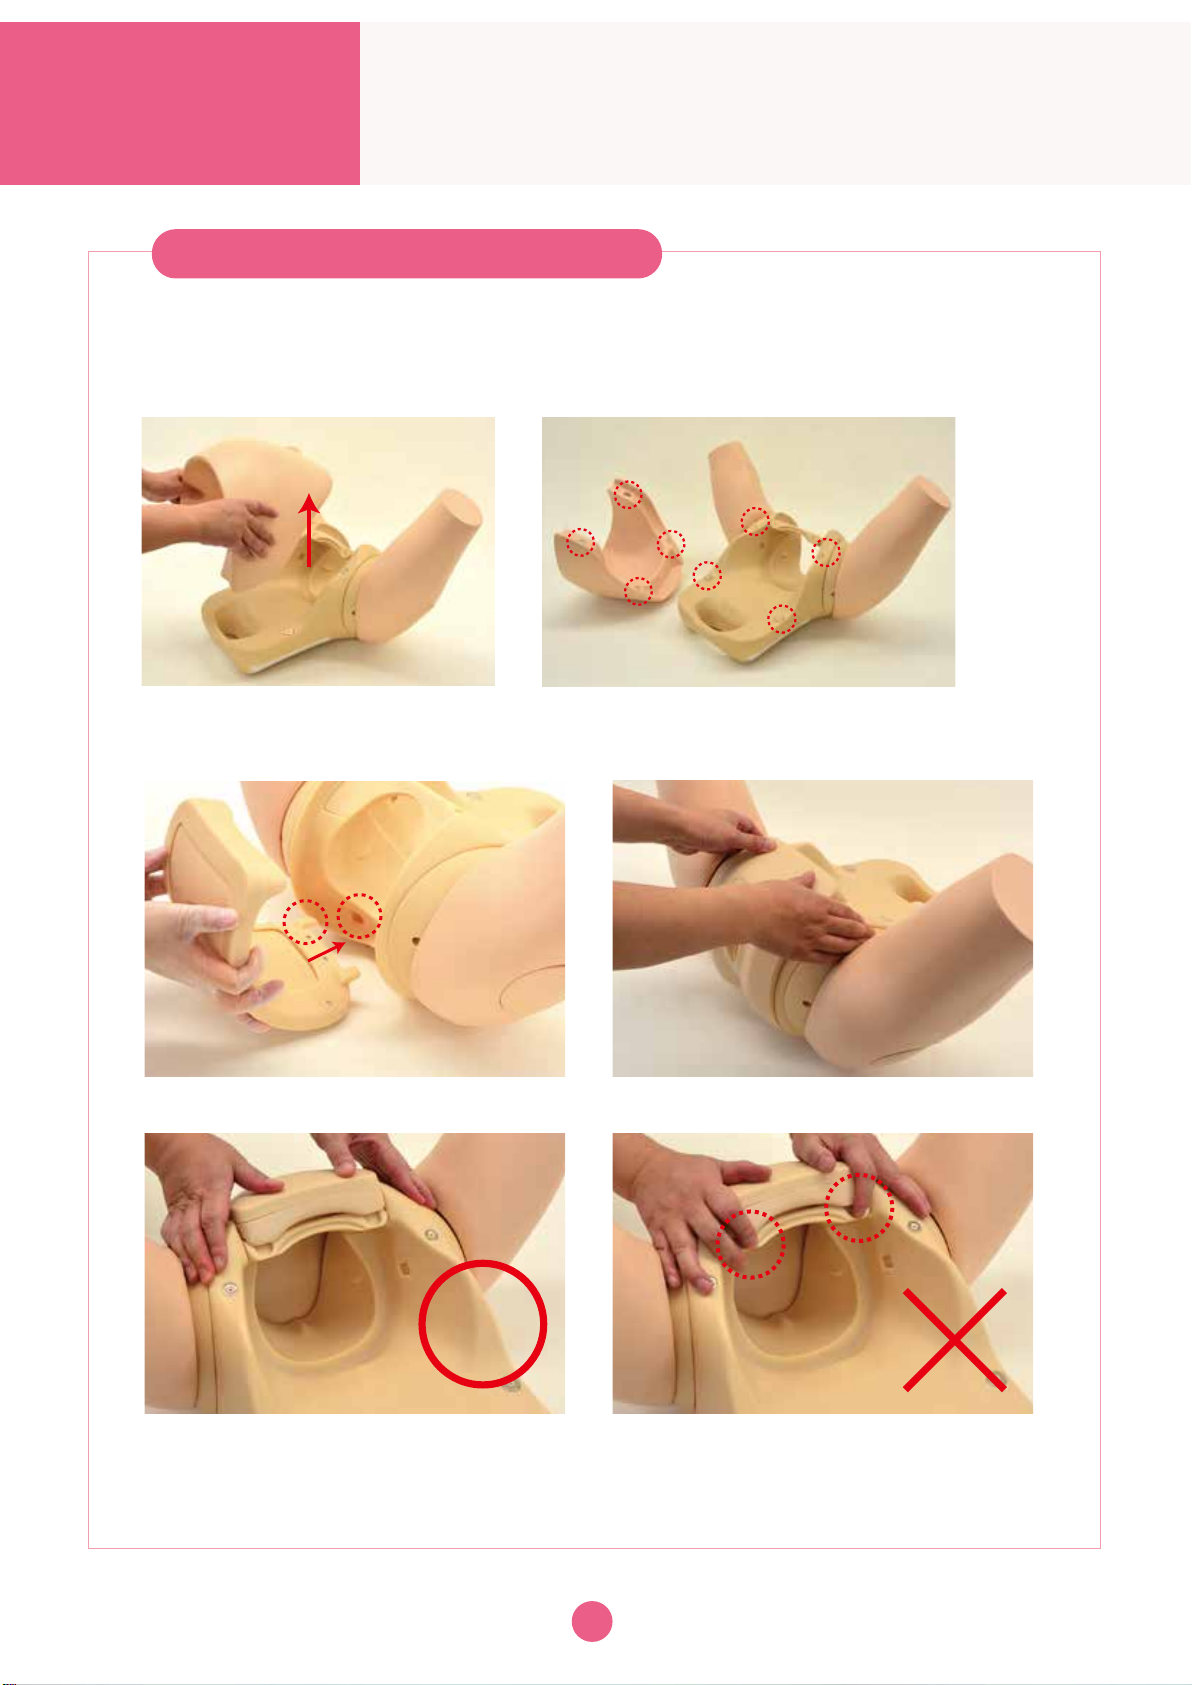
DOsandDONTs
ʻ
Thighsarenotattachedtothebodyatthetimeofreceipt.
2