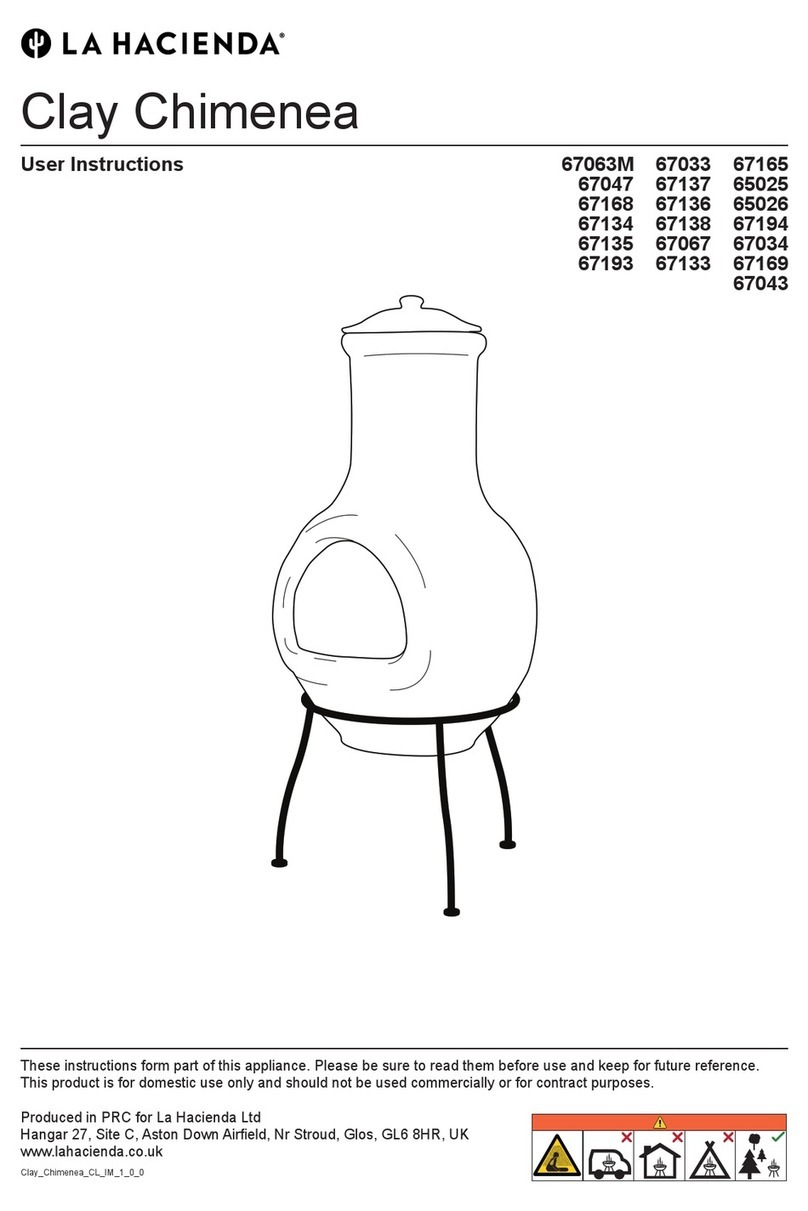
IMPORTANT - Remove any packaging before use, but retain the safety instructions. Please read and follow the instructions
before using the Chimenea, failure to do so may result in a fire, property damage, serious injury or death. We suggest you carry
out assembly on a soft surface so as to avoid scratching the paint.
Check you have all components before proceeding.
These instructions form part of the product.
Please take note of all of the safety warnings listed in these instructions.
Please read these instructions in their entirety and retain them for future reference.
These instructions should be stored with the Chimenea.
Please dispose of all packaging carefully and responsibly, recycling where possible.
WARNINGS - CAUTION!
•This product is intended FOR OUTDOOR USE ONLY. DO NOT USE INDOORS.
•WARNING - ALWAYS keep children and pets at a safe distance from the product when in use.
•NEVER leave a burning fire unattended.
•DANGER of carbon monoxide poisoning - NEVER light this product or let it smoulder or cool down in
confined spaces.
• DO NOT use this product in a tent, caravan, car, cellar, loft or on a boat.
• DO NOT use under any awnings, parasols or gazebos.
•FIRE HAZARD – Hot embers may emit while in use.
•CAUTION - DO NOT use petrol, white spirit, lighter fluid, alcohol or other similar chemicals for lighting
or relighting. ONLY use firelighters that comply to EN:1860-3.
• This product is ONLY suitable for use with untreated wood, logs, La Hacienda Heat Logs or La Hacienda Easy logs.
•DO NOT use coal or charcoal in this product.
• DO NOT use this product on decking or any other flammable surfaces such as dry grass, wood chips,
leaves or decorative bark.
• Ensure that the product is positioned at least 2m away from flammable items. Also ensure that there is
a minimum overhead clearance of 2m from the top of the unit.
• DO NOT use this product as a furnace - ONLY use as a patio heater.
• ATTENTION - This product will become very hot. DO NOT move it during operation.
•ALWAYS use heat resistant gloves (not supplied) when handling the product and the safety tool provided to
position and remove the door when in use, as the unit will be hot.
•This product is NOT intended for cooking or heating food.
•NEVER overload the unit with fuel. Only one or two small logs are required for sufficient heat.
•We recommend that a fire extinguisher is kept in the vicinity of the unit, in case of need.
•NOT for commercial use.
CARE & USE
•Ensure that the product is positioned on a permanent flat, stable, heat resistant, non-flammable surface away
from flammable items.
•Ensure that the product has a minimum of 2m overhead clearance and has a minimum of 2m clearance from
other surrounding items.
•Decide on the location as above. The assembled product is heavy and it is therefore recommended that the
unit is not moved once positioned and must NOT be moved whilst in use. If it is necessary to move it once it
has cooled, please use 2 persons to lift (do not drag) the product across the floor.
•The unit may be left outside all year if a weatherproof cover is used to help protect it from bad weather.
•As this model is made from steel, the surface will age and develop surface rust as soon as it is placed outside
and from first use. This is to be expected, does not affect use and is not a product fault. Please see below
instructions on how to refresh the paint finish if desired.
•To help reduce surface rust, rub the product with an oily rag after each use.
•For safety reasons, always inspect your product prior to use for signs of fatigue and damage, and replace your
model as and when necessary. Continuing to use a damaged unit could cause personal injury or damage to
property.
•ALWAYS use heat resistant gloves (not supplied) during use and when adding fuel.
LIGHTING & REFUELLING
•This product is ONLY suitable for use with untreated wood, logs, La Hacienda Heat Logs or La Hacienda Easy Logs.
•Prepare a stack of loosely crumpled newspaper and place on top of the log grate.
• Pile finely split dry firewood or kindling on top of the paper.
• To light the newspaper, use long safety matches or a long nosed lighter.
• Once sufficiently alight, add logs or pieces of untreated wood to the unit to increase the heat slowly.
• DO NOT overload with fuel, only one or two logs is sufficient.
•ALWAYS use heat resistant gloves (not supplied) and the safety tool when handling the product, adding fuel and repositioning
the door, as the unit will become very hot.
• ALWAYS ensure that the door is secured in place when in use. ALWAYS use the safety tool to remove and replace the
door.
• ALWAYS ensure that fuel does not protrude from the front opening of the product.
EXTINGUISHING
• To extinguish – stop adding fuel and allow fire to die or douse with sand. DO NOT use water as this
may damage the product.
STORAGE
• When not in use, and if stored outside, cover the product once it has cooled completely with a weatherproof
cover.
• Remove loose paint and rust with a wire brush when needed and re-paint the product using La Hacienda High
Temperature Paint.


