SPECIFICATIONS:
Size: (Overall envelope) HWD – 13”x33”x9” (330x584x229-mm).
Power: Universal Power Supply: 100-240vac 50-60Hz, 50va.
Roll Width: 6.5” (170-mm). Depending on Roll Diameter.
Core Diameter: RR-330 Unwind & Rewind: 3” (76-mm).
RR-330A Unwind: 3” (76-mm). Rewind: 1”-4” (25-100-mm).
RR-330 / RR-330-A SET-UP:
Plug the Power Supply Output Cable to the Power Jack on the Rear Panel
of the RR-330. Plug the Power Supply into a suitable AC Power Outlet.
Rotate the SPEED Control to minimum (full counter-clockwise
position). Place the Power Switch on the rear of the RR-330 to the
“ON / 1” position.
OPERATION:
RRC and RRR have the same basic function.
Place the “STOP / RUN” Switch in the STOP Position.
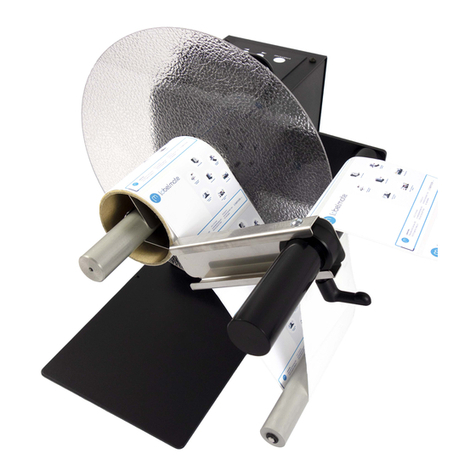
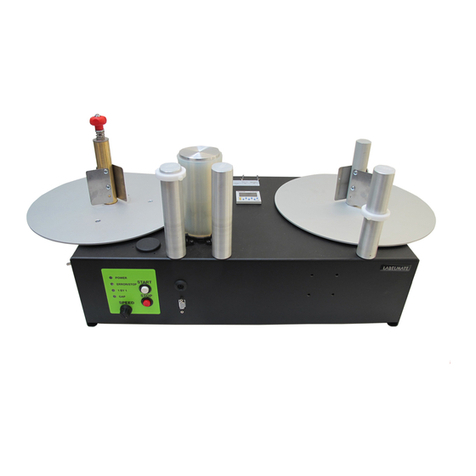
Place your Roll of Labels on the Roll Holder at the left of the Unit. The
Take-Up Spindle on the right rotates in a counter-clockwise direction. Note
that you can “Wind-In” or “Wind-Out” according to which way you place the
Label Roll on the Roll Holder, right-side-up or upside-down.
There is a black knob on the unwind Core Holder Hub. Tightening
this knob will increase the braking effect (Unwind tension). Loosen the
knob for less tension or if the Core of the unwind roll is too tight on the
unwind Hub.
The plastic Ring on the first paper guide needs to be used only if
the unwind roll is unevenly wound to begin with. Setting the Ring at the
proper height will correct the unevenness of the Roll on the rewind side. It
is recommended to lower the speed if the unwind Roll is very uneven.
The machine will stop when out of labels. To re-start, load labels
on the Unwind Core Holder, and place the STOP/RUN Switch to STOP.
Thread the labels through the Photo Sensor Gap between the Idler Rollers.
Place an empty label Core (not included) over the Take-Up Spindle and
secure the Label Web using a piece of tape. Start by switching to “RUN”.
THE UNIT WILL NOT RUN IF THERE IS NOTHING IN THE SENSOR.
WARNING
This product is for indoor use only.
Not for use in wet locations.
Unplug unit before removing waste material or
performing any cleaning or maintenance services.
RR-330-A ONLY: USING THE ADJUSTABLE CORE HOLDER (ACH):
Unlock the three Locking Levers underneath the take-up Flange by
turning them clockwise. If the Levers are difficult to grasp, pull straight
down on the Lever Arm and reposition the Arm so it is more or less
perpendicular to the metal Hub.
While holding the Take-Up Flange, rotate the Black Plate underneath
the Take-Up Flange to bring the “Fingers” together.
Place your Take-Up Core over the “Fingers” about half-way down and
rotate the Black Plate again to bring the “Fingers” in contact with the Core.
Lock the Locking Levers by turning them counter-clockwise (looking from
the top). Reposition the Lever Arms if necessary by pulling straight down
and rotating them to a convenient position.
Push the Take-Up Core all the way down on the “Fingers”. The
Core should now be held tight on the “fingers”. If it’s not tight enough, re-do
the operation.
For easy removal of the roll from the ACH, release one of the Locking
Levers temporarily, remove the Roll and re-tighten the Locking Lever.
Once the ACH diameter is set, you can put the next empty core on
the ACH without readjusting the Locking Levers.
NOTE:
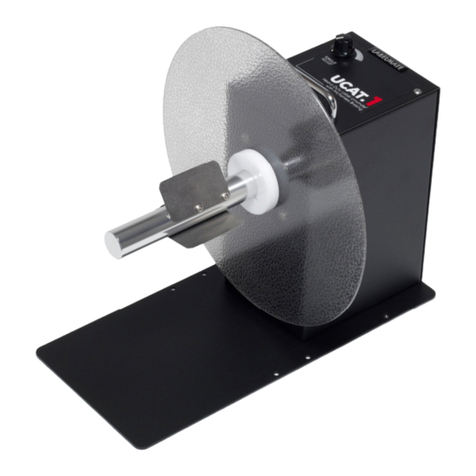
Keep the Unwind Plate clean of particles and label adhesive.
PHOTOCELL ADJUSTMENT:
The sensitivity of the Photocell that detects the Labels and triggers the
Counter Display should be calibrated for the labels being counted. Here’s
how: Place the RRC STOP / RUN Switch in the STOP Position. Place a
Label Liner ONLY (no label) in the Label Sensor Gap. Using a small flat-
bladed screwdriver, adjust the Photocell Adjust Control until the green
Photocell Adjust LED illuminates. –OR– Adjust Photocell Adjust control for
3- to 5-VDC at the Photocell Test Jack 3.5-mm Plug.
Counter and Encoder option:
If you have the Encoder option for the RRC-330/330-A please see
the enclosed Encoder Instruction Sheet for setup and operation.
When you switch to / from the Counting to the Encoding (Linear)
Mode you must remember to reset the Counter each time.
