manuals.online logo
Brands
  1. Home
  2. •
  3. Brands
  4. •
  5. Labelmate
  6. •
  7. Label Maker
  8. •
  9. Labelmate ZCAT-3 Product information sheet

Labelmate ZCAT-3 Product information sheet

© LABELMATE –User_CAT-3-CE –05/17 –Original user manual. ● KEEP MANUAL IN A SAFE PLACE FOR FUTURE REFERENCE ●
MAINTENANCE:
Periodically clean residue off Tension Roller C with a slightly damp cloth in
order to maintain friction between the Roller and the material being rewound.
IMPORTANT INFORMATION:
•This product is a label rewinder. It is only to be used to rewind or unwind labels of the
recommended dimensions and weight in an indoor, dry environment.
•The machine has to be unplugged before any manipulation.
•The machine is to be used on a flat surface, if the surface is not flat, it is to be fixed using
the holes in the base plate.
•Do not leave the power cable in a passageway.
•The ambient light of the working area needs to be sufficient to avoid any risk.
•The rewinder can be used in ambient temperatures of +2°C to 40°C.
•Connection of the machine to the power source must respect local and European
legislations.
ZCAT-3
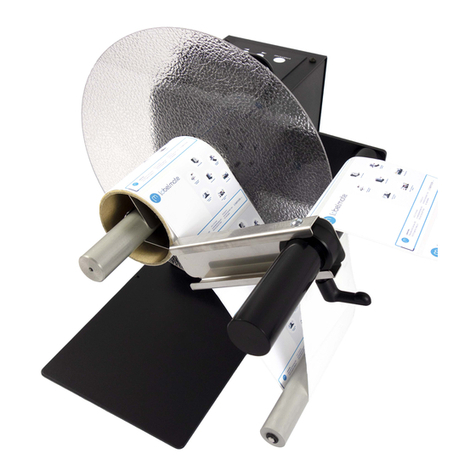
Zero Tension Loop Controlled Label Rewinder
Remove all parts from the shipping container and verify contents.
PACKAGE CONTENTS:
•User Manual (this document)
•Allen Wrench
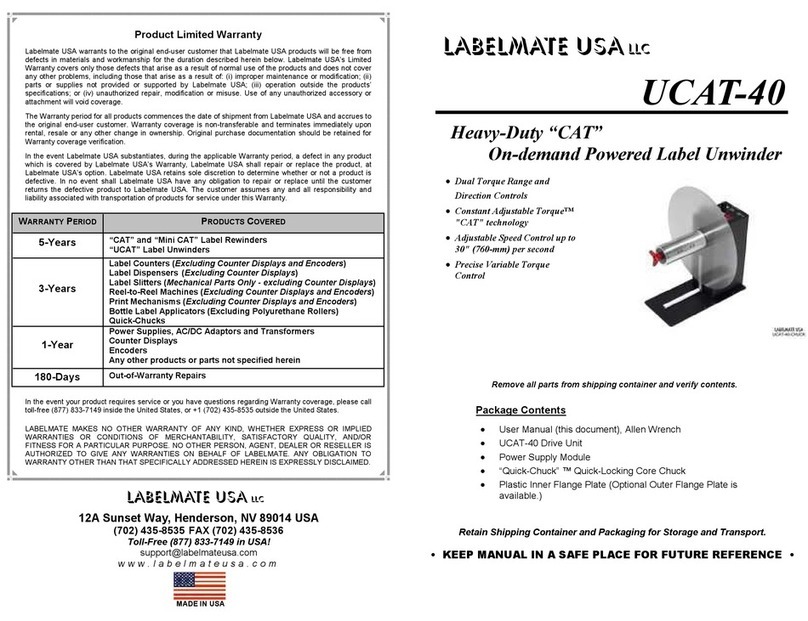
•ZCAT-3 Drive Unit
•Power Supply Module
•LABELMATE “Quick-Chuck” ™ Quick-Locking Core Chuck
•12” Plastic Flange Plate
•Tensioning Roller
•Loop Sensor
•(Optional PC-1 Counter purchased separately)
Retain the Shipping Container and Packaging for Storage and Transport
SPECIFICATIONS:
Weight of the machine: 16.8Kg.
Max. Label Roll Weight: 12Kg.
Max. Label Roll Diam: 300mm
Start/Stop: ON/OFF Power Switch
Power Supply: Input: 120-220VAC in
Output: 24VDC
.
SET-UP:
1. Remove the two Phillips screws from the hollow end of the QUICK-CHUCK. Place
the Label Flange Plate on the QUICK-CHUCK by placing the hole of the Flange
Plate over the Boss of the QUICK-CHUCK, and reaffixing the two screws through
the Flange-Plate and into the QUICK-CHUCK.
2. Slide the hollow end of the QUICK-CHUCK onto the ZCAT Motor Shaft allowing for
clearance to the Chassis and Motor Screws. Tighten the Allen Screw of the
QUICK-CHUCK onto the flat part of the Motor Shaft until it is tight.
3. Set the unit in place near the printer.
4. Verify that the “RUN/STOP” switch is in the “STOP” position, and that the Torque
Adjust Knob is turned counterclockwise all the way down.
5. Place an empty label core onto the QUICK-CHUCK of the ZCAT Rewinder and
press snugly in place against the Label Flange Plate.
6. Turn the red knob of the QUICK-CHUCK clockwise to expand the QUICK-CHUCK
and affix the empty core firmly in place.
REWINDING LABELS:
7. Thread the material being printed onto the ZCAT as shown in “Figure A”:
(a) Over Rod A
(b) Underneath Roller B
(c) Over and around the top of Tensioning Roller C
(d) Under and around the bottom of Roller D
(e) Tape the leading edge of the material onto the empty core that is on
the QUICK-CHUCK.
(f) Using the supplied Allen Key, loosen the set-screw of Outer Guide Ring F
and position the Guide Ring next to the material being rewound. Retighten
the set-screw.
(g) Loosen the thumb-screw of Outer Guide Ring E and position the Guide Ring
next to the material being rewound. Retighten the thumb-screw.
(Note: the Inner Guide Rings that are positioned against the black metal
chassis of the Rewinder on Rod A, and Rollers B and D require very little
adjustment, if any, and should be aligned with the face of the Label Flange
Plate.)
(h) Push down the material being printed between the printer and Rod A
to form a tensionless loop of material as seen in “Figure A”.
8. Plug the Power Plug at the end of the wire on the Power Supply Module into the
Unit’s Power Input Jack. Plug the Power Supply into an appropriate AC power
outlet.
9. Flip the Master Power Rocker Switch on the rear of the ZCAT to the “Power On”
position.
10. Adjust the angle of Sensor G so that it points at the desired location on the
tensionless loop of material. The angle of the sensor determines the depth of
the loop. Note: The Rewinder will continue to turn as long as the eye of the
sensor can “see” the material in the tensionless loop.)
11. Select either the “HIGH” or “LOW” Torque Setting with the switch on the top of
the unit.
12. Select the desired rewind direction with the switch on the top of the unit.
13. Flip the “RUN/STOP” switch to “RUN”.
14. Turn the black knob of Tensioning Roller C to adjust/achieve the desired tension
of the material being rewound.
15. Gradually turn the Torque Adjust Knob clockwise until the desired rewind speed
is achieved.
Other Labelmate Label Maker manuals

Labelmate S-100 User manual

Labelmate

Labelmate S-100 User manual

Labelmate LD-300-UNI User manual

Labelmate

Labelmate LD-300-UNI User manual

Labelmate UCAT-40 User manual

Labelmate

Labelmate UCAT-40 User manual

Labelmate RRC-330 User manual

Labelmate

Labelmate RRC-330 User manual

Labelmate CAT-3 User manual

Labelmate

Labelmate CAT-3 User manual

Labelmate LD-100S User manual

Labelmate

Labelmate LD-100S User manual

Labelmate UCAT-1 User manual

Labelmate

Labelmate UCAT-1 User manual

Labelmate DISTRI-ST User manual

Labelmate

Labelmate DISTRI-ST User manual

Labelmate UCAT-S User manual

Labelmate

Labelmate UCAT-S User manual

Labelmate UCAT-S User manual

Labelmate

Labelmate UCAT-S User manual

Labelmate PM-300-CS User manual

Labelmate

Labelmate PM-300-CS User manual

Labelmate BOXMATE-610 User manual

Labelmate

Labelmate BOXMATE-610 User manual

Labelmate TWIN-MATRIX-6-R/L Instruction Manual

Labelmate

Labelmate TWIN-MATRIX-6-R/L Instruction Manual

Labelmate MC-11 User manual

Labelmate

Labelmate MC-11 User manual

Labelmate UNI-CAT STANDARD User manual

Labelmate

Labelmate UNI-CAT STANDARD User manual

Labelmate SR6 User manual

Labelmate

Labelmate SR6 User manual

Labelmate UCAT-1 User manual

Labelmate

Labelmate UCAT-1 User manual

Labelmate PM-300-CS User manual

Labelmate

Labelmate PM-300-CS User manual

Labelmate BOTTLEMATE-910P User manual

Labelmate

Labelmate BOTTLEMATE-910P User manual

Labelmate MC-11 User manual

Labelmate

Labelmate MC-11 User manual

Popular Label Maker manuals by other brands

Brother P-touch PT-2700 user guide

Brother

Brother P-touch PT-2700 user guide

WINCODE LP423N user manual

WINCODE

WINCODE LP423N user manual

Brother P-TOUCH H110 user guide

Brother

Brother P-TOUCH H110 user guide

Brother QL-1100 Quick setup guide

Brother

Brother QL-1100 Quick setup guide

Avery Dennison Pathfinder 6057 Price management

Avery Dennison

Avery Dennison Pathfinder 6057 Price management

Citizen CL-S521 user manual

Citizen

Citizen CL-S521 user manual

DuraLabel Kodiak quick start guide

DuraLabel

DuraLabel Kodiak quick start guide

Brother QL-810W Quick setup guide

Brother

Brother QL-810W Quick setup guide

Wasp WPL606 user guide

Wasp

Wasp WPL606 user guide

Herma 500 manual

Herma

Herma 500 manual

Epson LabelWorks LW-300 user manual

Epson

Epson LabelWorks LW-300 user manual

Wasp WPL612 user manual

Wasp

Wasp WPL612 user manual

Collamat 3600 Technical handbook

Collamat

Collamat 3600 Technical handbook

Dymo LetraTag instruction manual

Dymo

Dymo LetraTag instruction manual

Godex BP1000i Series user manual

Godex

Godex BP1000i Series user manual

Dymo LetraTag 100-H manual

Dymo

Dymo LetraTag 100-H manual

Meteor BRAVA operating instructions

Meteor

Meteor BRAVA operating instructions

Bilanciai STB80 Use and maintenance manual

Bilanciai

Bilanciai STB80 Use and maintenance manual

manuals.online logo
manuals.online logoBrands
  • About & Mission
  • Contact us
  • Privacy Policy
  • Terms and Conditions

Copyright 2025 Manuals.Online. All Rights Reserved.