18 19
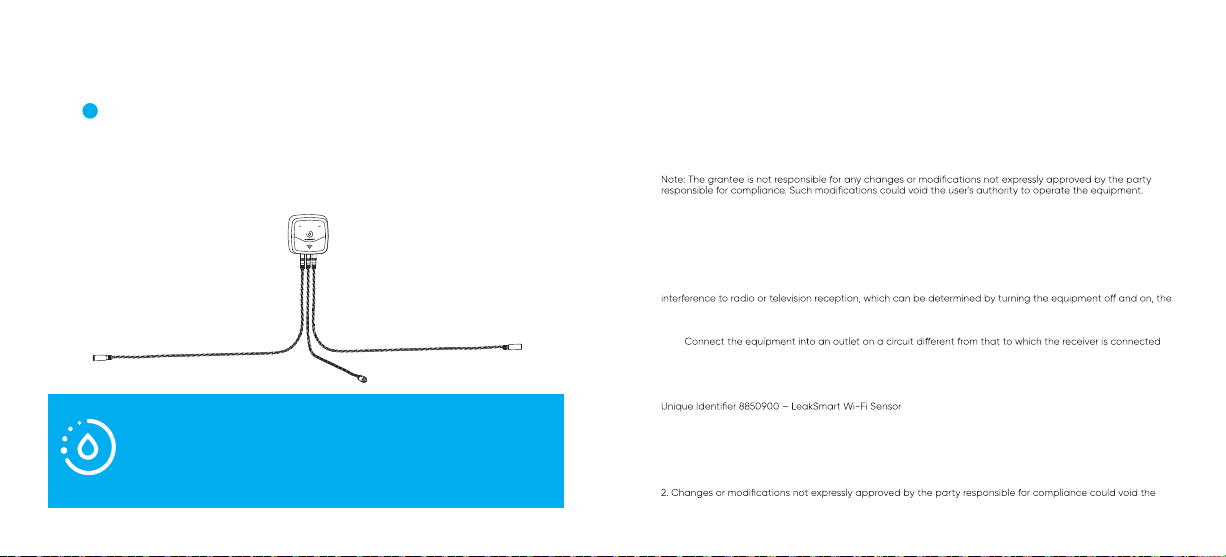
Note: The extension cable is optional; the rope sensor
will work without the extension cable when plugged
directly into any of the three dock input ports.
Add as many extension cables or rope sensors as needed
to cover the leak-prone areas in your home. One sensor
dock can accommodate 3 separate rope paths that
extend up to 100' each.
SensXtend Sensor Placement, Extension Cable
and Rope Sensor Assembly
Connect rope sensors
up to 100' per line
to cover area in 3
separate directions.
This device complies with Part 15 of the FCC Rules. Operation is subject to the following two conditions:
(1) This device may not cause harmful interference.
(2) This device must accept any interference received, including interference that may cause undesired
operation.
15.21
15.105(b)
NOTE: This equipment has been tested and found to comply with the limits for a Class B digital device, pursuant
to part 15 of the FCC Rules. These limits are designed to provide reasonable protection against harmful
interference in a residential installation.
This equipment generates, uses, and can radiate radio frequency energy and, if not installed and used in
accordance with the instructions, may cause harmful interference to radio communications. However, there is
no guarantee that interference will not occur in a particular installation. If this equipment does cause harmful
user is encouraged to try to correct the interference by one or more of the following measures:
• Reorient or relocate the receiving antenna
• Increase the separation between the equipment and the receiver
•
This equipment complies with FCC radiation exposure limits set forth for an uncontrolled environment. This equipment
should be installed and operated with minimum distance of 20 cm between the radiator and yourbody.
FCC – Supplier’s Declaration of Conformity
Responsible Party – LeakSmart Inc. U.S.
Contact Information – 24455 Aurora Road, Bedford Heights, OH 44146 – (885) 532-5768
FCC Compliance Statement
1. This device complies with Part 15 of the FCC Rules. Operation is subject to the following two conditions: (1) this
device may not cause harmful interference, and (2) this device must accept any interference received, including
interference that may cause undesired operation.
user’s authority to operate the equipment.
FCC Compliances:
Sensors Compliance:
Contains FCC ID: 2AC7Z-ESPWROOM32D | IC: 21098-ESPWROOM32D
3