LEGRAND Vantage Equinox 73-III User manual

1
No: IS-00722 Rev. 2
Vantage®
Equinox 73-III LCD In-Wall Touchscreen
French Description
Spanish Description
Installation Instructions • Instructions d’Installation • Instrucciones de Instalación
No: IS-00722 – rev. 2
EQ73TB-TI-III • Les Nombre de Catalogue • Los Números de Catálogo:
Country of Origin: Made in China • Pays d’origine: Fabriqué en Chine • País de origen: Hecho en China
FEATURES AND OPERATION OVERVIEW
OVERVIEW
Vantage’s Equinox 73-III (third generation) active matrix LCD touchscreen continues
the Vantage commitment to LCD in-wall control centers. The Equinox 73-III LCD
Interface is a dedicated system portal to whole home control. The 7” touchscreen
displays media rich widgets in a dashboard layout. Each widget’s content has been
carefully designed to provide the ultimate user experience. Navigate and control, with
real time feedback, lighting, audio, climate, weather, and more through a single layer
navigation experience. For additional personalization and control, individual widgets
may be edited directly from the touchscreen.
• Widescreen orientation only
• Equinox 73-III has a fast 4-core processor
• Equinox platform provides built-in widgets using Vantage proprietary auto discovery widgets for fast automatic screen design
• Equinox 73-III fully incorporates Vantage’s consistent user experience interface, eliminating learning curves normally associated
with switching interface devices
• Power: PoE+
• Communicates over Vantage Ethernet Bus (InFusion controller and Equinox should be connected to the same local network)
• Firmware upgradable from Design Center over Ethernet.
• Built-in ambient light sensor for “active,” AUTO mode screen brightness and off when dark option when “inactive”
• Inactive mode dims or turns screen off in 1 to 10 minutes (adjustable) if no activity
• Built-in proximity activation, 6” maximum, may be programmed to execute a task with a hand wave across front of station
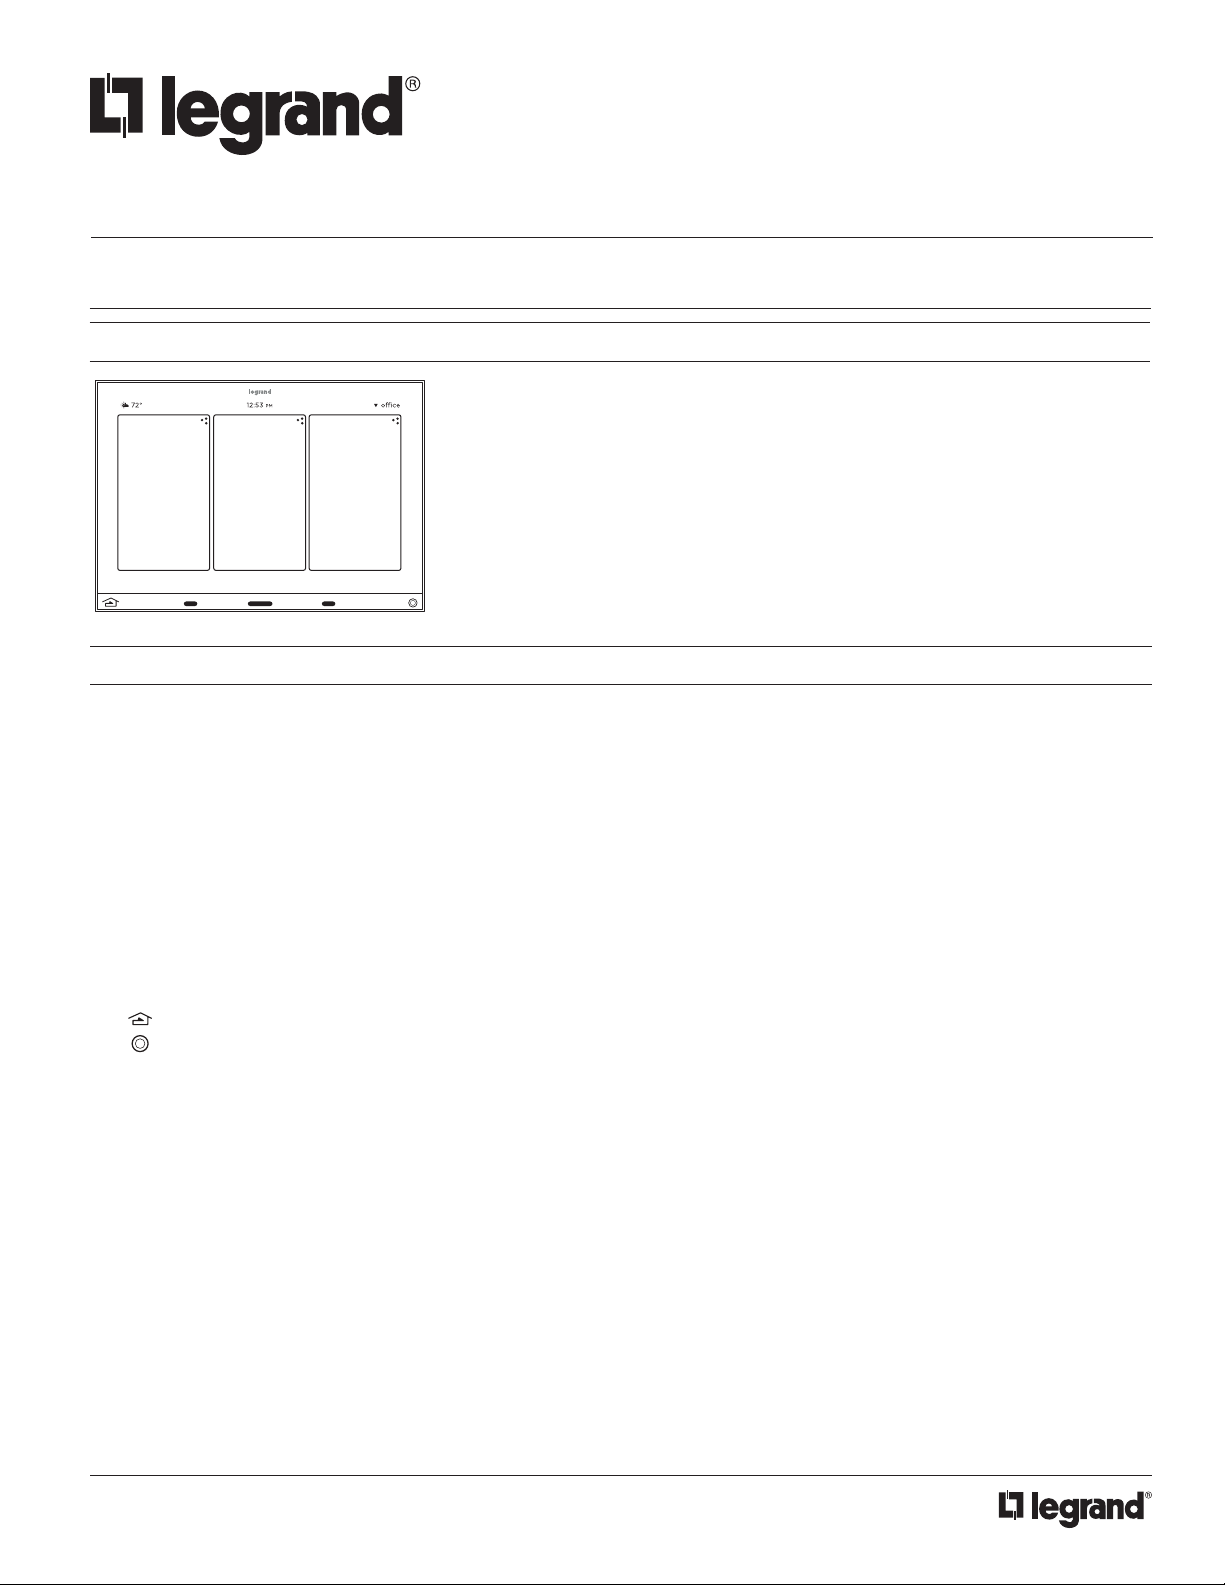
• Displays three widgets at a time
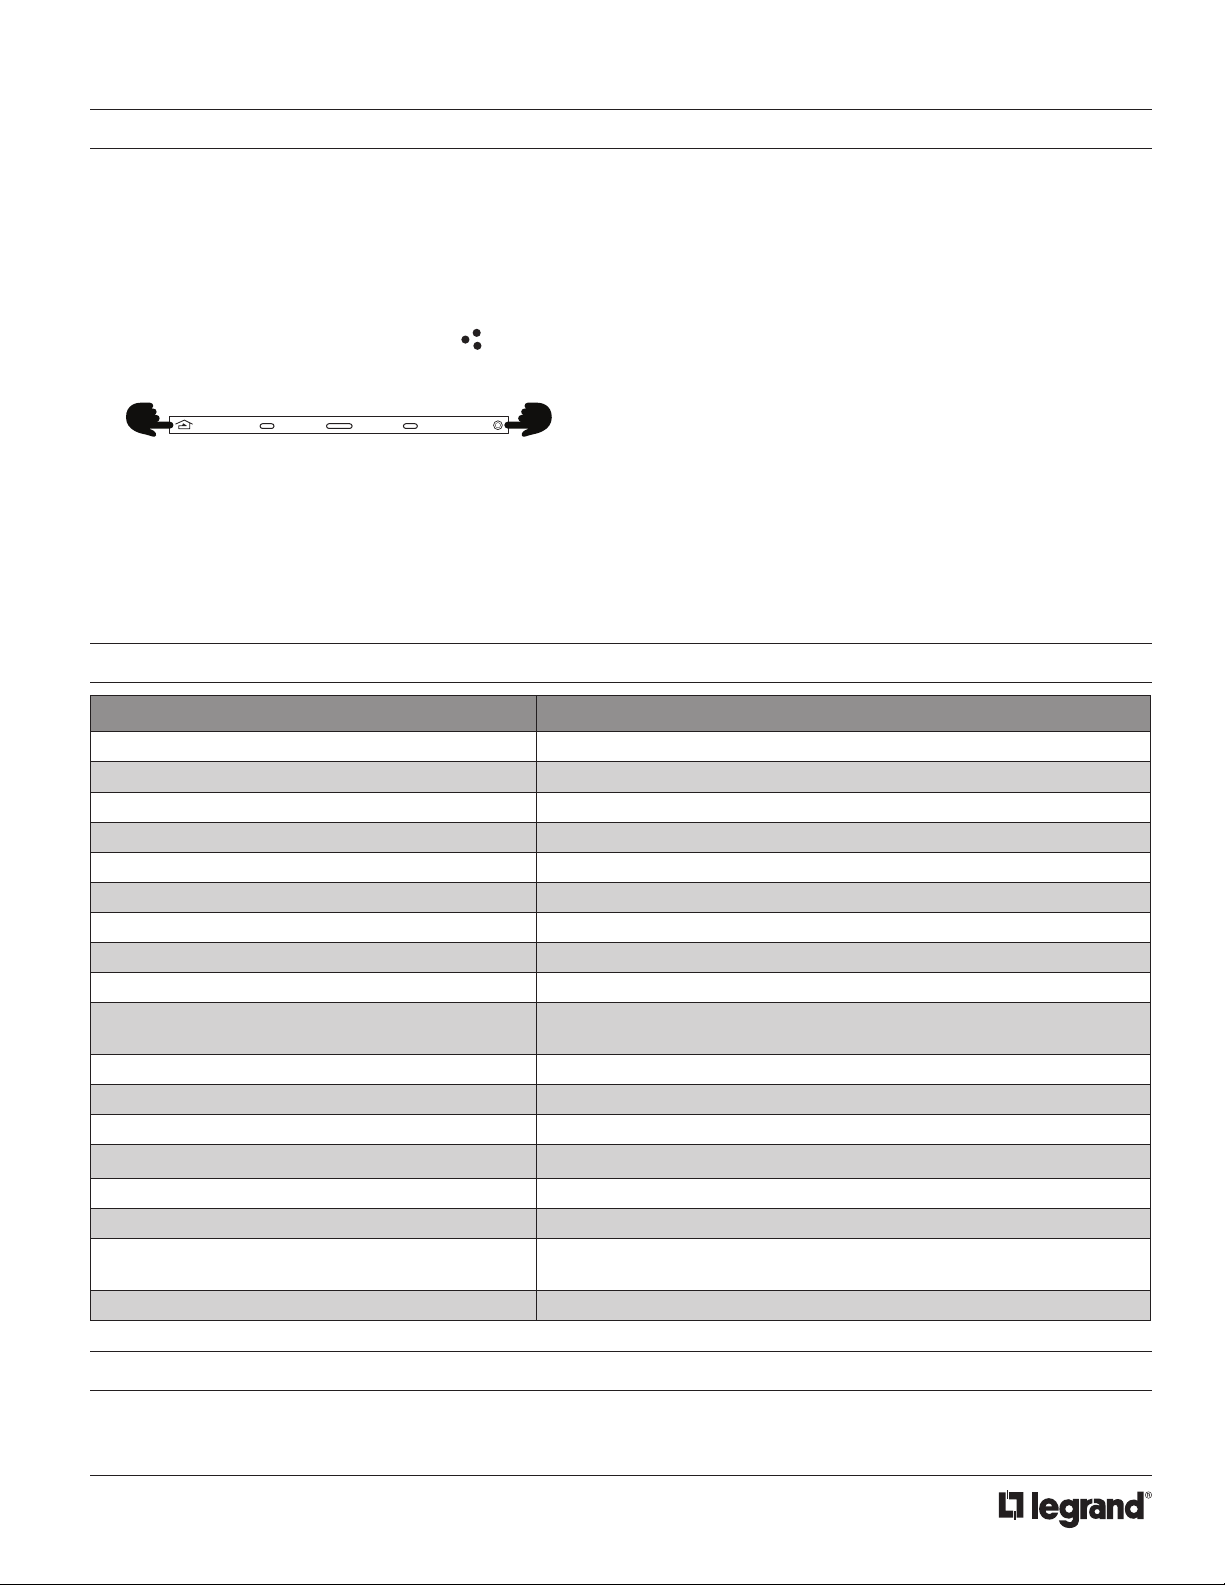
• Mechanical buttons, bottom left and right;
- Left navigates to home screen position
- Right may be assigned to a programmed task
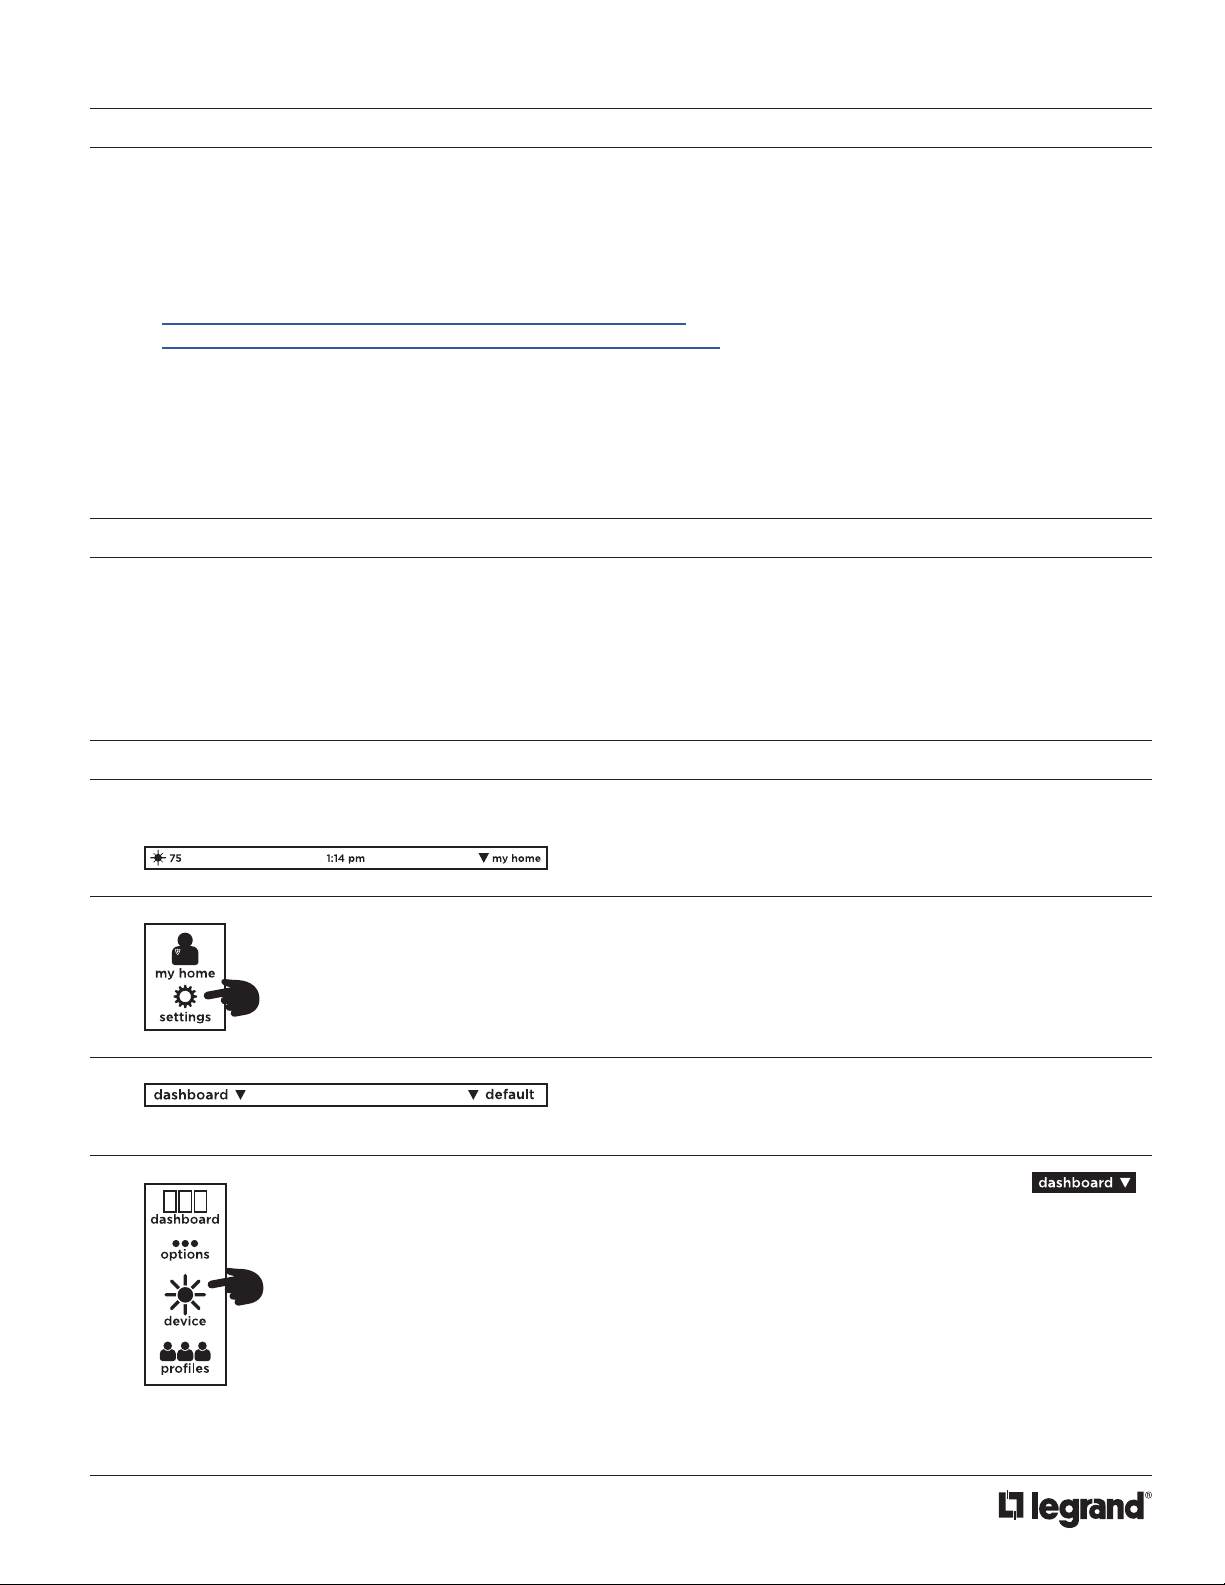
• Proles / Settings; personalize dashboard level and hardware settings:
- Select settings / dashboard, to arrange order of widgets which widgets to display
- Select options to select language*, 12/24 hour clock, and fahrenheit/celsius temperature display
- *Supported languages: Arabic, Chinese (simplied), Dutch, English, French, German, Hebrew, Italian, Japanese, Korean,
Portuguese, Russian, Spanish
- Select device, to view and set hardware settings, system information, network settings, reset user settings, and view
additional information settings
- Select proles, to create, delete, or rename proles
• Equinox 73-III uses the same widgets as Android tablets and phones, and iPads, iPhones, and iPods
• Top of screen displays:
- (left) Icon for current weather conditions and temperature, via Vantage weather service
- (center) Time of day
- (right) Selected prole

2
No: IS-00722 Rev. 2
Description Specication
Dimensions, HWD (at wall surface) 5.0” x 7.0” x 0.37” (127mm x 178mm x 9mm)
Dimensions, HWD (overall) 5.0” x 7.0” x 2.1” (127mm x 178mm x 53mm)
Weight 1.6 lb or 725.75g
Display Active Matrix Color LCD
Display Size 7” diagonal
Display Resolution 1024 x 600 pixels, 24-bit color
Power PoE+
Surge Suppression Yes
Mounting See Installation section below
Wiring Connections Communication: Ethernet RJ45
Power: PoE/PoE+
Addressing Self addressing through software
Glass Surface Chemically strengthened
Ambient Operating Temperature 32-95°F (0-35°C)
Ambient Operating Humidity 5-95% non-condensing
CE and FCC Compliant Yes
Glass Surface Chemically Strengthened
Finishes Trim: Titanium
Touchscreen: Black glass
Sound Option Adjustable volume level - touch interaction
SPECIFICATIONS
SYSTEM REQUIREMENTS
Equinox 73-III is compatible with InFusion Design Center version 3.9.2.590 software or higher. For new projects it is recommended
that rmware and software be kept to the most current release.
• Middle to bottom of screen displays widgets (the order may be changed within each prole)
• - Widgets (some widgets require specic Vantage drivers in the Design Center project le):
• Raise/lower dimmable loads and volume control via minus / plus (-/+) graphical buttons
• Graphical icons and text color track load status, orange = ON and white = OFF
• Press and release the upper right section on each widget for additional control and/or personalization
• Manual Reboot of Equinox 73-III – press and hold both mechanical buttons until screen goes dark (about 3 seconds), then
release
• Station reset into Service Mode – simultaneously press and hold both mechanical buttons for ten seconds, then release
- Service mode is automatically used when updating rmware from Design Center
- If the application code is corrupt it may cause the screen to lock, preventing Design Center from updating or reloading the
rmware. Use this option to reboot the screen to service mode allowing Design Center to update the corrupted rmware.
- To manually exit Service Mode use the Manual Reboot of Equinox 73-III option (above)
FEATURES AND OPERATION OVERVIEW (continued)
NOTE: If buttons are held in too long, the screen will boot to Service
Mode, and will not load the application code. Repeat Manual
Reboot – without holding buttons too long – to clear this mode.
Lighting
Scene
Climate
Weather
Shades
Timers
Audio

3
No: IS-00722 Rev. 2
INSTALLATION
Installation of Vantage products should be performed or supervised by a Certied Vantage Installer. Installation kits for Equinox 73-III
touchscreens are compatible with global electrical and installation standards. For new construction or retrot installations. Please see
the additional installation sheets referenced below for Equinox 73-III’s installation preparation.
See Standard, Easy Retrot, and TPT650 retrot, respectively
Click on the install method wanted:
• Equinox 73 LCD Standard_EQ73ST-INSTALL_install_IS-0545.pdf
• Equinox 73 LCD Easy-Retrot_EQ73ER-INSTALL_install_IS-0697.pdf
1. Connect Equinox 73-III to Ethernet PoE
2. Insert the Equinox 73-III into the mounting ring from the mounting option selected
- Make sure the Equinox 73-III’s four spring clips lock to mounting option selected: Standard, Easy-Retrot,
or Retrot install options
CONFIGURATION
1. Highlight the station in Design Center and click Congure Stations
2. Station displays congure mode and touch to congure
3. When congured station goes back to ready until programmed
-OR-
4. The station may also be congured by typing the serial number in the project le, using this method the station will automatically
be congured when the system is programmed.
DEVICE AND INFO SETTINGS
Device Settings are accessed through the Profile pages.
Press the Profile button, (my home, upper right, in this example).
Press the settings button.
The first time settings is pressed the screen will go to the
dashboard edit screen.
Pressing the upper left area on the dashboard page,
opens the Settings thumbnail selections at left.
Select the device option from the four choices.
NOTE: The other three choices are covered in the
Equinox Widgets_install.pdf installation sheet and in Design Center
Help.
1.
2.
3.
4.
5.

4
No: IS-00722 Rev. 2
The first time the controller is programmed, the Equinox 73-III
device should use the brightness settings specified in the Equinox
Widget Styles object in Design Center. Subsequent controller
program downloads depend on whether or not the Keep DC Profile
Changes and/or Keep Controller Profile Changes check boxes are
checked in Design Center.
• When Keep Controller Profile Changes is checked, it will
retain the brightness settings on the device.
• When Keep DC Profile Changes is checked, it will use the
brightness settings specified in the Equinox Widget Styles
object in Design Center.
• When both Keep DC Profile Changes and Keep Controller
Profile Changes check boxes are checked the two styles will
be merged unless a conflict occurs. Conflicts may then be
corrected before programming continues.
The device screens are accessed by swiping up or down to see all
of the screen choices. The first device screen allows settings for:
• Brightness – Brightness level for active and inactive modes
Brightness Options:
• Auto Mode – Uses ambient light to adjust screen brightness
• Off When Dark – When ambient light is very low the screen
illumination turns off
• Screen Timeout – Adjusts from 1 to 10 minutes
Auto Mode:
• Auto Mode Calibration – These options only appear when the
auto mode box is checked.
• Low Trim – (range 1%-25%) If screen is too dim when used in
a dark room, increase the low trim setting and conversely when
screen is too bright
• Adjust – (range, -5 to +5) If screen is too dim when used in a
moderately lit room, increase the adjust setting and conversely
when screen is too bright
NOTE: Adjustments take a few seconds for the screen brightness to
change. This delay action is deliberate to avoid sudden changes in
screen brightness.
Scroll down to the next device screen for:
Security Sounder Volume (Not included in EQ73TB-TI-III model)
• Set security sound level from 0% to 100% - sound is on the
Equinox security pad display
Proximity Sensitivity
• Adjust value between 1 and 5
• Test by clicking the test circle and moving your hand across the
front of the screen. A green watermark bar appears across the
screen when the sensor activates
Multiple Homes
• Selecting multiple homes allows this device to connect to more
than one home
NOTE: Multiple Homes is covered in Design Center Help.
6.
7.

5
No: IS-00722 Rev. 2
Scroll down to the next device screen for:
Default Profile
• When the device is reset, (power outage, etc.) this selects
whether the first (enabled) profile in the profile list or the
last (enabled) used profile is active when the screen boots.
Proximity Sensitivity
Network Settings
• Select dhcp or static, see below if static is selected
Reset user settings / reload:
• This will reload, (replace) all of the devices information from the
controller
Network Settings / Static:
• IP Address – xxx.xxx.xxx.xxx
• Netmask – xxx.xxx.xxx.xxx
• Default Gateway – xxx.xxx.xxx.xxx
• DNS Server – xxx.xxx.xxx.xxx
• Click save when finished entering static IP information
Scroll left to the info screen:
Device Information –
• IP Address: xxx.xxx.xxx.xxx
• Part Number: xxxxxx
• Serial Number: xxxxxxx
• App Version – xx.xx.xx (used in diagnostics)
• Kernel Version – version and date (used in diagnostics)
• Rootfs Version – xx.xx.xx (used in diagnostics)
• Up Time: x day(s) x:xx
• Controller Info –
• Controller IP – xxx.xxx.xxx.xxx
• Controller Firmware: x.x.x.x
• Connection Location: local
• Connection Mode: multicast
8.
9.
WIDGETS OVERVIEW
For detailed information about all widgets and other profile and settings screens, click on file link below to load Widget Instructions:
LINK: Equinox Widgets_install.pdf

6
No: IS-00722 Rev. 2
EQUINOX 73-III MOUNTING RING ADJUSTMENT TOOL
Locate this tool-card shipped with the Equinox 73-III. Inside the wall box is a rectangular ring that must be parallel with the wall
surface and 1” behind the wall surface on the left and right sides. Loosen the two inside screws and use this tool to set the mounting
ring depth at 1”.
SHEETROCK
1”
(25mm)
MOUNTING
BRACKET
MOUNTING
BRACKET
SPRING CLIP
SPRING CLIP INSTALLATION
Loosen this screw inside of the wall box
on both sides and slide the mounting
bracket in or out for proper depth
When the Equinox 73-III touchscreen is inserted, the back of the touchscreen’s face is ush with the sheetrock and the spring clip is
securely behind the mounting bracket. If the screen clip is not far enough behind the mounting bracket, then the mounting bracket’s
depth must be moved out, toward the front of the wall box, until the spring clip has a secure grip when the Equinox 73-LCAP
touchscreen is fully inserted into the wall box.
Proper depth from
bracket to front of
nished wall is approx.
1” or 25mm
EQUINOX 73
MOUNTING RING
ADJUSTMENT TOOL

7
No: IS-00722 Rev. 2
FIGURE 1A
Start with ring level and
then adjust if needed
STEP 2. Insert bracket/bend wings. Place bracket into the
hole and carefully bend the two sides back around to meet the
back of the sheetrock as illustrated. Avoid over bending the
wings. Do not screw sides in until step four.
STEP 3. Secure inside ring. Secure inside ring with the two
screws provided.
STEP 4. Final screws. Secure completed assembly using the
four self tapping screws angled as illustrated – two screws on
each side. DO NOT OVER TIGHTEN!
STEP 5. Install the Equinox 73-III touchscreen. The retrot
bracket is now ready to receive an Equinox 73-III touchscreen
by pressing straight back on both sides at the same time until
locked and secure.
EQUINOX 73-III RETROFIT STATION INSTALLATION STEPS
Legrand’s Equinox 73-III retrot install kit is designed to mount the Equinox 73-III touchscreen directly to sheetrock without the
added cost of the bezel, saving time and money. Installation of the Equinox 73-III should be performed or supervised by a certied
installer. Begin by preparing the wall opening. The recommended mounting height is six inches above that of a typical keypad station
or approximately 50” to 58” from the oor to the bottom of the Equinox 73-III touchscreen. However, it may be installed at any height
tting specic custom installation requirements.
NOTE: The installer must provide an Ethernet RJ-45 connection wire. Ethernet cable should be CAT5e or better with PoE or PoE+
support.
STEP 1. Cut the sheetrock. Cut a precise rectangular hole in the sheetrock – 6-3/8” wide x 4-3/8” high (162mm x 111mm).
The hole should be very clean-cut, exact and must be level. Adjustable tolerances are extremely small and extra care should be
taken in cutting the hole out. Adjustment to the inside ring (see gure 1A,) is limited or the edge of the install bracket will show.
a. Fine tune a small amount by tilting the ring slightly to level screen – see gure 1A below; illustration is exaggerated.
B
E
N
D
B
E
N
D
SHEETROCK
FIG. 2
FIG. 3
FIG. 4
FIG. 5
1
5 - BACK
VIEW
2 3 4

8
MULTI-VIEW LINE DRAWING
CLEANING
• Dampen a soft cloth in water and wring-out to barely damp
• Use a light bufng motion to wipe clean
• Do not take the station apart
• Never spray station with any cleaners
NOTE:
Please reference local and NEC codes for appropriate
electrical and communication install methodology
800.555.9891
www.vantagecontrols.com
No. IS-00722 – rev. 2
© Copyright 2019 Legrand All Rights Reserved.
© Copyright 2019 Tous droits réservés Legrand.
© Copyright 2019 Legrand Todos los derechos reservados.
Vantage warranties its products to be free of
defects in materials and workmanship for a period
of five (5) years. Touchscreens are warrantied for
90 days. There are no obligations or liabilities on
the part of Vantage for consequential damages
arising out of, or in connection with, the use or
performance of this product or other indirect
damages with respect to loss of property,
revenue or profit, or cost of removal, installation
or reinstallation.
Vantage garantit que ses produits sont exempts
de défauts de matériaux et de fabrication pour
une période de cinq (5) ans. Les écrans tactiles
sont garantis pendant 90 jours. Wattstopper ne
peut être tenu responsable de tout dommage
consécutif causé par ou lié à l’utilisation ou à la
performance de ce produit ou tout autre dommage
indirect lié à la perte de propriété, de revenus,
ou de profits, ou aux coûts d’enlèvement,
d’installation ou de réinstallation.
Vantage garantiza que sus productos están
libres de defectos en materiales y mano de obra
por un período de cinco (5) años. Las pantallas
táctiles están garantizadas por 90 días. No
existen obligaciones ni responsabilidades por
parte de Vantage por daños consecuentes
que se deriven o estén relacionados con el
uso o el rendimiento de este producto u otros
daños indirectos con respecto a la pérdida
de propiedad, renta o ganancias, o al costo
de extracción, instalación o reinstalación.
WARRANTY INFORMATION INFORMATIONS RELATIVES À LA GARANTIE INFORMACIÓN DE LA GARANTÍA
5"
127mm
7"/178mm
RJ45 PoE Ethernet
OPT 4 Port PoE Injector
(Part# EQ-DA2400-POE)
USB
No End User Service .37"/9mm
2.1"/53mm
4.125”/105mm
1.73"/44mm
This manual suits for next models
1
Table of contents
Other LEGRAND Touchscreen manuals

LEGRAND
LEGRAND VANTAGE Equinox 73 EQ73RT-INSTALL User manual

LEGRAND
LEGRAND 7" Video Touch Screen User manual

LEGRAND
LEGRAND 5739 60 User manual

LEGRAND
LEGRAND Wattstopper EQ41-LCAP User manual

LEGRAND
LEGRAND 7" Video Touch Screen User manual

LEGRAND
LEGRAND Wattstopper LMEQ-41 User manual

LEGRAND
LEGRAND 7" Video Touch Screen User manual
Popular Touchscreen manuals by other brands

Allo RemoteControl
Allo RemoteControl NICE Era TOUCH HSTS2FR instructions

Cytech
Cytech KT03 installation manual

Lanzar
Lanzar SDN695BT owner's manual

Tyco Electronics
Tyco Electronics 1935L user guide

Cooper
Cooper iLumin Plus TSE55-B installation instructions

Elo TouchSystems
Elo TouchSystems 3200L user manual