LEGRAND 5739 60 User manual

Colour Touch Screen
5739 60
Part. U3330B - 12/09-01 PC
User manual


Introduction1. 5
The Touch Screen■6
General description✔6
The Home page✔6
The functions page✔7
Navigation arrows✔7
The Default page✔8
Use2. 9
The applications 1■0
Scenarios 1✔1
Lighting 1✔3
Automation 1✔5
Gate (lighting / video door-entry system) 1✔6
Load control 1✔8
Temperature control 1✔9
Burglar alarm 2✔7
Sound System 2✔9
Multi-channel sound system 3✔2
Multimedia contents 3✔4
Improved scenarios and schedulers 3✔8
Video door-entry system 4✔2
Systems supervision 4✔3
Energy management 4✔6
Customisation 53. 1
Setup 5■2
Alarm clock 5✔2
Beep 5✔4
Clock 5✔4
Display 5✔5
Calibration 5✔7
Password 5✔9
Version 6✔0
Index
3


1 - Introduction
6
The Touch Screen■
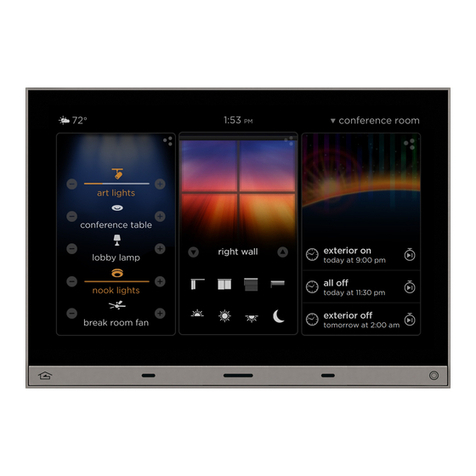
The colour Touch Screen is the room control that can enable you to
achieve a centralised management for all My Home Legrand functions
in a simple and intuitive way.
When you touch the icons of the wide display lightly with your finger, it
is possible to control a number of My Home Legrand solutions, such as:
controlling actuators for lights and shutters, selecting preset scenarios,
adjusting the temperature of the temperature control zones, dividing
and enabling/disabling the burglar alarm, managing the sound system,
forcing the priority of household appliances managed by the load
control and many others.
The Touch Screen is always switched on and enabled, the backlighting
of the display turns on as soon as you touch it.
All the navigation pages of the Touch Screen will be created and
customised for the My Home Legrand solutions in your system by the
installer, according to your needs.
The navigation pages in this manual are given for guidance only.
The Home page✔
There are icons in the Home page which represent the applications
that you can manage as well as the setup icon (always present). When
programming, it is possible to enter more information such as the date,
time and temperature (the possibility to enter information depends on
the space vacated by the icons).
For more information, please call your installer.
Applications
Time
Setup
General description✔

1 - Introduction
7
The functions page✔
You can access the functions page by selecting the required application
from the Home page.
All you need to do is touch the icon of a command to switch on a light,
pull up your rolling shutter or activate a scenario.
Navigation arrows✔
The arrows at the bottom part of the display have the followings
functions:
In some pages there is a fourth button that allows you to execute
special functions.
Shutter
Gate
Watering system Scenario module
DAY
NIGHT
Scrolls the contents of the page
upwards
Scrolls the contents of the page
downwards
Goes to the previous page
Automation page example Scenario page example

1 - Introduction
8
The Default page✔
The ColorTouchConfigIP configuration software enables you to specify
a Default page which will be shown on the display after a period of
inactivity of the Touch Screen.
The installer can choose the Home page or a page included in the ap-
plications as the Default page; it will also be possible to create a new
page containing information on the Time, Date and temperature. In
alternative to Time and Date, the Temperature can be entered up to
three times, thereby enabling you to monitor three different rooms.
In addition to the navigation arrow (that allows to return to the Home
Page), there is an icon at the bottom of the page which allows you to
execute a command. For more information on how to configure the
command, please call your installer.
If this page has not been enabled during the configuration process,
the Home Page will be displayed.
COMMAND
KITCHEN
Navigation arrow
Control button
Date
Temperature
Time

Energy management
System
supervision
2 - Use
10
The Touch Screen enables you to manage the following applications
of the system:
The Setup icon, always present in the Home page, can let you access the
Touch Screen setup page (Alarm clock, Beep, Clock, etc.).
For more information see chapter “Customisation”.
DISPLAY
NETWORK
The applications■
Automation
Sound
System
Lighting
Improved
scenarios and
schedulers
Video
door-entry
system
Load control
Multi-channel
sound system
Scenarios Burglar alarm
99 zone
temperature control
4 zone
temperature control
VERSION

2 - Use
11
This command lets you activate a scenario of the Scenario Unit.
You can freely decide to modify the scenario setting on the Unit; the
Touch Screen will then execute the scenario you have set up.
This command lets you activate a scenario of the Scenario Module.
Furthermore, when you touch the icon , new icons will appear
which will allow you to cancel or programme a new scenario according
to the functioning mode of the Scenario Module.
Lets you activate scenarios that have been previously stored in one
or more “scenario units” and “scenario modules” of your My Home
Legrand system.
Touch the scenario icon .
The display will show the page where you can find the scenarios you
can activate.
Scenarios✔Scenario of the Scenario unit
Scenario 1
Scenario of the Scenario Module
Scenario 2
NIGHT
NIGHT
Scenario 1
Touch the icon to activate the scenario.
If the icon is not displayed, the scenarios module is
blocked.

2 - Use
12
Creating a new scenario
Touch the icon to start
a new scenario
programming procedure.
Touch the icon to end
programming.
Touch the icon to return
to the menu of the scenarios
programmed by you.
Removing a scenario
Touch the icon to remove a scenario
programmed by you

2 - Use
13
Lets you switch on, switch off, adjust a single light or group of lights.
Touch the lighting icon .
The display will show the page where you can find the lights you can
control.
Staircase light
Garden lights
Kitchen light
Depending on the programming condition, the display can have seven
different types of controls:
This control lets you switch on,
switch off and adjust a light
with a dimmer.
Use the – and + icons for the
adjustment; the brightness
of the light is shown graphi-
cally.
The illumination intensity will
be shown with ON/OFF marks
(10 levels) or marks with a
lower illumination intensity
(100 levels), depending on the
dimmer installed (10 or 100
levels).
If the light does not work or if
it is not connected, a broken
light bulb will appear.
Dimmer
This control lets you switch a
single light on and off.
Single light
This control lets you switch
on/ off a group of lights simul-
taneously.
Group of lights
Less light
Dimmer 100 or
10 levels, 90%
ON.
Fault
Kitchen light
Lighting✔
Garden lights
Staircase light

2 - Use
14
Dimmer Assembly
Use the – and + icons for the adjustment; the brightness of the light is
not shown graphically.
The dimmers of the assembly can be adjusted at different illumination
intensity levels, hence they can be adjusted by increasing or decreasing
the level of all dimmers, starting from their current adjustment.
This control lets you switch on,
switch off and adjust several
lights simultaneously with a
dimmer.
This control lets you switch
on a light thus setting
the activation time with the
icon .
The durations that can be set may be:
fixed: 7 different durations that cannot be changed
configurable: 20 durations configurable through software
Timing with preset durations
enabled
Timing with preset durations
not enabled
1’
Fixed timed light
This control lets you switch
on a light for only one set
duration using the configura-
tion software.
The icon shows the re-
maining activation time (in
percentage).
The icon shows the timing
activation status. Fixed timing enabled
(about half the time remaining
to switch off)
Fixed timing disabled
Staircase light
This control lets you activate
the Staircase lights function of
the video door-entry system.
Timed light with preset durations
1’
12:10
12:10
Room lights

2 - Use
15
In order for you to have an immediate identification, different icons
have been created according to the actual use of the automation
control unit.
Lets you control shutters, gates, door locks, etc.
Touch the automation control unit icon .
The display will show the page where you can find the automation
control units that you can control.
Shutter
Gate
Watering system
Shutter
Curtain
Gate (automation)
Gate (lighting/video door-entry system)
Automation assembly
Up-and-over
Fan
Watering system
Controlled plug
Door lock
Automation✔

2 - Use
16
Curtain - Shutter - Gate – Up-and-over
These controls allow you to open and close the curtains, shutters, etc.
with a simple touch of your finger.
The operation may occur in two different ways, depending on the
programming procedure carried out by the installer:
Safe mode
The opening or closing movement will occur as long as the correspond-
ing icon is touched; the icon changes, thus indicating the movement.
When the icon is released, there will be an automatic stop.
The curtain opens when
the icon is kept pressed
When you lift your finger,
the curtain stops
The shutter goes down when
the icon is kept pressed
When you lift your finger,
the shutter stops
Stop
Stop
Safe mode examples
Normal Mode
The opening or closing movement will start by touching the corre-
sponding icon; during the movement the icon changes showing the
Stop icon and the indication of the movement in progress.
Touch the icon to stop the movement .
The gate opens when you
touch the icon
Press the icon Stop to stop it
The gate closes when you
touch the icon
Normal mode examples
Gate (lighting / video door-entry system)✔
The opening or closing movement will start by touching the
icon. The movement automatically stops when the gate reaches its
stop limit.
Press the icon Stop to stop it
Stop
Stop

2 - Use
17
Automation assembly
This control can be used to activate several automations at the same
time. For example, with a single touch it would be possible to lower or
rise all the rolling shutters of the home.
Movement is activated by touching one of the arrow icons. Touch
to stop.
OFFON
Fan
This control lets you switch a fan on and off.
The icon indicates when the fan is in operation.
touch to switch off touch to switch on
Controlled plug
This control, represented by a plug, lets you switch on and off a generic
device (a household appliance or any other device).
Here again, the icon indicates the status of the device controlled.
OFFON
touch to switch off touch to switch on
Door lock
The door lock is activated when you touch the icon .
This control acts as a button: the door lock is activated when you touch
the icon and deactivated when you release it. If it controls a door lock
of the video door-entry system, the activation time will be set by the
door lock configuration.
Door lock deactivated

2 - Use
18
Watering system
This control lets you switch the watering system on and off.
The icon indicates when the watering system is in operation.
OFFON
touch to switch off touch to switch on
This control allows you to force the priority set for the Energy man-
agement unit.
Touch the Energy Management icon .
The display will show the page where you can find the loads that you
can control.
Microwave
Oven
Washing machine
Load control✔

2 - Use
19
Temperature control✔
4 ZONE CONTROL UNIT
ZONE 1
ZONE 2
This control enables you keep the temperature under control in
the whole house and to adjust each zone according to your current
needs.
Touch the temperature control icon .
The display shows a page listing systems (Control units), non-controlled
zones (if present) and any external probes (if present). If only one
Control Unit is present, a screen will be displayed, with the selected
Control Unit icon (4 zones/99 zones), and the Zone list.
Touch the Control Unit icon to access a page displaying the Control
Unit status. The same page also shows the icon that gives access
to the list of the possible modes that can be set.
4 ZONE CONTROL UNIT
The management of the temperature control is possible only if
the Remote control function has been activated.
4 ZONE CONTROL UNIT

2 - Use
20
Program 3
Program 2
Program 1
Program 3
Program 2
Program 1
Weekly Mode
By selecting one of the 3 summer or winter programs (previously set in
the control unit), the system can operate in automatic mode following
the setup programming procedure.
Touch the icon to confirm the program to set.
Winter programsSummer programs
Manual
23.5°C
Manual Mode
Touch the and icons to decrease or increase the tempera-
ture value by 0.5°C. Touch the icon to confirm the temperature
selected.
This can be used to set a constant temperature in all the zones of the
system.
Table of contents
Other LEGRAND Touchscreen manuals

LEGRAND
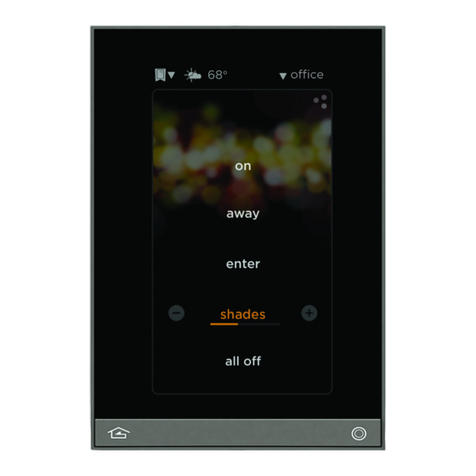
LEGRAND Wattstopper EQ41-LCAP User manual

LEGRAND
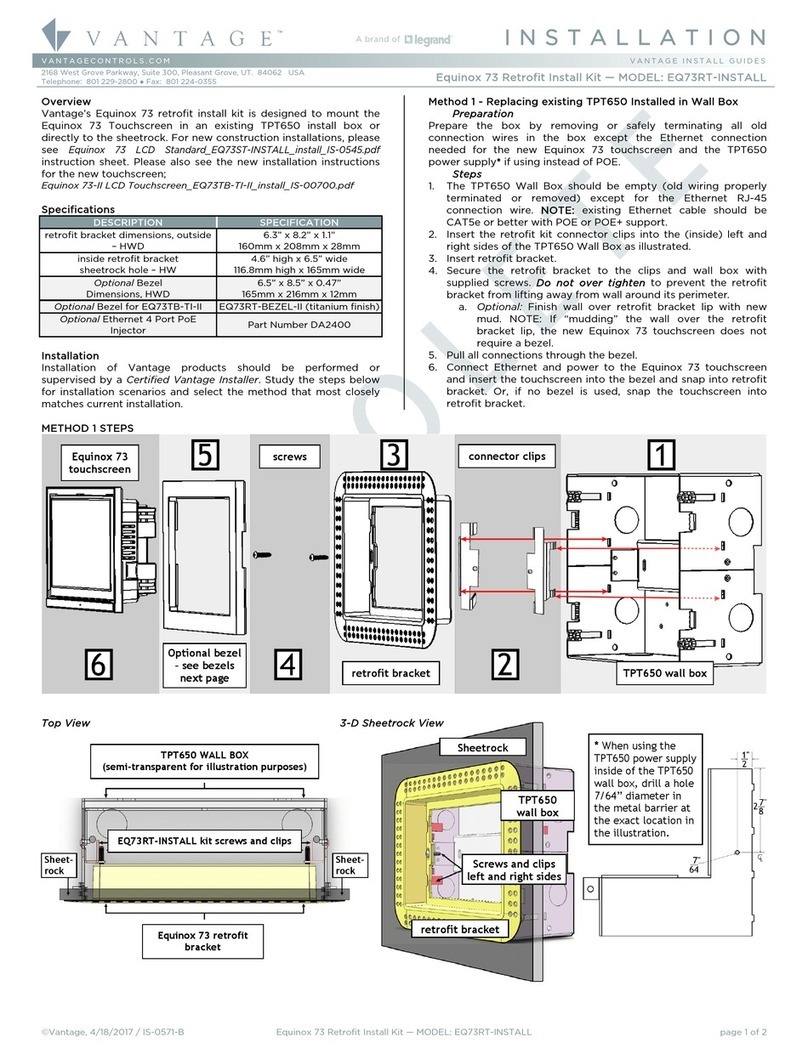
LEGRAND VANTAGE Equinox 73 EQ73RT-INSTALL User manual

LEGRAND
LEGRAND Vantage Equinox 73-III User manual

LEGRAND
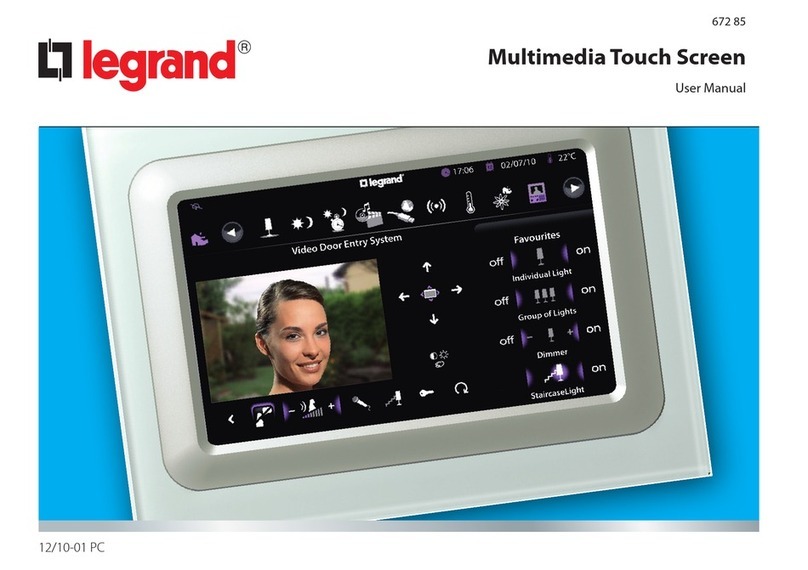
LEGRAND 7" Video Touch Screen User manual
LEGRAND
LEGRAND 7" Video Touch Screen User manual
LEGRAND
LEGRAND 7" Video Touch Screen User manual
LEGRAND
LEGRAND Wattstopper LMEQ-41 User manual