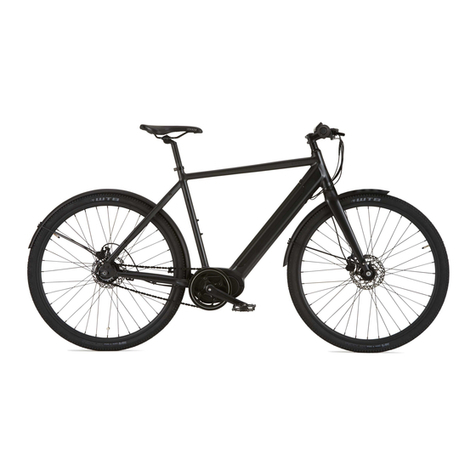
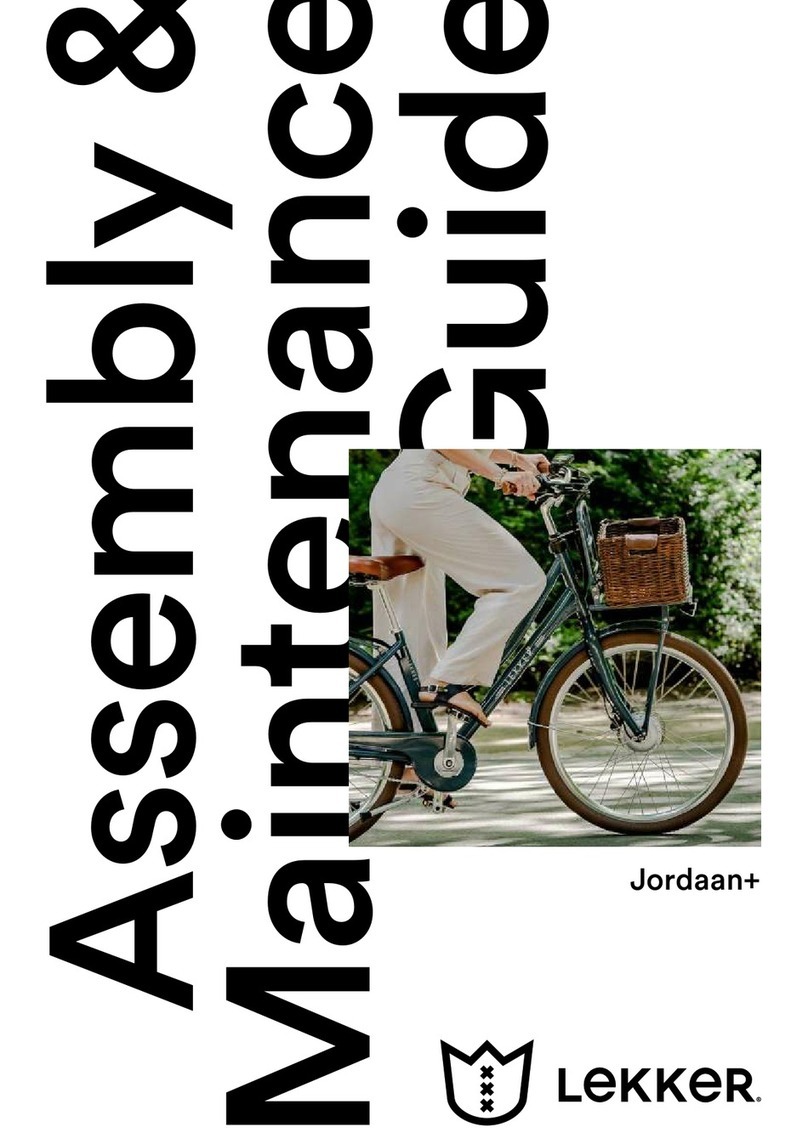
Lekker jordaan 2016 series User manual

MANUAL LEKKER BIKES 2016

2 - manual Lekker bikes manual Lekker bikes - 3
Dear Lekker Customer,
first of all we would like to congratulate you with your brand new bicycle! It’s already a
great day. But before you ride out we want to make sure your bike is in tip-top condi-
tion, and you are aware how to keep it like that. Very important, to ensure endless smiles
each single ride.
In this manual we have compiled for you lots of tops on how to use your Lekker Bicycle,
instructions for maintenance and care plus obviously a walk through how to execute
the final assembly of your ride. We advise to read this manual thoroughly. You will find
it worth your while; even if you have cycled all your life an feel like a veteran with your
new ride.
For your enjoyment and safety please complete the first part of this manual, to ensure
all is clear about general bicycle safety. Chapter 2 shows you the correct thightening
force in anticipation of the final assembly of your bicycle. Chapter 3 takes you on a jour-
ney how proceed with the final assembly of your bicycle. At last, Chapter 4 gives you a
better idea how to service and maintain your bicycle.
Your Lekker team
note:
We have to stress that this manual won’t teach you the skills of a bicycle mechanic. Even
a manual as big as all Harry Potters books together could not describe every possible
combination, tricks and available components. For this reason this manual only focuses
on your newly Lekker Bicycle, standard assembly and drawing your attention to import-
ant notes, warnings and maintenance.
CONTACT
For your own safety, never do work on your bicycle unless you feel absolutely sure
about it. If you are in doubt or if you have any questions please contact our
helpdesk:
AUSTRALIA - NZ - SINGAPORE
phone: 1300 053 525
email: info.au@lekkerbikes.com
EUROPE & USA
phone: 0031 8187 8491
email: info.eu@lekkerbikes.com

4 - manual Lekker bikes manual Lekker bikes - 5
Table of contents
Chapter 1 | General warnings 6
Chapter 2 | Assembly guide 8
Chapter 3 | Fastening recommendation 12
Chapter 4 | Love, Care & Safety 13

6 - manual Lekker bikes manual Lekker bikes - 7
Chapter 1 | General warnings
Bicycling involves risk of injury, damage, or death. By choosing to ride a bicycle, you
assume the responsibility for that risk. Proper use and maintenance of your bicycle re-
duces risk of injury. This Manual contains many “Warnings” and “Cautions” concerning
the consequences of failure to maintain or inspect your bicycle and of failure to follow
safe cycling practices. It is impossible to anticipate every situation, or condition which
can occur while riding, this Manual makes no representation about the safe use of the
bicycle under all conditions. There are risks associated with the use of any bicycle which
cannot be predicted or avoided, and which are the sole responsibility of the rider.
MECHANICAL SAFETY
Check Routinely check the condition of your bicycle before every ride.
Nuts, bolts, screws & other fasteners: Because manufacturers use a wide variety of fas-
tener sizes and shapes made in a variety of materials, often differing by model and
component, the correct tightening force or torque cannot be generalized. To make sure
that the many fasteners on your bicycle are correctly tightened. Correctly tightening
a fastener requires a calibrated torque wrench. A professional bicycle mechanic with
a torque wrench should torque the fasteners on your bicycle. If you choose to work
on your own bicycle, you must use a torque wrench and the correct tightening torque
specifications from the bicycle or component manufacturer or from your dealer. If you
need to make an adjustment at home or in the field, we urge you to exercise care, and
to have the fasteners you worked on checked by your dealer as soon as possible.
WARNING
Correct tightening force on fasteners –nuts, bolts, screws– on your bicycle is important.
Too little force, and the fastener may not hold securely. Too much force, and the fas-
tener can strip threads, stretch, deform or break. Either way, incorrect tightening force
can result in component failure, which can cause you to lose control and fall. Make sure
nothing is loose. Lift the front wheel off the ground by two or three inches, then let it
bounce on the ground. Anything sound, feel or look loose? Do a visual and tactile in-
spection of the whole bike. Any loose parts or accessories? If so, secure them. If you’re
not sure, ask someone with experience to check.
TYRES & WHEELS
Make sure tyres are correctly inflated. Check by putting one hand on the saddle, one
on the intersection of the handlebars and stem, then bouncing your weight on the bike
while looking at tire deflection. Compare what you see with how it looks when you know
the tires are correctly inflated; and adjust if necessary. Tires in good shape? Spin each
wheel slowly and look for cuts in the tread and sidewall. Replace damaged tires before
riding the bike. Wheels true? Spin each wheel and check for brake clearance and side-
to-side wobble. If a wheel wobbles side to side even slightly, or rubs against or hits the
brake pads, take the bike to a qualified bike shop to have the wheel trued.
SEAT POST & HANDLEBAR ALIGNMENT
Check that the seat post is properly adjusted and that the seat post clamp is fastened to
the proper torque. Make sure the saddle and handlebar stem are parallel to the bike’s
center line and clamped tight enough so that you can’t twist them out of alignment.
CAUTION
Wheels must be true for rim brakes to work effectively. Wheel trueing is a skill which
requires special tools and experience. Do not attempt to true a wheel unless you have
the knowledge, experience and tools needed to do the job correctly. Wheel rims clean
and undamaged? Make sure the rims are clean and undamaged at the tire bead and, if
you have rim brakes, along the braking surface. Check to make sure that any rim wear
indicator marking is not visible at any point on the wheel rim.
WARNING
Bicycle wheel rims are subject to wear. Ask your dealer about wheel rim wear. Some
wheel rims have a rim wear indicator which becomes visible as the rim’s braking surface
wears. A visible rim wear indicator on the side of the wheel rim is an indication that the
wheel rim has reached its maximum usable life. Riding a wheel that is at the end of its
usable life can result in wheel failure, which can cause you to lose control and fall.
BRAKES
Check the brakes for proper operation. Squeeze the brake levers. Are the brake
quick-releases closed? All control cables seated and securely engaged? If you have rim
brakes, do the brake pads contact the wheel rim squarely and make full contact with
the rim? Do the brakes begin to engage within an inch of brake lever movement? Can
you apply full braking force at the levers without having them touch the handlebar? If
not, your brakes need adjustment. Do not ride the bike until the brakes are properly
adjusted by a professional bicycle mechanic.
HANDLEBAR ENDS
Make sure the handlebar grips are secure and in good condition. If not, have your deal-
er replace them. Make sure the handlebar ends and extensions are plugged. If not, have
your dealer plug them before you ride. If the handlebars have bar end extensions, make
sure they are clamped tight enough so you can’t twist them.
WARNING:
Loose or damaged handlebar grips or extensions can cause you to lose control and
fall. Unplugged handlebars or extensions can cut you and cause serious injury in an
otherwise minor accident.
This manual is not intended as a comprehensive use, service, repair or maintenance
manual. Please see a certified bicycle mechanic and dealer for all service, repairs or
maintenance. Your dealer may also be able to refer you to classes, clinics or books on
bicycle use, service, repair or maintenance.
8 - manual Lekker bikes manual Lekker bikes - 9
Chapter 3 | Assembly guide
Hooray Your Box has arrived, let’s get started
1. Remove the bicycle from the box
2. Start by carefully removing the bicycle and any loose items that may be floating
around in the box. See photo 1
3. Find the tools Included inside of the box: 15m, 10m, 8m Spanner, 5m & 6m allen
Wrench. See photo 2
(Additional tools needed: Scissors/cable cutters, phillips head Screwdriver & a bit
of grease (bearing grease, not oil)
important: If you do not have a work stand, the box can be set on the ground as a
work space to keep bike safe from scratching.
4. Remove the front wheel from the bicycle frame, and all the plastic coverings/
padded protection.
5. Prepare for handlebar and stem installation. Locate the “Neco” Headset cap in-
side of the box containing tools, pedals etc. Place cap on top of the headset and
apply a bit of grease to the handlebar stem. Carefully slide the stem into the fork
and locate the 6m allen key. Tighten the stem slightly so that is is not moving during
assembly of other parts. See photo 3, 4, 5 & 6
6. Make sure the fork is in the correct position. The fork should have the brake calli-
per facing forward. See photo 7
Assembly if you require a front rack
7. Prepare for installation of the front mudguard and headlight. Remove the brake
caliper using the 10m spanner. [Take care to see how the washers and bits line up
to make sure they go back in the correct order] - Be sure to install the headlight and
front fender in front of the fork. See photo 8 & 9
8. Once complete be sure to tighten the brake caliper to the fork using the 10m
spanner.
9. Grab the 15m spanner and install the front wheel with the washers seated on the
outside of the fork dropouts. See photo 10
10. Balance the bicycle using the kickstand. Make sure to adjust the kickstand, to
prevent the bike from leaning too heavily on the kickstand. We advice to raise to
the kickstand to 28cm in total for optimal stability [measured from the top of the
kickstand].
11. Install the rear rack using the 8m spanner or a Phillips head screwdriver.
See photo 11 & 12
1
4
2 3
5 6
78 9
10 11 12

10 - manual Lekker bikes manual Lekker bikes - 11
12. Check from the front to back any for loose bolts. Adjust the handlebar position.
Adjust the stem to be straight with the front wheel. [Also check to make sure your
cabling is flowing correctly. The cables should not be wound around one another]
13.Install the saddle to the seat post using the 6m allen tool. [Much easier to do by
removing the seat post] See photo for proper order and alignment: 13 & 14
14. Apply a bit of grease to the seat post and use the 5m allen tool to tighten the
seat post clamp. Check to make sure the saddle angle is correct. 15. Check from the
front to the back checking for loose bolts. Tighten all bolts. Adjust the handlebar
position. Adjust the stem to be straight with the front wheel. (Also check to make
sure your cabling is flowing correctly. The cables should not be wound around one
another.) See photo 15
We’re almost ready
15. Locate the pedals and bell. Pedals have a left and right because the threads are
different. The right pedal threads standard righty tighty. The left pedal threads op-
posite, lefty tighty. See photo 16
16. Be sure to grease the pedals before installation and use the 15m spanner to
make nice and tight. See photo 17
17. Remove plastic from the front and rear lights to allow the batteries to power /
function properly.
18. Using the 10m spanner, dial the brake pads and caliper to make sure the pads
are seated properly, spaced evenly from the rim surface, and make sure the pads are
not touching the tyre. See photo 18 & 19
19. Double check the gearing system is aligned properly by putting the shifter into
gear 4 and look into the rear hub window. [Please see drivetrain manual to under-
stand how your gearing system works and how to maintain. Available as download
on our website] See photo 20 & 21
20. Inflate tyres [65 PSI/4.5 Bar max, this can be checked by looking at the sidewall
of the tyre]
21. ble check from the front to the rear of the bicycle. Check every bolt to make sure
there are no loose parts shaking around and that everything looks straight.
Take your Lekker Bike out for a spin!
13 14 15
16 17 18
19 20 21

12 - manual Lekker bikes manual Lekker bikes - 13
Chapter 3 | Fastening recommendation
Although we assure assembling your Lekker Bicycle is not rocket science, it’s good to
understand your bicycle is held together by a lot of nuts and bolts, that might wiggle
loose as the result of intensive use, cobble stones or riding on and off pavements. Get-
ting the right momentum & tension is therefore vital. Please remember loose bike parts
can decrease your bike’s performance and will effect your cycling experience.
Torque Value
• Brake Lever clamp torque 50 - 70 in/lb (5.6 - 7.9 Nm)
• Seat post clamp 50 - 70 in/lb (5.6 - 7.9 Nm)
• Saddle bolt 175 - 240 in/lb (19.7 - 27.1Nm)
• Brake caliper mount to frame 60 - 80 in/lb (6.7 - 9.0 Nm)
• Brake cable anchor bolts 55 - 75 in/lb (6.2 - 8.4 Nm)
• Shift lever clamp bolts 45 - 65 in/lb (5.0 - 7.3 Nm)
• Handlebar clamp bolt 120 - 144 in/lb (13.5 - 16.2 Nm)
• Stem expander bolt 175 - 200 in/lb (19.7 - 22.5 Nm)
• Crank bolts 220 - 320 in/lb (24.8 - 36.1Nm)
• Pedals 250 - 330 in/lb (28.2 - 37.2 Nm)
• Wheels nuts 260 - 390 in/lb (29.3 - 44.0 Nm)
• Bottom bracket 435 - 600 in/lb (49.1 - 67.7 Nm)
Chapter 4 | Love, Care & Safety
Our mechanics have made a short check list for you to ensure your
new Lekker Bicycle will stay in tip-top condition. Your bicycle is
a collection of moving components, subject to mud, water and a
rough city life. Wear and tear is inevitable, but with the right love
and care your bike will be your best friend for years to come.
Tyres
Tyres can soften in as little as a week. Regular pumping of the
tyres will ensure the tyres last as long as possible and that you will
roll with speed. Tyres that are low can make it easier to puncture
tubes and dent rims if you hit a pothole. Regular pumping is very
important.
Lube like a Champ
Lubrication of the chain is very important and will ensure the most
life out of your gearing system. Be sure not to over lubri-cate as
this will attract grit and dust. Apply a small amount of oil to mov-
ing parts and use a small rag to dry off excess oil. You can tell a
chain needs lube when you hear squeaking and the chain links
look like shiny bare metal.
Let’s clean
It is very important to clean your bicycle after messy conditions
like mud or rain. Rain will get dirt and grit into the brake pads and
other parts of the bicycle. Be sure to clean and dry your bicycle af-
ter these conditions to ensure your parts last long and stay happy.
Regular love & care
Although we have designed and built your Lekker Bike to stand the
test of time, it does need some regular love and care. Be sure to
follow the above steps to keep your bike in tip-top condition. We
advice you to give your bike some regular care every 2-3 months,
and bring it to a professional bike mechanic once every year. It will
greatly improve your comfort, safety and your bikes’ health.

14 - manual Lekker bikes manual Lekker bikes - 15

LEKKERBIKES.COM
Other Lekker Bicycle manuals

Lekker
Lekker Jordaan Quick guide

Lekker
Lekker X User manual

Lekker
Lekker Jordaan+ Quick guide

Lekker
Lekker AmsterdamGT Quick guide

Lekker
Lekker Amsterdam+ Quick guide

Lekker
Lekker Jordaan+ Quick guide

Lekker
Lekker Pedal User manual

Lekker
Lekker Amsterdam+ Quick guide

Lekker
Lekker Amsterdam Series Quick guide

Lekker
Lekker Jordaan Step Through Quick guide
Popular Bicycle manuals by other brands

Fantic
Fantic INTEGRA 150 TRAIL User and maintenance handbook

Noble
Noble GX3 owner's manual

Unico
Unico Liberty Trike Assembly

TRIOBIKE
TRIOBIKE CARGO BIG Original instructions

Prodeco Technologies
Prodeco Technologies Phantom X R user guide

Sunrise Medical
Sunrise Medical Quickie Attitude Power Directions for use