Leuze electronic GmbH + Co. KG In der Braike 1 D-73277 Owen Tel. +49 (0) 7021 573-0 GS 61… - 04
– 5 –
Standard function for GS 61/… (with Teach)
During operation the sensor is always in this function. The sensor detects label gaps with high precision
and speed. This is indicated by the yellow LED and the switching output.
Indicators:
Operation
The teach button must be pressed for at least 2 seconds to operate the device. The button can be electri-
cally disabled to prevent accidental operation.
Sensor adjustment (Teach-In) via teach button for GS 61/… (with Teach)
Manual teach while label tape is passing through (dynamic)
Preparation: Insert label tape into the sensor.
zPress the teach button until green and yellow LEDs flash simultaneously.
zRelease teach button.
zDuring the teach event, the switching output is frozen in the most recently valid
state prior to teaching.
zAdvance the label tape at a maximum speed of 20m/min through the sensor so
that at least 3 … 7 labels pass through the sensor.
zPress the button briefly once more to terminate the teach event, the sensor goes
into standard mode.
3 … 7 label gaps should be advanced through the sensor in order to achieve stable
switching points.
If the teach event is faulty (e.g. transmission with insufficiently thick base material), the red LED illuminates, the green and yellow
LEDs flash rapidly. For error acknowledgment, briefly press the teach button and repeat the teach event. If the error cannot be
rectified, the label material cannot be detected with the GS 61/… .2…
Manual teach if the label tape cannot be advanced (static)
Preparation: Remove one or more labels from the base material and advance this blank
area into the sensor.
zPress the teach button until green and yellow LEDs flash simultaneously.
zRelease teach button.
zDuring the teach event, the switching output is frozen in the most recently valid
state prior to teaching.
zPress the button briefly once more to terminate the teach event, the sensor goes
into standard mode.
If the teach event is faulty (e.g. transmission with insufficiently thick base material), the red
LED illuminates, the green and yellow LEDs flash rapidly. For error acknowledgment,
briefly press the teach button and repeat the teach event. If the error cannot be rectified,
the label material cannot be detected with the GS 61/… .2…
Adjusting the switching behaviour of the switching output (signal in the label gap/on the label)
zPress the teach button until green and yellow LEDs flash alternately.
zRelease the teach button - the green LED continues to flash, the yellow LED
alternates slowly between ON and OFF.
zYellow LED ON = output switches in the label gap
Yellow LED OFF = output switches on the label.
zIf the button is pressed again while the LED is ON, the device switches in the
label gap. For control purposes, the switching behaviour is displayed as long as
the button is pressed. If the output is to switch on the label, the button must be
pressed while the LED is OFF.
zFinished.
ON LED - green Constantly ON when operating voltage is applied.
OUT LED - yellow Indicates the switching signal. LED is ON if the sensor detects label gaps.
The display is independent of the output setting.
WARN LED - red Is OFF if operation is error-free. If the "Control limit reached" message appears or if
the last teach event was faulty, the red LED illuminates.
≥2s
The green and the
yellow LEDs flash
simultaneously
approx. 3x per sec.
≥2s
The green and the
yellow LEDs flash
simultaneously
approx. 3x per sec.
>7s
The green and the
yellow LEDs flash
alternately
approx. 3x per sec.
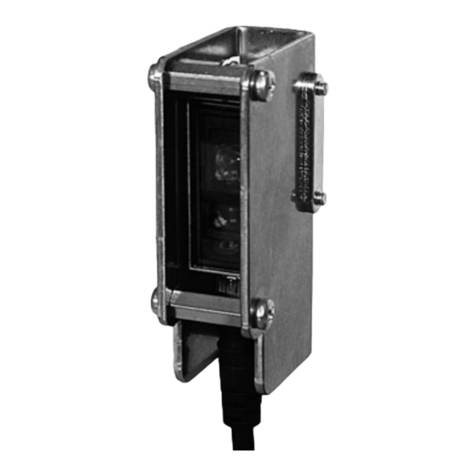
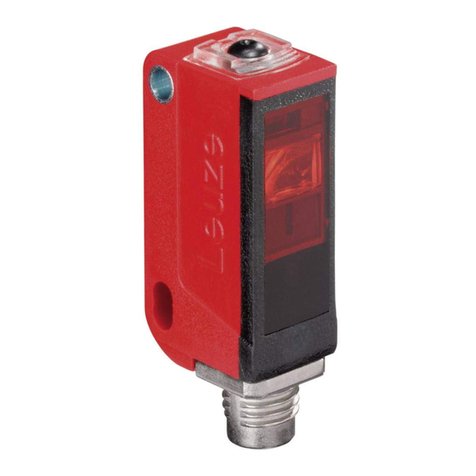
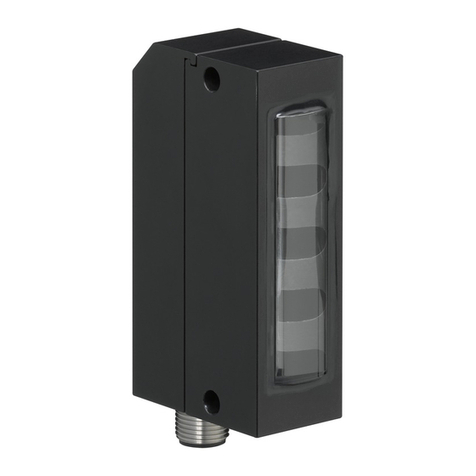
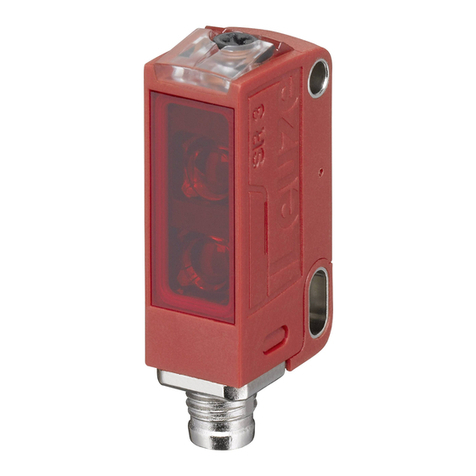
GS 61 Forked photoelectric sensor
