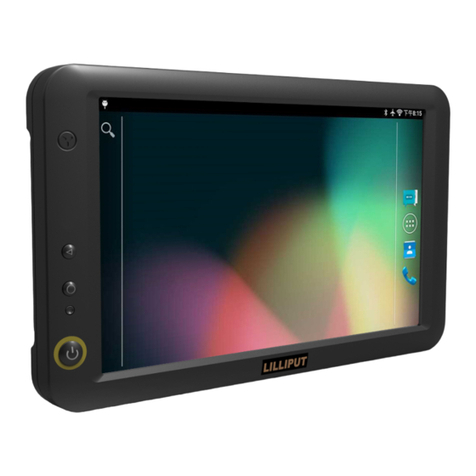
Lilliput PC-701 Pro User manual

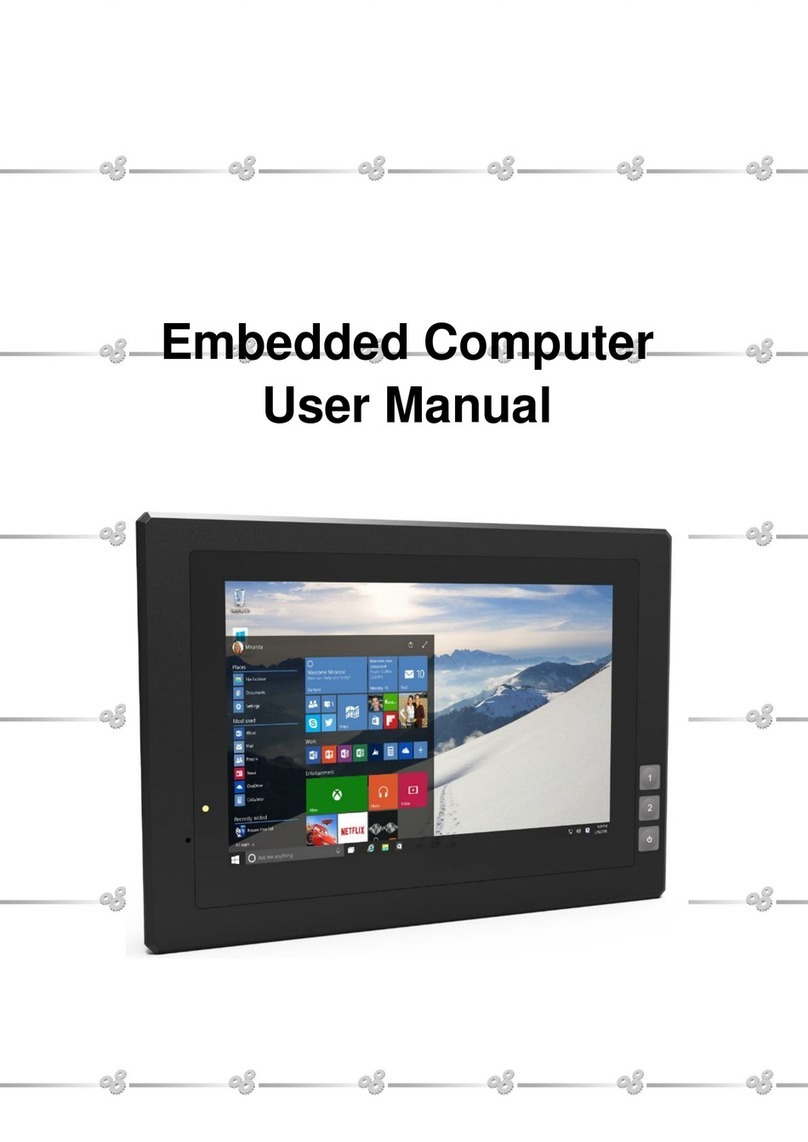
Embedded Computer
User Manual

2
Content
Safety maintenance: ....................................................................................3
1. Product Description ...............................................................................4
1.1 Brief Introduction ..................................................................................................4
1.2 Optional Functions ................................................................................................4
1.3. Basic Parameters ..................................................................................................4
1.4. 3G / 4G Support Parameter & Switch..................................................................5
2.Structure Function Explanation.................................................................7
3. Extended Cable Definition........................................................................8
3.1 Serial Port.............................................................................................................10
3.2 CAN BUS Interface ...............................................................................................11
3.3 GPIO Interface .....................................................................................................12
3.4 ACC Setting Path..................................................................................................14
4.Meory Card Instructions .........................................................................17
5. Operation Guide.....................................................................................18
5.1 Basic Operation....................................................................................................18
5.2 Applied .................................................................................................................19
5.3 Icon bar ................................................................................................................19
6. Mounting Methods ................................................................................20
7. Accessories ............................................................................................21
8. Trouble Shootings ..................................................................................22

3
Safety maintenance:
It should avoid the humidity and extreme temperature when being used.
Please maintain your system properly to make sure its service life and reduce
the damage risk.
Avoid prolonged exposure of the unit to direct sunlight or strong ultraviolet
light.
Do not drop the unit or let it be in any place with severe shock / vibration.
Please avoid the collision as the LCD screen is very easy to be scratched. Do
not use any sharp object to touch the screen.
To clean the outside fuselage, please turn off the power, unplug the power
cord, scrub / wipe with slightly damp soft cloth. When cleaning the screen, please
wipe with the lint free soft cloth.
Never attempt to disassemble or repair the machine, otherwise the unit may
be damaged.
Do not place your unit or accessories together with other flammable liquids,
gases, or other explosive materials, to avoid danger.
Please unplug the power plug and remove the built-in battery if long-term no-
use, or thunder weat

4
1. Product Description
1.1 Brief Introduction
7" 16:10 five point capacitive touch screen , 1280×800 physical resolution;
IMX8M mini, Arm Cortex-A53 Quad-Core 1.6GHz, 2G RAM , 16G ROM;
Android 9.0 OS;
RS232/RS485/GPIO/CAN BUS/WLAN/BT/4G/LAN/USB/POE;
Micro SD (TF) card storage, SIM card slot.
1.2 Optional Functions
3G/4G (built-in);
GNSS serial port, 5V reserved for power(external built)
Wi-Fi 2.4GHz&5GHz& Bluetooth 5.0 (built-in);
RS485
RS422
CAN BUS*2, standard*1
POE (LAN 2 for optional);
1.3. Basic Parameters
Configuration
Parameters
Display
7″ IPS
Touch Panel
Capacitive
Physical Resolution
1280×800
Brightness
400cd/m2
Contrast
800:1
Viewing Angle
170°/170°(H/V)
System Hardware
CPU:NXP IMX 8M mini, Arm Cortex-A53 Quad-Core 1.6GHz
processor
ROM: 16GB FLASH
RAM: 2GB (LPDDR4)
GPU: 2D and 3D Graphics
OS: Android 9.0
Interfaces
SIM card
1.8V/2.95V, SIM

5
1.4. 3G / 4G Support Parameter & Switch
Band
(Different versions
support different
bands)
Version 1:
China/India/South
east Asia
FDD LTE: Band 1 / Band 3 / Band 8
TDD LTE: Band 38 / Band 39 / Band 40 /
Band 41
DC-HSPA+ / HSPA+ / HSPA / UMTS: Band1 /
Band 5 / Band 8 / Band 9
TD-SCDMA: Band 34 / Band 39
GSM/GPRS/EDGE: 1800 / 900
Version 2:
FDD LTE: Band 1 / Band 2 / Band 3 / Band 4
TF card
1.8V/2.95V, up to 512G
USB
USB host 2.0×2
USB Device 2.0×1
CAN
CAN2.0B×2
GPIO
8 (Input and output can be customized by
software, see section 3. Extended Cable
Definition for details.)
LAN
100M×1, 1000M*1 ( Note: LAN1 port is for
Intranet, LAN 2 port is for Internet, both of
them are defaulted)
Serial Port
RS232×4, or RS232×3 and RS485×1,or
RS232×3 and RS422×1, or RS232×2 and
RS485×2 (COM fails when Bluetooth is
available)
Ear Jack
1(Doesn’t support microphone)
Optional Function
Wi-Fi
802.11a/b/g/n/ac 2.4GHZ/5GHZ
Bluetooth
Bluetooth 5.0 2402MHz~2480MHz
3G/4G
(See section 1.4 for details)
POE
25W(Only 1000M LAN support POE)
Multimedia
Audio
MP3/AAC/AAC+/WAV/FLAC/APE/
AMR/MP4/MOV/F4V...
Video
Encode: 1080p60 H.264, VP8 encoding
Decode: 1080p60 H265, VP9, 1080p60
H264, VP8 decoding
Input Voltage
DC 8~36V
Power Consumption
Overall ≤ 15.5W
Standby ≤ 2.5W
Working Temperature
-20°C ~60°C
Storage Temperature
-30°C ~70°C
Dimension (LWD)
206×144×30.9mm
Weight
790g

6
EMEA/South
America
/ Band 5 / Band 7/ Band 8 / Band 20
WCDMA / HSDPA / HSUPA / HSPA+: Band 1
/ Band 2 / Band 5 / Band 8
GSM / GPRS / EDGE: 850 / 900 / 1800 / 1900
Version 3:
North America
LTE: FDD Band 2 / Band 4 / Band 5 / Band
12/ Band 13 / Band 17
WCDMA / HSDPA / HSUPA / HSPA+: Band2 /
Band 4 / Band 5
Data Transmission
LTE
LTE-FDD
Max 150Mbps(DL)/Max 50Mbps(UL)
LTE-FDD
Max 130Mbps(DL)/Max 35Mbps(UL)
DC-HSPA+
Max 42 Mbps(DL)/Max 5.76Mbps(UL)
WCDMA
Max 384Kbps(DL)/Max 384Kbps(UL)
TD-SCDMA
Max 4.2 Mbps(DL)/Max2.2Mbps(UL)
EDGE
Max 236.8Kbps(DL)/Max 236.8Kbps(UL)
GPRS
Max 85.6Kbps(DL)/Max 85.6Kbps(UL)
3G/4G Switch
Settings→Network&internet→Mobile network→Advanced→Preferred network type;
Default as 4G.

7
2. Structure Function Explanation
a. Reset & burn button.
b. User-definable button 1 (Default as return).
c. User-definable button 2 (Default as home).
d. Power on/off button.
a. SIM card slot.
b. (TF) card slot.
c. USB Device(TYPE-C)
d. IOIO 2: (RS232 standard interface, connecting with DB9 optional cable to
convert to RS232×1 and RS422×1 ports or RS232×1 and RS485×2 ).
IOIO 1: (RS232 standard interface, connecting with DB9 standard cable to convert
to RS232×3 port).
Y and Z in the RS422 can be optioned as second way.
e. CAN/GPIO (For extended cable definition, please refer to "3 Extended Cable
Definition").
f. USB Host×2.

8
g. 100M LAN.
h. 1000M WAN, POE function for optional.
i. Ear jack.(Doesn’t support microphone input)
j. Power interface.(ACC for optional)
3. Extended Cable Definition
DB9 standard cable
DB9 optional cable
Item
Definition
COM 1 RS232
/dev/ttymxc1;

9
CAN/GPIO
COM 2 RS232
/dev/ttymxc3;
COM 4 RS232
/dev/ttymxc2;
COM 5 RS232
/dev/ttymxc0;
RS422
Red A
white Z
/dev/ttymxc3;
Black B
Green Y
The first
RS485
Red A
/dev/ttymxc3;
Black B
Note: The Y(green) and Z(white) of RS422 can be configured as A and B of second
RS485 port, which corresponds to the serial port /dev/ttymxc2.
Item
Definition
GPIO
GPIO
Input
2
4
6
8
GPIO 1
GPIO 2
GPIO 3
GPIO 4
Yellow
Yellow
Yellow
Yellow
GPIO
Outpu
t
10
12
1
3
14
GPIO 5
GPIO 6
GPIO 7
GPIO 8
GPIO COMMON
Blue
Blue
Blue
Blue
Grey
GPIO
GND
13
Black
CAN
CAN
1/2
18
20
17
19
CAN1-L
CAN1-H
CAN2-L
CAN2-H
Green
Red
Green
Red

10
3.1 Serial Port
Click Icon to activate ComAssistant
Serial port ID: COM1, COM2, COM4 and COM5
Correspondence between RS232 tail line ports and device nodes
COM1=/dev/ttymxc1 (print port)
COM2=/dev/ttymxc3 (RS232/RS422/The first RS485 optional)
COM4=/dev/ttymxc2 (RS232/second RS485 optional)
COM5=/dev/ttymxc0 (RS232/Bluetooth optional)
RS232×4: Bluetooth is invalid, RS485, RS422 is invalid
RS232×3 and RS485×1: Bluetooth is invalid, COM2 is invalid
RS232×3 and RS422×1: Bluetooth is invalid, COM2 is invalid
RS232×2 and RS485×2: Bluetooth is invalid, COM2 and COM4 is invalid
When machine with bluetooth, COM5 is invalid.

11
1. The boxes in red means the text box for the COM port information received, to
display information received by corresponding COM port.
2. The boxes in red means the text input box for the COM port information sent, to
edit information sent by corresponding COM port.
3. The left box in red means Baud rate Drop-down selection box, to select
corresponding COM port Baud rate.
4. The right box in red means COM port switch, to switch on/off corresponding COM
port.
5. The boxes in red means auto send mode selection.
6. COM port info. sending button.
7. The boxes in red means text rows counting in the information receiving text box
8. The boxes in red means send/receive information codec format option button,
select “Txt”to send info. with String code, select Hex to send info. with Hexadecimal
format code.
9. The boxes in red means manual clear button, click to clear both info. in the COM
port info. receiving boxes.
10. The boxes in red means clear symbol of the receiving text box, default as auto clear
once text up to 500 rows

12
3.2 CAN BUS Interface
adb command:
Set the bitrate ( baud rate ) before all operations
Example: Set the bitrate of the can0 interface to 125kbps:
# ip link set can0 up type can bitrate 125000
Quick test
Once the driver is installed and the bitrate is set, the CAN interface has to be started
like a standard net interface:
# ifconfig can0 up
and can be stopped like that:
# ifconfig can0 down
The socketCAN version can be retrieved this way:
# cat /proc/net/can/version
The socketCAN statistics can be retrieved this way:
# cat /proc/net/can/stats
3.3 GPIO Interface
1. GPIO interface as shown below,

13
2. How to read or set the value of the gpio
GPIO0~7 (IO number)
a)When the software configures the IO port as input, (Negative trigger).
Configuration command: gpiocontrol read [gpio number]
For example: Setting gpio 0 as the input state, and read the input level
diamond:/ # gpiocontrol read 0
diamond:/ #
Trigger voltage: The logic level is ‘0’, 0~1.5V.
Non-trigger voltage: The logic level is ‘1’, the input IO is floating, or beyond 2.5V, but
the maximum input voltage must be less than 50V.
b)When the software configures the IO port as output, it is an open-drain output.
Configuration command: gpiocontrol [gpio number] set [output state]
For example: Set gpio 0 as output state and output high level
diamond:/ # gpiocontrol 0 set 1
diamond:/ #
When the output IO is enabled, the logic level is ‘0’, and the IO voltage is less than
1.5V.

14
When the output IO is disabled, the logic level is ‘1’, and the rated voltage of the IO
must be less than 50V.
3.4 ACC Setting Path
ACC settings located in ACC Settings under the category of System in the Settings of
Android OS. Please refer to Figure 3-1, 3-2 and 3-3:
3-1
Clock go to Settings and select "ACC Settings" as shown.

15
3-2
3-3

16
3-4
ACC settings as shown in Figure 3-4 & Figure 3-5.
Mark 1: The main switch of the three functions controlled by ACC, namely, light up the
screen, close the screen and shut down.
Mark 2: The switch of close screen function controlled by ACC.
Mark 3: Click to pop-up dialog box as shown in Figure 3-5, to edit the screen off delay
time after ACC outage.
Mark 4: The current screen off delay time after ACC outage.
Mark 5: The switch of Trigger to shut down function by ACC outage.
Mark 6: Click to pop-up dialog box as shown in Figure 3-6, to edit the shut down delay
time after ACC outage.
Mark 7: The current shut down delay time after ACC outage.

17
3-5
3-6
4. Meory Card Instructions
The memory card and the card slot on the device are precision electronic
components. Please align to the position accurately when inserting the memory
card into the card slot to avoid of damage. Please slightly push the upper edge of
the card to loosen it when removing the memory card, then pull it out.
It is normal when the memory card getting hot after long time working.
The data stored on the memory card may be damaged if the card is not used
correctly, even the power is cut off or the card is pulled out when reading data.
Please store the memory card in packing box or bag if not used for a long
time.
Do NOT insert the memory card by force to avoid of damage.

18
5. Operation Guide
5.1 Basic Operation
5.1.1 Click, Double-click and Slide
5.1.2 Long-press and Drag
5.1.3 Delete

19
Long-press the application icon, and drag it to the recycle bin on the top left corner of
screen, then press OK to uninstall this app.
5.2 Applied
Scroll up to the“ ” icon in the lower side to see all the apps on the device
Icon
Name
Description
Phone
Open the dial interface.
E-mail
After you set up your e-mail account, you will be
reminded when there are new e-mails.
Calculator
Turn on the calculator.
Calendar
In the calendar you can view the date, or you can add
the schedule.
Setting
It can be set up according to individual requirements
Clock
Check the time and set the alarm, timer and
stopwatch.
Address book
View the address book and add new contacts.
Picture
The gallery program supports viewing by folder path.
File
Open to manage files.
Ethernet
Ethernet can be managed
Modify static or dynamic IP and proxy Settings
Search
Click to go to Google Search
Browser
Android Web browser
5.3 Icon bar
Icon bar shown on the top right corner of screen, as well as the notice bar; Slide the top
bar down to launch the notice bar.

20
Icon
Name
Description
Wi-Fi
Wi-Fi signal connection and status
SIM card
No SIM card
Mobile
Network
Network available but not surf the Internet via
2G/3G/4G
Signal connection and status
Time
Current time
WI-F
Hotspot
Wi-Fi Hotspot available
Bluetooth
Bluetooth available
Flight Mode
Flight mode status
6. Mounting Methods
VESA 75mm rail slot
Table of contents
Other Lilliput Industrial PC manuals