4
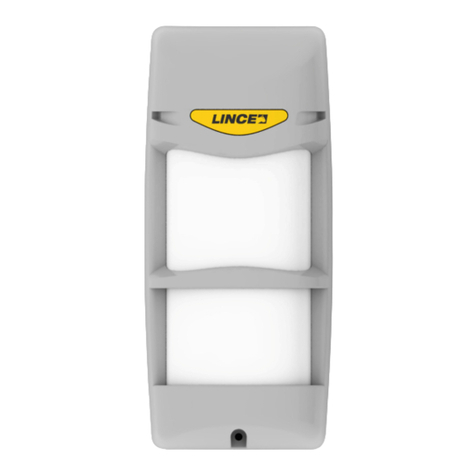
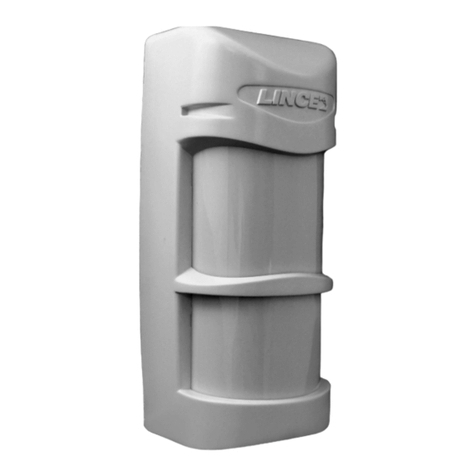
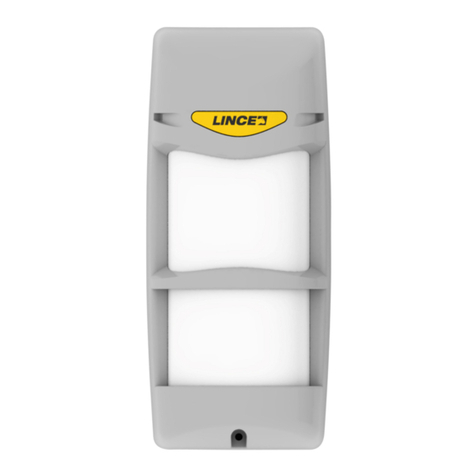
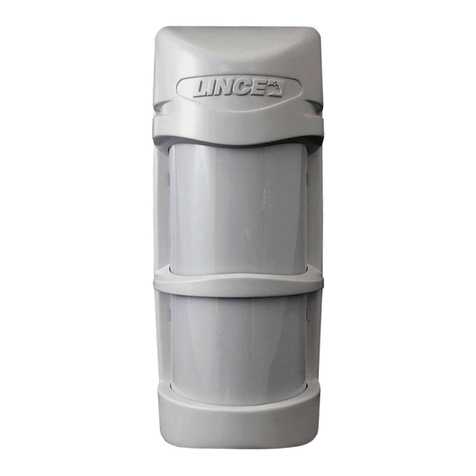
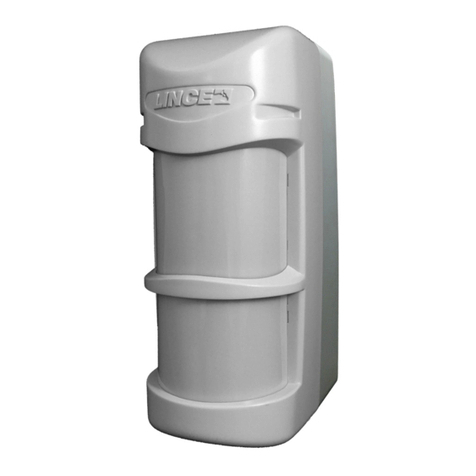
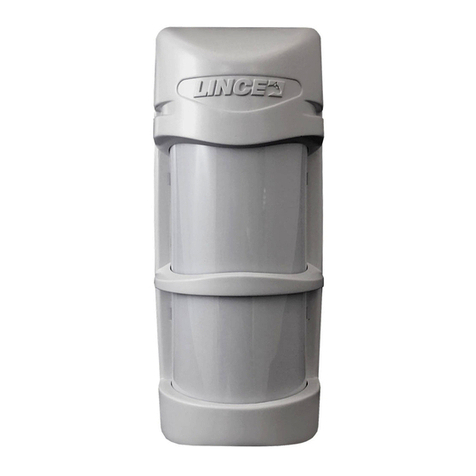
O ανιχνευτής BOBBY απoτελείται από 2 ανιχνευτές PIR, και
ένα μικροκυματικό ανιχνευτή στα 10,525GHz. Το υψηλής
τεχνολογίας ηλεκτρονικό του σύστημα έχει σχεδιαστεί ώστε
να εγγυάται μέγιστη απόδοση σε εξωτερικούς χώρους και σε
χαμηλές θερμοκρασίες. Οι τρεις δέσμες είναι ρυθμιζόμενες
και επιτρέπουν οριζόντια κάλυψη κατανεμημένη σε 150 °.
Η κατώτερη δέσμη υπέρυθρων μπορεί επίσης να ρυθμιστεί
κάθετα και αυτό επιτρέπει την επίτευξη μιας περιοχής κάλυψης
μεταξύ 3m και 12m.
Εισάγετε τη μπαταρία στον ανιχνευτή και περιμένετε 4~5
λεπτά πριν αρχίσετε τη ρύθμιση της περιοχής ανίχνευσης.
Ο ανιχνευτής χρειάζεται κάποιο χρόνο αρχικοποίησης και
σταθεροποίησης της λειτουργίας του.
Πριν την ενεργοποίηση της λειτουργίας TEST (δείτε Λειτουργία
Τest στην παράγραφο 7) ελέγξτε αν η περιοχή κάλυψης είναι
ελεύθερη από εμπόδια.
Περιμένετε 30~40 δευτερόλεπτα και εισέλθετε εντός της
περιοχής κάλυψης διακόπτοντας τις δέσμες του ανιχνευτή.
Επιβεβαιώστε τη σωστή λειτουργία των ανιχνευτών PIR
ελέγχοντας κάθε φορά αν ενεργοποιείται το LED Alarm.
Μετά την πρώτη ενεργοποίηση συναγεμρού θα πρέπει
να περιμένετε 7-8 δευτερόλεπτα πριν προκαλέσετε νέα
ανίχνευση.
Για να δείτε την περιοχή κάλυψης του ανιχνευτή ανατρέξατε
στο διάγραμμα κάλυψης του ανιχνευτή (σελίδες 6,11).
u Μετά από 4 λεπτά η λειτουργία Test θα τερματιστεί
αυτόματα.
It is important to evaluate the installation site previously. The
BOBBY outdoor detector consists of two dual PIR passive
sensors and a 10,525GHz microwave sensor. The particu-
larly evolved electronics has been designed to guarantee the
maximum performances in external and rigid temperatures
environment. The three beams are adjustable and allow to
get a horizontal coverage distributed on 150°.
The lower infrared beam is even vertically adjustable and it
allows to get a detection range between 3m and 12m.
After powered the detector, wait at least 4~5 minutes before
testing detection range because it needs to stabilized.
To get a real simulation during TEST mode (see “TEST
MODE” on page 7), verify that the coverage area of the
detector is free from obstacles in movement.
Wait 30~40 seconds and try to enter into the area covered
by the detector, pay attention to cross the beams.
Verify the correct operation of the 2 PIR’s
through the alarm LED’s.
After the first alarm it needs to wait about 7~8 seconds
before triggering a new detection.
To know the covered area by the sensor please refer to the
covered area pattern (pages 6,11).
u After 4 minutes TEST function will be automatically ended
Αφαιρέστε το κάλυμμα του ανιχνευτή (δείτε την εικόνα στη
σελίδα 8) και ακολουθήστε τα παρακάτω βήματα:
u Για το δέκτη RX8
Ανοίξτε το κάλυμμα του δέκτη και τοποθετείστε το DIP Switch
1 σε θέση ON.
Τοποθετείστε τη μπαταρία εντός του ανιχνευτή.
Περιμένετε μερικά δευτερόλεπτα και επιβεβαιώστε ότι
ακούσατε το ηχητικό σήμα επιβεβαίωσης (Beep) για την
επιτυχή καταχώρηση του ανιχνευτή.
Επαναλάβετε την παραπάνω διαδικασία για να καταχωρήσετε
και τους υπόλοιπους ανιχνευτές.
Πριν από κάθε καταχώρηση επιβεβαιώστε ότι υπάρχει
ελεύθερη θέση στο δέκτη.
Για λεπτομέρειες ανατρέξατε στις οδηγίες εγκατάστασης του
δέκτη.
Open the detector cover (see page 8) and
proceed as follow:
u With Rceiver RX8
Open the receiver, put the DIP switch 1 on the ON position.
Insert the battery into its site inside of the detector.
Wait some seconds, than verify that adouble acoustic
(Beep) sound will confirm the learning.
Repeat above described steps to store all other detectors in
the receiver.
Before each attempt of storage verify for free memory.
For details refer to the receiver technical manual.
Verify the correct operation of the 2 PIR’s
through the alarm LED’s.
After the first alarm it needs to wait about 7~8 seconds
before triggering a new detection.
To know the covered area by the sensor please refer to the
covered area pattern.
ΠΕΡΙΓΡΑΦΗ - DESCRIPTION
ΚΑΤΑΧΩΡΗΣΗ - STORAGE

