manuals.online logo
Brands
  1. Home
  2. •
  3. Brands
  4. •
  5. Linkskey
  6. •
  7. Switch
  8. •
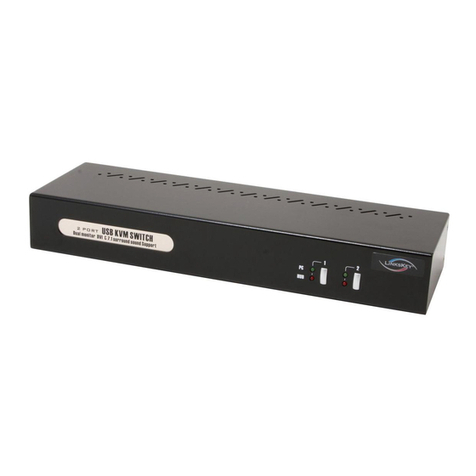
  9. Linkskey LDV-DM712AUSK User manual

Linkskey LDV-DM712AUSK User manual

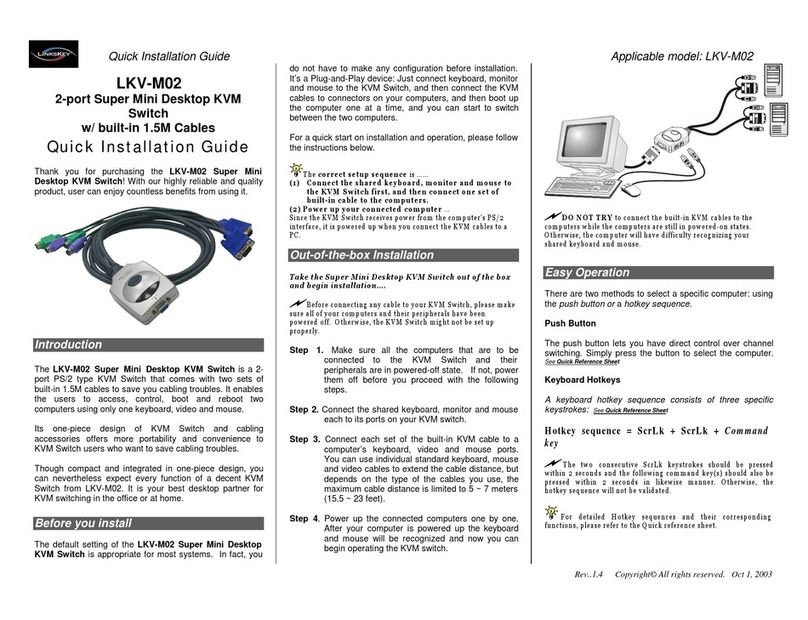
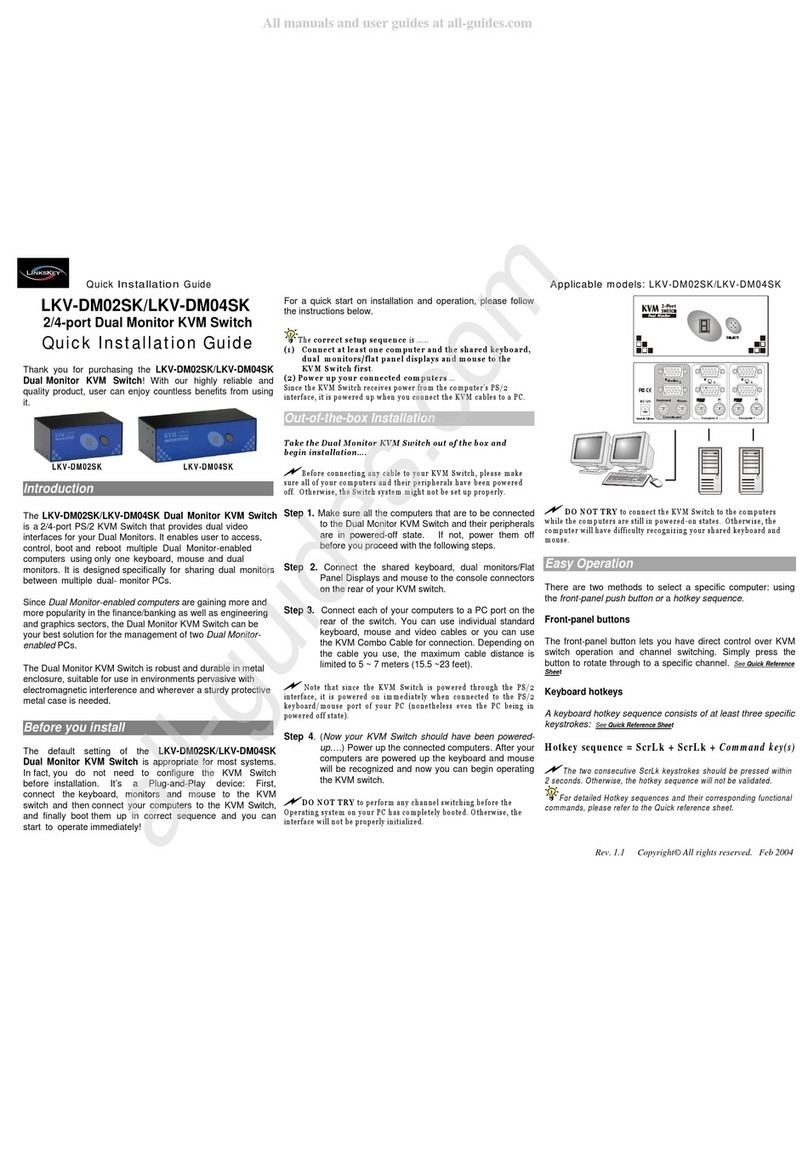
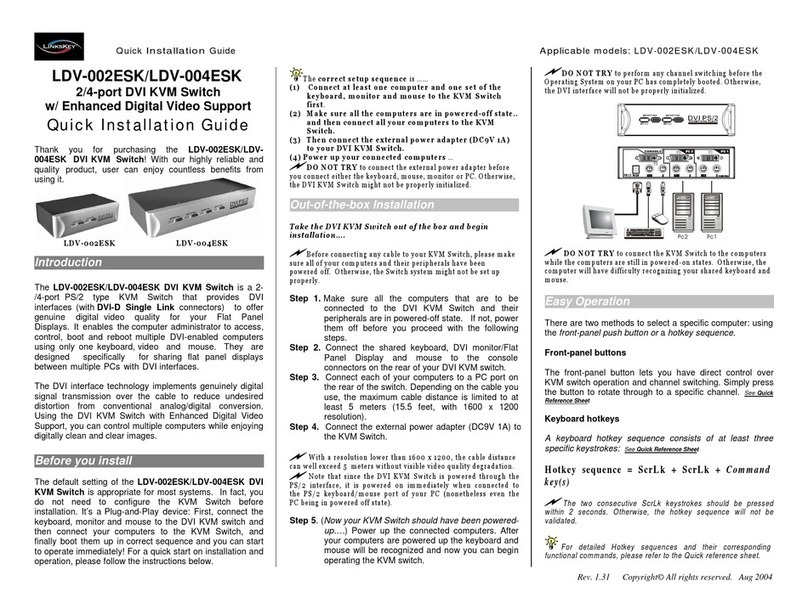
Quick Installation Guide Applicable models: LDV-DM712AUSK
Rev.1.1 Copyright© All rights reserved. Dec 2005
7.1 surround sound support
2 x USB 2.0 hub port + 1 X DEVICE port with full dirver
support for any advanced USB 2.0 device
User-definable Hotkey Preceding Sequence
Firmware Upgradable
LDV-DM712AUSK
2-port Dual Monitor DVI/VGA KVM Switch
w/ 7.1 surround sound support
Quick Installation Guide
Thank you for purchasing the LDV-DM712AUSK Dual Monitor
DVI/VGA KVM Switch w/ 7.1 surround sound support! With
our highly reliable and quality product, user can enjoy countless
benefits from using this KVM Switch.
LDV-DM712AUSK
Introduction
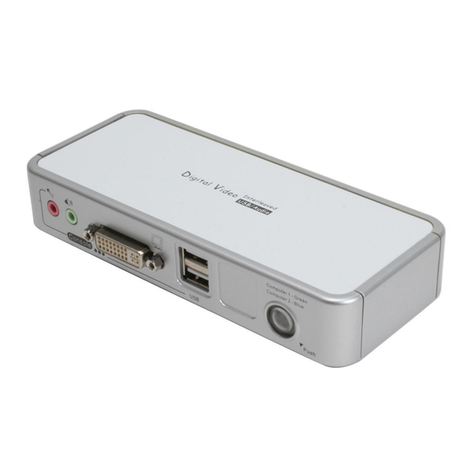
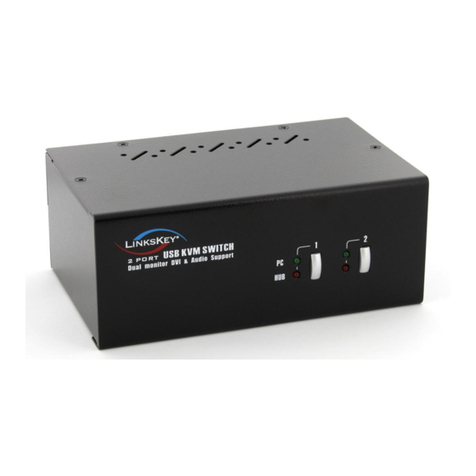
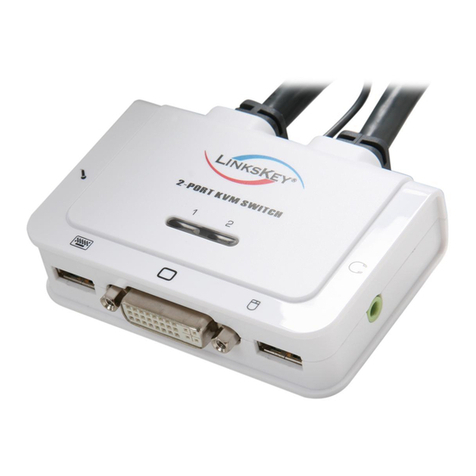
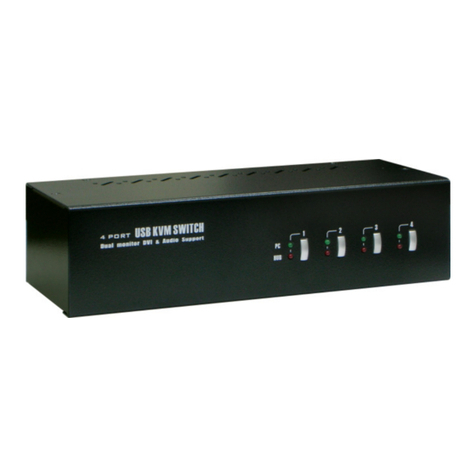
The LDV-DM712AUSK Dual Monitor DVI/VGA KVM Switch is
designed for sharing two monitors/Flat Panel Display –one DVI
and one VGA monitor specifically - between two multimedia
computers with Dual Head display [1 x DVI + 1 x VGA]. Its 7.1
channel surround sound renders a theater digital audio
experience that greatly enlivens your DVD playbacks or gaming
sessions. You can sit back and enjoy to the full with live
audio/video output from this KVM switch. The 2 extra USB 2.0
hub ports are for sharing high-speed USB 2.0 devices. However,
to offer full driver support to some advanced USB 2.0 gadgets
that need their own drivers for full function, it also provide a
Device port with no emulation for the direct signal pass-through
required for these delicate devices. Thus, you can connect it to
the transceiver of your wireless/Bluetooth keyboard/mouse to
enable its full driver and functional support.
This KVM Switch also allows its user to upgrade firmware
contents whenever is needed to enhance compatibility or
functionality. Thus, your investment on this KVM Switch is further
ensured and its life-time value just maximized!
For the Flash upgrade procedure, please refer to the Flash Upgrade Operation Guide
provided with the new version of Firmware upgrade file.
Before you install
The default setting of the LDV-DM712AUSK is appropriate for
most systems. You do not need to configure the KVM Switch
before installation. Please follow the instructions below for the
setup sequence:
The correct setup sequence is ……
(1) Power up your KVM Switch by connecting the external
power adapter to it….
(2) Then connect the shared keyboard, monitor and mouse
(also speaker set and microphone) to the KVM Switch, and
then connect your computers.
Since USB interface is hot-pluggable, you don’t have to turn off the
computer before making connections to the USB KVM.
Out-of-the-box Installation
Take the KVM Switch out of the box and begin installation….
Step 1. Power up you KVM Switch by connecting the external
power adapter to it. (For use without an external
power adapter, please refer to previous Notes ).
Step 2. Connect the shared USB keyboard, mouse, two monitors
and the 7.1 channel speaker system and microphone as
well as other shared USB devices to the KVM switch. If
you use an advanced USB device (such as
wireless/Bluetooth mouse, etc) that needs its own driver
for full function, you can to connect it to the Device port.
Step 3. Connect each of your computers to the KVM switch,
using the DVI-I video cable, VGA cable, USB (Type A-
to-Type B) cable and audio & Mic cables (see the
pictures below).
DVI-I VGA Cable USB cable Audio/Mic
Video Cable (HDB15) (TypeA-to-TypeB)
Step 4. (Now your KVM Switch should have been powered-up….)
Power up the connected computers one by one. After
your computers are powered up, the keyboard and
mouse will be recognized and now you can begin
operating the KVM switch.
And also you should verify the USB device on your Device Port are
fully functioning after installation of its driver on both connected PCs
Easy Operation
There are two methods to control your KVM Switch for PC, USB
hub port as well as audio/mic channel selection: using the front-
panel push buttons or ahotkey sequence.
Front-panel buttons
The front-panel buttons let you have direct control over KVM
switch operation and channel switching. Simply press the PC
button for PC port switching (and if binding is enabled between
PC / USB hub port control / audio&mic switching, they will be
jointly selected at the same time). If you want to enable the
binding of PC / Hub port control / Audio&Mic switching, use the
hotkey sequences. See Quick Reference Sheet
Keyboard hotkey
A keyboard hotkey sequence consists of at least three specific
keystrokes: See Quick Reference Sheet
Hotkey sequence = [ScrLk]* + [ScrLk] * + Command key(s)
* User-definable = SCROLL LOCK,CAPS,ESC,F12 or NUM LOCK
Hotkey preceding sequence configuration: For users who want to use
a preceding sequence other than two consecutive Scroll Locks, there is
also one convenient way to configure it. (1)Hit ScrollLock + ScrollLock +
H, then two beeps will signal readiness for new preceding sequence
selection [or Press and hold down the last front-panel button (Button 2)
until you hear two beeps, then release the button.] (2) Select and press
the key you would like to use as your preceding sequence (SCROLL
LOCK,CAPS,ESC,F12 or NUM LOCK keys are available for selection)
and you’ll hear a beep for selection confirmation. Now you can use the
new preceding sequence to execute your hotkey commands.
Each keystroke within a hotkey sequence should be pressed within 2
seconds. Otherwise, the hotkey sequence will not be validated.
For detailed Hotkey sequences and their corresponding functional
commands, please refer to the Quick reference sheet.
Quick Reference Sheet Applicable models: LDV-DM712AUSK
Rev. 1.1 Copyright© All rights reserved. Dec 2005
Q u i c k R e f e r e n c e S h e e t
Notes:
1. The USB keyboard hotkeys allows you a faster and broader control for your KVM switching operation in addition to the front-panel buttons. If you have configured a hotkey preceding sequence other than
two consecutive scroll locks, you should change your hotkey sequence accordingly.(For preceding sequence key configuration, please refer to Quick Installation Guide)
2. When the binding of PC & USB hub port control switching is enabled by the hotkey sequence: ScrLk + ScrLk + Z, any PC and hub port control switching are bound together. To remove this binding, use the
hotkey sequence: ScrLk + ScrLk + X.
3. When the binding of PC & Audio&Mic switching is enabled by the hotkey sequence: ScrLk + ScrLk + Q, any PC and audio&mic switching are bound together. To remove this binding, use the hotkey sequence:
ScrLk + ScrLk + W.
LED Information: Green LED indicates PC port status: solid green – active port; flashing green – PC not connected; Red LED indicates hub port control status: solid red – that PC has the control of all hub ports.
Important Note: The USB hub control status LED (red) indicates not the connected status of each USB device, but indicates which PC port has the control of all hub ports and their connected devices. For example,
when USB LED 1 is lit, it means PC port 1 has the current control of all hub ports and their connected USB devices.
2-port Dual Monitor DVI/VGA KVM Switch w/ 7.1 surround sound support -- Operation Commands for Hotkeys / Front-Panel Buttons
Hotkey sequence = [ScrLk]* + [ScrLk] * + Command key(s) * User-definable Preceding sequence = SCROLL LOCK,CAPS,ESC,F12 or NUM LOCK
Command
Hotkeys1
Front-panel Buttons
Description
Select PC Channel 2
(Joint-select PC port/hub port control/audio&mic,
if binding is enabled)
ScrLk + ScrLk + (x)
(x is a top-row number key)
x = 1~2 for PC channel no
Press the corresponding button to select the
active PC channel
Select the active PC channel
(Joint-select PC port/hub port control/audio&mic , if
binding is enabled)
Select Hub Port Control 2
(Joint-select PC & Hub port control, if binding is
enabled)
ScrLk + ScrLk + (Fx)
Fx = F1~F2 (Fx is a function key)
x = 1~2 for PC channel no
(Press the corresponding button to select the
specific PC+USB hub port control --works
only if PC port/hub port control binding
enabled)
Select the PC channel that control all USB hub ports
(Joint-select PC & Hub port control, if PC/hub port control
binding is enabled)
Select Audio&Mic Channel 3
(Joint-select PC port & audio/mic , if binding is
enabled)
ScrLk + ScrLk + (Fy)
Fy = F5~F6 (Fy is a function key)
y = 1~2 for audio/mic channel no
--
Select the active Audio&Mic channel
(Joint-select PC & audio&mic channel, if binding is enabled)
Bind PC & Hub Port Control Switching 2
[Default]
ScrLk + ScrLk + Z
--
Enable the binding of PC port and hub port control switching.
(Once this feature is enabled, any pc and/or hub port control
switching is bound together) (factory default)
Unbind PC & Hub Port Control Switching 2
ScrLk + ScrLk + X
--
Disable the binding of PC port and hub port control switching
Bind PC & Audio/Mic Switching 3
[Default]
ScrLk + ScrLk + Q
--
Enable the binding of PC port and audio&mic switching.
(Once this feature is enabled, any pc and/or audio&mic
switching is bound together) (factory default)
Unbind PC & Audio/Mic Switching 3
ScrLk + ScrLk + W
--
Disable the binding of PC port and audio&mic switching
Next lower PC channel 2
(Joint-select PC /hub port control/audio&mic,
if binding is enabled)
ScrLk + ScrLk + (arrow up)
--
Select the next lower connected PC channel
(Joint-select PC/hub port control/audio&mic, if binding is
enabled)
Next higher PC channel 2
(Joint-select PC /hub port control/audio&mic,
if binding is enabled)
ScrLk + ScrLk + (arrow down)
--
Select the next higher connected PC channel
(Joint-select PC/hub port control/audio&mic , if binding is
enabled)
Previous PC channel
ScrLk + ScrLk + (Backspace)
--
Toggle between the previous channel and current channel
Beep Sound On/Off
ScrLk + ScrLk + B
--
Toggle on/off the beep sound while autoscanning
Define Hotkey Preceding Sequence
ScrLk + ScrLk + H + (y)
y = SCROLL LOCK, CAPS, ESC,
F12 or NUM LOCK
Press and hold down last button (Button 2)
till two beeps, release the button, then press
(y) key
Select the hotkey preceding sequence among 5 alternative
keys
Autoscan
ScrLk + ScrLk + S
--
Autoscan through every connected channel for quick screen
browsing of each channel (scan delay = 5 sec.).
Autoscan with Programmable Delay Time
ScrLk + ScrLk + S + (z)
z = 0~9
1 10” ; 2  20” ; 3  30” ; 4  40” ; 5  50”
6 60” ; 7  70” ; 8  80” ; 9  90” ; 0  100”
--
Autoscan with a user-defined delay time within a range of
10 ~ 100 seconds
Stop Autoscan
Press any key on keyboard
Press any button
Terminate Autoscan activity
Technical Support
E-mail: [email protected]
Website: www.linkskey.com

Other Linkskey Switch manuals

Linkskey LDV-002ESK User manual

Linkskey

Linkskey LDV-002ESK User manual

Linkskey LDV-DM02ESK User manual

Linkskey

Linkskey LDV-DM02ESK User manual

Linkskey LKS-SR16 User manual

Linkskey

Linkskey LKS-SR16 User manual

Linkskey LDV-DM712AUSK User manual

Linkskey

Linkskey LDV-DM712AUSK User manual

Linkskey LDV-DM202AU User manual

Linkskey

Linkskey LDV-DM202AU User manual

Linkskey LKV-M02 User manual

Linkskey

Linkskey LKV-M02 User manual

Linkskey LKV-7308 User manual

Linkskey

Linkskey LKV-7308 User manual

Linkskey LKV-DM02SK User manual

Linkskey

Linkskey LKV-DM02SK User manual

Linkskey LDV-212ASK User manual

Linkskey

Linkskey LDV-212ASK User manual

Linkskey LKU -UA02 User manual

Linkskey

Linkskey LKU -UA02 User manual

Linkskey Prima LKV-9304 User manual

Linkskey

Linkskey Prima LKV-9304 User manual

Linkskey LKV-S02SK User manual

Linkskey

Linkskey LKV-S02SK User manual

Linkskey LDV-002EASK User manual

Linkskey

Linkskey LDV-002EASK User manual

Linkskey LKV-DM02SK User manual

Linkskey

Linkskey LKV-DM02SK User manual

Linkskey LKV-DM02SK User manual

Linkskey

Linkskey LKV-DM02SK User manual

Linkskey LKS-SH5P User manual

Linkskey

Linkskey LKS-SH5P User manual

Linkskey LKS-SG5P User manual

Linkskey

Linkskey LKS-SG5P User manual

Linkskey LDV-DM202AUSK User manual

Linkskey

Linkskey LDV-DM202AUSK User manual

Linkskey LKV-T02 User manual

Linkskey

Linkskey LKV-T02 User manual

Linkskey LDV-DM702AUSK User manual

Linkskey

Linkskey LDV-DM702AUSK User manual

Linkskey LKV-S02ASK User manual

Linkskey

Linkskey LKV-S02ASK User manual

Linkskey LDV-302ARC User manual

Linkskey

Linkskey LDV-302ARC User manual

Linkskey LDV-DM222AUSK User manual

Linkskey

Linkskey LDV-DM222AUSK User manual

Linkskey LDV-DM202AUSK User manual

Linkskey

Linkskey LDV-DM202AUSK User manual

Popular Switch manuals by other brands

AIVO NETWORKS AVN-S05-1P04W65G user manual

AIVO NETWORKS

AIVO NETWORKS AVN-S05-1P04W65G user manual

Jasco ZW4201 manual

Jasco

Jasco ZW4201 manual

Enterasys N Standalone (NSA) Series Configuration guide

Enterasys

Enterasys N Standalone (NSA) Series Configuration guide

Dungs GW A6 Series Operation and assembly instructions

Dungs

Dungs GW A6 Series Operation and assembly instructions

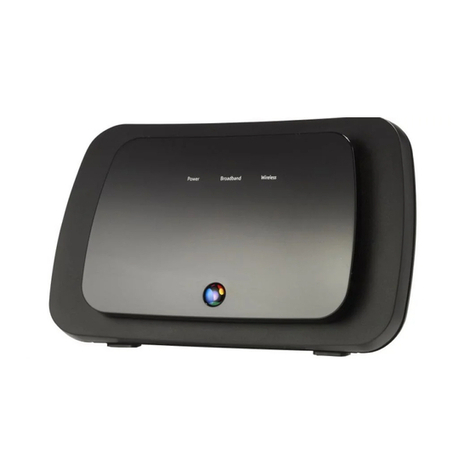
BT Business Hub 3 Getting started and troubleshooting

BT

BT Business Hub 3 Getting started and troubleshooting

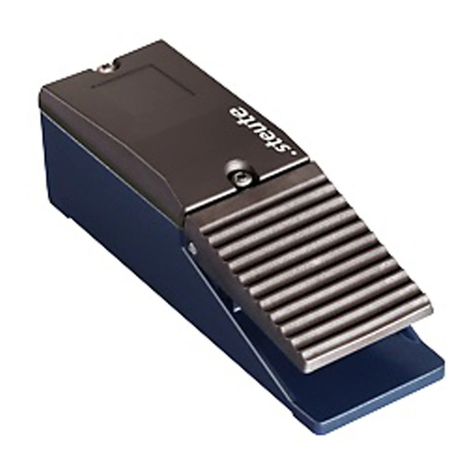
steute RF GF SW868 Mounting and wiring instructions

steute

steute RF GF SW868 Mounting and wiring instructions

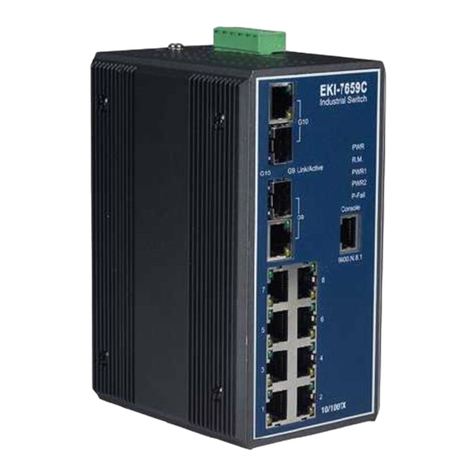
Advantech EKI-7659CI user manual

Advantech

Advantech EKI-7659CI user manual

Polytron PSQ 1708 C user manual

Polytron

Polytron PSQ 1708 C user manual

Endress+Hauser t-switch technical information

Endress+Hauser

Endress+Hauser t-switch technical information

CTS WAS-2006 Series user guide

CTS

CTS WAS-2006 Series user guide

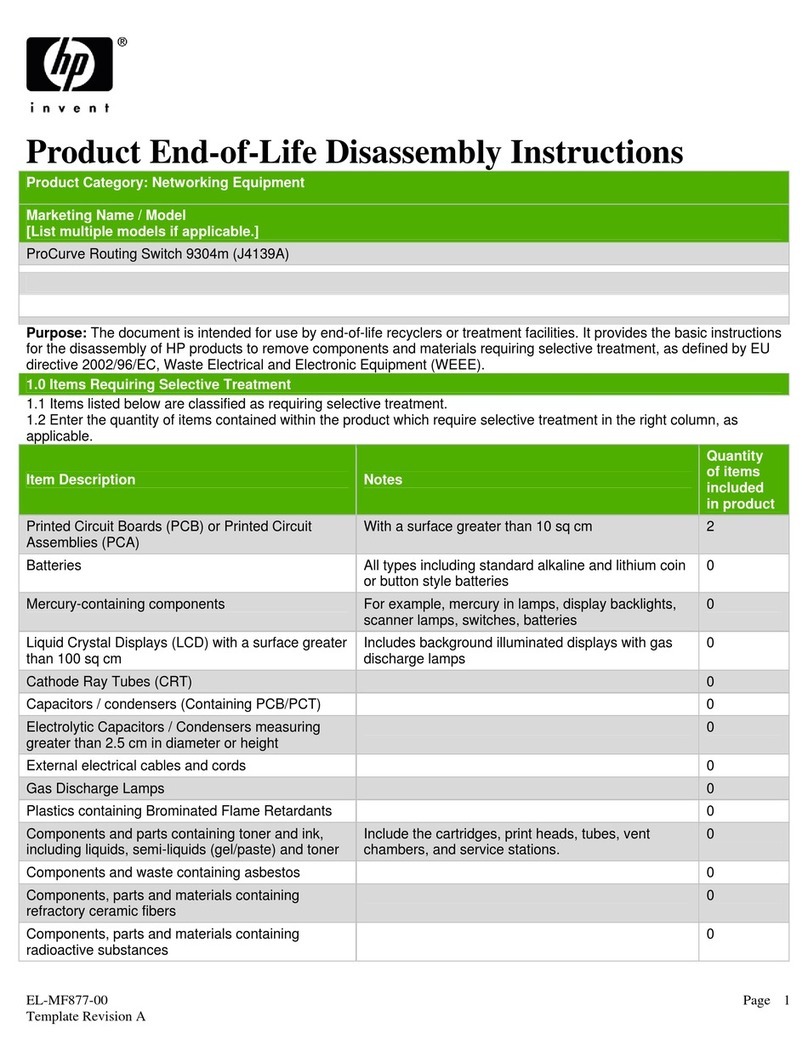
HP ProCurve 1600M Product End-of-Life Disassembly Instructions

HP

HP ProCurve 1600M Product End-of-Life Disassembly Instructions

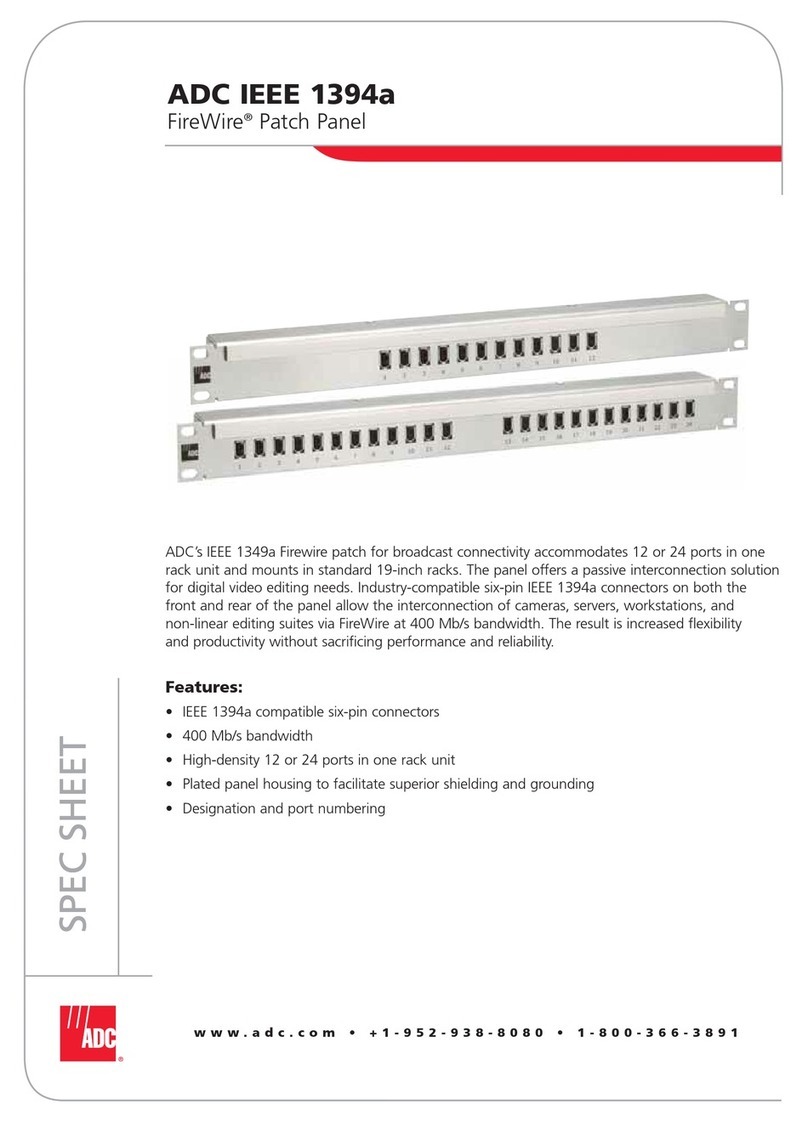
ADC FireWire Patch Panel IEEE 1394a Specification sheet

ADC

ADC FireWire Patch Panel IEEE 1394a Specification sheet

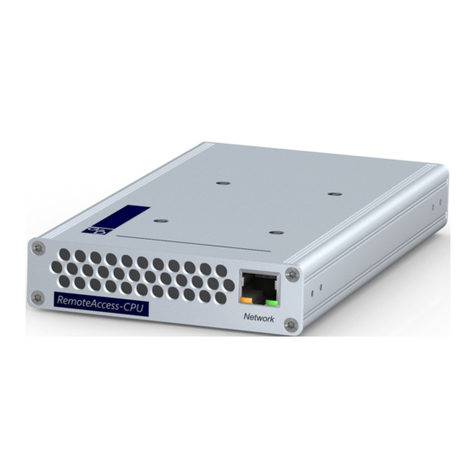
Guntermann & Drunck RemoteAccess-IP-CPU installation guide

Guntermann & Drunck

Guntermann & Drunck RemoteAccess-IP-CPU installation guide

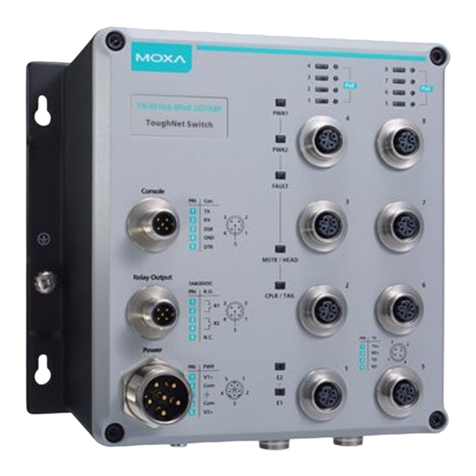
Moxa Technologies TN-5510A Series Quick installation guide

Moxa Technologies

Moxa Technologies TN-5510A Series Quick installation guide

Icy Box IB-HUB1410-C3 Quick installation guide

Icy Box

Icy Box IB-HUB1410-C3 Quick installation guide

IS5 COMMUNICATIONS iTS12GP user manual

IS5 COMMUNICATIONS

IS5 COMMUNICATIONS iTS12GP user manual

hager EGN200AU manual

hager

hager EGN200AU manual

SEI juice box user manual

SEI

SEI juice box user manual

manuals.online logo
manuals.online logoBrands
  • About & Mission
  • Contact us
  • Privacy Policy
  • Terms and Conditions

Copyright 2025 Manuals.Online. All Rights Reserved.