manuals.online logo
Brands
  1. Home
  2. •
  3. Brands
  4. •
  5. Linksys
  6. •
  7. Wireless Access Point
  8. •
  9. Linksys WPG54G Original operating instructions

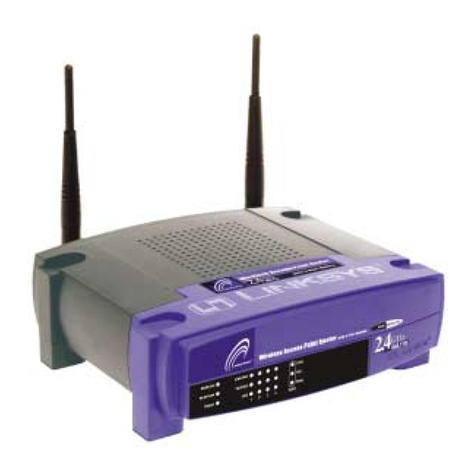
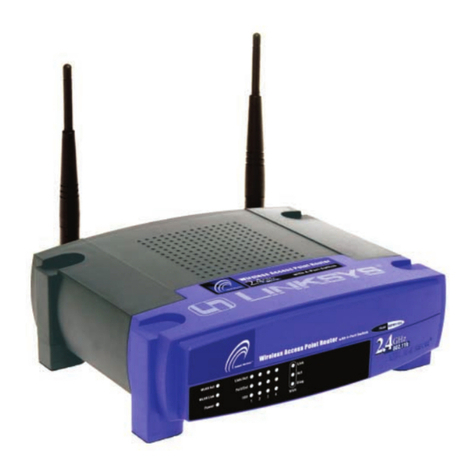
Linksys WPG54G Original operating instructions

A Division of Cisco Systems, Inc.
®
Model No.
Quick Installation
Model No.
Wireless
The Presentation Player can play from
any PC in your wired or wireless net-
work. Install the Control Utility in each
PC that will use the Presentation
Player.
AInsert the Setup CD-ROM into
your CD-ROM drive. The Setup
Wizard should start automati-
cally, and the Welcome screen
should appear. If it does not,
click the Start button, and
select Run. Then enter
d:\setup.exe in the Open field (if
“D” is the letter of your CD-ROM
drive).
BClick the Setup tab.
CAfter reading the License Agree-
ment, click Yes.
WPG54G
Presentation Player
Wireless-G
Package Contents
• Wireless-G Presentation Player
• Setup CD-ROM
• User Guide on CD-ROM
• Remote Control with built-in laser pointer (two
AAA batteries included)
• Adapter Stands
• Power Supply
• Quick Installation
• Registration Card
1
AConnect the VGA cable from
your monitor or projector to the
Presentation Player’s Monitor/
Projector port.
BMake sure the Presentation
Player is turned off. Plug the
supplied power adapter into
the jack on the Presentation
Player’s back panel. Then plug
the other end into a power out-
let (surge protection recom-
mended). Turn on the
Presentation Player.
CTo have a wired connection,
connect one end of the Cate-
gory 5 Ethernet network cable
to your PC’s Ethernet adapter.
Connect the other end to the
Ethernet port on the back of
the Presentation Player.
DFor a wireless connection, fix
the direction of the antenna.
Place the antenna perpendic-
ular to the ground.
EPlace the Player near the mon-
itor or projector facing the pre-
senters so that the infra red in
the remote control will be in
line of sight to the Player.
Proceed to Step 2.
B
A
GH
z
2.4
802.11g
Connecting the Presentation Player Installing the Control Utility
D
DThe Choose Destination Loca-
tion screen will appear. If you
want to change the location
where the Control Utility will be
installed, click Browse, and
select another location. Click
the Next button to continue.
EThe wizard will now be ready to
begin copying the program
files.
FAfter the files have been suc-
cessfully copied, click the Exit
button.
The Control Utility is successfully
installed. Proceed to Step 3 to use
the Control Utility.
2
C
E
F
B
C
The control utility can be used from
any wired or wireless notebook or
desktop PC with a connection to the
Wireless-G Presentation Player.
AMake sure that the Presenta-
tion Player is connected to the
projector or monitor and that
both devices are powered on.
Click on the WPG54G Presenta-
tion Player icon on your desk-
top.
BThe welcome screen will
appear first. Click Next.
COn the next screen, select the
Presentation Player from the
drop-down list. If you have mul-
tiple Players, the Players are
listed with the last four digits of
their MAC Address. Click Next.
A1
For additional information or troubleshooting
help, refer to the User Guide on the Setup CD-
ROM. You can also call or email for further
support.
24-hour Technical Support
800-326-7114
(toll-free from US or Canada)
E-mail Support
[email protected]
Website
http://www.linksys.com or
http://support.linksys.com
RMA (Return Merchandise Authorization)
http://www.linksys.com/support
FTP Site
ftp://ftp.linksys.com
Sales Information
800-546-5797 (800-LINKSYS)
Linksys is a registered trademark or trademark of
Cisco Systems, Inc. and/or its affiliates in the U.S.
and certain other countries. Copyright © 2003
Cisco Systems, Inc. All rights reserved.
Model No.
WPG54G-QI-40112NC BW
Make sure that the Presentation Player is
connected to the projector or monitor,
that both devices are powered on, and
a presentation is loaded. The Infrared
sensor is located on the front panel of
the unit and the remote control must be
in line-of-sight of the sensor in order to
function properly. For remote control
options, refer to the User Guide on the
Setup CD.
AThe Home page appears first.
(A1)
Select Remote Users to view and
connect to the remote users
whose PCs are connected to the
Player. The screen in Figure A2 will
appear. To use, select a user,
then click Connect to connect
the user to the network, click
Delete to remove the user from
the network, or to disconnect
everyone, click Delete ALL.
Select Presentation List to view
the list of loaded presentations.
The screen in Figure A3 will
appear. To use, select a file, then
click Play to play the file, click
Delete to remove the file from
the Player, or to delete all of the
loaded files, click Delete ALL.
Select System Info to view the
Player’s identification, network
settings, and wireless LAN config-
uration. (A4)
Click the Back button to go back
to the previous screen.
Click the Home button to go the
the Home page.
You are now able to run a
presentation directly from the
Player.
Using the Remote Display Function
DWhen you see the screen
shown in Figure D, select the
default True Color to have
optimum color or Basic Color
for the highest performance.
Next, choose your presentation
option.
Select Upload Presentation to
upload a PowerPoint presenta-
tion to the Presentation Player.
Once uploaded, you can use
the remote control to play your
presentation.
Select Take Control of the Pre-
sentation Player to display the
contents of your local PC
screen to the projector or mon-
itor that is connected to the
Player. You have the option to
use the remote control as your
mouse to navigate.
Select Give Control to Another
User to pause your presenta-
tion and enable another user
to take control.
Select Exit to exit the Control
utility.
You are now able to run a presen-
tation from your PC. Proceed to
Step 4 to run a presentation
directly from the Player.
4
A2
A4
A3
3
B
A
C
Using the Control Utility
NOTE: The Presentation Player
works with the default settings, but
if you want to use the security
features or change other settings,
you can change the settings on the
Web-based Utility. To access the
Web-based Utility, open your web
browser and enter the Player’s
default IP Address, 192.168.1.200,
in the Address field. Press the
Enter key. For further instruction,
refer to the User Guide on the
Setup CD-ROM.
IMPORTANT:Make sure that the PC
is configured for the same subnet
as the Presentation Player. For
example, the Presentation Player’s
IP address is 192.168.1.200, so
your PC should have an IP address
of 192.168.1.xxx (the xxx represents
any number.)
IMPORTANT: Make sure that your
wireless PC has the same SSID as the
Wireless Presentation Player (default
SSID is WPG54G-linksys), if you are
using a wireless connection. Also, make
sure that your PC is set to the same IP
range as the Player.
IMPORTANT: Make sure that your
wireless PC has the same SSID as
the Wireless Presentation Player
(default SSID is WPG54G-linksys), if
you are using a wireless connection.
NOTE: For instructions on how to
use your USB memory disk device
with the Player, please refer to the
User Guide on the Setup CD-ROM
D
Other manuals for WPG54G

2

Other Linksys Wireless Access Point manuals

Linksys WAP200E Operation manual

Linksys

Linksys WAP200E Operation manual

Linksys WAP54G - Wireless-G Access Point User manual

Linksys

Linksys WAP54G - Wireless-G Access Point User manual

Linksys WAP54G - Wireless-G Access Point Original operating instructions

Linksys

Linksys WAP54G - Wireless-G Access Point Original operating instructions

Linksys WAP54A - Instant Wireless - Access Point User manual

Linksys

Linksys WAP54A - Instant Wireless - Access Point User manual

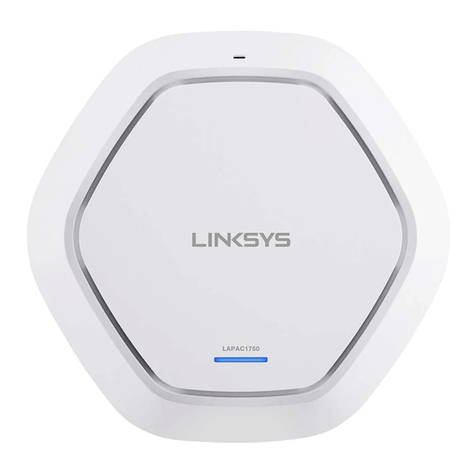
Linksys LAPAC1750 User manual

Linksys

Linksys LAPAC1750 User manual

Linksys WAP11 - Instant Wireless Network Access... User manual

Linksys

Linksys WAP11 - Instant Wireless Network Access... User manual

Linksys WAP55AG - Wireless A+G Access Point Original operating instructions

Linksys

Linksys WAP55AG - Wireless A+G Access Point Original operating instructions

Linksys WAP200E User manual

Linksys

Linksys WAP200E User manual

Linksys WAP51AB - Instant Wireless - Access Point User manual

Linksys

Linksys WAP51AB - Instant Wireless - Access Point User manual

Linksys WAP54G - Wireless-G Access Point User manual

Linksys

Linksys WAP54G - Wireless-G Access Point User manual

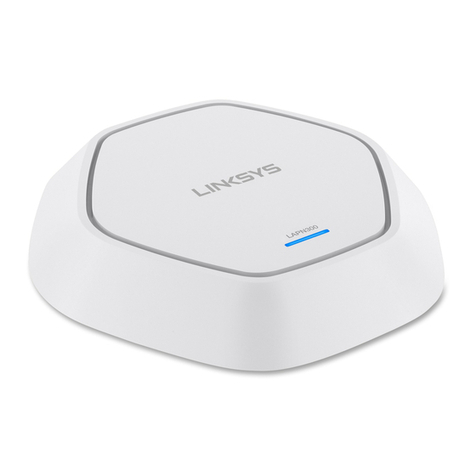
Linksys LAPN300 User manual

Linksys

Linksys LAPN300 User manual

Linksys WAP200 Operation manual

Linksys

Linksys WAP200 Operation manual

Linksys WAP200 User manual

Linksys

Linksys WAP200 User manual

Linksys EtherFast Instant Broadband BEFW11S4 User manual

Linksys

Linksys EtherFast Instant Broadband BEFW11S4 User manual

Linksys WAP54GP - Wireless-G Access Point User manual

Linksys

Linksys WAP54GP - Wireless-G Access Point User manual

Linksys LAPN300 User manual

Linksys

Linksys LAPN300 User manual

Linksys LAPAC2600 User manual

Linksys

Linksys LAPAC2600 User manual

Linksys EtherFast Instant Broadband BEFW11S4 User manual

Linksys

Linksys EtherFast Instant Broadband BEFW11S4 User manual

Linksys WAP11 v.2.6 User manual

Linksys

Linksys WAP11 v.2.6 User manual

Linksys WAP51AB - Instant Wireless - Access Point User manual

Linksys

Linksys WAP51AB - Instant Wireless - Access Point User manual

Linksys WAP51AB - Instant Wireless - Access Point Original operating instructions

Linksys

Linksys WAP51AB - Instant Wireless - Access Point Original operating instructions

Linksys WAP11 - Instant Wireless Network Access... Original operating instructions

Linksys

Linksys WAP11 - Instant Wireless Network Access... Original operating instructions

Linksys WAP2000 Original operating instructions

Linksys

Linksys WAP2000 Original operating instructions

Linksys WAP11 - Instant Wireless Network Access... Original operating instructions

Linksys

Linksys WAP11 - Instant Wireless Network Access... Original operating instructions

Popular Wireless Access Point manuals by other brands

Tenda AX3000 user guide

Tenda

Tenda AX3000 user guide

Pepwave AP One Enterprise user manual

Pepwave

Pepwave AP One Enterprise user manual

EnGenius X-TRA RANGE ERB300H user guide

EnGenius

EnGenius X-TRA RANGE ERB300H user guide

Devolo MicroLink dLAN ADSL Modem manual

Devolo

Devolo MicroLink dLAN ADSL Modem manual

Bluesocket BlueSecure 1840 installation guide

Bluesocket

Bluesocket BlueSecure 1840 installation guide

NETGEAR WNHDE111 user manual

NETGEAR

NETGEAR WNHDE111 user manual

IP-COM W40AP Quick installation guide

IP-COM

IP-COM W40AP Quick installation guide

D-Link DWL-3200AP - AirPremier - Wireless Access... user manual

D-Link

D-Link DWL-3200AP - AirPremier - Wireless Access... user manual

TP-Link TL-WA7210N Information

TP-Link

TP-Link TL-WA7210N Information

Cisco WUMC710 Quick installation guide

Cisco

Cisco WUMC710 Quick installation guide

TRENDnet TPL-110AP - 125Mbps 802.11g Wireless Powerline Access... Frequently asked questions

TRENDnet

TRENDnet TPL-110AP - 125Mbps 802.11g Wireless Powerline Access... Frequently asked questions

EtherWAN EW75000 Series installation guide

EtherWAN

EtherWAN EW75000 Series installation guide

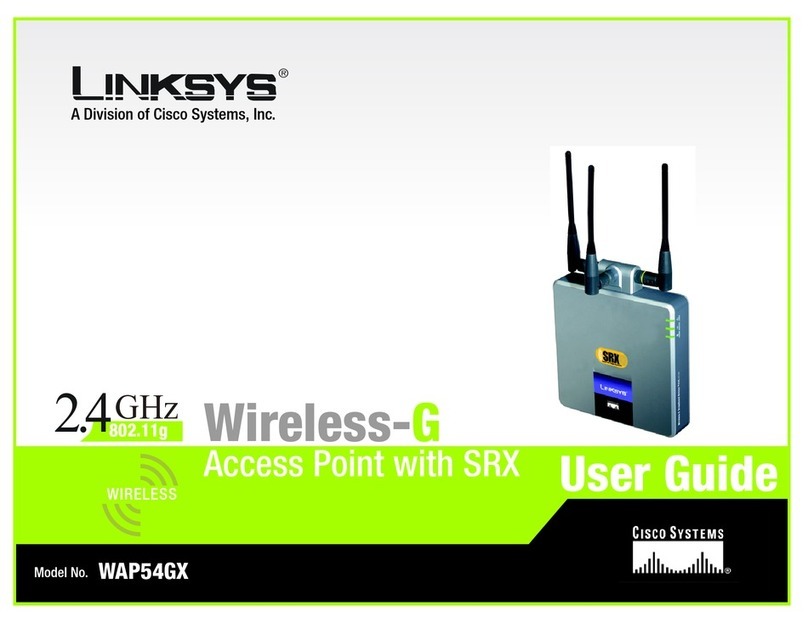
Cisco Linksys WAP54GX user guide

Cisco

Cisco Linksys WAP54GX user guide

Luxul XAP-1030 Quick install guide

Luxul

Luxul XAP-1030 Quick install guide

D-Link DWL-7100AP manual

D-Link

D-Link DWL-7100AP manual

airnet AIR-BR1000AGN Quick installation guide

airnet

airnet AIR-BR1000AGN Quick installation guide

4IPNET EAP760 Product handbook

4IPNET

4IPNET EAP760 Product handbook

CAMBRIDGE WF-122 Hardware installation manual

CAMBRIDGE

CAMBRIDGE WF-122 Hardware installation manual

manuals.online logo
manuals.online logoBrands
  • About & Mission
  • Contact us
  • Privacy Policy
  • Terms and Conditions

Copyright 2025 Manuals.Online. All Rights Reserved.