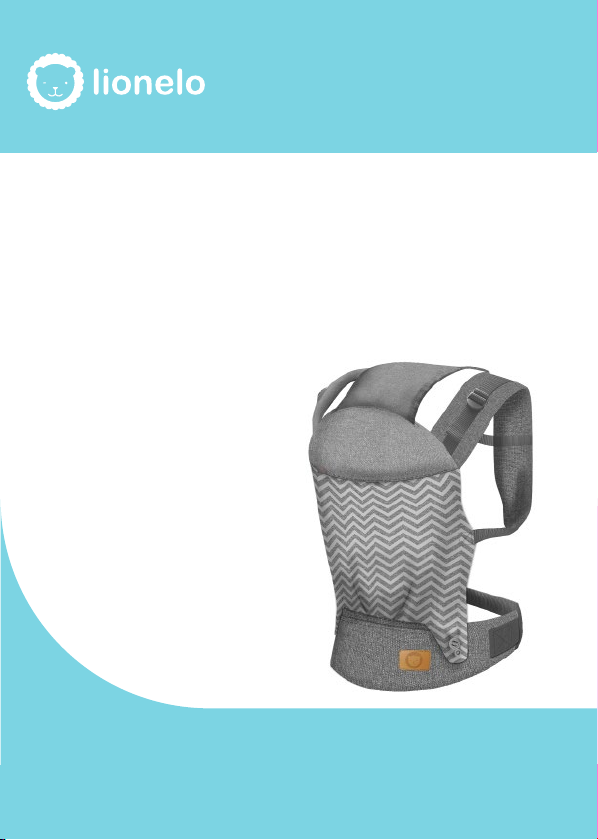
EN
Child’s age at least 4 months
Child’s weight at least 5,5 kg
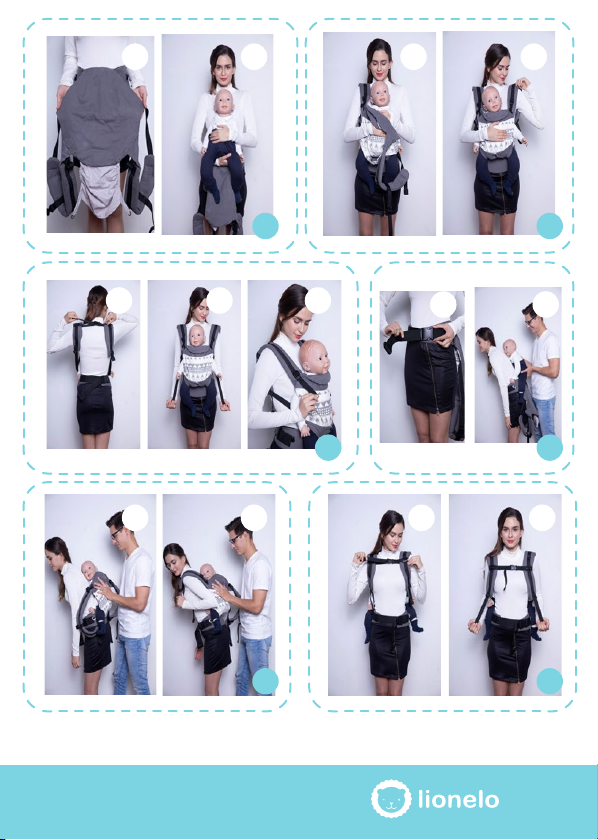
In this position the front panel should be wide - the front panel
width adjustment button (7) fastened on the hip belt.
1. Fasten the hip belt (6). Lock the hip belt buckle
with a double protection button (10). Adjust
the hip belt to your waist (g. 2a). The carrier’s
front panel should be centered in front of you.
Important: before you take another step, make sure the
hip belt has been xed properly!
2. Take your child on your hands and hug in frontal position
so that it wraps its legs around you (g. 2c).
3. Hold your child all the time and put one shoulder
arm by pulling the hand and shoulder (g. 2d
and 2e). Pull the carrier’s panel over the child’s
back. Do the same with another hand (g. 2f).
NOTE! Hold your child all the time.
4. Pull both palms to the back, fasten the shoulder belts
buckle (9) and adjust its length (g. 2g).
5. Adjust the shoulder belts with the use of shoulder belt
adjustment buckle (2). The child should be wrapped
properly and belts tightened properly so that they do not
squeeze the child’s body too much (g. 2h).
B. Carrying in front with a face in an outward position
Child’s age at least 6 months
Child’s weight at least 7,8 kg
This position is intended solely for children who are able to
keep their head straight.
In this position the product can be used in two variants of