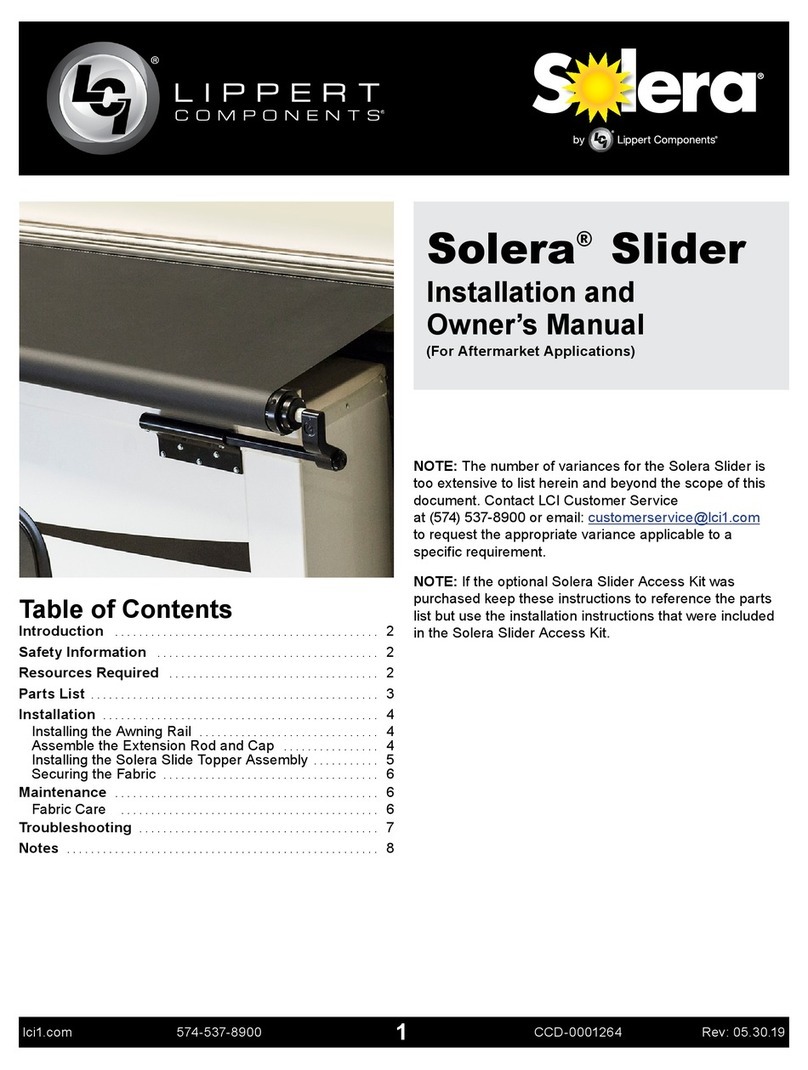
Lippert Components Solera Classic Installation instructions


Other manuals for Solera Classic
3
Table of contents
Other Lippert Components Accessories manuals
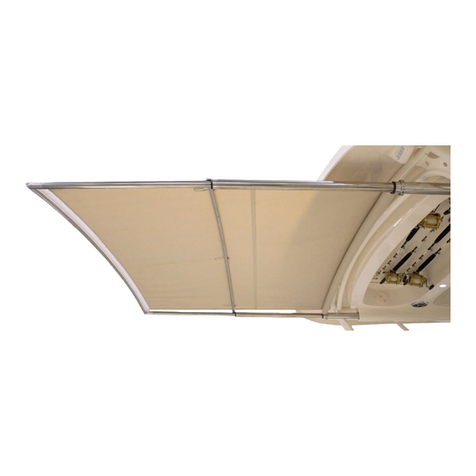
Lippert Components
Lippert Components SURESHADE ATF Quick start guide

Lippert Components
Lippert Components 2021130659 Installation instructions
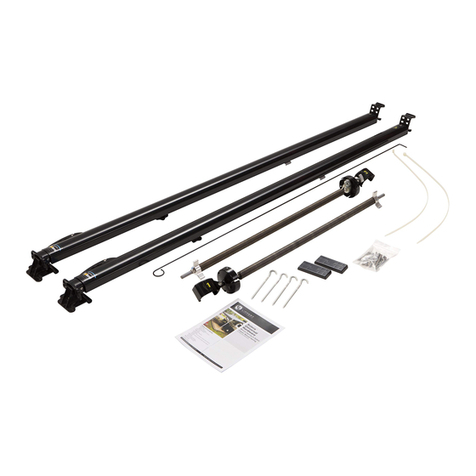
Lippert Components
Lippert Components Solera Classic User manual
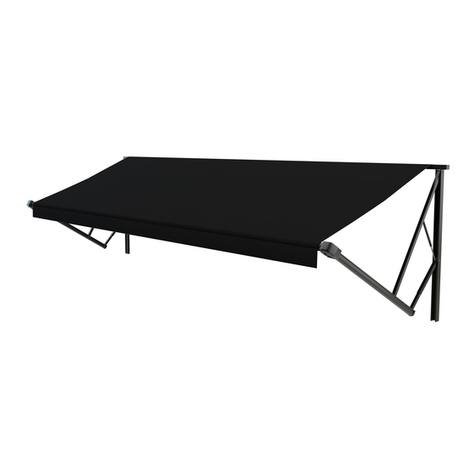
Lippert Components
Lippert Components Solera Hybrid User manual
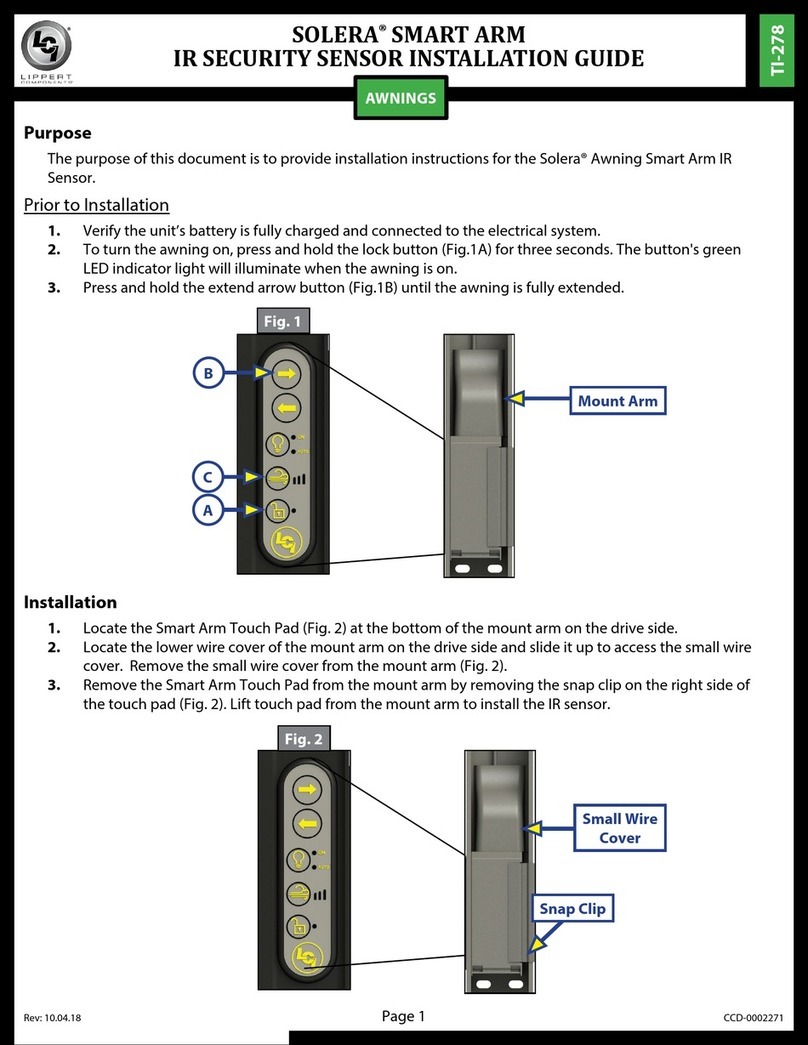
Lippert Components
Lippert Components Solera TI-278 Operating and maintenance instructions
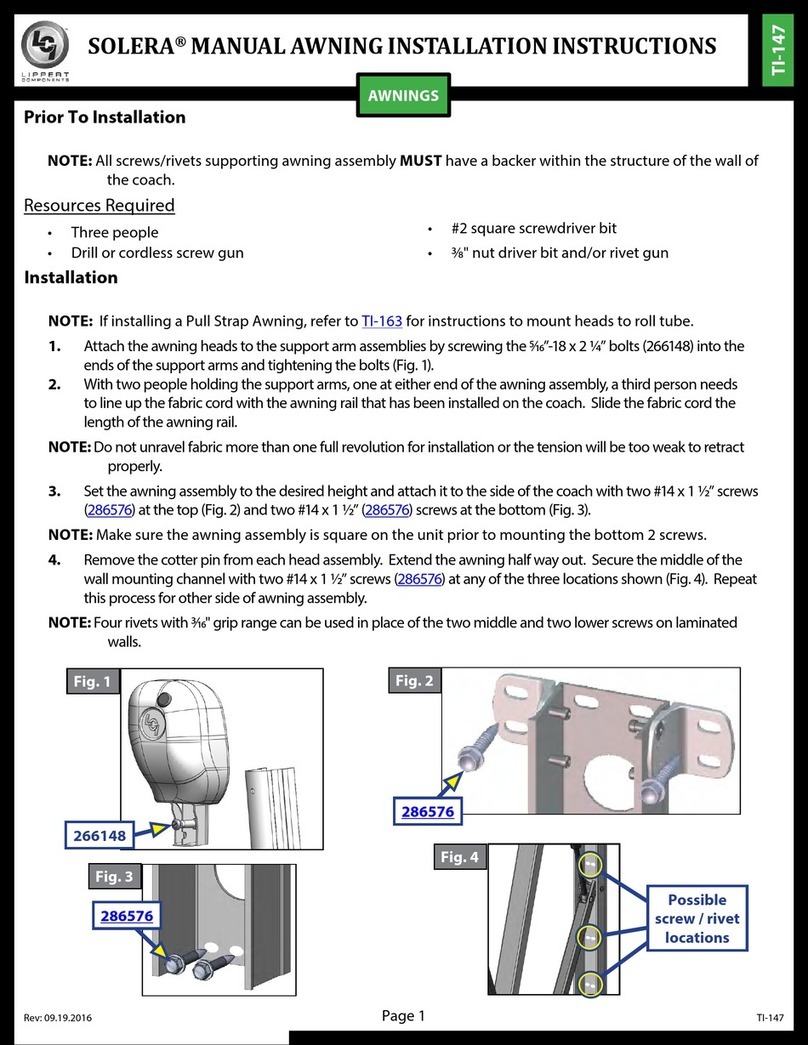
Lippert Components
Lippert Components Solera User manual

Lippert Components
Lippert Components Solera User manual
Lippert Components
Lippert Components Solera 3000WS Series User manual

Lippert Components
Lippert Components Solera User manual

Lippert Components
Lippert Components Solera User manual
Lippert Components
Lippert Components Edge Awning User manual
Lippert Components
Lippert Components Awnbrella Installation instructions
Lippert Components
Lippert Components Solera Slide Topper with Access Plates Installation instructions
Lippert Components
Lippert Components Solera 434718 User manual
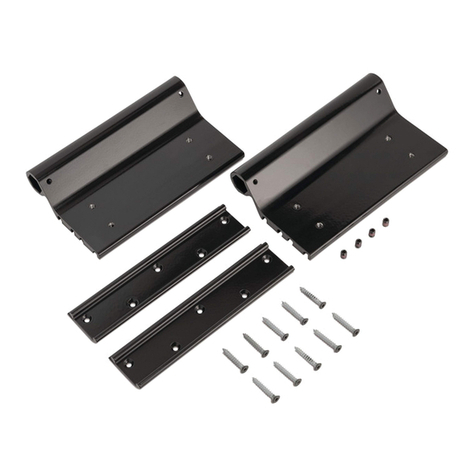
Lippert Components
Lippert Components Solera 795354 Installation instructions

Lippert Components
Lippert Components Solera Power Awning XL User manual

Lippert Components
Lippert Components Solera Installation instructions

Lippert Components
Lippert Components Solera User manual

Lippert Components
Lippert Components Solera User manual

Lippert Components
Lippert Components Solera Smart Arm User manual
Popular Accessories manuals by other brands
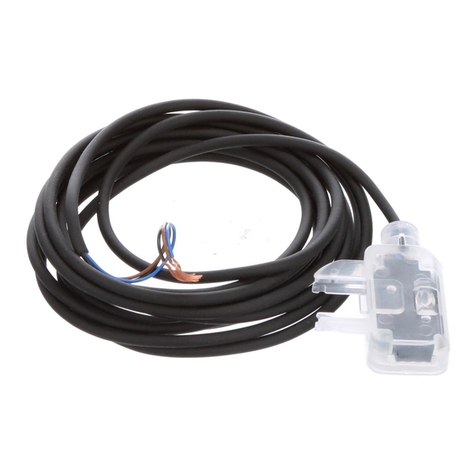
Panasonic
Panasonic EX-F70 SERIES instruction manual

Mitsubishi Electric
Mitsubishi Electric R410A Guide
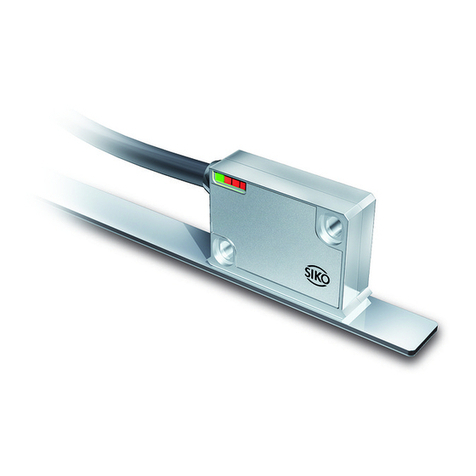
Siko
Siko LE200 Translation of the original installation instructions
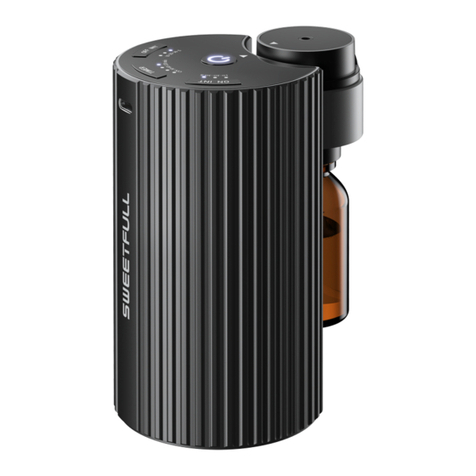
SWEETFULL
SWEETFULL STK-201 instruction manual
Extron electronics
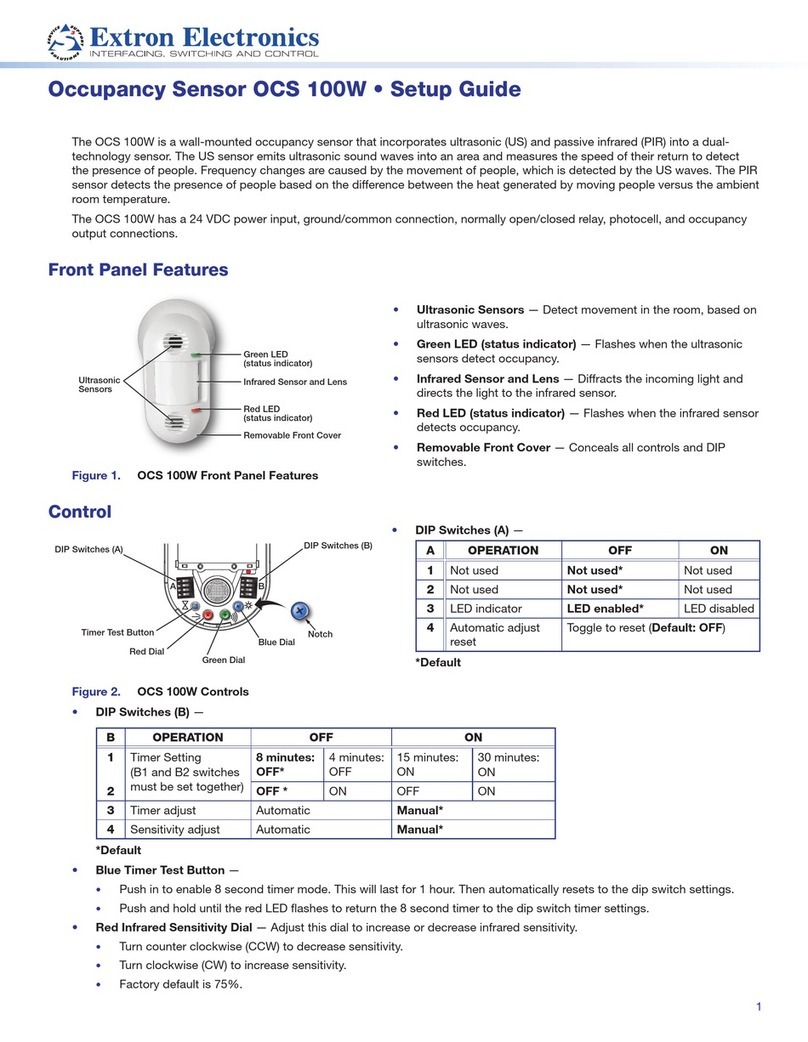
Extron electronics OCS 100W Setup guide
Digilent
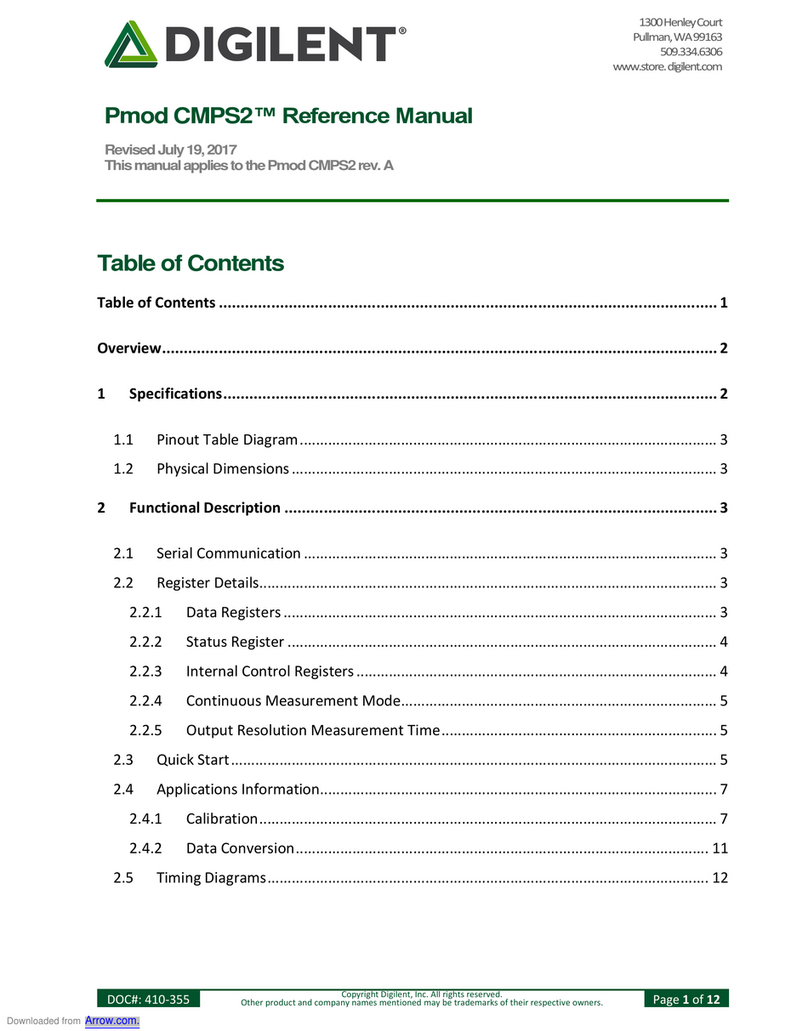
Digilent Pmod CMPS2 Reference manual


