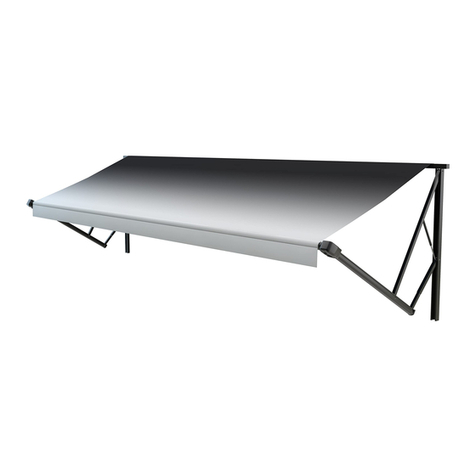
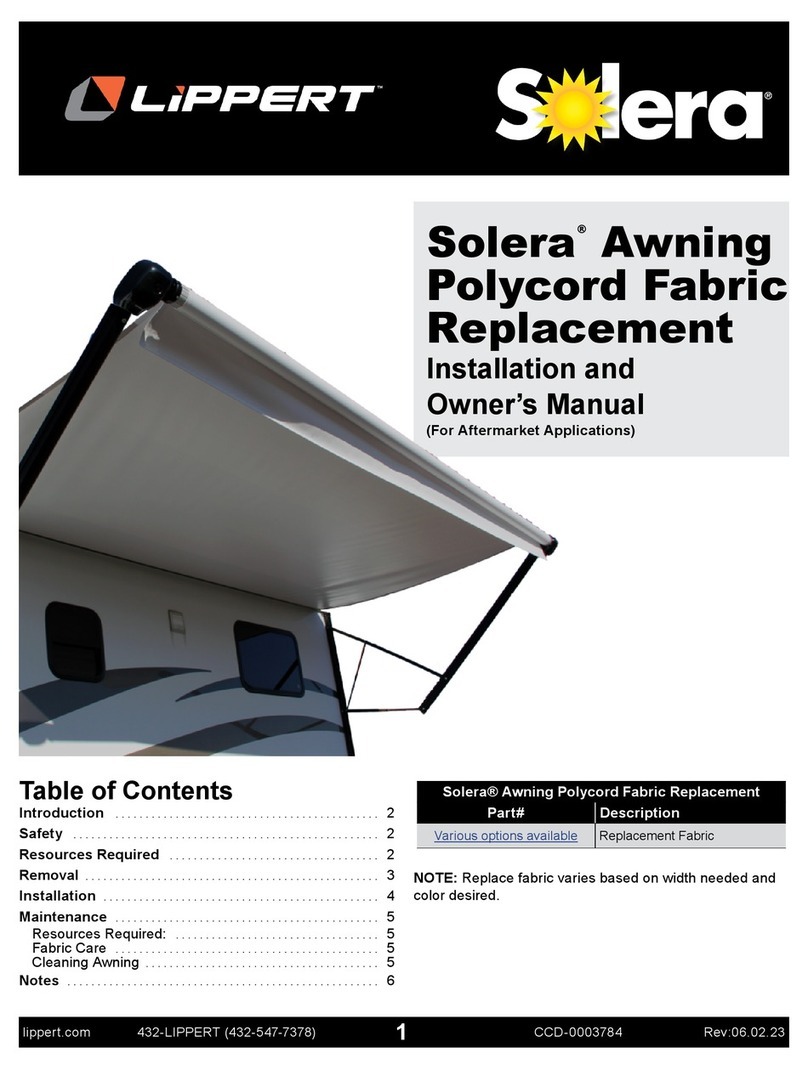
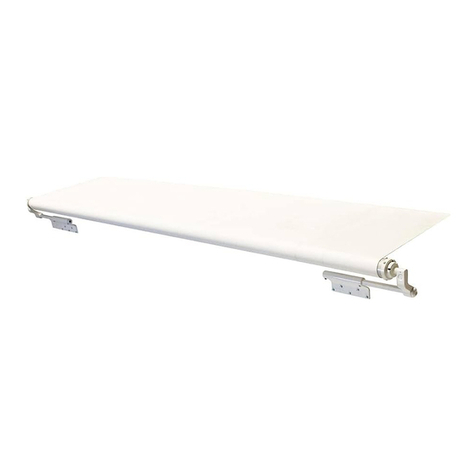
Lippert Solera Classic Awning Use and care manual

Rev: 07.27.22 Page 1 CCD-0004486
TI-362
AWNINGS
SOLERA®CLASSIC AWNING
FABRIC REPLACEMENT
TI-408
Purpose
This document outlines the steps to replace the awning fabric or LED light fabric on a Solera Classic Awning.
Resources Required
The “WARNING” symbol above is a sign that a procedure has a safety risk involved and may cause
death or serious personal injury if not performed safely and within the parameters set forth
in this manual.
• Two or three people
• Cordless or electric drill or
screw gun
• Appropriate drive bits
• Tape
• Non-permanent marker
• Cotter pins
• Silicone sealant
The “CAUTION” symbol above is a sign that a safety risk is involved and may cause personal injury
and/or product or property damage if not safely adhered to and within the parameters set forth
in this manual.
Moving parts can pinch, crush or cut. Keep clear and use caution.
Safety
Read and understand all instructions before installing or operating this product. Adhere to all safety labels.
This manual provides general instructions. Many variables can change the circumstances of the instructions,
i.e., the degree of difficulty, operation and ability of the individual performing the instructions. This
manual cannot begin to plot out instructions for every possibility, but provides the general instructions,
as necessary, for effectively interfacing with the device, product or system. Failure to correctly follow the
provided instructions may result in death, serious personal injury, severe product and/or property damage.

Rev: 07.27.22 Page 2 CCD-0004486
TI-362
AWNINGS
SOLERA®CLASSIC AWNING
FABRIC REPLACEMENT
TI-408
Fig. 1
B
A
C
D
E
F
Current Travel Lock
G
Procedure
Fabric Removal
1. Extend awning.
2. If equipped, remove the drip cap from the idler end.
3. Make sure the black locking knobs (Fig. 1G) on the support arm (Fig. 1E) are loosened.
4. Determine which travel lock you have and release the travel locks accordingly.
A. Current Travel Lock - Press slightly upward on the tab (Fig.1A) on the travel lock base latch
(Fig.1B) to release the travel lock body (Fig.1C). Swing the travel lock body arm (Fig.1D) from
behind the support arm (Fig.1E) to release the outer arm (Fig.1F).
NOTE: Current travel lock is on the LEFT side of each arm when facing the awning.

Rev: 07.27.22 Page 3 CCD-0004486
TI-362
AWNINGS
SOLERA®CLASSIC AWNING
FABRIC REPLACEMENT
TI-408
1"
5. Flip the cam lock (Fig. 3A) down to the roll out position.
6. As a precaution, tape the cam lock (Fig. 3A) in the roll out position to the end cap (Fig. 3B).
7. Using the pull rod, pull the awning outward one full revolution of the roll tube (approximately 18").
8. Remove the two #6 x 1/2” pan head screws located on the awning rail (Fig. 4A) located on the left and
right side of the awning fabric. Set screws aside to reinstall later.
B. Original Travel Lock - Release the travel locks (Fig. 2A) on the support arm brackets by reaching
behind the support bracket (Fig. 2B) and squeezing the travel lock sides inward, releasing the
outer arm (Fig. 2C).
Fig. 3
Awning Rail A
A
Fig. 2
B
B
A
Fig. 4
Original Travel Lock

Rev: 07.27.22 Page 4 CCD-0004486
TI-362
AWNINGS
SOLERA®CLASSIC AWNING
FABRIC REPLACEMENT
TI-408
10. If applicable, and the fabric being replaced has wiring for a LED light in the roll tube, locate the wires
from the existing LED light fabric near the awning rail, to the wall of the unit.
A. Remove the sealant from the hole and wires.
B. Cut the wires to the power source and light switch where they were previously spliced.
11. Remove both upper mounting brackets (Fig. 7A) from the unit wall by removing the lag screws (Fig. 7B).
Carefully allow the support arms (Fig. 7C) to pivot towards the outer arm and re-engage the travel locks
(Fig. 1 or Fig. 2). Unlatch the pins at the bottom of the support arm brackets (Fig. 8).
NOTE: The upper mounting brackets will be re-installed in their original position after the fabric is replaced.
Fig. 6
A
C
B
Push lever
to open
Fig. 8
Failure to support the roll tube, fabric and drive/idler head assemblies during removal may result
in personal injury or property damage.
Fig. 5
Fig. 7
A
B
A
C
9. Insert a cotter pin (Fig. 5A ) into the drive side and idler side (Fig. 6B) of the roll tube and mark
the location of the top of the idler head assembly (Fig. 6A) so that the idler head assembly can be
reinstalled in the exact location.
NOTE: Roll tube may need to be turned outward slightly to line up holes for the cotter pin.
Failure to insert a cotter pin into the drive and idler ends of the roll tube before roll tube removal
can result in cause personal injury or property damage.

Rev: 07.27.22 Page 5 CCD-0004486
TI-362
AWNINGS
SOLERA®CLASSIC AWNING
FABRIC REPLACEMENT
TI-408
Fig. 9
B C
A
12. The fabric will be removed from the roll tube at the idler end of the roll tube.
13. Place the removed assembly onto a level area.
14. Remove the drive and idler head assemblies (Fig. 9A) from the support arms (Fig. 9B) by removing
the screws (Fig. 9C) holding the support arm to the drive and idler heads on the awning roll tube. Set
screws aside to reinstall later.
NOTE: The idler head assembly is still under tension. Hold the idler head assembly securely while another
person securely holds the drive head and roll tube.
NOTE: Awning roll tubes less than 6' in length typically do not have a spring on the idler side and will
therefore not be under tension. However, it is always safest to assume that tension is present.
15. Continue to maintain a secure hold while removing the idler head cotter pin.
16. While one person holds the roll tube, have another person slowly rotate the idler head assembly
clockwise to release tension. Take note how many turns are made, as this will be necessary information
when reinstalling the idler head assembly later.
17. Remove the three screws holding the idler head assembly end cap on the roll tube, pull the idler head
and spring assembly out of the roll tube approximately 10-12".
NOTE: If applicable, using non-permanent marker, mark the location of the Filon that is inside the roll tube.
18. If applicable, remove filon (Fig. 10A) from the roll tube, and unplug LED light harness. Set filon aside
to reinstall later.
Fig. 10
Polycord in roll
tube Channel
Fabric Valance
A

Rev: 07.27.22 Page 6 CCD-0004486
TI-362
AWNINGS
SOLERA®CLASSIC AWNING
FABRIC REPLACEMENT
TI-408
19. Completely remove idler head and spring assembly (if present) from roll tube.
20. Using non-permanent marker, mark the location of the polycord on the roll tube.
21. Lay fabric flat on a smooth surface.
22. Remove the two screws holding the fabric in place on the roll tube.
NOTE: If applicable, make sure the LED light wire harness located inside the roll tube from the LED light
strip to the fabric is disconnected and pulled out of the roll tube.
23. To remove the fabric, gently pull the roll tube from one end while another person holds the
fabric in place.
Installing Replacement Fabric
1. Unroll the replacement fabric and place it flat on a smooth surface so the polycord is parallel with
the roll tube.
2. On a clean, level surface free of debris that could scratch or damage the roll tube, gently slide the roll
tube onto the polycord of the fabric (Fig. 10).
3. Center the fabric on the roll tube.
4. Apply the screws that were holding the polycord in place on the roll tube.
5. If applicable, connect the new awning fabric wire harness to the LED light harness in the roll tube.
6. Roll the fabric onto the roll tube (Fig. 11). Make sure the fabric stays snug and flat to the roll tube with
the printed side facing outward.
7. Insert the idler head and spring assembly (if applicable) into the roll tube, leaving approximately 10-
12" of the spring exposed.
8. If applicable, install the filon in the roll tube that was previously removed.
9. Using the three screws previously removed from the end caps, finish installing the idler head
and spring assembly and attach the idler head assembly to the roll tube, making sure the orientation
is the same.
10. If applicable, rotate the idler head assembly counterclockwise the number of turns noted when tension
was relieved previously.
NOTE: Make sure the idler head assembly is installed in the previously marked position, aligning the mark
on the end cap with the mark on the roll tube (Fig. 6A). Make sure the screw hole in the idler head
(Fig. 6C) is facing the same orientation as the screw hole in the drive head.
Fig. 11
Valance
Fabric
Roll
Rev: 07.27.22 Page 7 CCD-0004486
TI-362
AWNINGS
SOLERA®CLASSIC AWNING
FABRIC REPLACEMENT
TI-408
As a supplier of components to the RV industry, safety, education and customer satisfaction are our primary concerns. Should you have
any questions, please do not hesitate to contact us at 432-LIPPERT (432-547-7378) or by email at [email protected]. Self-help tips,
technical documents, product videos and a training class schedule are available at lippert.com or by downloading the LippertNOW app.
11. Insert a cotter pin into the end cap on the idler head assembly.
12. Install the drive and idler head assemblies to the top of the support arms and secure with the screws.
13. Unroll the fabric from the roll tube no more than one full revolution (approximately 18") to allow the
fabric polycord to slide into the awning rail.
14. Working with one or two other persons, install the roll tube and support arm assemblies to the awning
rail by walking the support arms into place on the unit while sliding the fabric polycord into the
awning rail. Make sure the awning will unroll with the printed side of the fabric up.
15. Set the pins at the bottom of the support arms into the lower brackets on the wall of the unit and
secure the latches. (Fig. 8).
16. Release the travel locks, and reinstall the previously removed support arm upper mounting brackets
to the unit wall (Fig. 7) in their original positions.
17. Remove cotter pins from the awning heads.
18. Remove the tape from the cam lock and roll tube and make sure the cam lock (Fig. 12A) is up in the
roll in position.
Fig. 12
A
Use care when removing the cotter pins. The cotter pins are holding the
pre-wound tension of the spring. Failure to securely hold the roll tube may allow the roll tube to
rapidly roll up and cause personal injury or damage to the awning.
19. Retract and extend the awning several times to ensure that the fabric is square on the roll tube.
20. If applicable, restore power to the LED light fabric by connecting the new wires from the fabric on the
idler side to the wires at the wall of the unit.
NOTE: The red wire needs to be connected to the power wire in the unit and the black wire connected to
the switch.
21. Use silicone sealant to seal the wires going into the wall of the unit.
22. Secure the fabric in the awning rail 1” inside the edge of the fabric on both ends using a #6 x 1/2” pan
head screw. Install the screw (Fig. 4A) down through the awning rail and into the fabric and polycord.
23. If equipped and previously removed, reinstall the drip cap.
Other manuals for Solera Classic Awning
1
Table of contents
Other Lippert Accessories manuals

Lippert
Lippert Solera Slider User manual

Lippert
Lippert Solera Classic User manual

Lippert
Lippert Solera 5000 Series User manual

Lippert
Lippert Solera Power User manual

Lippert
Lippert Solera 5000 Series User manual

Lippert
Lippert Solera 5000 Series Installation instructions

Lippert
Lippert SureShade Power Bimini Instruction Manual

Lippert
Lippert Solera Power Installation instructions

Lippert
Lippert Solera Classic Awning Installation instructions

Lippert
Lippert 2021130655 Installation instructions